
Introduction
This manual provides essential information for the safe and efficient use of your Briloner Leuchten CCT LED FLEX Strip, model 2032-150P. This decorative LED strip is designed for accent lighting and offers universal application possibilities in various settings such as furniture, display cases, and stair steps. It features 300 dual warm/cool white LEDs and includes a remote control, battery, and a 2-meter cable for convenient operation.
Setup Instructions
Carefully unpack all components and ensure all parts are present before beginning installation. The kit includes the LED strip, a power adapter, an LED controller, and a remote control.

Figure 1: Kit components including LED strip, power adapter, controller, and remote.
- Preparation: Ensure the installation surface is clean, dry, and smooth. The LED strip has an adhesive backing for easy mounting.
- Measure and Cut (if necessary): The LED strip can be cut at designated marks, typically indicated by a scissor icon or copper pads. Refer to Figure 2 for visual guidance on cut points. Ensure power is disconnected before cutting.
- Mounting the LED Strip: Peel off the protective backing from the adhesive tape on the back of the LED strip. Carefully press the strip onto the desired surface, ensuring firm contact along its entire length.
- Connecting the Controller: Connect the LED strip to the LED controller. Ensure the connectors are aligned correctly (usually indicated by arrows or polarity markings).
- Connecting the Power Adapter: Connect the power adapter to the LED controller. Then, plug the power adapter into a suitable electrical outlet.
- Remote Control: Insert the included battery into the remote control. The remote is used to power on/off, adjust brightness, and change color temperature.

Figure 2: Dimensions and designated cut points on the LED strip.
Operating Instructions
The Briloner Leuchten CCT LED FLEX Strip is operated using the included remote control.
- Power On/Off: Press the power button on the remote control to turn the LED strip on or off.
- Brightness Adjustment: Use the brightness control buttons (usually marked with '+' and '-') to increase or decrease the light intensity.
- Color Temperature Adjustment (CCT): The strip features CCT (Correlated Color Temperature) functionality, allowing you to switch between warm white and cool white light. Use the dedicated CCT buttons or a slider on the remote to adjust the color temperature.

Figure 3: Adjusting color temperature from warm to cool white.
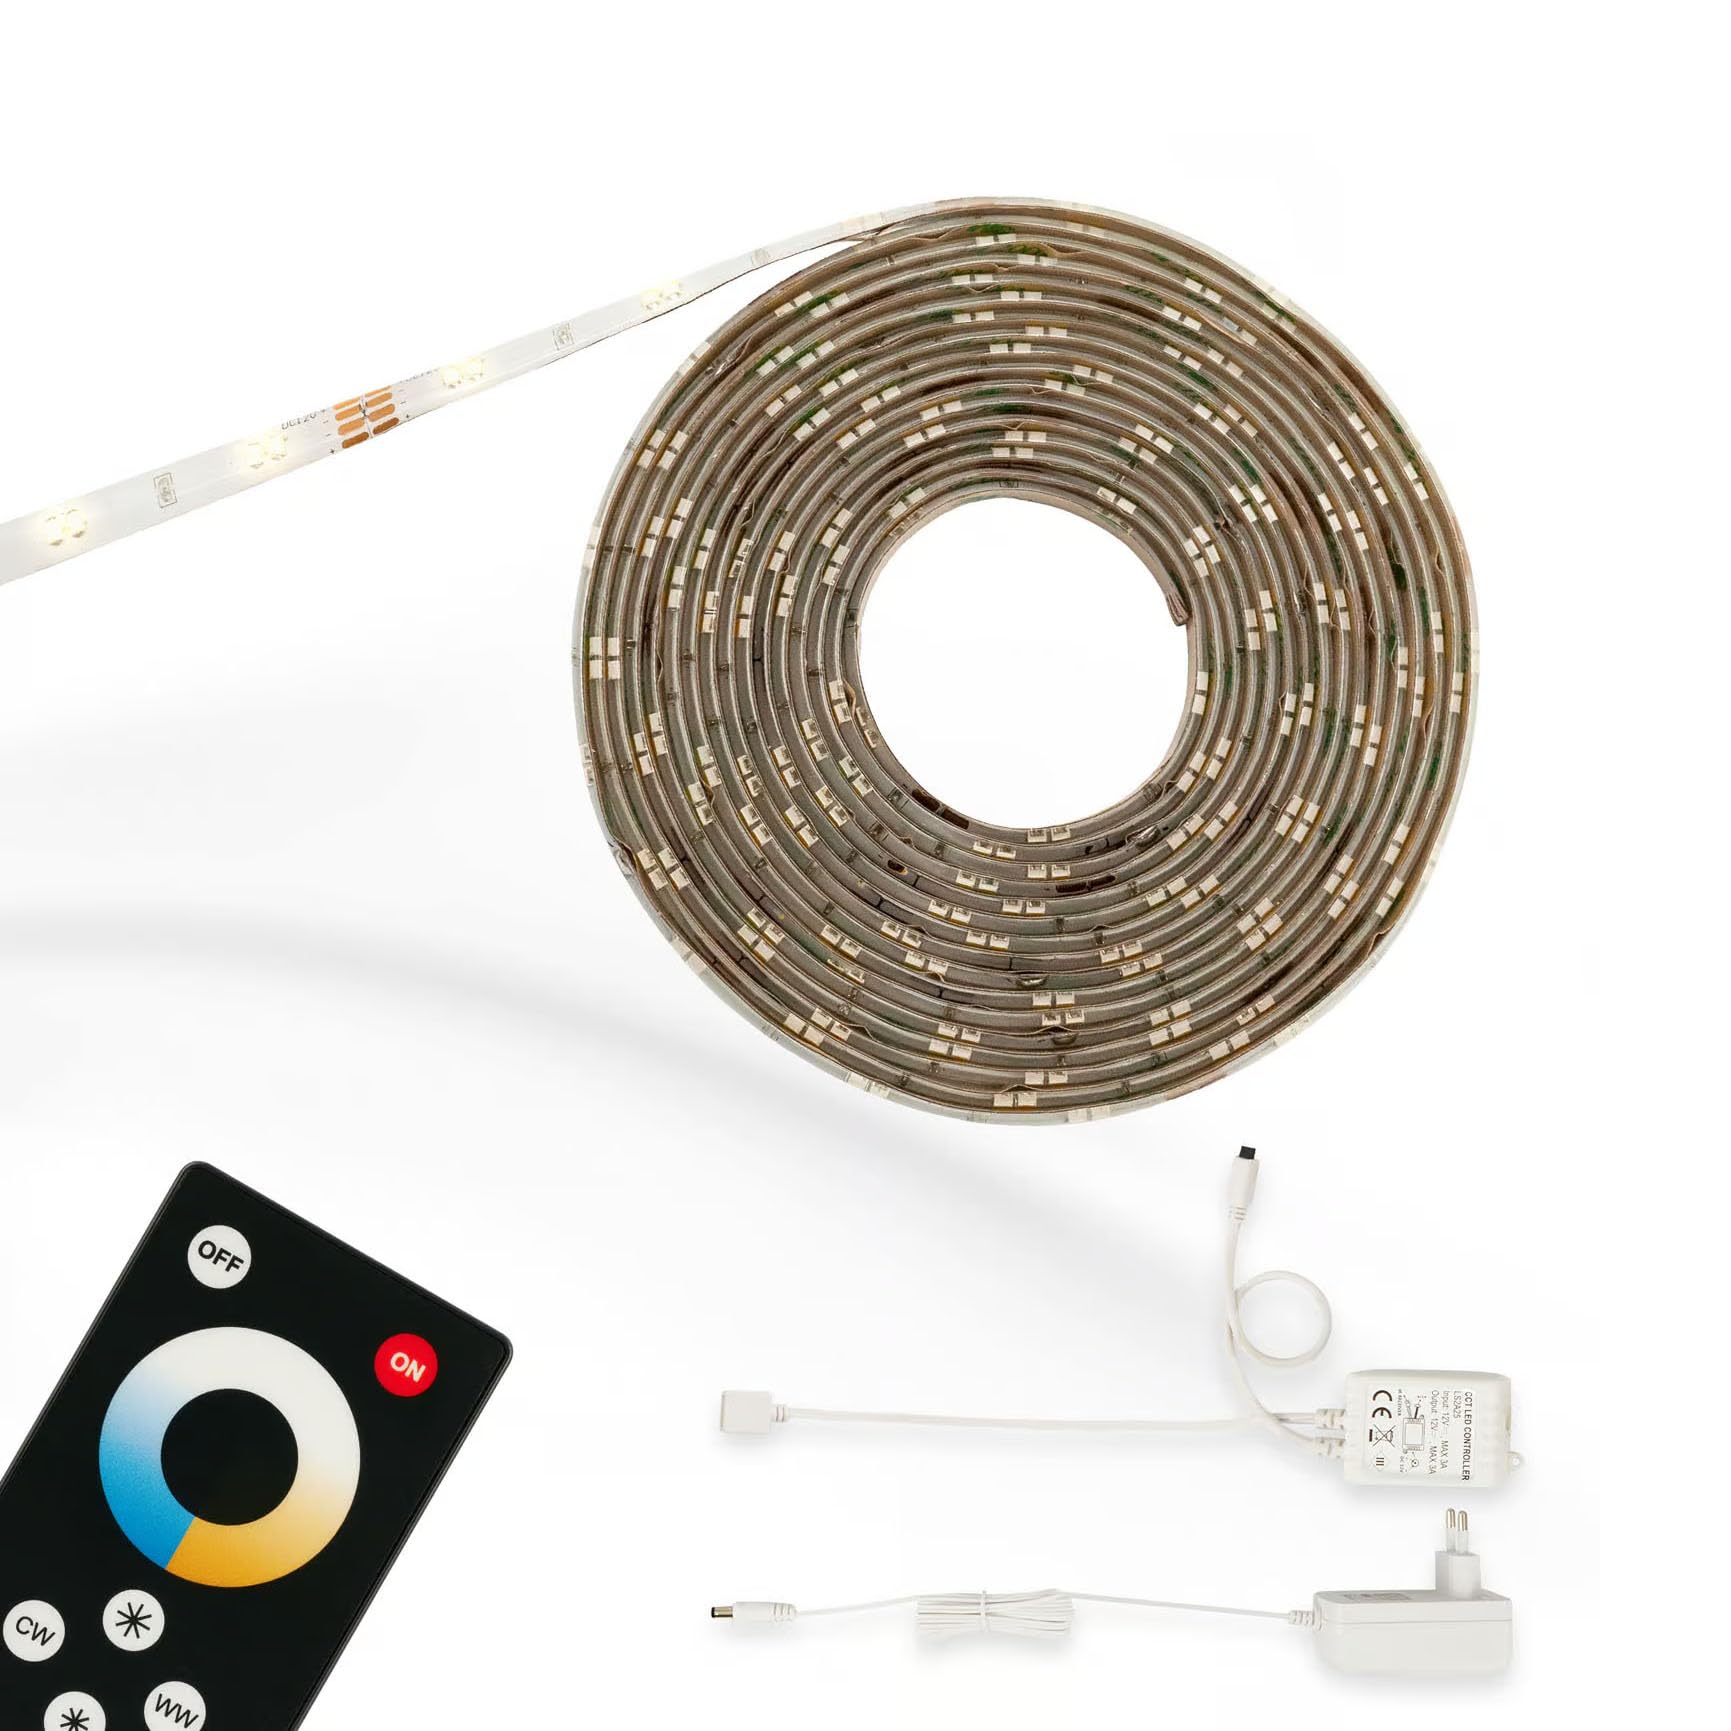
Figure 4: Visual representation of different color temperatures (3000K, 4500K, 6000K) in an application.
Maintenance
The Briloner Leuchten CCT LED FLEX Strip requires minimal maintenance.
- Cleaning: Ensure the power is disconnected before cleaning. Use a soft, dry, or slightly damp cloth to wipe the surface of the LED strip. Do not use abrasive cleaners or solvents.
- Inspection: Periodically check the adhesive backing for secure attachment. If the strip begins to peel, re-secure it with appropriate adhesive suitable for LED strips.
- Remote Control Battery: If the remote control becomes unresponsive, replace the battery with a new one of the same type.
Troubleshooting
| Problem | Possible Cause | Solution |
|---|---|---|
| LED strip does not light up. | No power supply. Incorrect connection. Faulty remote control battery. | Check if the power adapter is securely plugged into the outlet and the controller. Ensure all connections between the strip, controller, and adapter are correct and secure. Replace the remote control battery. |
| Light flickers or is dim. | Loose connection. Power supply issue. | Check all connections for tightness. Ensure the power adapter is providing sufficient power. |
| Remote control not working. | Battery depleted or incorrectly inserted. Obstruction between remote and controller. | Replace the battery, ensuring correct polarity. Remove any objects blocking the line of sight between the remote and the LED controller's receiver. |
| Only part of the strip lights up. | Damage to the strip. Incorrect cutting. | Inspect the strip for visible damage. If a section is damaged, it may require replacement of the entire strip or the damaged section if it was cut incorrectly. |
Technical Specifications
- Brand: Briloner
- Manufacturer: Briloner Leuchten
- Model Number: 2032-150P
- Item Weight: 2 kilograms
- IP Rating: IP20
- Style: Modern
- Color: White
- Number of LEDs: 300
- Bulb Type: LED
- Luminous Flux: 1200 lm
- Features: Dimmable
- Average Lifespan: 20000 Hours
- Battery(s) Included: No (for main unit)
- Battery(s) Required: No (for main unit, remote requires battery)
Warranty Information
Specific warranty details are not provided in the product information. Please refer to the retailer's return policy or contact Briloner Leuchten directly for warranty terms and conditions.
Support
For technical assistance, troubleshooting beyond this manual, or inquiries about spare parts, please contact Briloner Leuchten customer support. Information regarding spare parts availability and software updates is not available in the provided product details.
You may find contact information on the official Briloner Leuchten website or through your point of purchase.


