
1. Introduction
This manual provides essential information for the safe and efficient installation, operation, and maintenance of your OSRAM Endura Style Lantern Bowl LED Outdoor Wall Light with Sensor. This energy-efficient LED luminaire is designed for outdoor use, offering bright and functional illumination with an integrated motion and daylight sensor.
Its robust die-cast aluminum housing and IP44 protection rating ensure durability in various outdoor environments. The programmable sensor allows for customized detection of presence and daylight, with an adjustable hold time from 2 seconds to 5 minutes. It is ideal for illuminating facades, gardens, balconies, pathways, and other outdoor areas.
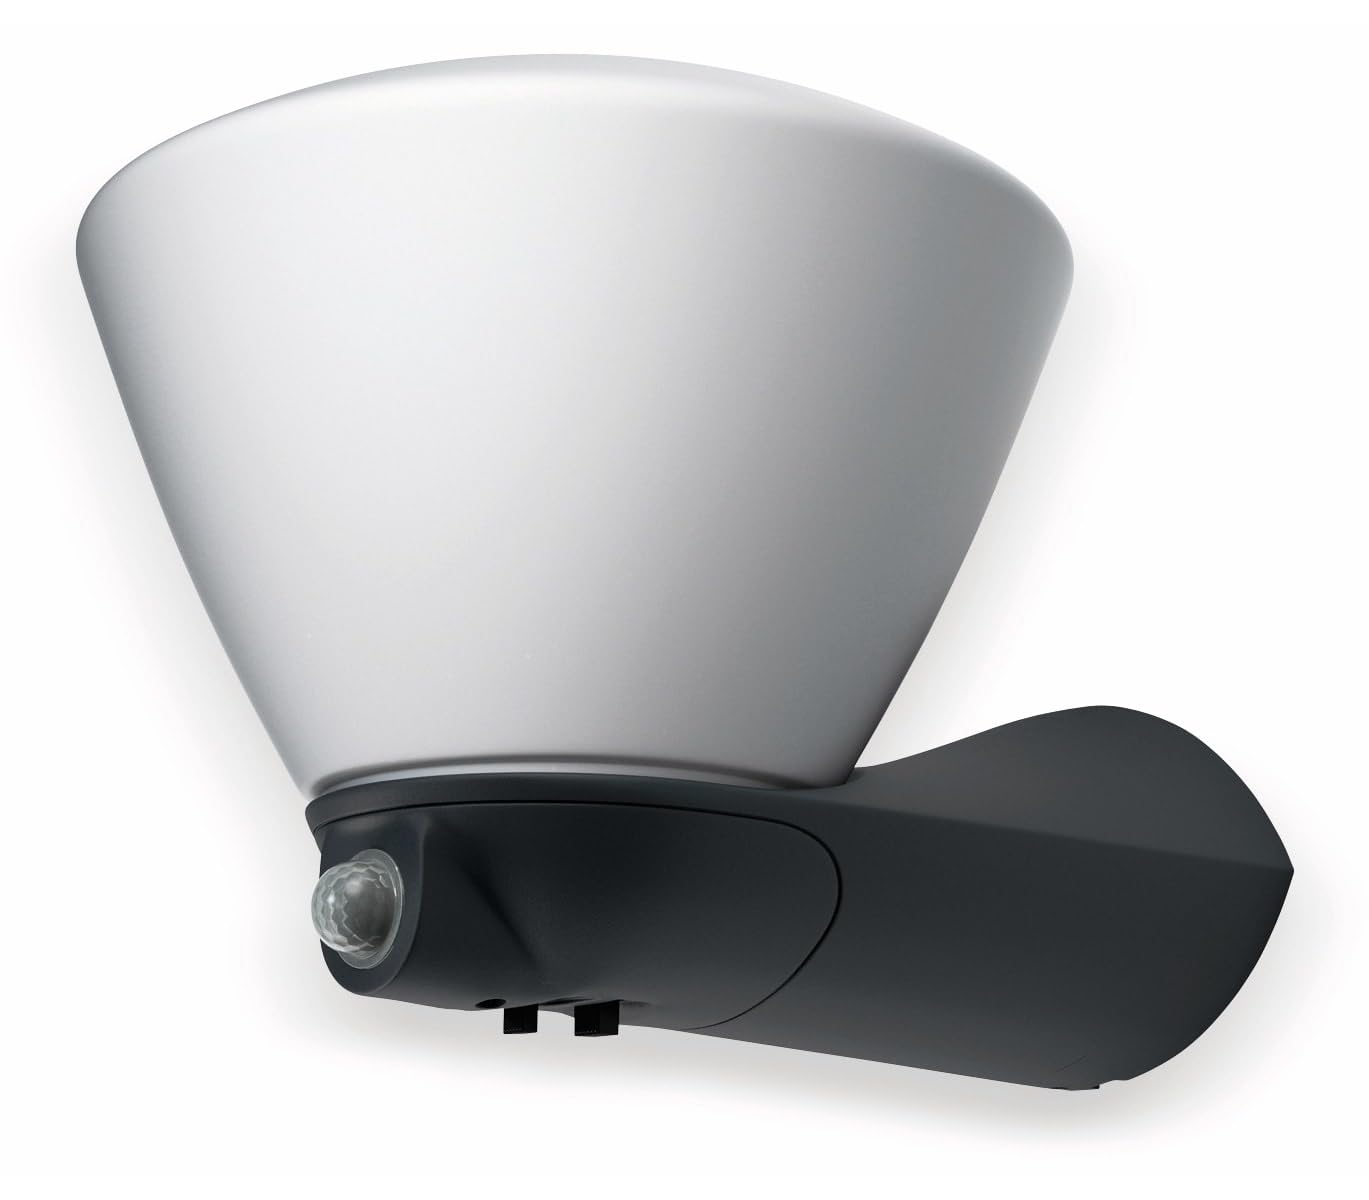
Figure 1: OSRAM Endura Style Lantern Bowl LED Outdoor Wall Light with Sensor.

Figure 2: Example installation of the OSRAM Endura Style Lantern Bowl LED Outdoor Wall Light near a front door.
2. Safety Information
- Electrical Safety: Installation must be performed by a qualified electrician or competent person in accordance with local wiring regulations. Always switch off the main power supply before installation, maintenance, or repair.
- Outdoor Use: This product is rated IP44, meaning it is protected against solid objects larger than 1mm and splashing water from any direction. It is suitable for outdoor use but should not be submerged in water.
- Non-Replaceable LED: The LED light source in this luminaire is not replaceable. When the light source reaches its end of life, the entire luminaire must be replaced.
- Mounting: Ensure the mounting surface is structurally sound and can support the weight of the fixture (approximately 1.48 kg). Use appropriate screws and wall plugs for the mounting surface.
- Temperature: Do not install near heat sources or in areas with extreme temperatures outside the product's operating range.
- Cleaning: Disconnect power before cleaning. Use a soft, damp cloth. Do not use abrasive cleaners or solvents.
3. Package Contents
Please check that all components are present and undamaged before proceeding with installation.
- OSRAM Endura Style Lantern Bowl LED Outdoor Wall Light with Sensor
- Mounting accessories (screws, wall plugs)
- Connection accessories
- Instruction Manual
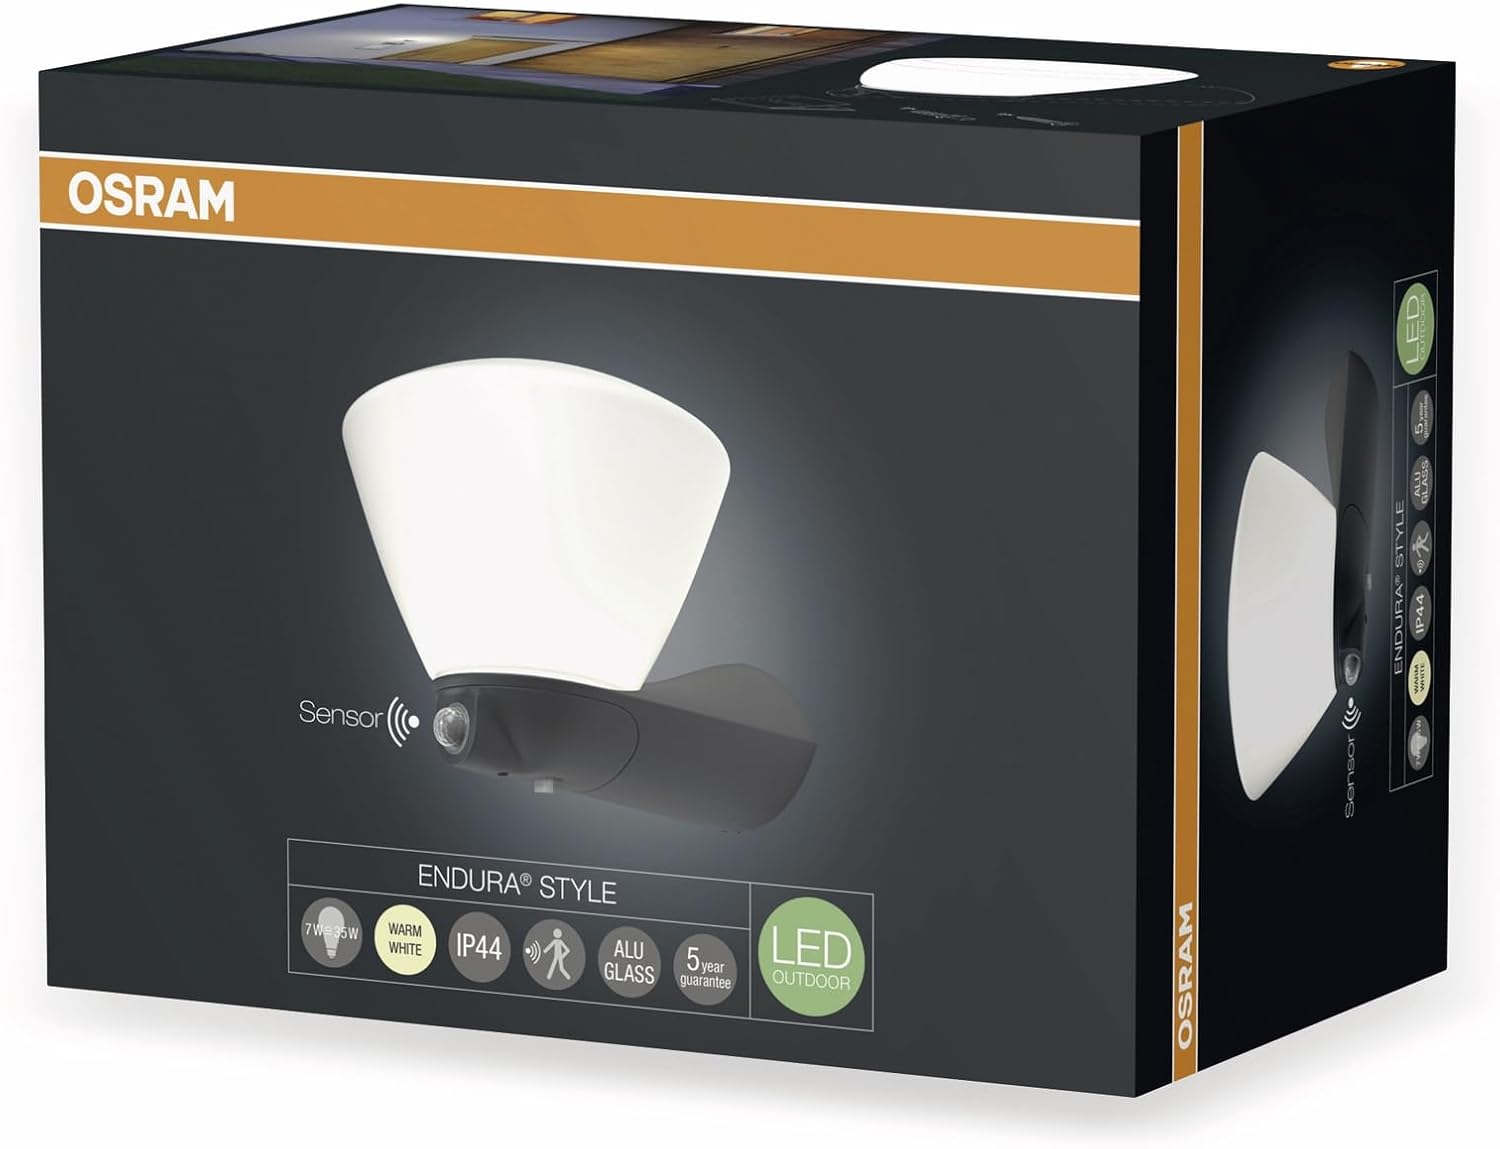
Figure 3: Product packaging, showing the OSRAM Endura Style Lantern Bowl LED Outdoor Wall Light.
4. Specifications
| Brand | OSRAM |
| Model Number | 4058075032422 |
| Manufacturer | Ledvance |
| Dimensions (L x W x H) | 26.7 x 21 x 19 cm |
| Weight | 1.48 kg |
| Material | Aluminum |
| Color | Warm White (Light output) |
| IP Rating | IP44 |
| Voltage | 240 Volts |
| Power Consumption | 7 Watts |
| Luminous Flux | 400 lm |
| Color Rendering Index (CRI) | 80 |
| Average Lifespan | 30,000 Hours |
| Special Features | Non-dimmable, Integrated Motion Sensor |
| Energy Efficiency Class | A++ |

Figure 4: Energy efficiency label indicating A++ rating and non-replaceable LED lamps.
5. Installation Instructions
Important: Ensure the main power supply is switched off at the fuse box before commencing installation. If you are unsure about electrical installation, consult a qualified electrician.
- Preparation: Unpack the luminaire and check for any damage. Ensure all components listed in the "Package Contents" section are present.
- Choose Location: Select a suitable outdoor wall location for mounting. Ensure the surface is flat and robust enough to support the fixture. Consider the desired coverage area for the motion sensor.
- Mark Drilling Points: Hold the mounting base of the luminaire against the wall at the desired installation height. Mark the positions for the two mounting holes. Note: A drilling template is not provided, so careful measurement is essential.
- Drill Holes: Drill holes at the marked positions using an appropriate drill bit for your wall type. Insert the provided wall plugs into the drilled holes.
- Mount Base Plate: Secure the mounting base plate to the wall using the provided screws. Ensure it is firmly attached.
- Electrical Connection:
- Connect the live (L) wire to the terminal marked 'L'.
- Connect the neutral (N) wire to the terminal marked 'N'.
- Connect the earth (E) wire to the terminal marked 'E' (if applicable).
- Attach Luminaire Body: Carefully align the main luminaire body with the mounting base plate. Secure it using the small screws and the provided Allen key. Ensure a tight seal to prevent water ingress, as improper sealing can lead to product failure.
- Restore Power: Once installation is complete and all connections are secure, restore power at the main fuse box.

Figure 5: Close-up of the luminaire, highlighting the sensor and mounting area.
6. Operating Instructions
Your OSRAM Endura Style Lantern Bowl LED Outdoor Wall Light features an integrated programmable motion and daylight sensor for automatic operation.
Sensor Adjustment
The sensor typically has two adjustable settings, often controlled by small dials or switches located on the sensor unit:
- Time (Hold Time): This setting determines how long the light remains on after motion is detected and no further motion is sensed. The adjustable range is typically from 2 seconds to 5 minutes. Turn the dial clockwise to increase the hold time, and counter-clockwise to decrease it.
- LUX (Daylight Sensor Sensitivity): This setting controls the ambient light level at which the sensor becomes active.
- Set to a low LUX value (e.g., "moon" symbol) for the light to activate only in very dark conditions (dusk to dawn operation).
- Set to a high LUX value (e.g., "sun" symbol) for the light to activate in brighter conditions, including during the day.
Recommendation: Start with both the Time and LUX settings at their halfway point and adjust as needed based on your specific requirements and environment. Test the sensor's functionality after each adjustment.
7. Maintenance
- Cleaning: To clean the luminaire, first disconnect the power supply. Use a soft, dry, or slightly damp cloth. Do not use harsh chemicals, abrasive cleaners, or solvents, as these can damage the finish or electrical components.
- Inspection: Periodically inspect the luminaire for any signs of damage, loose connections, or wear. Ensure the mounting screws are tight and the seals are intact, especially after severe weather conditions.
- LED Light Source: The integrated LED light source is designed for a long lifespan (30,000 hours) and is not user-replaceable. If the LED fails, the entire fixture must be replaced.
8. Troubleshooting
| Problem | Possible Cause | Solution |
|---|---|---|
| Light does not turn on. |
|
|
| Light stays on continuously. |
|
|
| Light turns on during the day. |
|
|
| Water ingress / Unit failure after rain. |
|
|
9. Warranty and Support
This OSRAM Endura Style luminaire comes with a 5-year guarantee, reflecting its quality and durability. The average lifespan of the integrated LED is 30,000 hours.
Please note that spare parts availability information is not provided, and the LED light source is not replaceable. In case of a defect within the warranty period, please contact your retailer or OSRAM customer support with your proof of purchase.
For further assistance or technical inquiries, please visit the official OSRAM website or contact their customer service department.


