
Introduction
The XP MI-6 Pinpointer is a high-performance, waterproof metal detecting pinpointer designed for precise target location. It offers advanced features including wireless connectivity with XP metal detectors, making it an essential tool for detectorists.

The XP MI-6 Pinpointer, a robust and precise tool for metal detection.
Key Features
- Wireless Connectivity: Seamlessly connects to XP DEUS II, DEUS, and ORX detectors for enhanced control and audio feedback.
- Waterproof Design: Submersible up to 6 meters (20 feet), ideal for various detecting environments.
- Adjustable Sensitivity: Features 3 levels of sensitivity, expandable to 50 levels when connected to a compatible XP detector.
- Audio Modes: Offers Pitch and Pulse audio modes for versatile target identification.
- Rechargeable Battery: Equipped with a long-lasting lithium battery providing up to 90 hours of operation.
- Lost Pinpointer Alarm: Unique feature to locate a lost MI-6, even if switched off.
- Integrated LED Light: Provides illumination for low-light conditions.
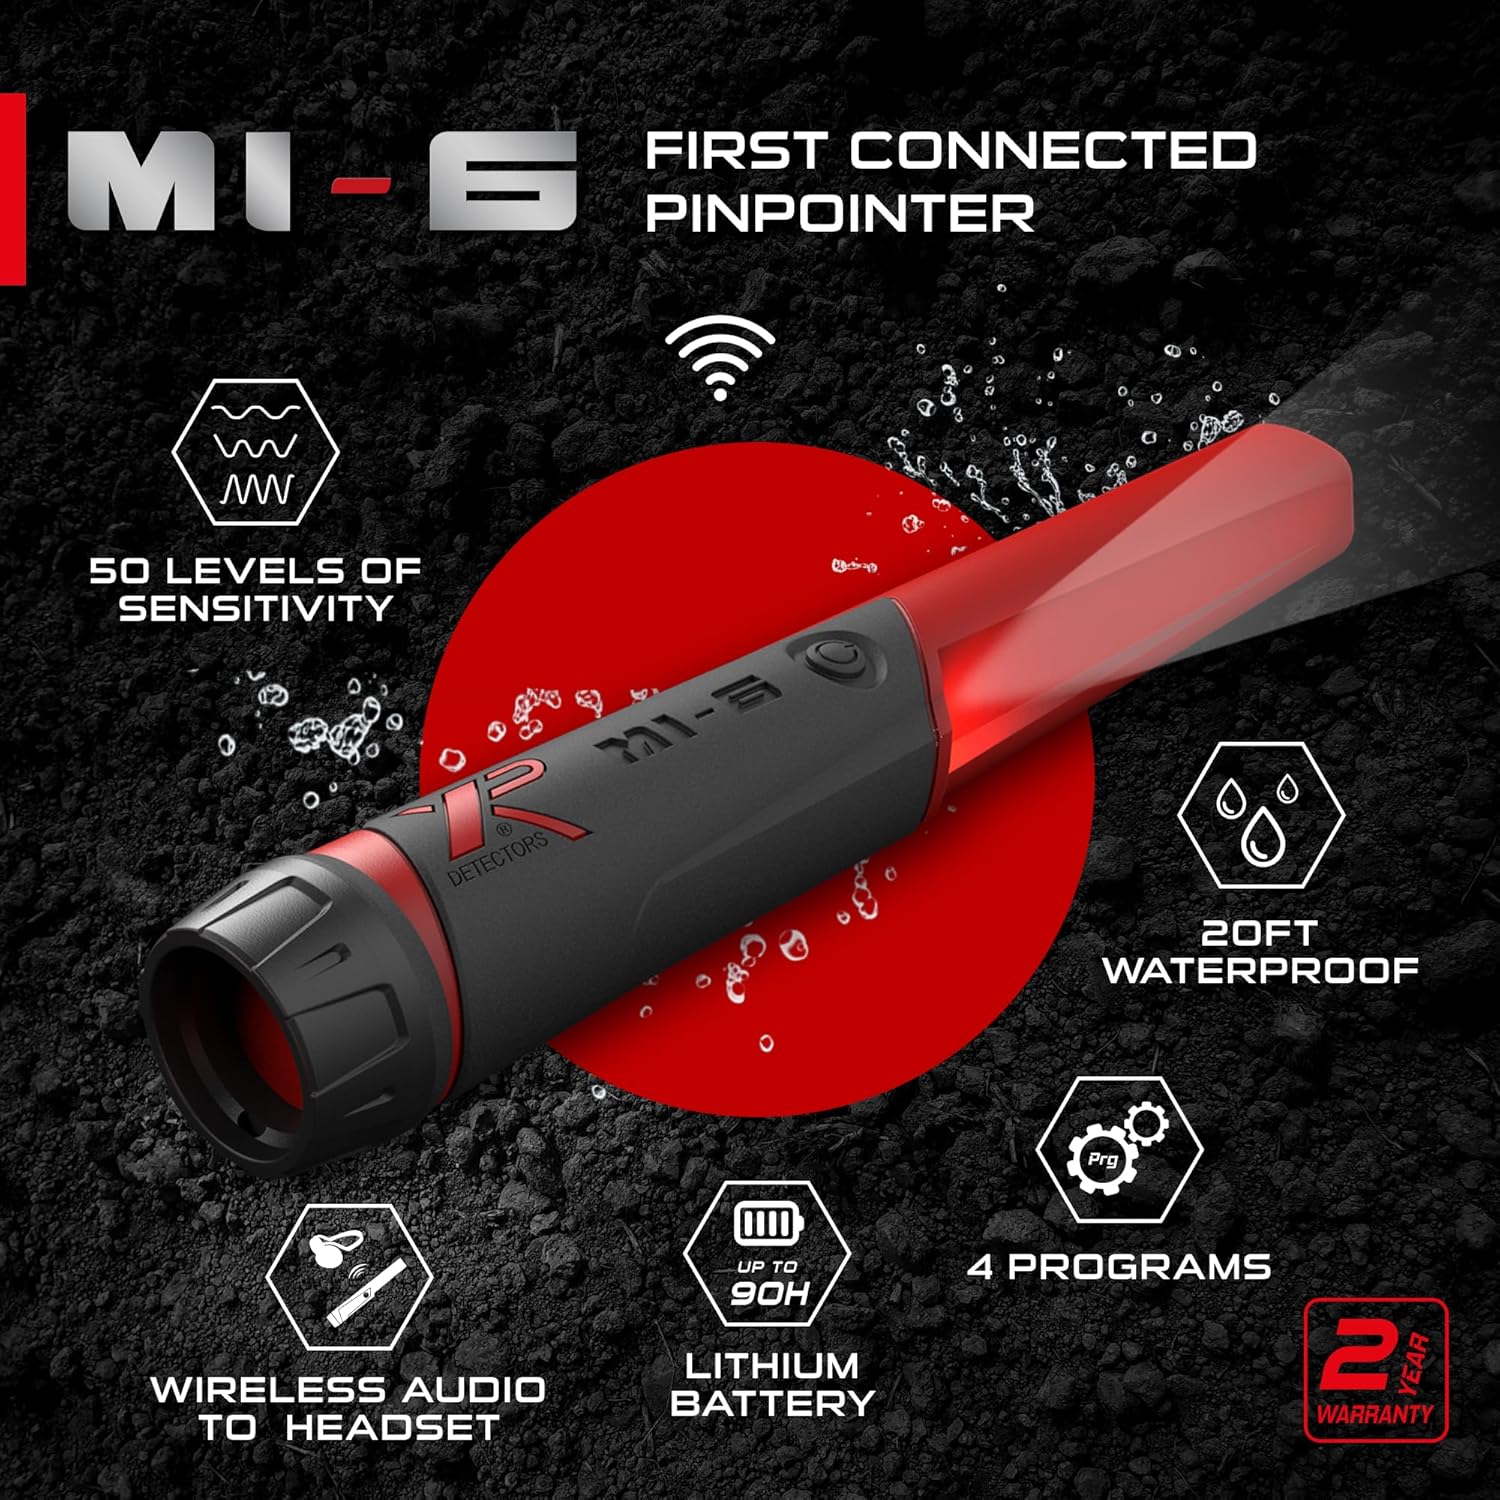
This image highlights the primary features of the MI-6 Pinpointer, including its 50 levels of sensitivity, 20ft waterproof rating, wireless audio, lithium battery, and 4 programs.
Setup
Initial Charging
The MI-6 Pinpointer comes with a rechargeable battery. To charge, unscrew the cap at the base of the pinpointer to reveal the charging port. Connect the provided USB charging cable.

This image shows the charging port located at the base of the MI-6 Pinpointer, accessible by unscrewing the end cap.
O-Ring Maintenance
Ensure the two O-rings inside the cap are in good condition and not cracked to maintain the pinpointer's waterproof integrity. Do not overtighten the cap when screwing it back on.
Attaching Lanyard and Holster
Attach the included lanyard to the pinpointer for security. The rotating belt holster can be attached to your belt for easy access.

This image illustrates the rotating holster accessory for the MI-6 Pinpointer, designed for convenient belt attachment.
Operating Instructions
Powering On/Off
Press and hold the power button located on the side of the pinpointer to turn it on or off.
Wireless Connectivity with XP Detectors
The MI-6 can wirelessly connect to XP DEUS II, DEUS, and ORX metal detectors. This allows for advanced settings adjustments directly from your detector's remote control, including sensitivity levels (up to 50), adjustable tones, and audio modes.

This image demonstrates the wireless link between the MI-6 Pinpointer and an XP detector, enabling advanced settings and direct audio signal transmission.
Sensitivity Adjustment
The pinpointer has 3 default sensitivity levels. When connected to a compatible XP detector, you can access up to 50 levels of sensitivity for precise target pinpointing.
Audio Modes (Pitch and Pulse)
The MI-6 offers two audio modes: Pitch and Pulse.
- Pitch Mode: The audio pitch changes based on the proximity to the target. The closer the pinpointer is to the target, the higher the pitch.
- Pulse Mode: Provides a distinct pulse sound, often preferred for its clear indication of a target.
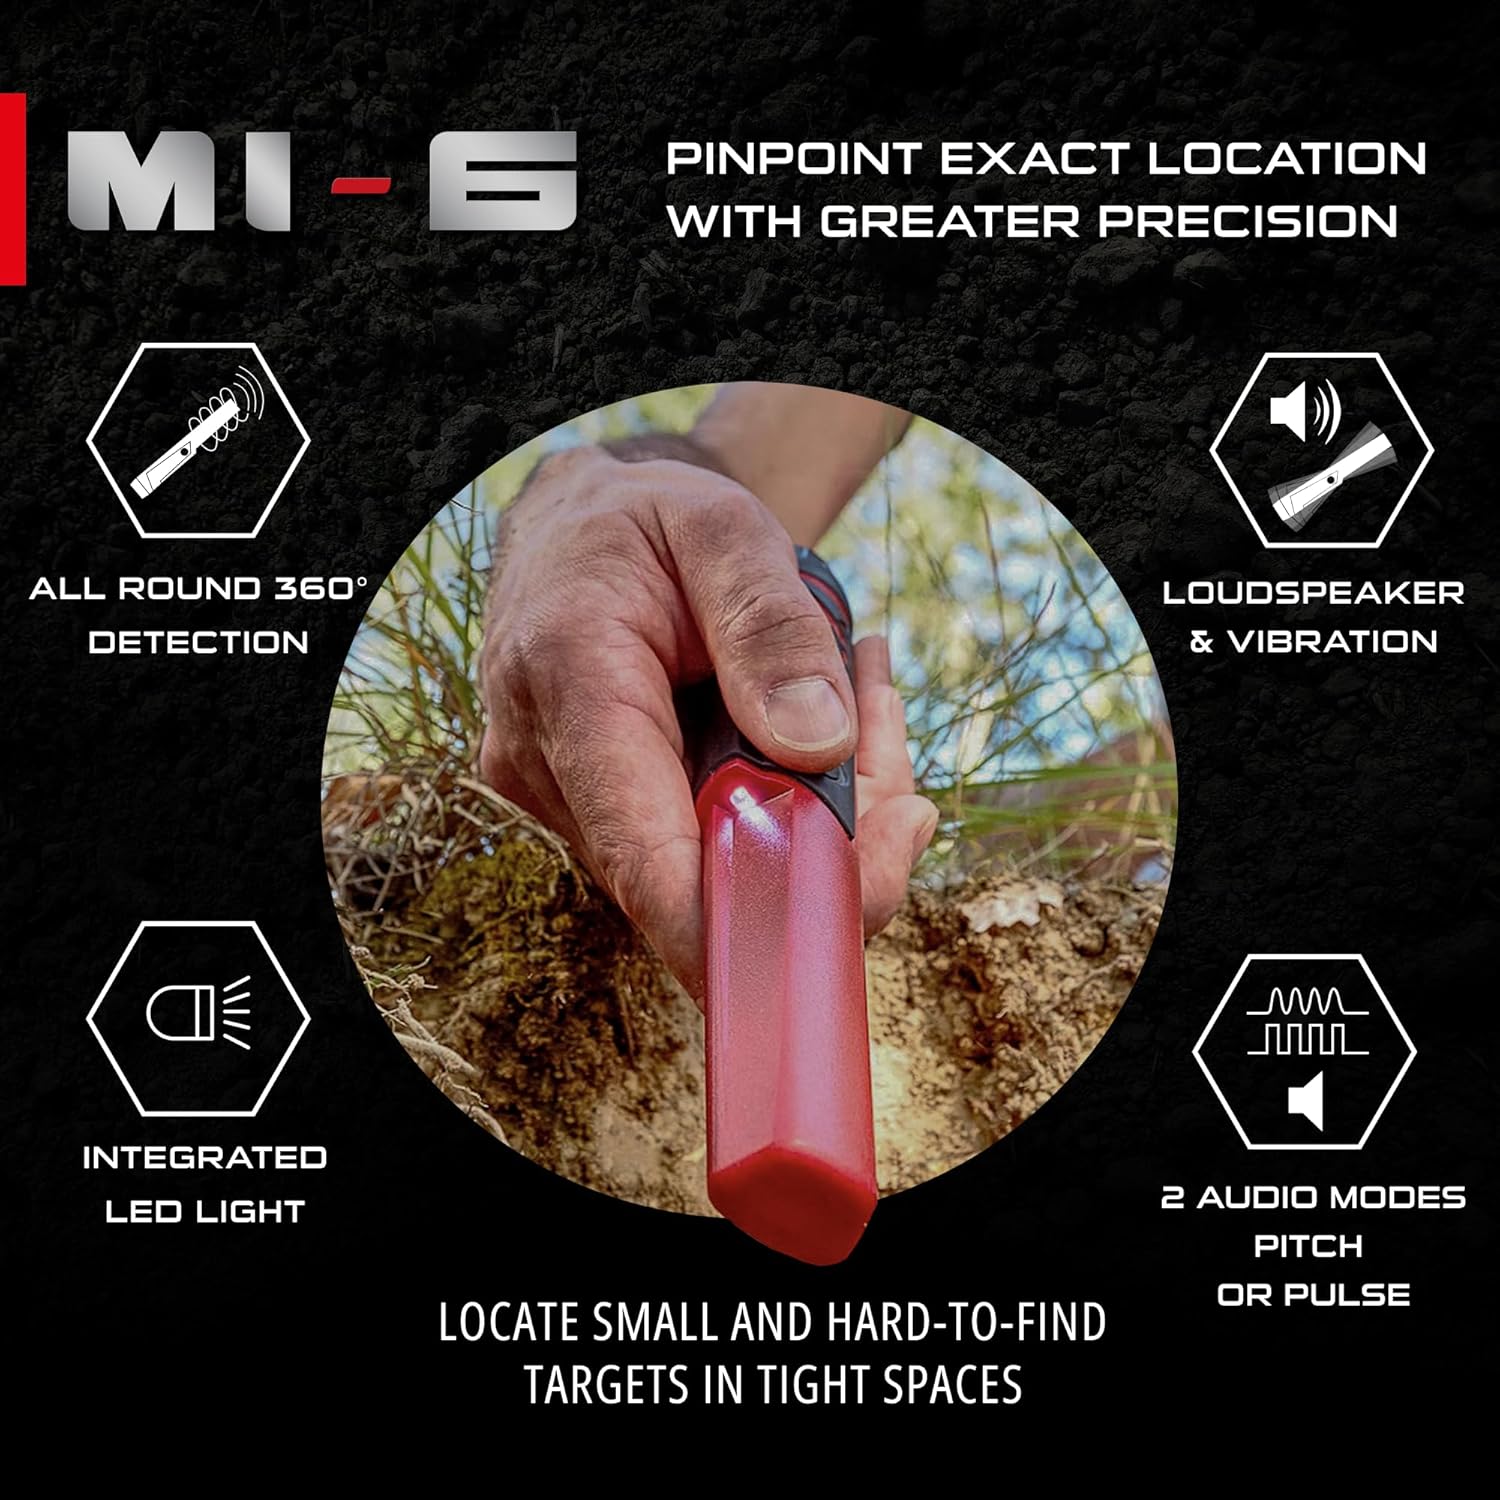
This image illustrates the MI-6's ability to pinpoint exact locations with greater precision, featuring 360° detection, loudspeaker & vibration, integrated LED light, and two audio modes (pitch or pulse).
Integrated LED Light
To turn the LED flashlight on or off, ensure the pinpointer is in the OFF position. Press and hold the power button until you hear two beeps, then quickly press the button twice. Repeat the process to toggle the light.

This image shows the integrated LED light on the MI-6 Pinpointer, which aids in visibility during low-light conditions.
Maintenance
Cleaning
After each use, especially in wet or dirty conditions, clean the pinpointer with a damp cloth. Ensure the cap area is free of debris to maintain the O-ring seal.
Storage
Store the pinpointer in a dry, cool place away from direct sunlight. Ensure it is fully charged before long-term storage.
Troubleshooting
Lost Pinpointer Feature
If you lose your MI-6 Pinpointer, even if it's switched off, you can use your connected XP detector to locate it.
- On your XP detector's remote control, navigate to the "Options" menu.
- Select "Pairing" and ensure the pinpointer is selected.
- Choose the "Pinpointer Research" option (represented by a magnifying glass icon).
- Your detector will then guide you to the lost pinpointer, which will emit beeps and flash its LED light.
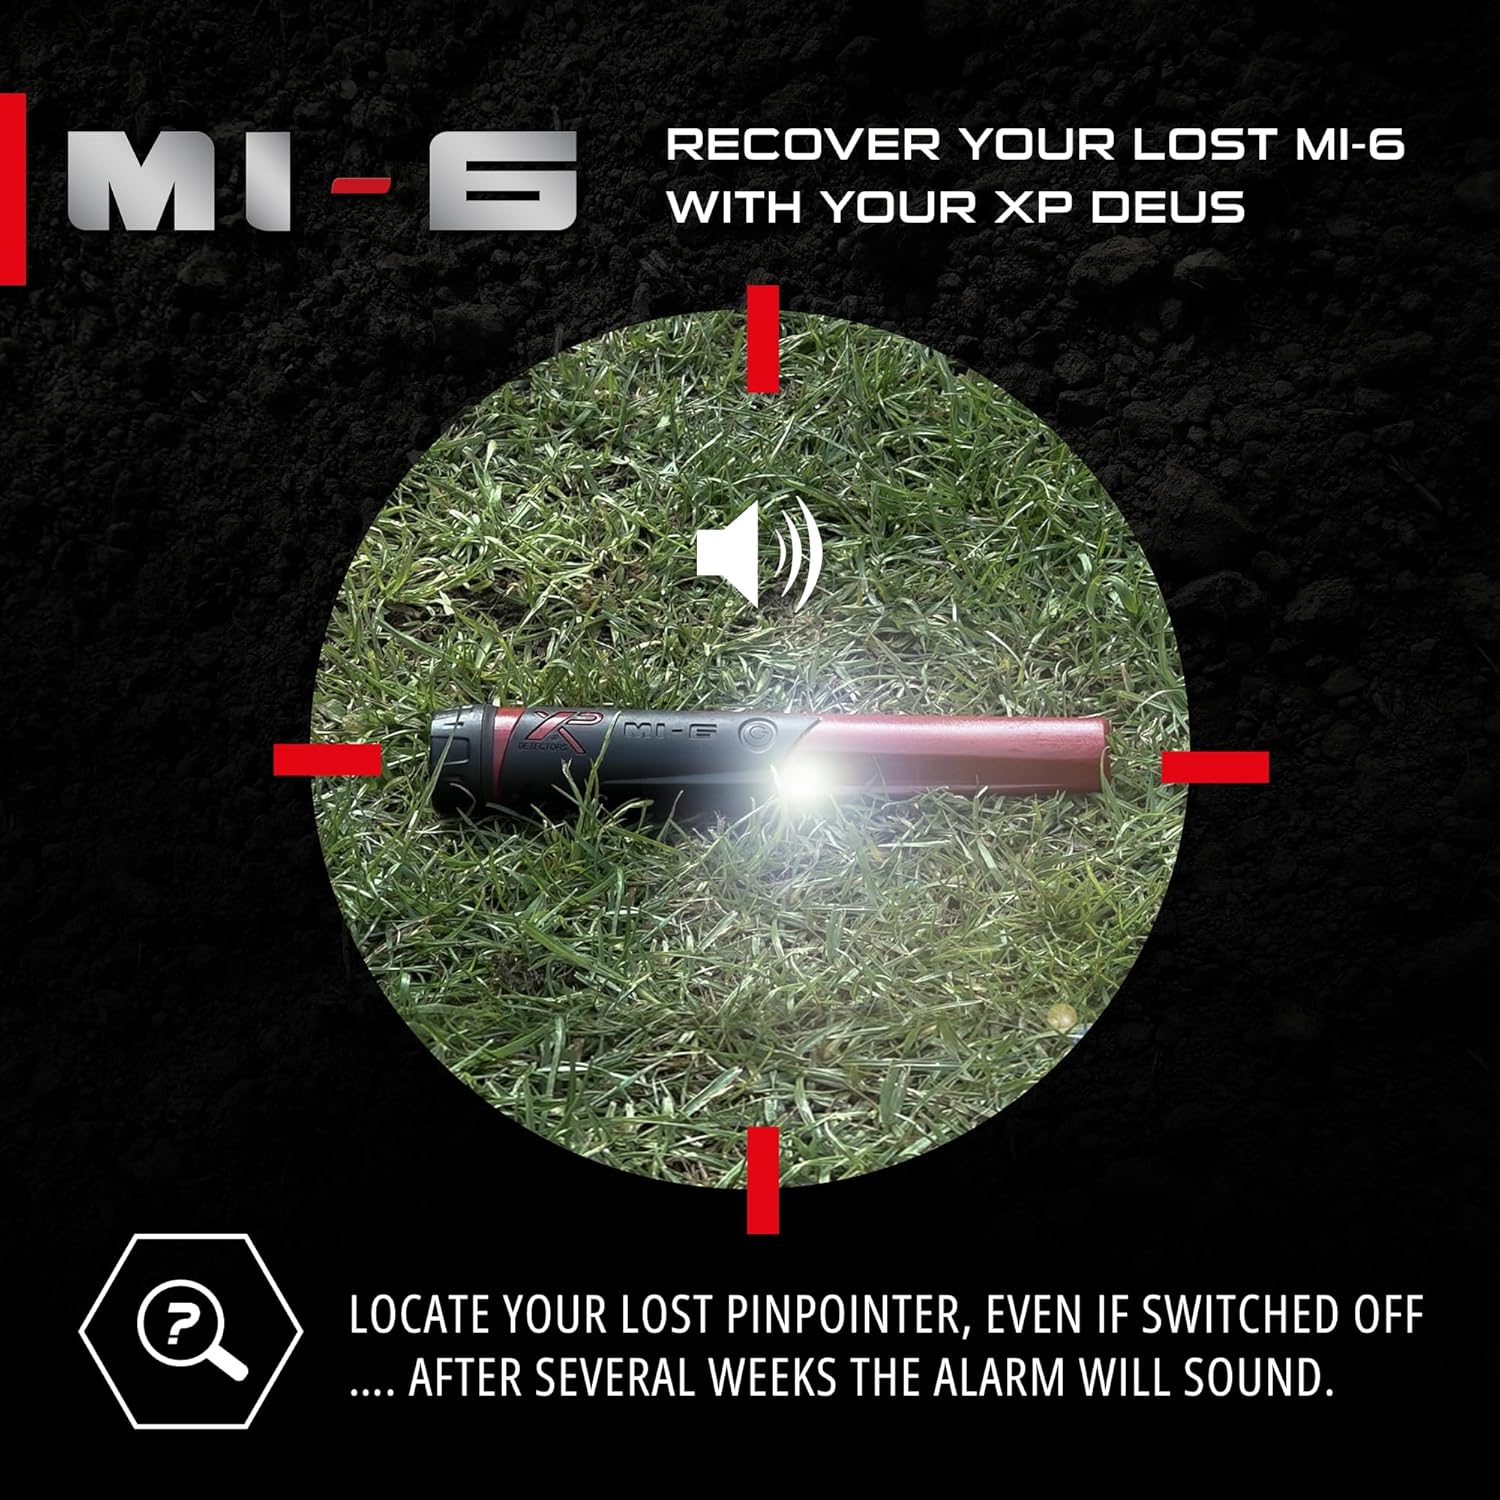
This image visually explains how to recover a lost MI-6 Pinpointer using an XP DEUS detector, showing the pinpointer flashing and sounding an alarm.
Specifications
| Feature | Detail |
|---|---|
| Brand | XP METAL DETECTORS |
| Model Number | MI-6-AM |
| Item Weight | 8 ounces |
| Product Dimensions | 10"L x 2"W x 10"H |
| Power Source | Battery Powered (Rechargeable) |
| Battery Life | 90 Hours |
| Operating Frequency | 12 KHz |
| International Protection Rating | IP54 (Waterproof up to 6 meters / 20 feet) |
| Number of Programs | 4 |
| Material | Metal |
| Color | Red, Black |
Warranty and Support
The XP MI-6 Pinpointer is backed by a manufacturer's warranty. For specific warranty details, claims, or technical support, please refer to the official XP Metal Detectors website or contact their customer service.
Protection plans are available for extended coverage:
- 2-Year Protection Plan
- 3-Year Protection Plan
- Complete Protect (monthly plan)
For more information, visit the XP METAL DETECTORS Store.


