1. Introduction
Thank you for choosing the Maxima Blast Chiller 10 GN. This professional blast chiller is designed for rapid cooling and freezing of food products, ensuring food safety and preserving quality. This manual provides essential information for the safe and efficient operation, installation, maintenance, and troubleshooting of your appliance. Please read this manual thoroughly before installation and use, and keep it for future reference.
2. Safety Instructions
To prevent injury to users or damage to the appliance, please observe the following safety precautions:
- Always disconnect the appliance from the power supply before cleaning or maintenance.
- Ensure the power supply matches the specifications on the rating label.
- Do not operate the appliance with a damaged power cord or plug. Contact qualified service personnel for repairs.
- This appliance is intended for commercial use only. Do not use it for purposes other than its intended use.
- Do not block ventilation openings. Ensure adequate airflow around the unit.
- Do not store explosive substances such as aerosol cans with a flammable propellant in this appliance.
- Keep children away from the appliance.
- The appliance contains R404a refrigerant. Disposal must be handled by qualified personnel in accordance with local regulations.
3. Product Overview
The Maxima Blast Chiller 10 GN is a robust and efficient unit designed for professional kitchens. It features a durable stainless steel construction and advanced temperature control.

Figure 3.1: Front view of the Maxima Blast Chiller 10 GN. This image displays the unit's sleek stainless steel exterior, the digital control panel located at the bottom front, and the ventilation grille. The unit is on wheels for easy mobility.

Figure 3.2: Interior view of the Maxima Blast Chiller 10 GN with the door open. This image highlights the stainless steel interior, the removable rack system designed for 1/1 GN pans, and the powerful internal fan for efficient air circulation. The rounded corners facilitate easy cleaning.
Key Components:
- Control Panel: Digital display for temperature settings and operational status.
- Door: Self-closing with antibacterial rubber gasket for hygiene and energy efficiency.
- Interior Racks: Designed to accommodate 10 x 1/1 GN pans or 40 x 60 trays.
- Temperature Probe: For accurate internal product temperature monitoring.
- Wheels: For easy positioning and mobility.
- Ventilation Grille: Located at the bottom front for air intake.
4. Setup and Installation
Proper installation is crucial for the performance and longevity of your blast chiller.
4.1 Unpacking
- Carefully remove the appliance from its packaging.
- Inspect the unit for any shipping damage. Report any damage immediately to the carrier and supplier.
- Remove all protective films and packing materials from the interior and exterior.
4.2 Placement
- Place the blast chiller on a stable, level surface. Use the adjustable feet/brakes on the wheels to secure it.
- Ensure adequate ventilation around the unit. Maintain a minimum clearance of 10 cm (4 inches) from walls and other equipment on all sides, especially the rear where the condenser is located.
- Avoid direct sunlight or proximity to heat sources (e.g., ovens, stoves) as this can affect performance and increase energy consumption.
- The maximum ambient operating temperature is 32°C.
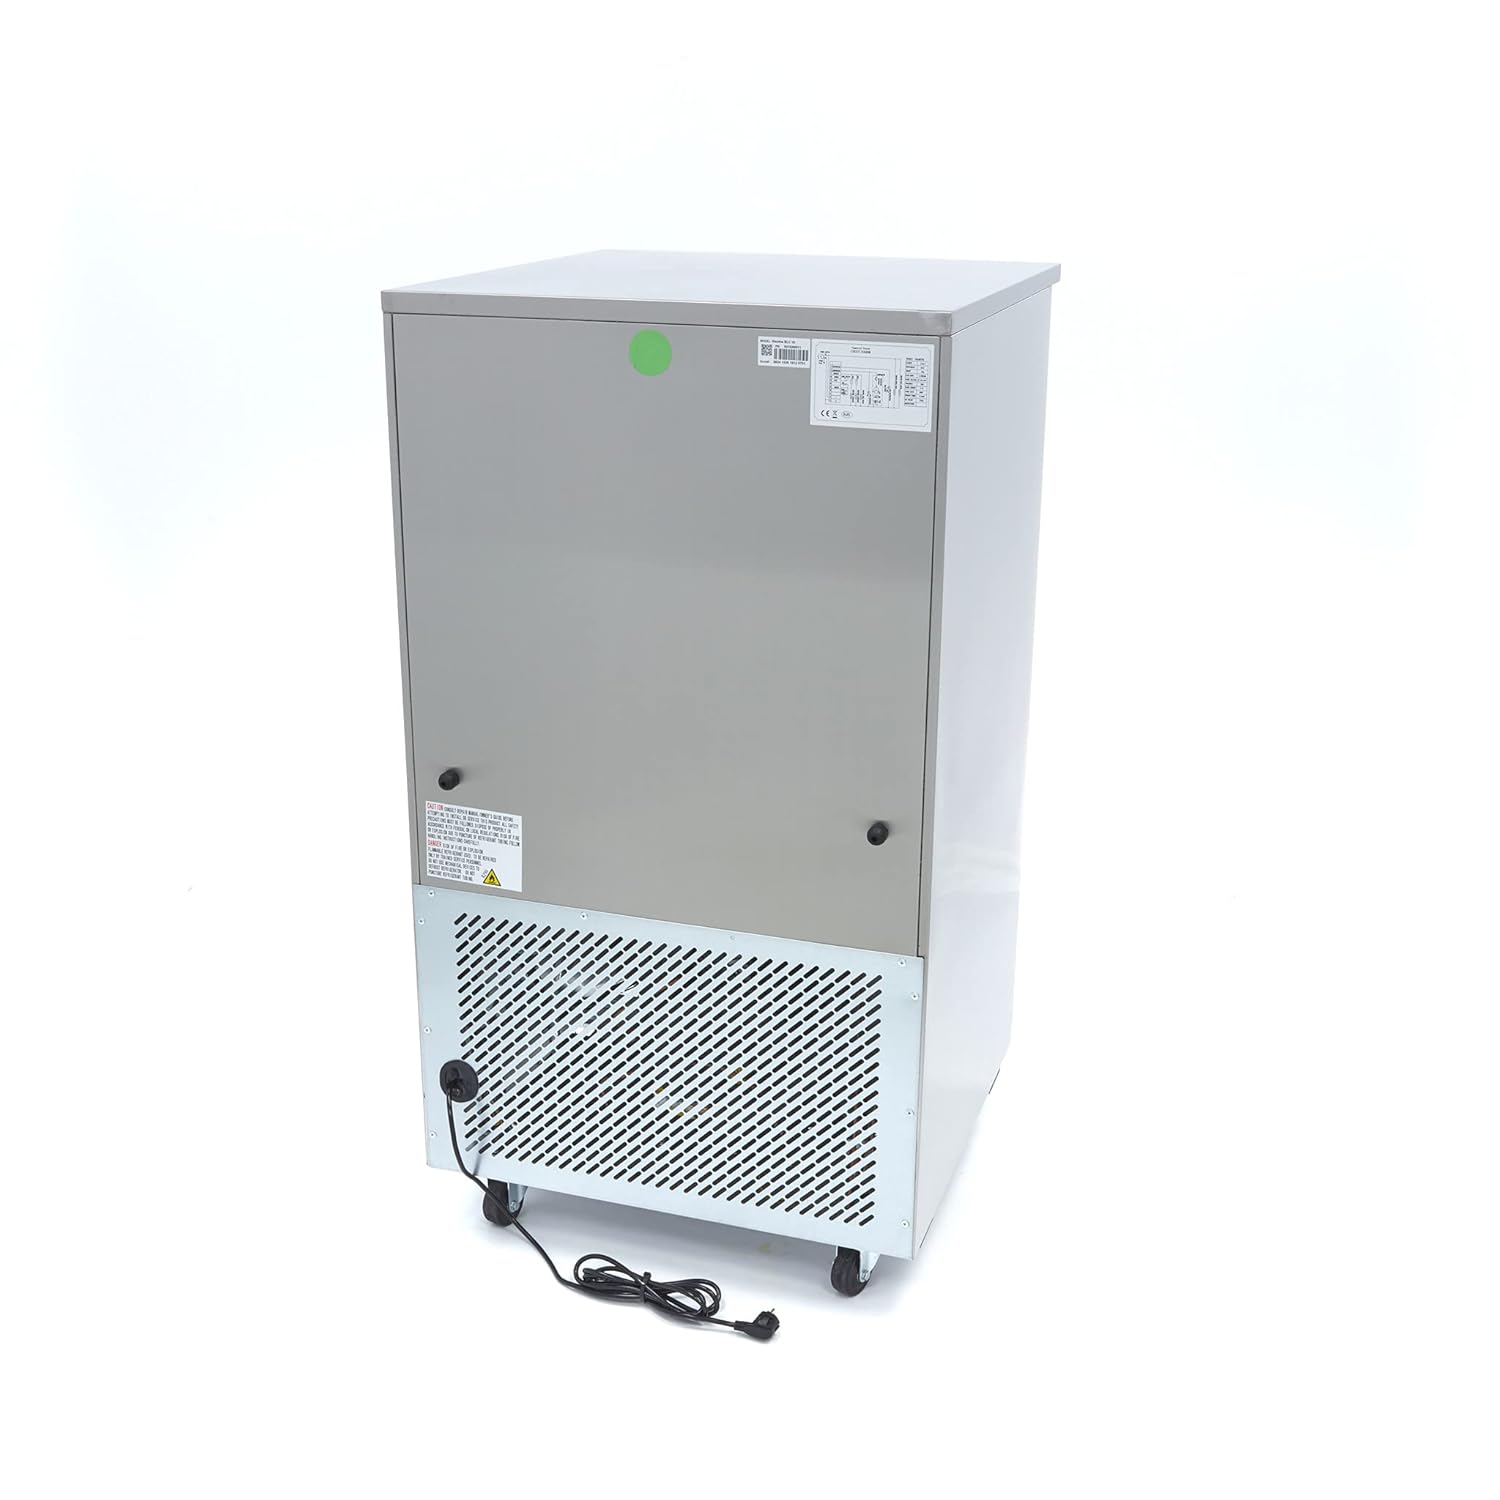
Figure 4.1: Rear view of the Maxima Blast Chiller 10 GN. This image shows the back of the unit, including the power cord connection point and the condenser coil area, emphasizing the need for proper ventilation.
4.3 Electrical Connection
- Connect the appliance to a grounded electrical outlet.
- Verify that the voltage and frequency of the power supply match the specifications on the appliance's rating label (230 V / 50 Hz / 1 phase).
- Do not use extension cords or multiple adapters.
5. Operating Instructions
Follow these steps for effective operation of your blast chiller.
5.1 Initial Startup
- After placement and electrical connection, wait at least 2 hours before turning on the unit to allow the refrigerant to settle.
- Plug in the appliance. The digital control panel will illuminate.
- Press the power button to turn on the unit.
5.2 Loading the Chiller
- Ensure food items are placed in appropriate 1/1 GN pans or 40x60 trays.
- Do not overload the unit. Distribute food evenly on the racks to allow for proper air circulation.
- The maximum chilling capacity is 40 kg from +70°C to +3°C in 90 minutes.
- The maximum freezing capacity is 28 kg from +70°C to -18°C in 240 minutes.
- Insert the temperature probe into the thickest part of the food item to be chilled/frozen.
- Close the door firmly.
5.3 Setting Operating Mode
Refer to the control panel's specific instructions for setting chilling or freezing cycles. Typically, you will select the desired mode (chilling or freezing) and the target temperature. The intelligent digital control will manage the process automatically.
5.4 After Operation
- Once the cycle is complete and the target temperature is reached, remove the food items promptly.
- Clean the interior of the chiller after each use to maintain hygiene.
6. Maintenance and Cleaning
Regular maintenance ensures optimal performance and extends the lifespan of your blast chiller.
6.1 Daily Cleaning
- Disconnect the appliance from the power supply.
- Clean the interior with a soft cloth and mild, food-safe detergent. The rounded corners facilitate easy cleaning.
- Wipe down the exterior stainless steel surfaces with a damp cloth.
- Ensure the door gasket is clean and free of food debris to maintain a tight seal.
- Dry all surfaces thoroughly before reconnecting power.
6.2 Regular Maintenance (Monthly/Quarterly)
- Condenser Cleaning: The condenser coils (located at the rear/bottom) should be cleaned regularly to ensure efficient operation. Use a brush or vacuum cleaner to remove dust and debris. Always disconnect power before cleaning the condenser.
- Drainage System: Check the automatic drainage system for any blockages.
- Door Gasket Inspection: Inspect the antibacterial rubber door gasket for cracks or damage. Replace if necessary to prevent air leaks.
- Wheels: Ensure wheels are clean and move freely. Apply lubricant if necessary.
7. Troubleshooting
Before contacting service, check the following common issues:
| Problem | Possible Cause | Solution |
|---|---|---|
| Appliance does not turn on. | No power supply; power cord not plugged in; circuit breaker tripped. | Check power connection; check circuit breaker; try a different outlet. |
| Unit not cooling/freezing properly. | Door not closed properly; condenser dirty; insufficient ventilation; overloaded. | Ensure door is sealed; clean condenser; ensure proper clearance; reduce load. |
| Unusual noise. | Unit not level; fan obstruction; loose components. | Adjust leveling feet; check for obstructions; contact service if noise persists. |
| Water leakage. | Drainage system blocked; excessive humidity. | Clear drainage system; ensure proper ventilation in the room. |
If the problem persists after attempting these solutions, please contact Maxima customer support or a qualified service technician.
8. Specifications
| Feature | Detail |
|---|---|
| Model | 09400930 |
| Brand | Maxima |
| Capacity | 10 x 1/1 GN or 40 x 60 trays |
| Chilling Performance (+70°C to +3°C) | 40 kg in 90 minutes |
| Freezing Performance (+70°C to -18°C) | 28 kg in 240 minutes |
| Refrigerant | R404a (CFC-free) |
| Insulation Thickness | 65 mm |
| Power Supply | 230 V / 50 Hz / 1 Phase |
| Wattage | 980 W |
| Product Dimensions (W x D x H) | 85 x 175 x 85 cm |
| Net Weight | 170 kg |
| Inner Dimensions (W x D x H) | 670 x 400 x 790 mm |
| Max Ambient Temperature | 32°C |
| Certifications | CE |
9. Warranty and Support
For warranty information and technical support, please refer to the warranty card included with your purchase or visit the official Maxima Kitchen Equipment website. Ensure you have your model number (09400930) and purchase date available when contacting support.
Manufacturer: Maxima Kitchen Equipment
Website: www.maxima.com


