1. Product Overview
The LEXIN LX-R6 is a high-performance Bluetooth intercom system designed for motorcycle riders. It facilitates communication between riders, allows for hands-free phone calls, and provides stereo music streaming and GPS voice instructions. The unit is built for durability and clear audio in various riding conditions.
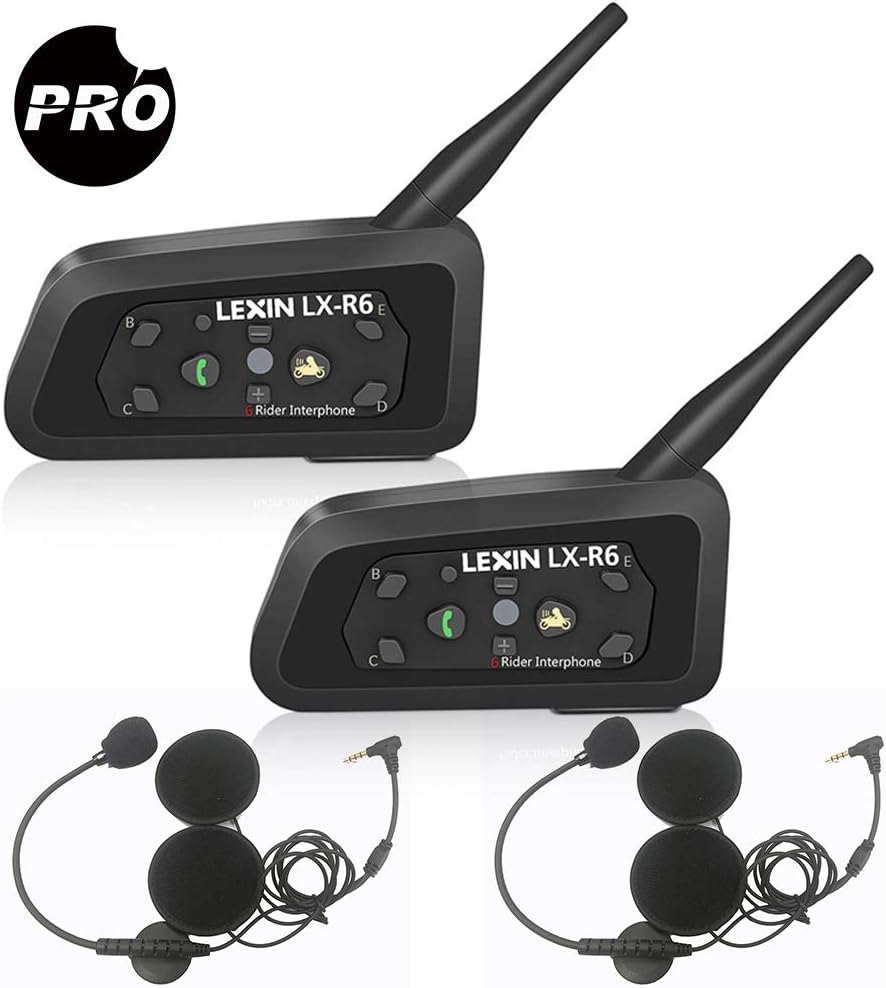
Image: Two LEXIN LX-R6 intercom units, each with a speaker and microphone set, illustrating the complete product package.
Key Features:
- Full-duplex intercom communication for up to 6 riders (2 simultaneous).
- Intercom range of up to 1000 meters (0.62 miles).
- Bluetooth V2.1 for mobile phone connectivity (HFP, A2DP).
- Hands-free calling and GPS voice navigation.
- Stereo music streaming.
- DSP Noise Reduction for clear audio.
- Waterproof design (IPX5 rated).
- Long-lasting battery: 8-12 hours talk time, 150 hours standby.
- 3.5mm line-in for non-Bluetooth audio devices.

Image: Visual representation of the LX-R6's core functionalities, including its waterproof rating, group chat capability, GPS compatibility, intercom range, hands-free calling, music playback, and noise reduction technology.
2. Setup and Installation
2.1 Package Contents:
Before beginning installation, ensure all components are present:
- LX-R6 Main Unit (x2)
- Speaker and Microphone Set (x2)
- 3.5mm Audio Cable (x2)
- USB Charger (x2)
- Clamp (x2)
- Mounting Bracket (x2)
- Screws (x2)
- Screw Driver (x1)
- User Manual (x1)

Image: A comprehensive view of all items included in the LEXIN LX-R6 product box, detailing each accessory and component.
2.2 Mounting the Intercom Unit:
- Choose a suitable location on the left side of your helmet, typically near the chin bar or base.
- Attach the mounting bracket to the helmet using either the clamp method (for helmets with a suitable edge) or the adhesive method (for smooth surfaces). Ensure a secure fit.
- Slide the LX-R6 main unit onto the mounted bracket until it clicks into place.

Image: The LX-R6 intercom unit securely attached to the side of a motorcycle helmet, demonstrating a typical installation.
2.3 Installing Speakers and Microphone:
- Carefully remove the helmet's inner padding to expose the ear pockets.
- Place the ultra-thin speakers into the ear pockets, ensuring they are centered over your ears for optimal audio quality.
- Route the speaker wires discreetly under the helmet padding to the main unit.
- Attach the boom microphone to the inside of the chin bar, positioning it close to your mouth but away from direct airflow to minimize wind noise.
- Connect the speaker and microphone cable to the corresponding port on the LX-R6 main unit.
- Reinstall the helmet's inner padding, ensuring no wires are pinched or exposed.
2.4 Charging the Unit:
Before first use, fully charge the LX-R6 unit. Connect the provided USB charging cable to the unit's charging port and plug the other end into a USB power source (e.g., computer, wall adapter). The indicator light will show charging status and turn off when fully charged. A full charge provides 8-12 hours of talk time or 150 hours of standby time.
3. Operating Instructions
3.1 Button Functions:

Image: A detailed layout of the LX-R6's control buttons, indicating the function of each button for easy operation.
- Power/Rider A Button: Press and hold to power on/off. Short press to initiate/end intercom with Rider A.
- Phone/Play Button: Short press to answer/end calls. Long press to reject calls. Short press to play/pause music.
- Volume + Button: Short press to increase volume.
- Volume - Button: Short press to decrease volume.
- Rider B/C/D/E Buttons: Short press to initiate/end intercom with corresponding rider.
- Reset Button: Small pinhole button for factory reset.
- Indicator Light: Displays device status (power, pairing, charging).
3.2 Power On/Off:
- Power On: Press and hold the Power/Rider A button for approximately 3 seconds until the indicator light flashes.
- Power Off: Press and hold the Power/Rider A button for approximately 3 seconds until the indicator light turns off.
3.3 Bluetooth Pairing (Mobile Phone/GPS):
- Ensure the LX-R6 is powered off.
- Press and hold the Phone/Play button for approximately 5-7 seconds until the indicator light flashes red and blue alternately, indicating pairing mode.
- On your mobile phone or GPS device, enable Bluetooth and search for new devices. Select
Related Documents - LEXINR6

LEXIN LX-FT4 Motorcycle Bluetooth Intercom System User Manual
Comprehensive user manual for the LEXIN LX-FT4 4-way motorcycle Bluetooth intercom system, covering installation, operation, pairing, and features for motorcycle riders.
LEXIN LX-B4FM Motorcycle Bluetooth Intercom User Manual
The LEXIN LX-B4FM is a Bluetooth 5.0 motorcycle intercom system designed for clear communication and entertainment. It features DSP/CVC noise reduction, hands-free calling, music playback, FM radio, GPS navigation, voice assistant support, and allows group intercom connections for up to 10 riders over a 2-kilometer range. This user manual provides comprehensive instructions for installation, operation, and troubleshooting.
LEXIN LX-FT4 Motorcycle 4-Way Conference Intercom User Guide
Comprehensive user guide for the LEXIN LX-FT4 Motorcycle 4-Way Bluetooth Conference Intercom, covering installation, operation, pairing, features, maintenance, and safety information. Learn how to connect up to four riders for intercom communication and phone calls.
LEXIN LX-FT4 Motorcycle Bluetooth Intercom User Guide
Comprehensive user guide for the LEXIN LX-FT4 Motorcycle 4-Way Conference Intercom, covering installation, operation, pairing, intercom features, FM radio, maintenance, and safety information.
LEXIN LX-B4FM Motorcycle 4-Way Conference Intercom User Guide
Comprehensive user guide for the LEXIN LX-B4FM Bluetooth intercom system, covering installation, operation, pairing, and maintenance for motorcycle riders. Learn how to connect multiple units for group communication.
LEXIN G2P Motorcycle Bluetooth Intercom User Manual
A comprehensive user manual for the LEXIN G2P Motorcycle Bluetooth Intercom, detailing its features, installation, operation, pairing procedures, and important safety and warranty information.