
Introduction
This manual provides comprehensive instructions for the safe and efficient installation, operation, and maintenance of your Energizer LED Floodlight with PIR Sensor. Please read this manual thoroughly before installation and retain it for future reference.
Safety Information
Always follow basic safety precautions when installing or using this product to reduce the risk of fire, electric shock, or personal injury.
- Ensure the power supply is disconnected before installation or maintenance.
- Installation should be performed by a qualified electrician if you are unsure.
- Do not attempt to modify or repair the unit yourself.
- Keep away from flammable materials.
- This product is designed for outdoor use (IP44 rated).
Product Overview
The Energizer LED Floodlight with PIR Sensor (Model S10934) is a high-performance outdoor lighting solution designed for security and convenience. It features a robust cast aluminum body and a polycarbonate prismatic diffuser.
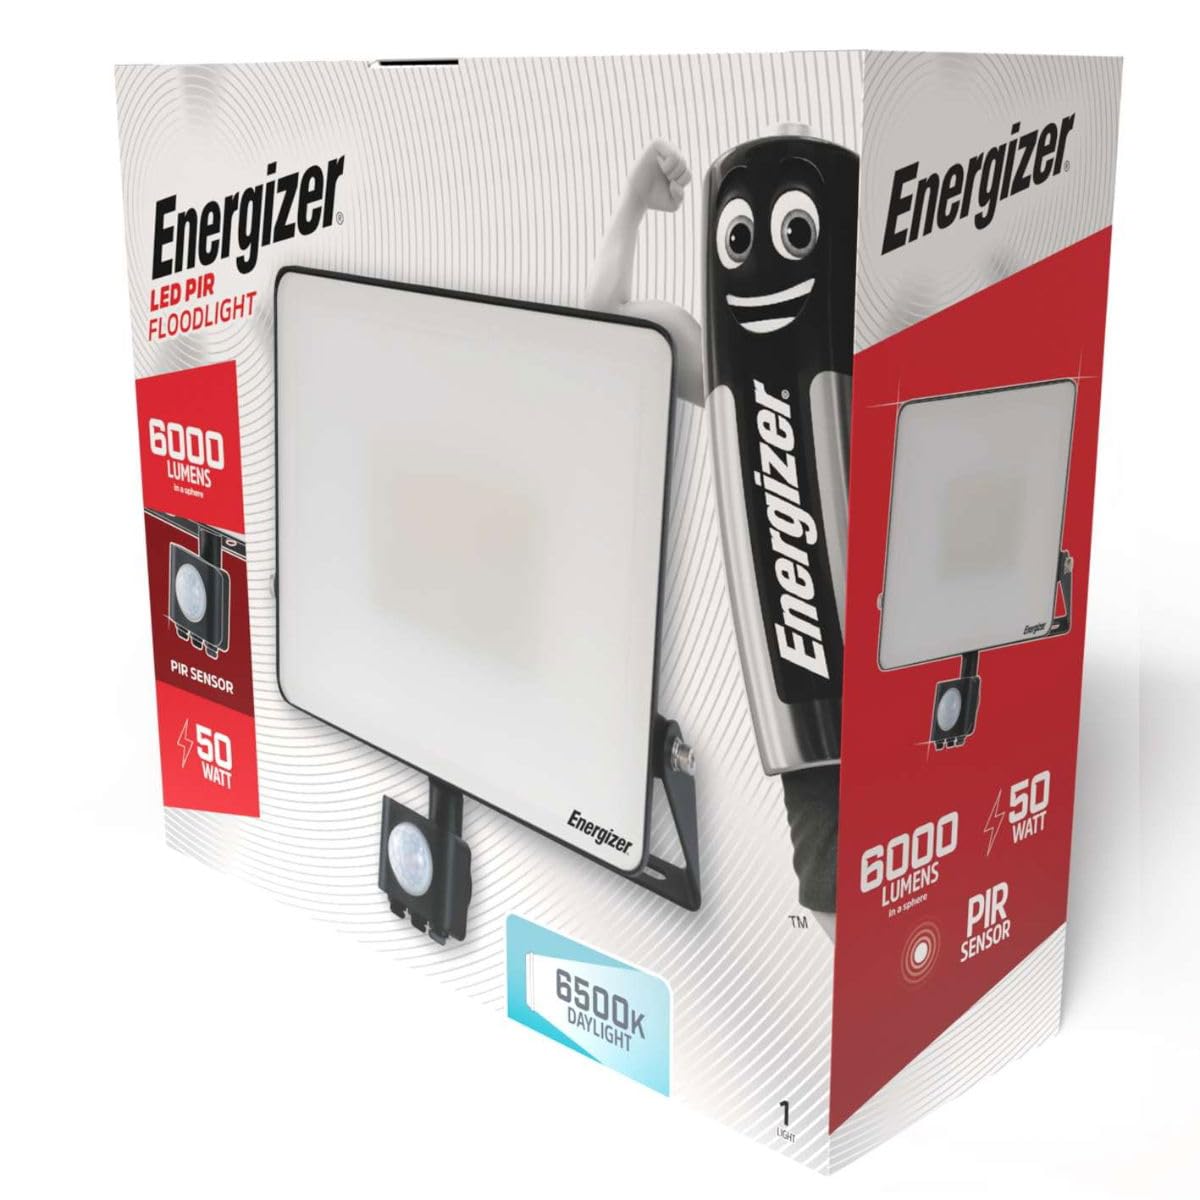
Image: Energizer LED Floodlight with PIR Sensor, showing its compact design and mounting bracket.
Key Features:
- Brightness: 4500 lumens (90 lumens per watt).
- Color Temperature: 6500 Kelvin (Daylight).
- Instant Start Technology: Provides immediate full brightness.
- Long-Life LED: Designed for approximately 25 years of use (based on 25,000 hours, 2.7 hours/day).
- Outdoor Rated: IP44 rating for protection against solid objects and splashing water.
- PIR Sensor: Motion detection range up to 8 meters with a 120-degree angle.
- Durable Construction: Cast aluminum body with a polycarbonate prismatic diffuser.
Setup and Installation
The Energizer LED Floodlight is designed for quick and straightforward installation. Assembly is required.
Tools Required:
- Drill
- Screwdriver
- Pencil
- Wire strippers
- Safety goggles and gloves
Installation Steps:
- Disconnect Power: Before starting, ensure the main power supply to the installation area is switched off at the circuit breaker.
- Mounting Bracket: The floodlight includes a 20-degree angled mounting bracket. Position the bracket on the desired wall surface and mark the drilling points.
- Drill Holes: Drill holes at the marked positions and insert appropriate wall plugs (if necessary).
- Secure Bracket: Fix the mounting bracket securely to the wall using screws.
- Wiring: Connect the 50cm lead cable from the floodlight to your main electrical supply. Ensure all connections are secure and properly insulated. This is a wired electric product.
- Attach Floodlight: Attach the floodlight unit to the secured mounting bracket. Use the included adjustment tool to set the desired angle of the floodlight.
- PIR Sensor Adjustment: Adjust the PIR sensor's angle and sensitivity settings as needed. Refer to the 'Operating Instructions' section for details.
- Restore Power: Once installation is complete and all connections are checked, restore power to the circuit.
Operating Instructions
The Energizer LED Floodlight operates primarily through its integrated PIR (Passive Infrared) motion sensor.
PIR Sensor Operation:
- The PIR sensor detects movement within its 120-degree detection zone and up to 8 meters range.
- When motion is detected, the floodlight will illuminate for a preset duration.
- The sensor typically includes adjustable settings for:
- Time: How long the light stays on after motion detection.
- Lux/Daylight Sensor: Determines the ambient light level at which the sensor becomes active (e.g., only activates at night).
- Sensitivity: Adjusts the detection range of the PIR sensor.
- Refer to the physical adjustment dials on the sensor unit for specific settings.
Maintenance
Regular maintenance ensures optimal performance and longevity of your floodlight.
- Cleaning: Periodically clean the floodlight's surface and the PIR sensor lens with a soft, damp cloth. Do not use abrasive cleaners or solvents.
- Inspection: Regularly check for any signs of damage to the casing, cable, or mounting bracket. Ensure all connections remain secure.
- Power Disconnection: Always disconnect power before performing any cleaning or inspection.
Troubleshooting
If you encounter issues with your Energizer LED Floodlight, refer to the following common problems and solutions:
| Problem | Possible Cause | Solution |
|---|---|---|
| Light does not turn on. | No power supply; faulty wiring; sensor settings incorrect. | Check power connection and circuit breaker. Verify wiring. Adjust LUX/Daylight sensor setting to ensure it's active in current light conditions. |
| Light stays on continuously. | PIR sensor sensitivity too high; constant motion in detection zone; sensor faulty. | Reduce PIR sensor sensitivity. Ensure no constant heat sources or movement are within the detection zone. |
| Light flashes or flickers. | Unstable power supply; loose wiring connection; product fault. | Check power supply stability. Inspect and secure all wiring connections. If problem persists, contact support. |
| PIR sensor not detecting motion. | Sensor blocked; sensitivity too low; incorrect angle. | Ensure sensor lens is clean and unobstructed. Increase sensor sensitivity. Adjust sensor angle for optimal coverage. |
Specifications
| Brand | Energizer |
| Model Number | S10934 |
| Product Dimensions | 100 x 100 x 100 cm |
| Item Weight | 100 grams |
| Power Source | Wired Electric |
| Wattage | 50W |
| Luminous Flux | 4500 Lumens |
| Color Temperature | 6500 Kelvin (Daylight) |
| Material | Plastic (Housing: Cast Aluminum) |
| Finish Type | Polished |
| Indoor/Outdoor Use | Outdoor |
| IP Rating | IP44 |
| PIR Sensor Range | Up to 8 meters |
| PIR Sensor Angle | 120 degrees |
| Assembly Required | Yes |
| Batteries Required | No |
Warranty and Support
For warranty information or technical support, please refer to the product packaging or contact Energizer customer service directly. Keep your proof of purchase for any warranty claims.


