
Tormek T2
Tormek T-2 Pro Kitchen Knife Sharpener User Manual
Model: T2 | Brand: Tormek
1. Introduction
The Tormek T-2 Pro Kitchen Knife Sharpener is engineered to provide professional-level sharpness for kitchen knives quickly and efficiently. Developed with input from professional chefs, this machine is designed for user-friendliness and consistent results, making it ideal for demanding kitchen environments. It ensures sharp knives with minimal effort and time.

Figure 1: The Tormek T-2 Pro Kitchen Knife Sharpener, showcasing its compact design and primary components.
2. Important Safety Instructions
To ensure safe operation and prevent injury or damage, please read and follow all safety instructions carefully before using the Tormek T-2 Pro Kitchen Knife Sharpener.
- Always unplug the sharpener from the power outlet before cleaning, maintenance, or when not in use.
- Keep hands and fingers clear of the sharpening wheel and honing wheel during operation.
- Wear appropriate eye protection to guard against potential debris.
- Ensure the sharpener is placed on a stable, level, and non-slip surface during use.
- Do not operate the machine if the power cord or plug is damaged.
- Keep children and pets away from the sharpener during operation.
- Only use the sharpener for its intended purpose of sharpening kitchen knives.
3. Product Components
The Tormek T-2 Pro Kitchen Knife Sharpener consists of several key components:
- Diamond Wheel Fine (DWF-200): The primary sharpening wheel with a 600 grit surface, optimized for efficient steel removal and creating a sharp edge.
- Composite Honing Wheel: Used for polishing the edge and removing the burr after sharpening, resulting in a razor-sharp finish.
- Adjustable Angle Knife Holder: A patented jig system that ensures a constant sharpening angle and full control of the knife during the process.
- Integrated Magnet: Collects metal shavings to keep the sharpening area clean.
- Motor/Base Unit: Houses the motor and provides a stable base for the sharpening process.

Figure 2: The Tormek T-2 sharpener from an angle, showing the power switch and overall machine structure.
4. Setup Guide
Follow these steps to set up your Tormek T-2 Pro Kitchen Knife Sharpener:
- Unpack the Unit: Carefully remove all components from the packaging. Retain the packaging for future storage or transport.
- Placement: Place the sharpener on a firm, stable, and level surface. Ensure there is adequate space around the machine for safe operation.
- Power Connection: Plug the power cord into a grounded electrical outlet. Ensure the voltage matches the specifications on the machine's label.
- Attach Knife Holder: Position the adjustable angle knife holder onto the machine as instructed in the quick start guide.
The Tormek T-2 is designed for quick and easy setup, allowing you to begin sharpening without extensive preparation.
5. Operating Instructions
Achieving a razor-sharp edge with your Tormek T-2 is a straightforward process:
- Set the Angle: Use the adjustable angle knife holder to set the desired sharpening angle. The holder ensures a constant angle throughout the sharpening process, providing full control over the knife.
- Sharpening with the Diamond Wheel: Turn on the machine. Guide the knife through the adjustable knife holder against the Diamond Wheel Fine (DWF-200). This wheel, with its 600 grit, efficiently removes steel to create the primary edge. Perform a few passes on each side, ensuring even pressure.
- Honing and Polishing: After sharpening, move the knife to the Composite Honing Wheel. This wheel, with its integrated polish, removes any burr formed during sharpening and polishes the edge to achieve the highest sharpness.
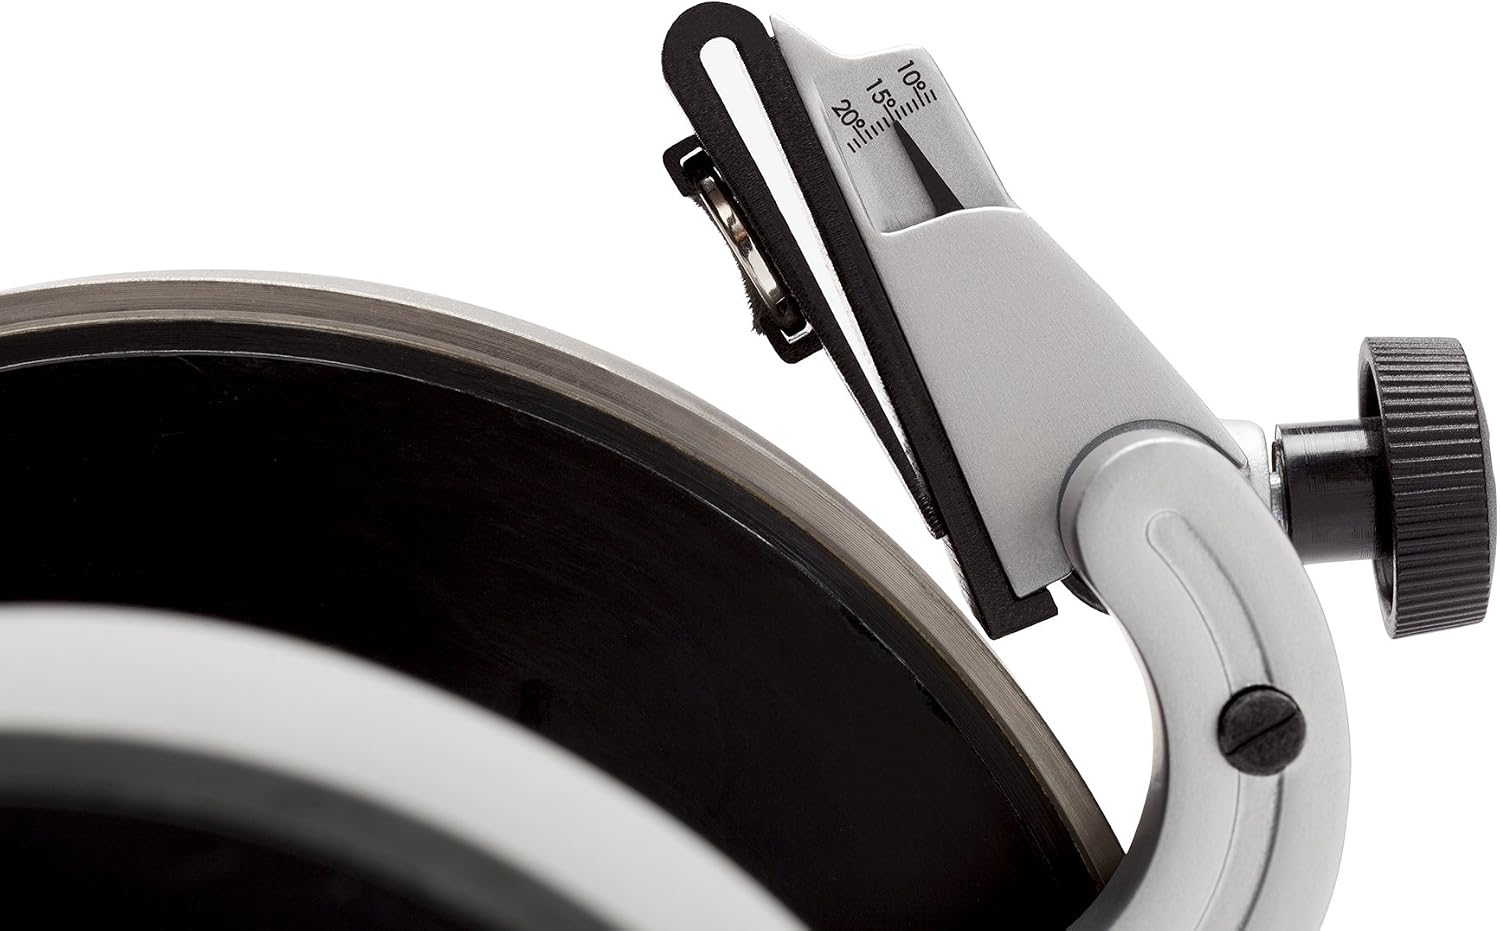
Figure 3: The adjustable knife holder with clear markings for setting precise sharpening angles.

Figure 4: A detailed view of the fine-grained diamond sharpening wheel, highlighting its abrasive surface.
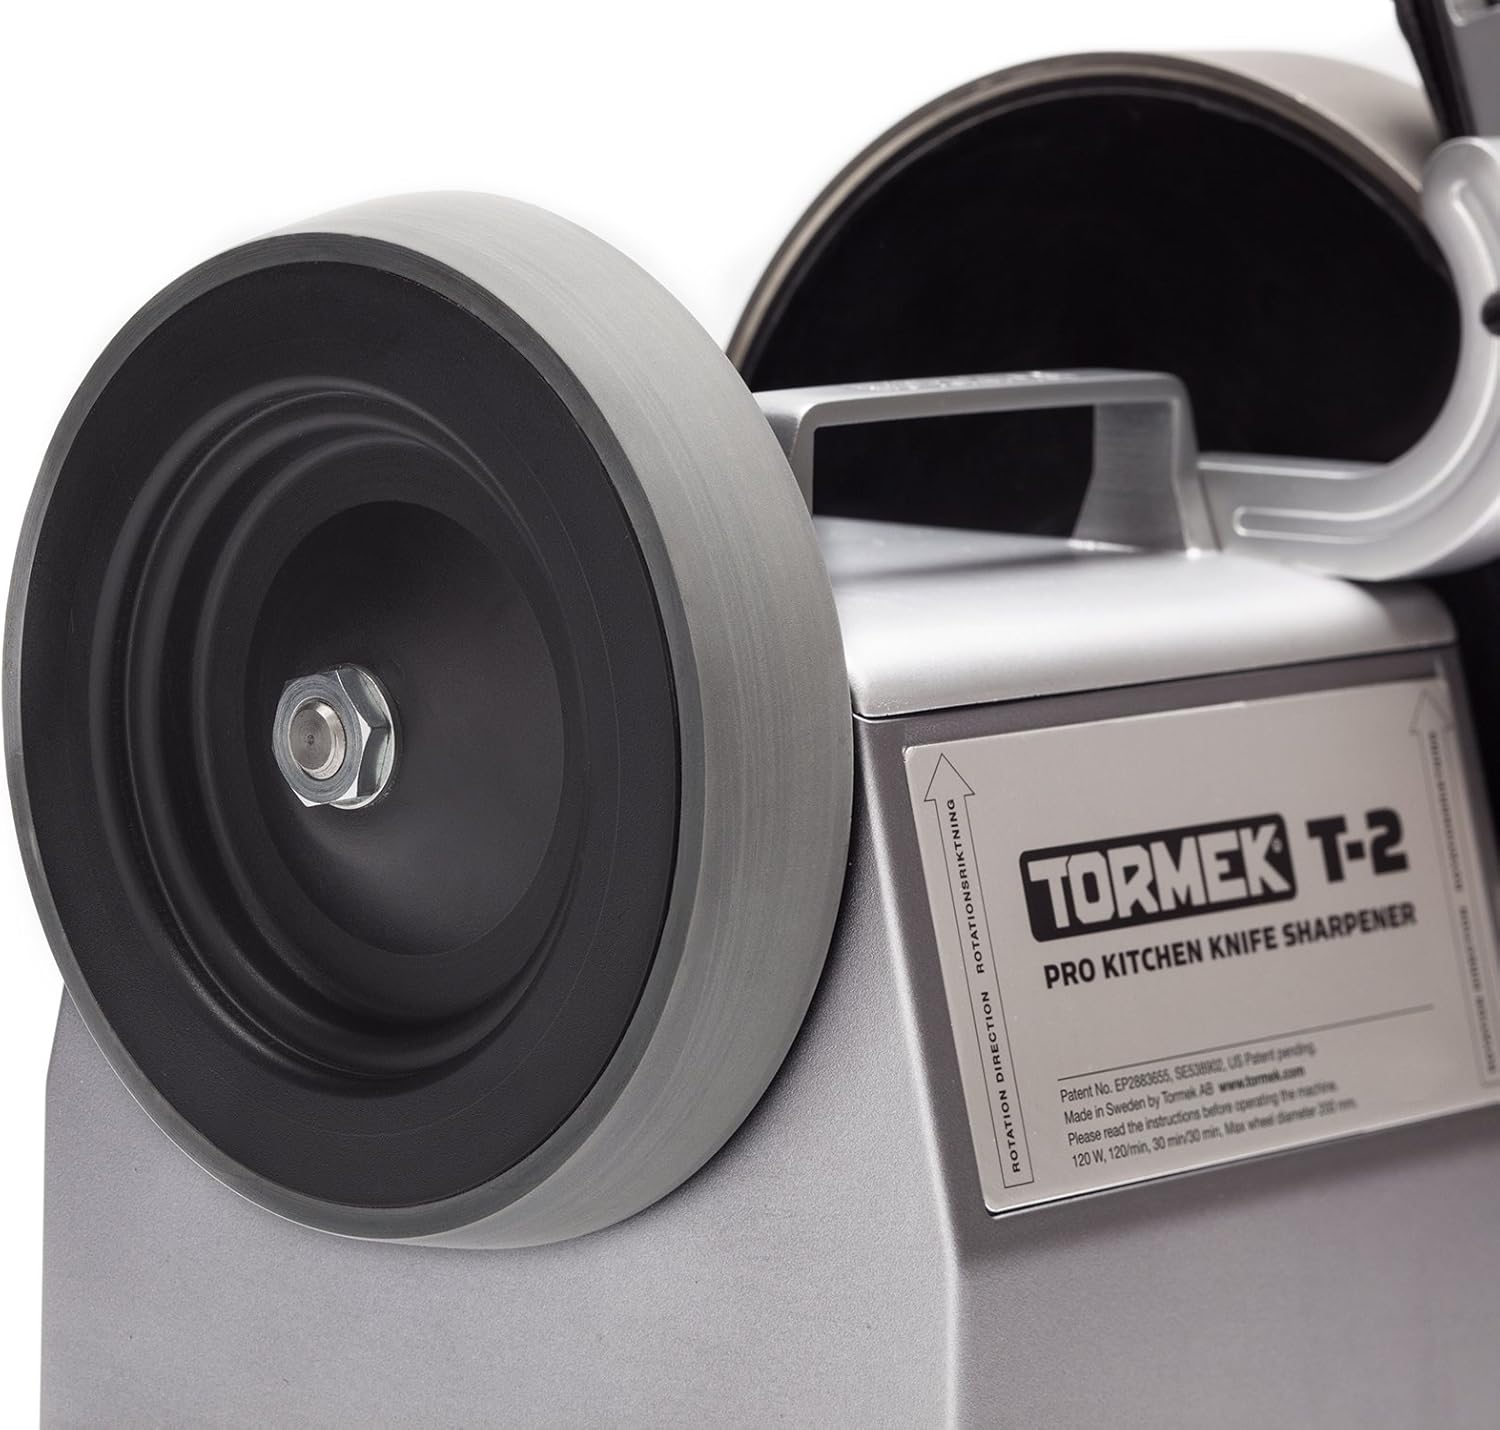
Figure 5: The composite honing wheel, used for polishing the edge and removing burrs after sharpening.
The Tormek T-2 is designed to sharpen knives that are 9/16"-2 3/8" (14-60 mm) wide with a maximum thickness of 1/8" (3.5 mm). Its operation is clean and quiet, making it suitable for various kitchen environments.
Official Product Video: Knife Sharpening with the Tormek T-2 Pro Kitchen
This video demonstrates the quick and easy setup and professional sharpening capabilities of the Tormek T-2 Pro Kitchen Knife Sharpener, showing how chefs can maintain razor-sharp knives efficiently.
Official Product Video: Razor Sharp Chef’s Knives Sharpened Quickly
This video highlights the efficiency and precision of the Tormek T-2 Pro Kitchen Knife Sharpener, demonstrating how it quickly sharpens chef's knives to a razor-sharp edge for improved performance in the kitchen.
6. Maintenance
Proper maintenance ensures the longevity and optimal performance of your Tormek T-2:
- Cleaning: After each use, wipe down the machine with a dry cloth. The integrated magnet collects metal shavings, which should be regularly removed.
- Wheel Care: The diamond wheel requires minimal maintenance. For the composite honing wheel, ensure it remains clean for effective polishing.
- Wheel Replacement: While designed for durability, the diamond and honing wheels may eventually require replacement. Coarse and Extra Fine grit diamond wheels are also available separately for different sharpening needs.
7. Troubleshooting
Here are solutions to common issues you might encounter:
| Problem | Possible Cause | Solution |
|---|---|---|
| Knife not getting sharp | Incorrect angle setting; insufficient passes; worn wheel. | Verify angle setting with the knife holder; increase number of passes; inspect diamond wheel for wear. |
| Uneven edge | Inconsistent pressure; improper knife guidance. | Ensure even pressure and smooth, consistent movement through the knife holder. |
| Machine not starting | No power; power switch off; internal fault. | Check power connection and outlet; ensure power switch is in the 'ON' position. If problem persists, contact support. |
8. Technical Specifications
- Material: Steel
- Color: Silver
- Product Dimensions (L x W x H): 12.6" x 10.24" x 9.45"
- Item Weight: 13.9 Pounds (6.3 kg)
- Grit Type (Included): Fine (600 grit)
- Number of Items: 1
- Manufacturer: TORMEK
- Model Number: T2
- Date First Available: March 31, 2017

Figure 6: Diagram showing the length, width, and height dimensions of the Tormek T-2 sharpener.
9. Warranty and Support
The Tormek T-2 Pro Kitchen Knife Sharpener comes with a 7-year warranty, demonstrating Tormek's confidence in the product's durability and performance.
For technical support, spare parts, or warranty claims, please visit the official Tormek website or contact your authorized Tormek dealer. You can also find more information and resources on the Tormek Store on Amazon.
Related documentsT2

Ask a question about this manual
Ask about setup, troubleshooting, compatibility, parts, safety, or missing instructions. Manuals+ will review the question and use this page’s manual context to help answer it.