1. Introduction
This manual provides comprehensive instructions for the setup, operation, and maintenance of your Anderic RR7096T Thermostatic Remote Control. This remote is designed as a direct replacement for original Hampton Bay and Harbor Breeze ceiling fan remotes, specifically those with FCC IDs such as CHQ7096T, UC7096T, CHQ8BF7096T, and CHQ8BT7096T.
The RR7096T offers control over fan speeds, light functions (including dimming), and thermostatic settings. It is important to note that this remote operates only the down-lights of a ceiling fan and does not include a 'Reverse' key for fan direction. For proper light dimming functionality, incandescent bulbs are required.
2. Safety Information
- Keep batteries out of reach of children.
- Do not mix old and new batteries, or different types of batteries.
- Dispose of used batteries according to local regulations.
- Avoid exposing the remote control to extreme temperatures, moisture, or direct sunlight.
3. Package Contents
Verify that your package contains the following items:
- Anderic RR7096T Thermostatic Remote Control
- Wall mount bracket
- Two screws for wall mount installation
4. Setup
4.1. Battery Installation
- Remove the battery compartment cover on the back of the remote control.
- Insert four (4) AAA batteries, ensuring correct polarity (+/-).
- Replace the battery compartment cover.
4.2. Dip-Switch Matching
The RR7096T remote control operates by matching its dip-switch settings to those of your ceiling fan's receiver. This is the primary method of pairing the remote with your fan.
- Locate the dip-switches inside the battery compartment of your new RR7096T remote.
- Identify the dip-switches on your existing ceiling fan receiver or original remote control. The receiver is typically located in the ceiling fan's canopy.
- Carefully match the position of the dip-switches (ON/OFF or UP/DOWN) on the new RR7096T remote to the exact pattern of your fan's receiver or original remote.
- Once the dip-switches are matched, the remote should operate your ceiling fan without further programming.

Figure 1: Back of the Anderic RR7096T remote control, illustrating the battery compartment and the internal dip-switches that must be matched to your ceiling fan receiver for proper operation.
4.3. Wall Mount Installation
The included wall mount bracket allows for convenient storage of your remote control.
- Choose a suitable location on a wall, away from direct heat or moisture.
- Use the two provided screws to securely attach the wall mount bracket to the wall.
- Slide the remote control into the bracket for storage.
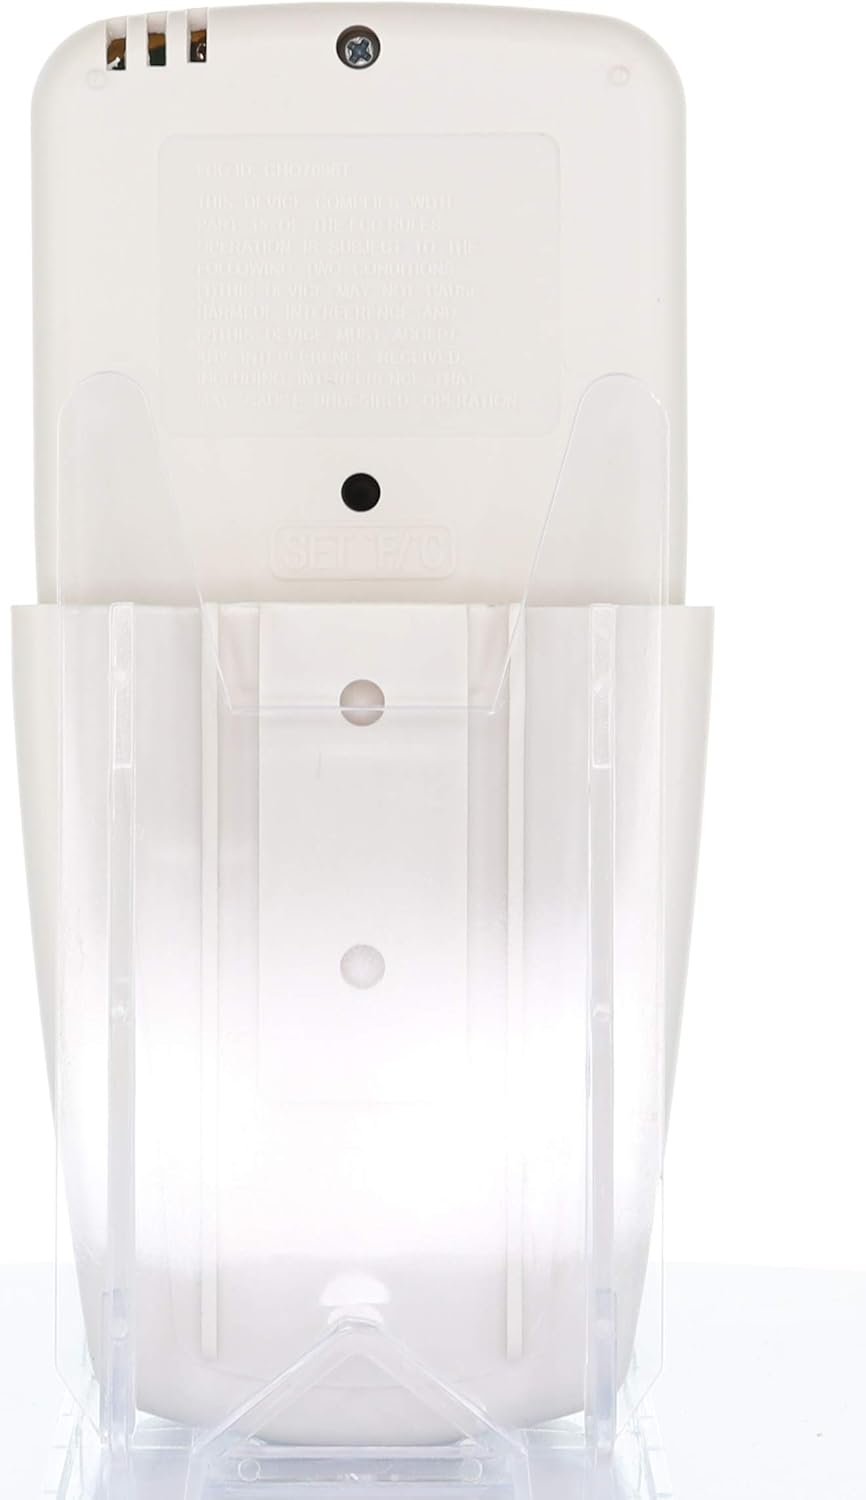
Figure 2: The Anderic RR7096T remote control securely placed in its transparent wall mount bracket, demonstrating how it can be stored when not in use.
5. Operating Instructions
The Anderic RR7096T remote control features a clear LCD display and dedicated buttons for various functions. Refer to the image below for button identification.

Figure 3: Front view of the Anderic RR7096T remote control, displaying its LCD screen and various control buttons for fan and light functions.
5.1. Fan Control
- Fan On/Off: Press the blue fan button to cycle through fan speeds (Low, Medium, High) and turn the fan off.
- FAN AUTO: Activates the thermostatic fan control. The fan will automatically adjust its speed based on the room temperature and your set temperature.
- FAN TIMER: Sets a timer for the fan to operate for a specified duration.
- TEMP./SET HOUR (Up/Down Arrows): Adjusts the desired temperature for FAN AUTO mode or sets the hour for timer functions.
5.2. Light Control
- Light On/Off/Dimming: Press the yellow light button to turn the down-lights on or off. Hold the button to dim or brighten the lights.
- LIGHT TIMER: Sets a timer for the light to turn off after a specified duration.
- LIGHT DELAY: Activates a delay for the light to turn off, allowing time to exit the room.
Important Note: This remote control is designed to operate only the down-lights of your ceiling fan. It will not control separate up-lights if your fan is equipped with them. For proper dimming functionality, ensure your fan uses incandescent bulbs.
6. Maintenance
6.1. Battery Replacement
When the remote's display becomes dim or its response time slows, it is time to replace the batteries. Follow the battery installation steps in Section 4.1.
6.2. Cleaning
Wipe the remote control with a soft, dry cloth. Do not use abrasive cleaners or immerse the remote in water.
7. Troubleshooting
- Remote not responding:
- Check battery levels and replace if necessary.
- Verify that the dip-switches in the remote match the settings of your ceiling fan receiver (refer to Section 4.2).
- Ensure there are no obstructions between the remote and the fan receiver.
- Lights not dimming properly:
- Confirm that your ceiling fan uses incandescent bulbs. LED or CFL bulbs may not dim correctly with this remote.
- Fan not operating at desired speed in AUTO mode:
- Check the set temperature on the remote's display and adjust using the TEMP./SET HOUR buttons.
8. Specifications
| Model Name | RR7096T |
| Brand | Anderic |
| Color | Ivory |
| Power Source | Battery Powered (4 AAA batteries required) |
| Product Dimensions | 1"D x 3"W x 6"H |
| Item Weight | 4.8 ounces |
| Control Method | Remote |
| Compatible FCC IDs | CHQ7096T, UC7096T, CHQ8BF7096T, CHQ8BT7096T |
| Included Components | Remote control, Wall mount bracket (with two screws) |
9. Warranty Information
The Anderic RR7096T Thermostatic Remote Control comes with a 1-Year Replacement Warranty. Please retain your proof of purchase for warranty claims. For details on how to claim your warranty, refer to the manufacturer's official website or contact their customer support.
10. Support
For further assistance, troubleshooting tips, or to inquire about compatible receivers (such as UC7067FCRX or UC70960TX if needed), please visit the official Anderic website or contact their customer support department. Contact information can typically be found on the product packaging or the manufacturer's website.


