
Introduction
This document provides comprehensive instructions for the FreedConn Clip Accessory, specifically designed for use with FreedConn T-COMVB and T-COMSC series motorcycle Bluetooth intercom systems. This accessory serves as a replacement or additional mounting clip, allowing users to easily transfer their intercom unit between multiple helmets without needing to remove the entire headset assembly. Please read these instructions carefully before installation and use.
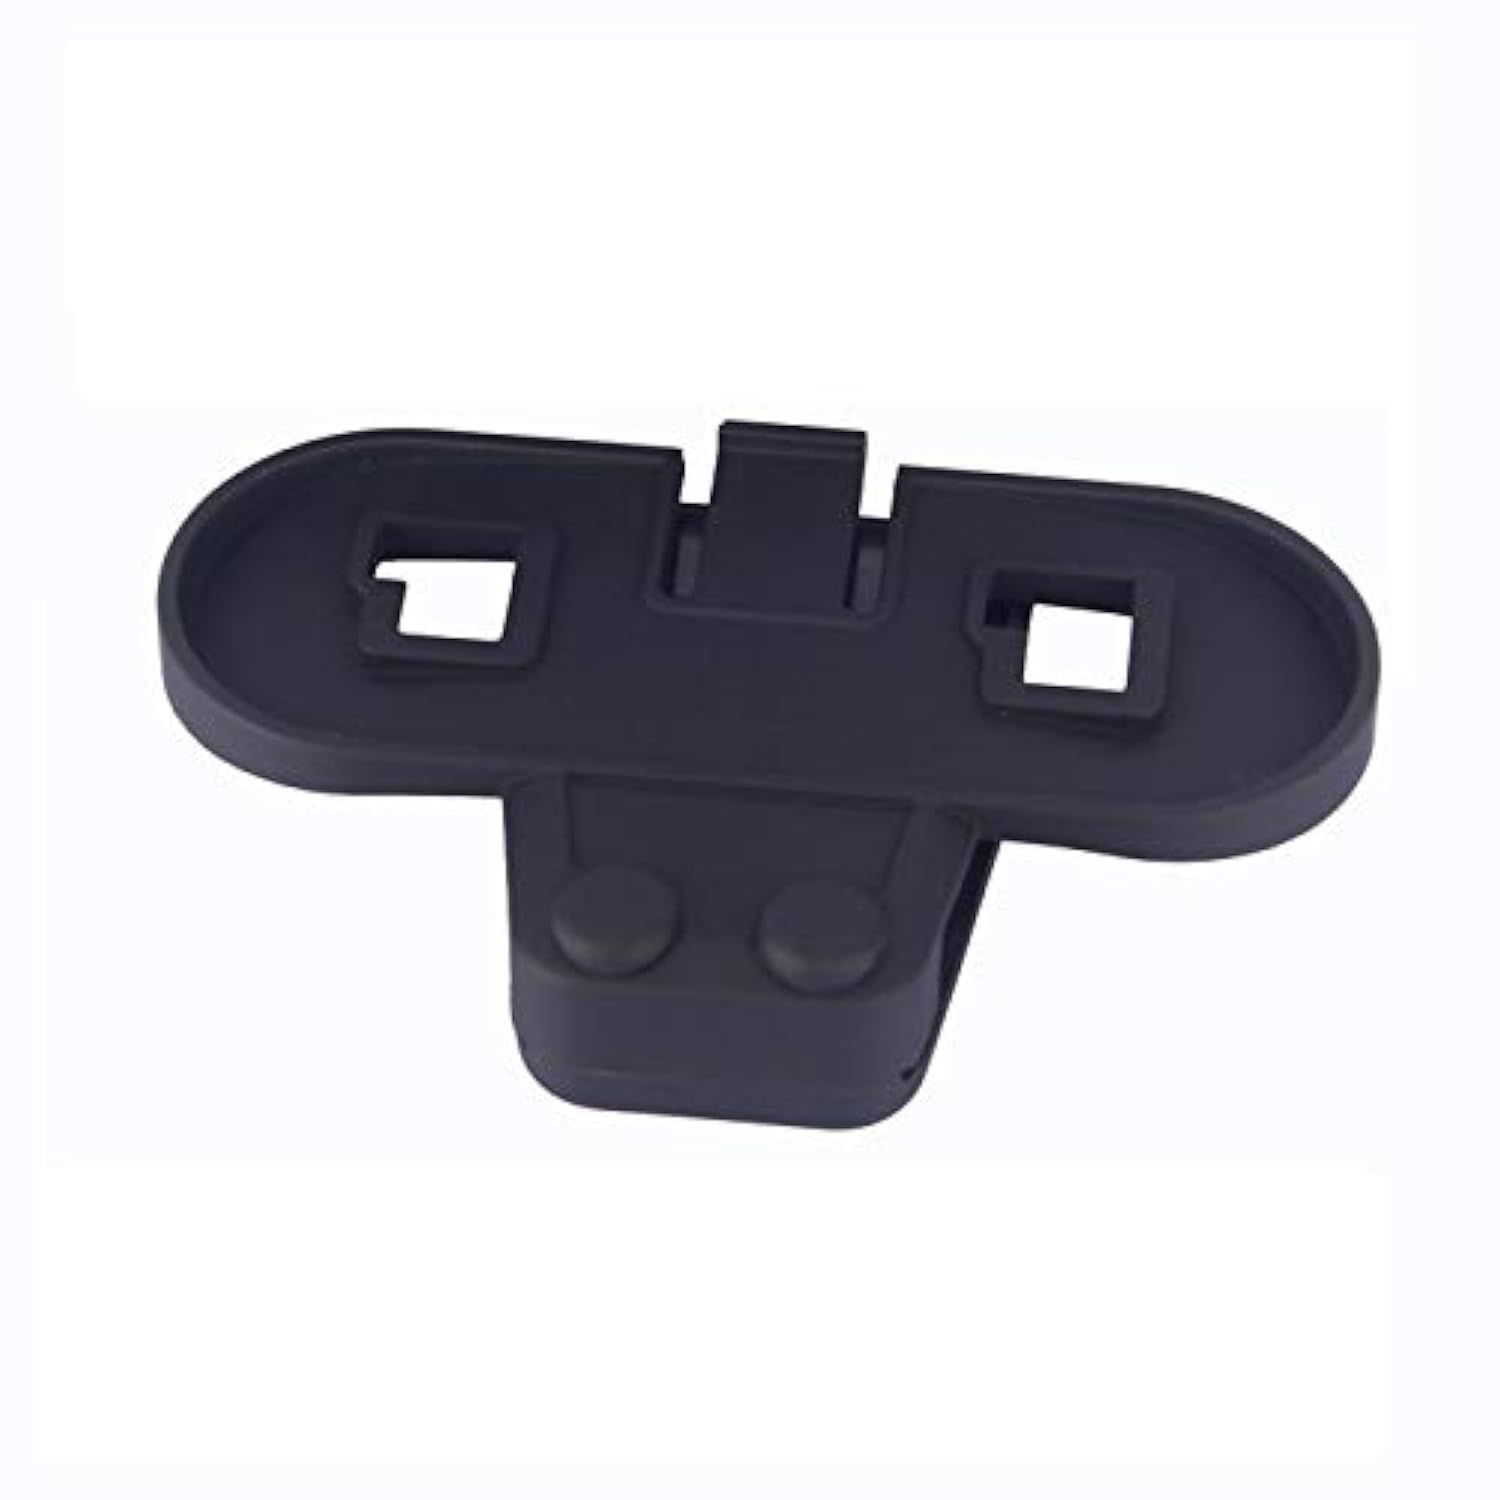
Image: The FreedConn Clip Accessory shown alongside compatible T-COMVB and T-COMSC Bluetooth intercom units, illustrating its design and purpose.
Key Features
- Compatibility: Specifically designed for FreedConn T-COMVB and T-COMSC series motorcycle helmet Bluetooth intercoms.
- Convenience: Enables quick transfer of the intercom unit between multiple helmets.
- Durability: Constructed for secure and reliable attachment.
- Package Contents: Includes one (1) intercom clip. No other parts are included.
Setup and Installation
Proper installation of the clip accessory is crucial for the secure mounting of your FreedConn intercom unit. Follow these steps carefully:
- Identify Mounting Location: Choose a suitable flat edge on the left side of your helmet, typically near the bottom rim, where the intercom unit will not obstruct your vision or helmet functionality.
- Prepare the Clip: The clip consists of two main parts: the outer clamp and the inner plate. Ensure both screws are slightly loosened but not removed, allowing the clamp to open sufficiently.
- Position the Clip: Slide the outer clamp onto the helmet's edge. The inner plate should be positioned inside the helmet, ensuring a snug fit against the helmet shell.
- Secure the Clip: Once positioned correctly, tighten the two screws on the clip using a suitable screwdriver. Tighten them firmly but do not overtighten, as this could damage the helmet or the clip. The clip should be securely fastened and not move when tugged gently.
- Attach Intercom Unit: Align your FreedConn T-COMVB or T-COMSC intercom unit with the grooves on the installed clip. Slide the intercom unit downwards onto the clip until it clicks securely into place.
- Verify Security: Gently pull on the intercom unit to ensure it is firmly attached to the clip and the clip is stable on the helmet.

Image: A detailed view of the FreedConn Clip Accessory, highlighting its screw mechanism for attachment.

Image: The FreedConn Clip Accessory securely installed on the side of a motorcycle helmet, ready to receive the intercom unit.

Image: A motorcycle helmet with the FreedConn intercom unit fully attached to the clip accessory, demonstrating a complete installation.
Operating the Clip Accessory
The clip accessory functions as a stable mounting point for your FreedConn T-COMVB or T-COMSC intercom unit. Once installed, its primary operation involves attaching and detaching the intercom unit.
- Attaching the Intercom: Slide the intercom unit onto the clip from the top until it locks into position.
- Detaching the Intercom: To remove the intercom unit, locate the release tab or button on the intercom unit itself (refer to your intercom's manual for specific instructions), press it, and slide the unit upwards off the clip.
This design allows for quick and easy removal of the intercom unit for charging, storage, or transfer to another helmet equipped with a FreedConn clip accessory.
Maintenance
To ensure the longevity and proper function of your FreedConn Clip Accessory, follow these maintenance guidelines:
- Cleaning: Wipe the clip with a soft, damp cloth to remove dust and dirt. Avoid using harsh chemicals or abrasive cleaners, as these can damage the material.
- Inspection: Periodically inspect the clip for any signs of wear, cracks, or damage, especially around the screw points. Ensure the screws remain tight.
- Storage: If removing the clip from the helmet for extended periods, store it in a clean, dry place away from direct sunlight and extreme temperatures.
Troubleshooting
If you encounter issues with your FreedConn Clip Accessory, consider the following:
- Clip Does Not Fit Helmet:
- Ensure the screws are sufficiently loosened to allow the clamp to open wide enough for your helmet's edge.
- Verify that your helmet's edge thickness is within the acceptable range for this clip.
- Intercom Unit Does Not Attach Securely:
- Check if the clip is installed correctly and tightened firmly on the helmet.
- Inspect the grooves on both the clip and the intercom unit for any obstructions or damage.
- Confirm that your intercom unit is a FreedConn T-COMVB or T-COMSC model, as this clip is specifically designed for these models.
- Clip Feels Loose After Installation:
- Retighten the screws on the clip. If it continues to loosen, the helmet material might be too soft or the clip might be damaged.
- Ensure the inner plate is properly seated against the inside of the helmet.
If problems persist, please contact FreedConn customer support for further assistance.
Specifications
| Feature | Detail |
|---|---|
| Brand | FreedConn |
| Model Compatibility | T-COMVB, T-COMSC |
| Item Weight | 1.58 ounces (approx. 45 grams) |
| Package Dimensions | 6.3 x 4.72 x 0.79 inches (approx. 16 x 12 x 2 cm) |
| Material | Durable plastic and metal components |
| Color | Black |
| UPC | 711301107373 |
Warranty and Support
For information regarding warranty coverage for your FreedConn Clip Accessory, please refer to the warranty documentation provided with your original FreedConn intercom system or visit the official FreedConn website. This accessory is typically covered under the same terms as the main intercom unit it supports.
If you require technical support, have questions about installation, or need assistance with any aspect of your FreedConn product, please contact FreedConn customer service. Contact details can usually be found on the official FreedConn website or within the packaging of your original product.
Online Resources: For additional support and product information, visit the FreedConn Store on Amazon.