1. Product Overview
The Lithonia Lighting Wafer-Thin LED recessed downlight with remote driver box offers high-quality light output and efficiency. Its innovative wafer-slim, Type IC design allows for easy installation in new construction or remodel projects from below the ceiling, eliminating the need for a traditional pot light housing.
This downlight is designed for versatility and can be installed in various indoor and outdoor residential, hospitality, commercial, and multifamily applications.

Figure 1: Lithonia Lighting WF6 LED Recessed Wafer Downlight
2. Safety Information
WARNING: Always turn off power at the main circuit breaker before beginning any electrical installation or maintenance. Failure to do so may result in serious injury or death.
- Wear appropriate personal protective equipment, including safety glasses, during installation.
- Ensure all electrical connections are secure and comply with local electrical codes.
- This product is rated for 120V input voltage. Verify your power supply matches this requirement.
- The fixture is IC Rated, Wet Listed, and Air Tight, making it safe for contact with insulation and suitable for damp or wet locations.
3. Package Contents
Verify that all components are included in your package:
- LED Module (Downlight Fixture)
- Remote Driver Box
- Installation Instruction Sheet
- Hole Template (for new ceiling cutouts)
- Wago Connectors (for electrical connections)
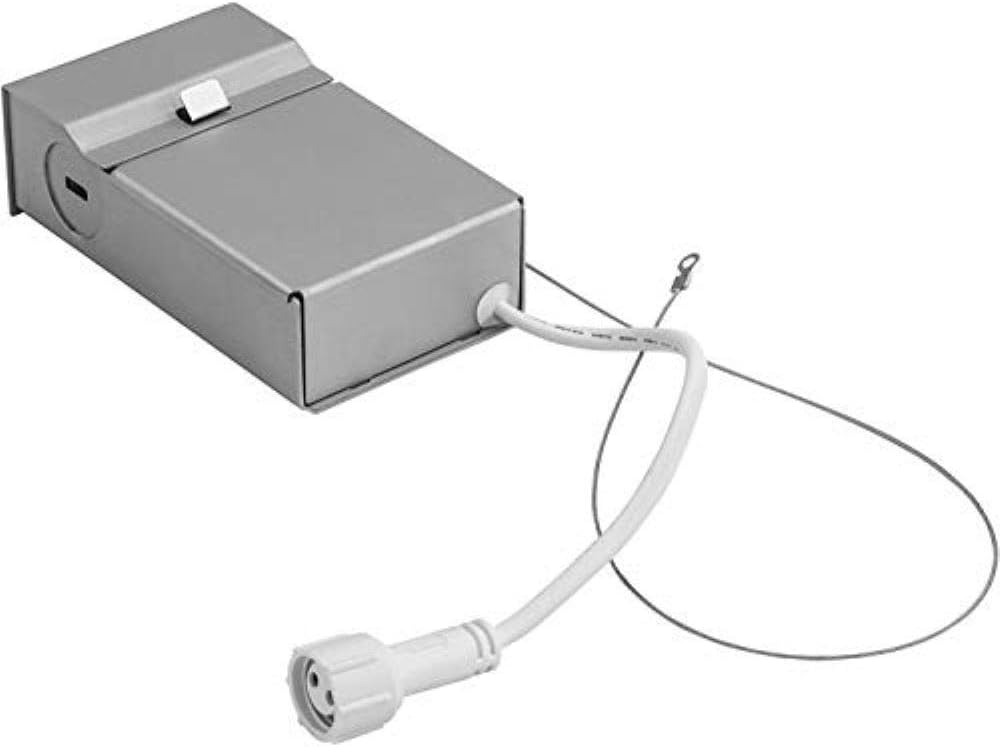
Figure 2: Remote Driver Box and LED Module
4. Installation Guide
This downlight requires only 2 inches of ceiling clearance for installation.
4.1. Prepare the Ceiling Hole
- Measure and Mark: Double-check and measure the existing ceiling hole. If a new hole is required, use the provided hole template or a drill saw with the appropriate diameter (5.9 inches for the back hole size) to mark the center and cut the opening. Ensure the hole size allows the luminaire's outside trim to cover it while the spring clips secure the fixture.
- Pull Wiring: Pull the electrical wire through the cut-out hole and cut to the needed length.

Figure 3: Ceiling Hole Preparation and Wiring
4.2. Connect the Remote Driver Box
- Open Driver Box: Open the cover of the remote driver box and remove one of the knockouts on the side plate.
- Wire Connections: Locate the power supply leads from the remote driver box. Connect the black wire to the live wire, the white wire to the neutral wire, and the green wire to the ground wire using the provided Wago connectors. Ensure all connections are made securely inside the driver box.
- Close Driver Box: Close the cover of the driver box.
- Position Driver Box: Place the remote driver box through the cut-out hole and lay it on the ceiling above the drywall.
4.3. Install the LED Module
- Connect Module: Connect the LED module to the remote driver box and tighten the nut connector.
- Insert Module: Pull the spring clips on the fixture up and through the ceiling hole. Place the module into the hole, ensuring the spring clips hold securely to the ceiling.
4.4. Final Steps
- Restore Power: Turn on the electricity at the circuit breaker box.
- Verify Operation: Turn the power in the room back on and ensure the LED module illuminates.
4.5. Installation Video
Video 1: Step-by-step installation guide for the Lithonia Lighting Ultra-Thin Wafer Downlight. This video demonstrates the process of cutting the ceiling hole, wiring the remote driver box, and securing the LED module.
5. Operating Instructions
The Lithonia Lighting WF6 LED Downlight is designed for simple operation.
- Power On/Off: Control the light using a standard wall switch connected to the circuit.
- Dimmable Feature: This downlight is dimmable. For optimal performance, use with compatible LED dimmers. A list of compatible dimmers can be found on the product's spec sheet.
- Color Temperature: This specific model (WF6 LED 30K MW M6) provides a 3000K (Bright White) color temperature. Other models in the series may offer selectable color temperatures.

Figure 4: Example of different color temperatures in a room setting. This model provides 3000K.
6. Maintenance
The Lithonia Lighting WF6 LED Downlight requires minimal maintenance.
- Cleaning: Ensure power is off before cleaning. Use a soft, dry cloth to wipe the surface of the fixture. Avoid abrasive cleaners or solvents that may damage the finish.
- LED Lifespan: The integrated LED has an average life of 36,000 hours, which translates to over 16 years when used 6 hours per day. No bulb replacement is necessary.
7. Troubleshooting
If you encounter issues with your downlight, refer to the following common troubleshooting steps:
- Light Not Turning On:
- Check the circuit breaker to ensure power is supplied to the fixture.
- Verify all electrical connections in the remote driver box are secure.
- Ensure the connection between the LED module and the driver box is tight.
- Flickering or Dimming Issues:
- Ensure you are using an LED-compatible dimmer switch. Incompatible dimmers can cause flickering or improper dimming.
- Check for loose wiring connections.
- Fixture Not Sitting Flush:
- Verify the ceiling hole diameter is correct (5.9 inches for the back hole). A hole that is too large may prevent the spring clips from holding securely.
- Ensure the spring clips are fully engaged and holding the fixture firmly against the ceiling.
8. Specifications
| Feature | Specification |
|---|---|
| Brand | Lithonia Lighting |
| Model Name | WF6 LED 30K MW M6 |
| Power | 13 Watts |
| Input Voltage | 120V |
| Luminous Flux | 1020 Lumens |
| Emitting Color | 3000K (Bright White) |
| Dimmable | Yes |
| CRI | 80 |
| Surface Size | 6.7 inches |
| Back Hole Size | 5.9 inches |
| Dimension (LxWxH) | 6.7"L x 6.7"W x 1.1"H |
| Average Life | 36,000 hours |
| Certifications | CSA, Energy Star, IC Rated, Wet Listed, Air Tight |
| Material | Aluminum, Alloy Steel |
| Color | Matte White |
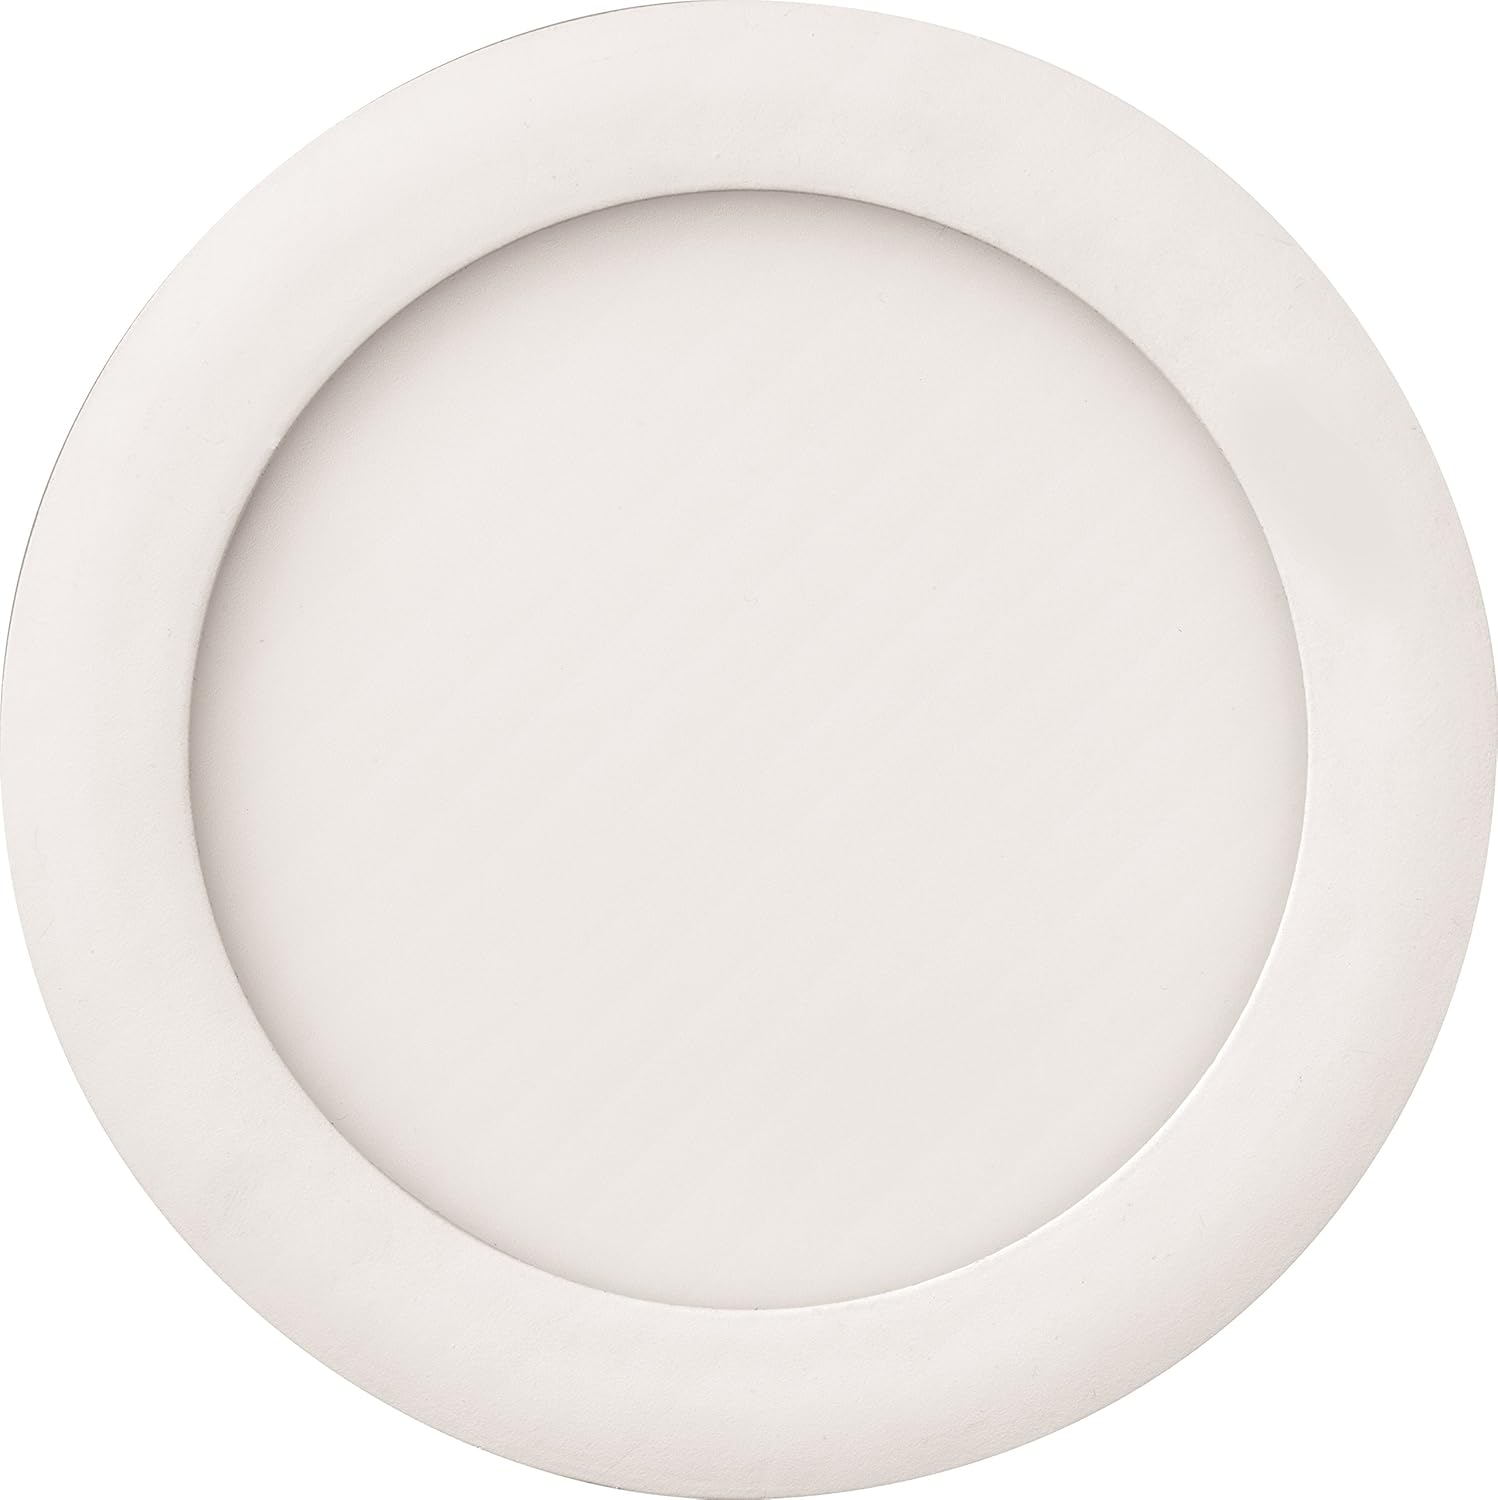
Figure 5: Product Dimensions
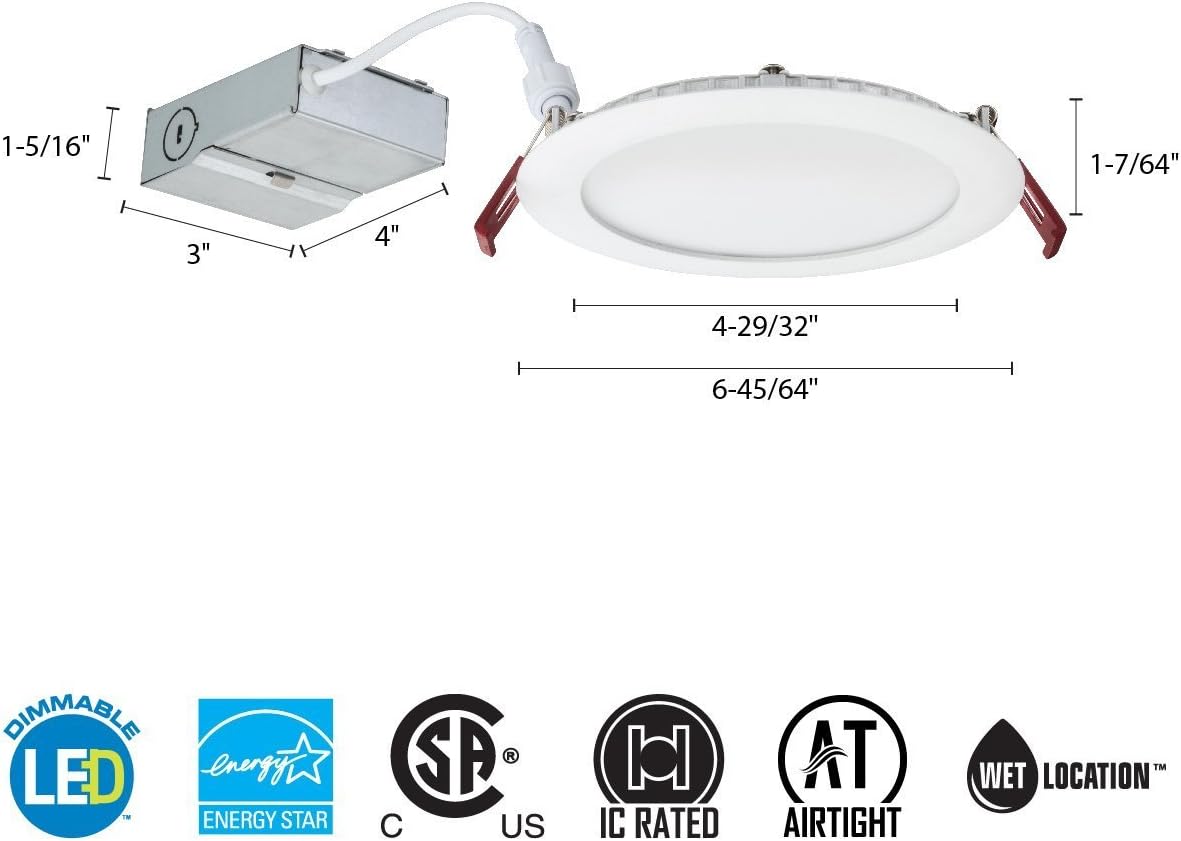
Figure 6: Product Certifications
9. Warranty and Support
Warranty: This Lithonia Lighting product comes with a 5-year limited warranty.
For further assistance, technical support, or warranty claims, please contact Lithonia Lighting customer service or visit their official website. Refer to the product packaging or the official Lithonia Lighting website for the most current contact information.


