1. Introduction
This manual provides comprehensive instructions for the installation, operation, and maintenance of your EZoneTronics 2.4G Wireless Car Backup Camera, Model HTH001. This system is designed to enhance vehicle safety by providing a clear rear view, assisting with parking and reversing maneuvers. Please read this manual thoroughly before installation and use to ensure proper function and longevity of the product.
2. Package Contents
Verify that all components listed below are included in your package:
- 1 x Car Rearview Camera
- 1 x 2.4G Wireless Transmitter
- 1 x 2.4G Wireless Receiver
- 1 x User Manual (this document)

Figure 2.1: Complete package contents including camera, transmitter, receiver, and cables.
3. Specifications
Detailed technical specifications for the EZoneTronics HTH001 system:
Car Rearview Camera:
- Brand: EZoneTronics
- Color: Black
- Image Device: 1/3 Inch Color CMOS
- Lens Angle: 135 degrees (Wide Angle)
- Lens: 3.6mm
- TV System: NTSC
- Effective Pixels: NTSC: 510*496 pixels
- Horizontal Resolution: 420 TV lines
- Electronic Shutter: 1/60-1/15,000 seconds
- Minimum Illumination: 0.1-0.5Lux/F = 1.2 (0Lux with IR on)
- Infrared LEDs: 7 LEDs for night vision
- Power Requirement: DC12V 60mA (MAX 300mA with IR on)
- Operating Temperature: -10°C ~ 50°C, RH95%
- Housing: Waterproof and Fog Resistant
- Installation Type: Surface Mount (typically above license plate)
2.4G Wireless Transmitter:
- Size: 60mm x 30mm x 15mm
- Cable Length: 1.5m
- Function: 2.4G wireless color video transmission
- Input: DC 10V-12V
- Features: LED Power Display
2.4G Wireless Receiver:
- Size: 60mm x 30mm x 15mm
- Cable Length: 17cm
- Function: 2.4G wireless color video reception
- Input: DC 10V-12V
- Features: LED Power Display

Figure 3.1: Front view of the backup camera, highlighting the lens and 7 infrared LEDs for night vision.

Figure 3.2: The 2.4G wireless transmitter and receiver units, responsible for wireless video signal transmission.
4. Safety Information
- Always ensure the vehicle is turned off and the battery is disconnected before performing any electrical work.
- Improper installation can lead to vehicle damage or electrical issues. If you are unsure about the installation process, seek professional assistance.
- The backup camera is an aid for reversing and parking; it does not replace the driver's responsibility to check surroundings and mirrors.
- Ensure all wiring is properly insulated and secured to prevent short circuits or damage from vehicle movement and environmental factors.
5. Setup and Installation
The EZoneTronics HTH001 system is designed for easy installation, converting a wired camera setup to wireless. The camera is typically mounted above the rear license plate.
5.1. Camera Installation
- Mounting Location: The camera is designed to be mounted in the license plate area or other suitable rear location. Ensure the camera has a clear, unobstructed view.
- Power Connection: Connect the camera's power cable (red and black wires) to your vehicle's reverse lights. The red wire connects to the positive (+) lead of the reverse light, and the black wire connects to the negative (-) or ground. This ensures the camera powers on automatically when the vehicle is in reverse.
- Video Output: Connect the camera's yellow RCA video output cable to the 2.4G wireless transmitter's video input.

Figure 5.1: Rear view of the camera showing the RCA video output (yellow) and power input (red/black) connections.
5.2. Wireless Transmitter Installation
- Connect the camera's RCA video output to the 2.4G wireless transmitter's RCA input.
- Connect the transmitter's power input (red and black wires) to the same power source as the camera (reverse lights). This synchronizes power with the camera.
- Secure the transmitter module in a dry, protected area near the camera, ensuring the antenna is not obstructed by metal.
5.3. Wireless Receiver Installation
- Power Connection: Connect the 2.4G wireless receiver's power input (red and black wires) to a 12V power source in the front of the vehicle, such as the accessory power or the power source for your display monitor. Ensure this power source is active when the vehicle is in reverse or when you wish to view the camera feed.
- Video Output: Connect the receiver's yellow RCA video output to the video input of your car monitor or head unit.
- Secure the receiver module in a dry, protected area within the dashboard or near the monitor, ensuring the antenna is not obstructed.
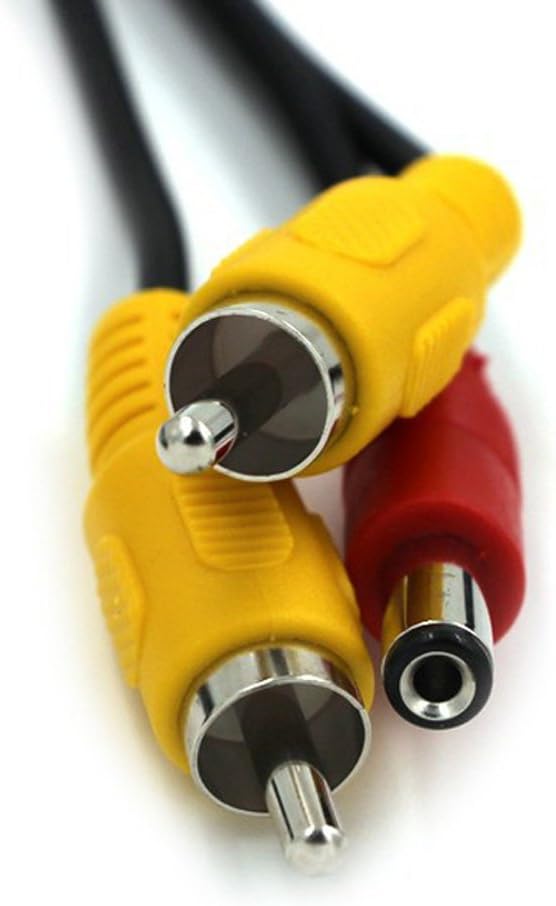
Figure 5.2: Detailed view of the RCA and power connections on the wireless transmitter and receiver units.
5.4. Testing the System
- Once all connections are made, reconnect the vehicle battery.
- Turn on your vehicle and shift into reverse.
- Verify that the camera image appears on your monitor.
- Adjust the camera angle if necessary to achieve the desired viewing area.
6. Operation
Once installed, the EZoneTronics HTH001 backup camera system operates automatically when the vehicle is shifted into reverse, provided it is wired to the reverse lights.
- Automatic Activation: When you engage reverse gear, the camera and transmitter will power on, sending a wireless video signal to the receiver and your display monitor.
- Distance Scale Lines: The camera displays distance scale lines on the screen to assist with judging distances while parking or reversing. These lines are a visual aid and should be used in conjunction with direct observation.
- Night Vision: The integrated 7 infrared LEDs provide enhanced visibility in low-light conditions, allowing for clear images even at night.
- Wide Angle View: The 135-degree wide-angle lens provides a broad view of the area behind your vehicle, minimizing blind spots.
7. Maintenance
- Cleaning the Lens: Regularly clean the camera lens with a soft, damp cloth to remove dirt, dust, or water spots that may obstruct the view. Avoid abrasive cleaners.
- Housing: The camera features a waterproof and fog-resistant housing. However, avoid directing high-pressure water jets directly at the camera for extended periods.
- Cable Inspection: Periodically check all cables and connections for signs of wear, corrosion, or damage. Ensure they remain securely fastened.
8. Troubleshooting
If you encounter issues with your EZoneTronics HTH001 backup camera, refer to the following troubleshooting guide:
| Problem | Possible Cause | Solution |
|---|---|---|
| No image on monitor |
|
|
| Flickering or distorted image |
|
|
| Poor night vision |
|
|
| Image is upside down or mirrored | Camera orientation setting (if available on monitor) | Check your monitor's settings for image flip or mirror options and adjust as needed. The HTH001 camera typically provides a standard rear view. |
9. Warranty and Support
For warranty information and customer support, please refer to the documentation provided at the time of purchase or contact EZoneTronics customer service directly. Keep your purchase receipt as proof of purchase for any warranty claims.

