Introduction
Thank you for choosing the Brita Large 10-Cup Stream Water Filter Pitcher. This manual provides essential information for the proper setup, operation, and maintenance of your new water filtration system. Please read these instructions carefully before first use to ensure optimal performance and longevity of your pitcher.

Image: The Brita Large 10-Cup Stream Water Filter Pitcher in Lake Blue, showcasing its clear body and blue lid with an integrated filter.
Important Safety Information
- Do not use with hot water. The Brita filter is designed for cold tap water only.
- Do not use with water that is microbiologically unsafe or of unknown quality without adequate disinfection before or after the system.
- Hand wash pitcher components. The pitcher is not dishwasher safe.
- Keep out of reach of children.
Components Included
Your Brita Large 10-Cup Stream Water Filter Pitcher package includes:
- 1 Brita 10-Cup Pitcher (Model TU_31169)
- 1 Brita Stream Filter

Image: The Brita pitcher shown in its retail box, highlighting the "Filter-As-You-Pour" technology and 10-cup capacity.
Setup Instructions
Follow these steps for initial setup:
- Wash Hands: Ensure your hands are clean before handling the filter.
- Prepare Filter: Remove the Brita Stream filter from its bag. Flush the filter with cold water for 15 seconds.
- Wash Pitcher: Hand wash the pitcher, lid, and filter cage with mild detergent and rinse thoroughly. Do not use abrasive cleaners.
- Insert Filter: Insert the filter into the filter cage with the blue ring facing up. Press the filter into the cage until it clicks securely into place.
- Install Filter Cage: Install the filter cage onto the lid by twisting it until it locks.
- Initial Flush: Fill the pitcher with tap water. Discard the first pitcher of filtered water to flush out the system. This water can be used for plants.
- Activate Electronic Indicator: Press and hold the "Reset" button on the lid for 2 seconds for a standard filter, or 6 seconds for an Elite filter, until the green light flashes. This activates the electronic filter replacement indicator.

Image: A visual quick start guide illustrating the steps to install the Brita Stream filter and prepare the pitcher for use.
Video: Official Brita video demonstrating how to set up the Brita Stream Pitcher, including filter installation.
Operating Instructions
The Brita Stream pitcher features "Filter-As-You-Pour" technology, allowing for immediate access to filtered water.
- Fill Pitcher: Open the easy-fill locking lid and fill the pitcher with cold tap water. Close the lid securely.
- Pour Water: When ready to drink, simply pour water from the pitcher. The water will pass through the Brita Stream filter as it exits the pitcher, providing filtered water instantly.
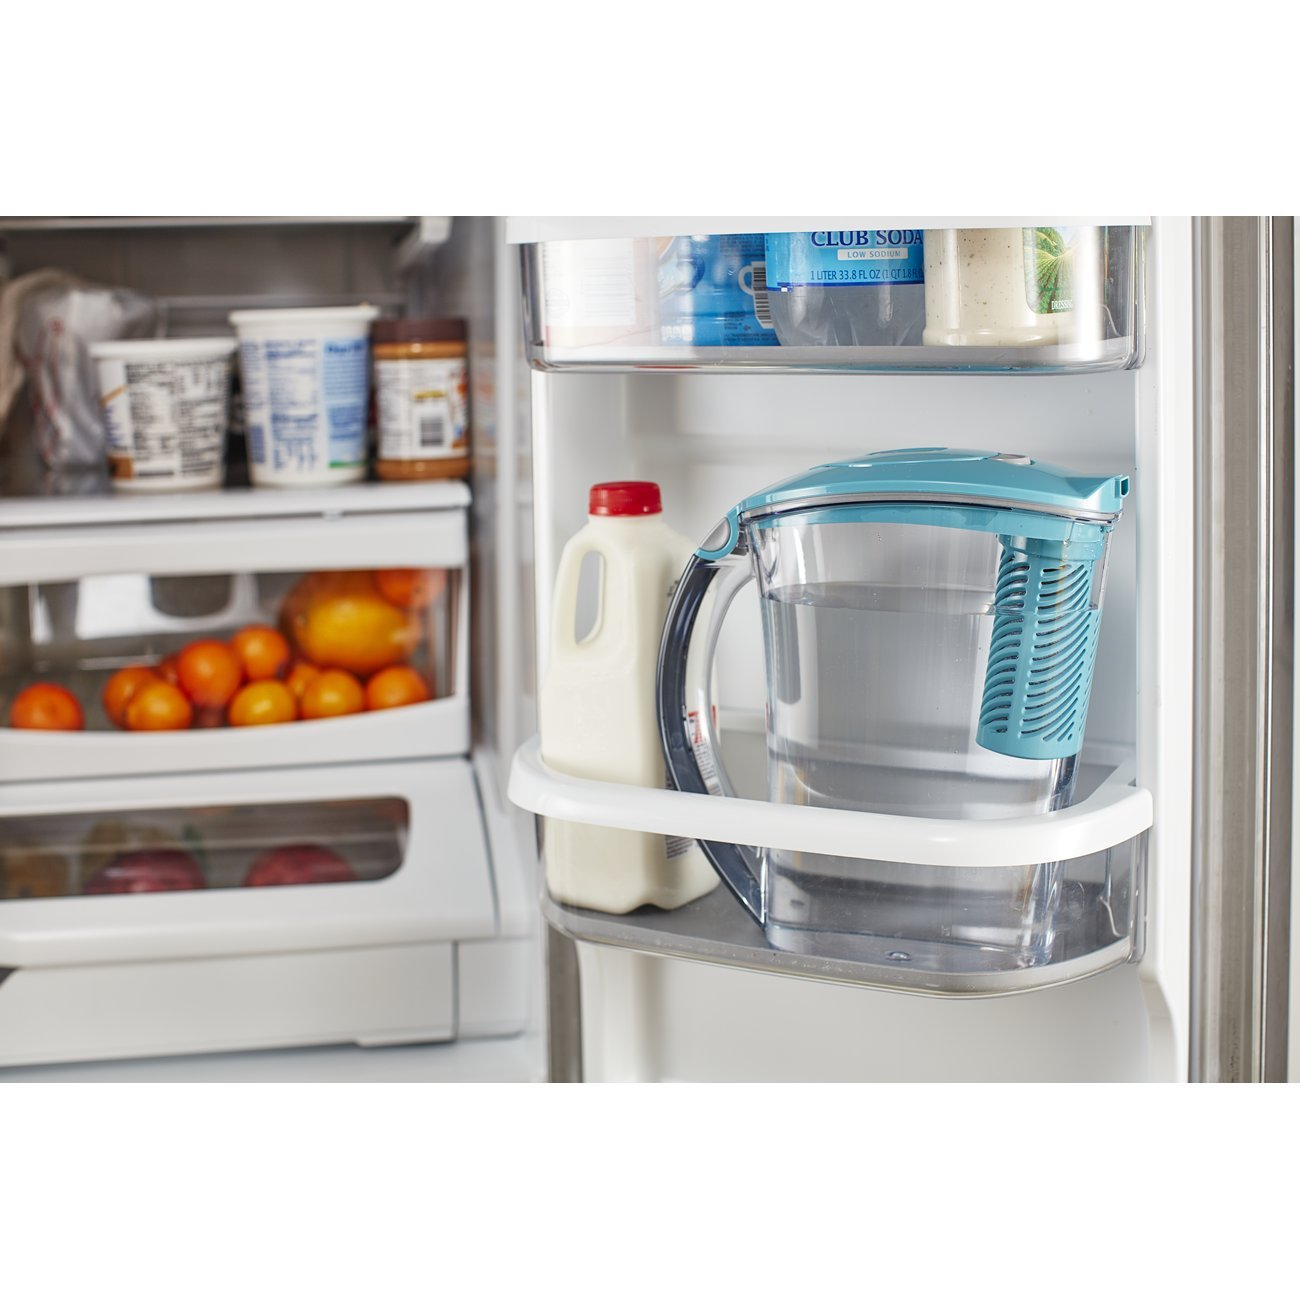
Image: A person pouring filtered water from the Brita pitcher into a glass, demonstrating the "Filter-As-You-Pour" feature.
Video: Official Brita video showcasing the Brita Stream Pitchers and their "Filter-As-You-Pour" functionality.
Maintenance
Cleaning the Pitcher
- Hand wash all pitcher components (pitcher, lid, filter cage) with mild soap and water.
- Rinse thoroughly to remove any soap residue.
- Do not place the pitcher or lid in a dishwasher.
Filter Replacement
The Brita Stream filter should be replaced approximately every 40 gallons or every 2 months for the average household, whichever comes first.
- Monitor Indicator: The electronic filter replacement indicator on the lid will signal when it's time to change the filter. A green light indicates the filter is good, a yellow light suggests replacement soon (approx. 5 gallons remaining), and a red light means it's time to replace the filter immediately.
- Remove Old Filter: Pinch the filter cage and lift the lid. Twist off the filter cage to remove it. Eject the old filter by pushing the bottom button.
- Install New Filter: Follow steps 2-5 from the Setup Instructions to install and prepare a new Brita Stream filter.

Image: A detailed diagram illustrating the proprietary dual-layer filtration technology of the Brita Stream filter, which uses activated carbon to reduce chlorine and prevent black flecks.
Troubleshooting
| Problem | Solution |
|---|---|
| Water tastes or smells like chlorine. | The filter may need to be replaced. Check the electronic filter indicator. Ensure the filter is properly seated in the cage. |
| Water is not flowing through the filter. | Ensure the filter is correctly installed and not clogged. Replace the filter if it appears clogged or has reached its lifespan. |
| Electronic filter indicator is not working. | Press and hold the "Reset" button for the appropriate duration (2 or 6 seconds) to reactivate. If it still doesn't work, the battery may be depleted (non-replaceable). |
| Pitcher leaks when pouring. | Ensure the lid is securely locked onto the pitcher and the filter cage is properly twisted into the lid. |
Specifications
- Model Name: Rapids
- Model Number: TU_31169
- Capacity: 10 Cups
- Dimensions: 11.02"L x 5.43"W x 16.38"H
- Item Weight: 2.12 Pounds
- Material: BPA-Free Plastic
- Filter Type: Brita Stream Filter
- Filter Lifespan: Approximately 40 gallons or 2 months
- Special Feature: Chlorine Reduction, Electronic Filter Indicator
- Power Source: Battery Powered (for indicator)
Warranty and Support
For warranty information, product registration, or customer support, please visit the official Brita website or contact Brita customer service. Refer to the product packaging for specific contact details and warranty terms.
Brita filters are designed to purify water. Do not use with water that is microbiologically unsafe or of unknown quality without adequate disinfection before or after the system. See certifications for specific claims. For more information on product usage, new products from Brita, and to locate a Brita retailer near you, please visit brita.com or call 1-800-24-BRITA.


