
1. Introduction
This manual provides detailed instructions for the safe installation, operation, and maintenance of your Edvivi Lantern Pendant Chandelier, Model EPL1119AB. This 4-light fixture features an antique bronze finish, glass panels, and an adjustable hanging chain, designed to provide ample illumination in various indoor settings.

Figure 1: Edvivi Lantern Pendant Chandelier, Model EPL1119AB.
2. Safety Information
WARNING: To reduce the risk of fire, electric shock, or personal injury, always follow these safety precautions:
- Disconnect Power: Always turn off the electrical supply at the main fuse box or circuit breaker before beginning installation or performing any maintenance.
- Qualified Electrician: If you are unsure about the installation process, consult a qualified licensed electrician.
- Grounding: Ensure the fixture is properly grounded to avoid potential electrical shock.
- Handle with Care: The fixture contains glass components. Handle with care to prevent breakage and injury.
- Bulb Specifications: Use only the specified bulb type and wattage. Exceeding the maximum wattage can cause overheating and fire.
- Indoor Use Only: This fixture is designed for indoor use in dry locations only. Do not expose to water or moisture.
- Cleaning: Do not use liquid or abrasive cleaners on the fixture. Clean with a soft, dry cloth.
3. Package Contents
Carefully unpack the fixture and inspect all components for damage. Retain all packaging materials until you are certain all parts are present and in good condition. The package should include:
- Chandelier Frame with Glass Panels
- Mounting Crossbar
- Mounting Screws
- Wire Nuts
- Canopy
- Chain (approx. 39 inches)
- Instruction Manual (this document)
Note: Light bulbs are not included and must be purchased separately.
4. Specifications
| Feature | Specification |
|---|---|
| Brand | Edvivi |
| Model Number | EPL1119AB |
| Fixture Dimensions (L x W x H) | 10.5" x 10.5" x 19" |
| Maximum Hanging Height | 59 inches (including chain) |
| Canopy Dimensions (Dia x H) | 5.1" x 1" |
| Material | Glass, Metal |
| Finish | Antique Bronze |
| Number of Light Sources | 4 |
| Bulb Type | Candelabra (E12) |
| Max Wattage per Bulb | 60 watts |
| Total Max Wattage | 240 watts |
| Voltage | 120 Volts |
| Special Features | Dimmable (with compatible dimmer switch and bulbs) |
| Power Source | Corded Electric |
| Mounting Type | Chain (40 inches) |
| Certification | UL Listed |
| Assembly Required | Yes |
| Item Weight | 11.2 Pounds |

Figure 2: Dimensional drawing of the chandelier.
5. Installation Instructions
Read all instructions carefully before beginning installation. Ensure you have all necessary tools (screwdriver, wire strippers, electrical tape, ladder) and safety equipment (safety glasses, gloves).
5.1. Pre-Installation
- Turn Off Power: Locate the circuit breaker or fuse box that supplies power to the fixture location. Turn off the power completely.
- Prepare Area: Clear the work area. If replacing an existing fixture, carefully remove it.
- Unpack: Carefully remove all components from the packaging. Place them on a clean, soft surface to prevent scratches.
5.2. Mounting the Fixture
- Attach Mounting Crossbar: Secure the mounting crossbar to the electrical junction box in the ceiling using the provided mounting screws. Ensure it is firmly attached.
- Adjust Chain Length: Determine the desired hanging height for your chandelier. The fixture comes with a 39-inch chain. You can adjust the length by opening and removing links from the chain using pliers.
- Thread Wires: Carefully thread the fixture's electrical wires through the chain, then through the canopy, and finally through the center hole of the mounting crossbar.
- Connect Chain to Canopy: Attach one end of the chain to the loop on the fixture and the other end to the loop on the canopy.

Figure 3: Chandelier with chain and canopy assembly.
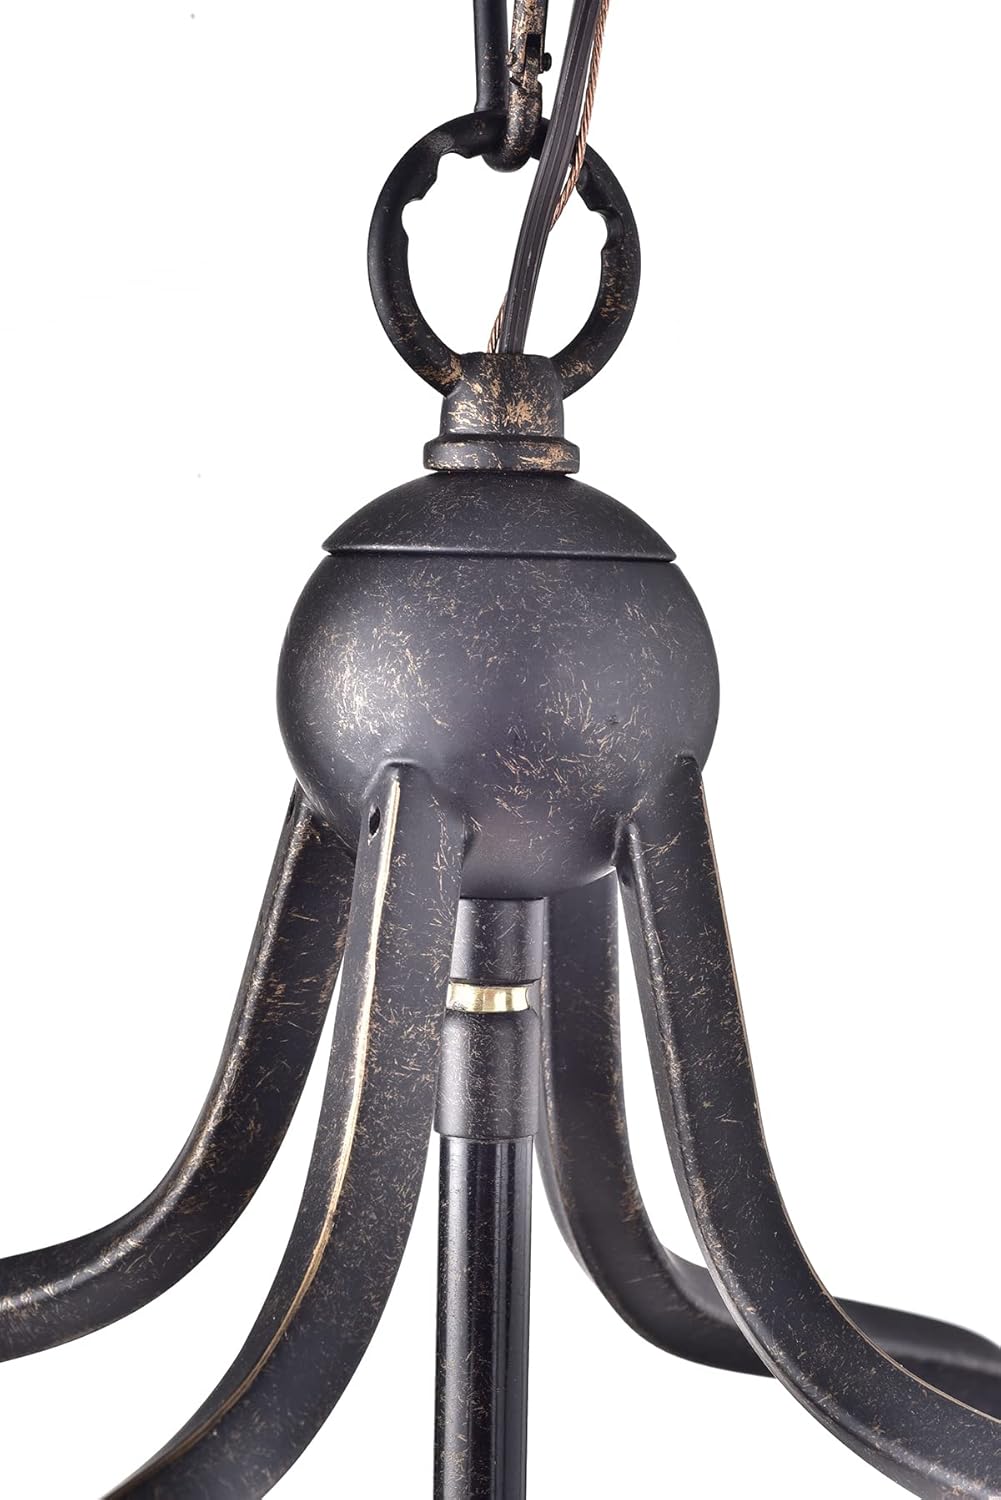
Figure 4: Detail of the chain and canopy connection.
5.3. Electrical Connections
IMPORTANT: Ensure power is OFF before making any electrical connections.
- Ground Wire: Connect the bare copper ground wire from the fixture to the green or bare copper ground wire from the junction box. Secure with a wire nut.
- Neutral Wire: Connect the ribbed or white wire from the fixture to the white (neutral) wire from the junction box. Secure with a wire nut.
- Hot Wire: Connect the smooth or black wire from the fixture to the black (hot) wire from the junction box. Secure with a wire nut.
- Tuck Wires: Carefully tuck all connected wires into the junction box.
5.4. Securing the Canopy
- Position Canopy: Slide the canopy up against the ceiling, covering the junction box and mounting crossbar.
- Secure Canopy: Use the provided screws or collar ring to secure the canopy firmly to the mounting crossbar.
5.5. Bulb Installation
- Install Bulbs: Screw four Candelabra (E12) base bulbs (max 60 watts each, not included) into the sockets. Do not overtighten.

Figure 5: Detail of bulb sockets.
5.6. Restore Power
- Turn On Power: Restore power at the main circuit breaker or fuse box.
- Test Fixture: Turn on the light switch to ensure the fixture is working correctly.
6. Operating Instructions
The Edvivi Lantern Pendant Chandelier operates via a standard wall switch. If a compatible dimmer switch and dimmable E12 bulbs are installed, the light output can be adjusted to your desired level.
- On/Off: Use the wall switch to turn the chandelier on or off.
- Dimming: If equipped with a dimmer switch and dimmable bulbs, rotate or slide the dimmer control to adjust brightness.
7. Maintenance
Regular maintenance will help preserve the appearance and functionality of your chandelier.
- Cleaning: To clean the fixture, ensure power is off. Use a soft, dry, or slightly damp cloth. Do not use abrasive cleaners, solvents, or polishes as they may damage the finish or glass.
- Bulb Replacement: Before replacing bulbs, turn off the power and allow bulbs to cool completely. Unscrew old bulbs and replace with new Candelabra (E12) base bulbs, not exceeding 60 watts per bulb.
- Inspection: Periodically check all connections and mounting hardware to ensure they remain secure.
8. Troubleshooting
If you encounter issues with your chandelier, refer to the following common problems and solutions:
| Problem | Possible Cause | Solution |
|---|---|---|
| Light does not turn on. | 1. Power is off. 2. Loose wiring connection. 3. Faulty bulb(s). 4. Faulty wall switch. | 1. Check circuit breaker/fuse. Ensure wall switch is ON. 2. Turn off power, check all wire connections. 3. Replace bulb(s). 4. Consult a qualified electrician. |
| Light flickers. | 1. Loose bulb. 2. Loose wiring connection. 3. Incorrect bulb type for dimmer. 4. Faulty dimmer switch. | 1. Turn off power, tighten bulb(s). 2. Turn off power, check all wire connections. 3. Ensure dimmable bulbs are used with a dimmer. 4. Consult a qualified electrician. |
| Fixture is loose. | Mounting hardware not secure. | Turn off power, tighten mounting screws and canopy screws. |
If the problem persists after attempting these solutions, please contact customer support or a qualified electrician.
9. Warranty and Support
This Edvivi Lantern Pendant Chandelier is covered by a manufacturer's warranty. For specific warranty details, duration, and terms, please refer to the documentation provided at the time of purchase or contact Edvivi customer support directly.
For technical assistance, missing parts, or warranty claims, please contact the seller or manufacturer through the platform where the product was purchased. Provide your model number (EPL1119AB) and proof of purchase for faster service.


