Introduction
This manual provides detailed instructions for the setup, operation, and maintenance of your Westclox Large Digital Wall Clock, Model 55006BK. This versatile clock features a large, easy-to-read LCD display, showing time, month, date, day of the week, and indoor temperature. It also includes an alarm function with a snooze option. Designed for convenience, it can be used as a wall-mounted or desk clock.
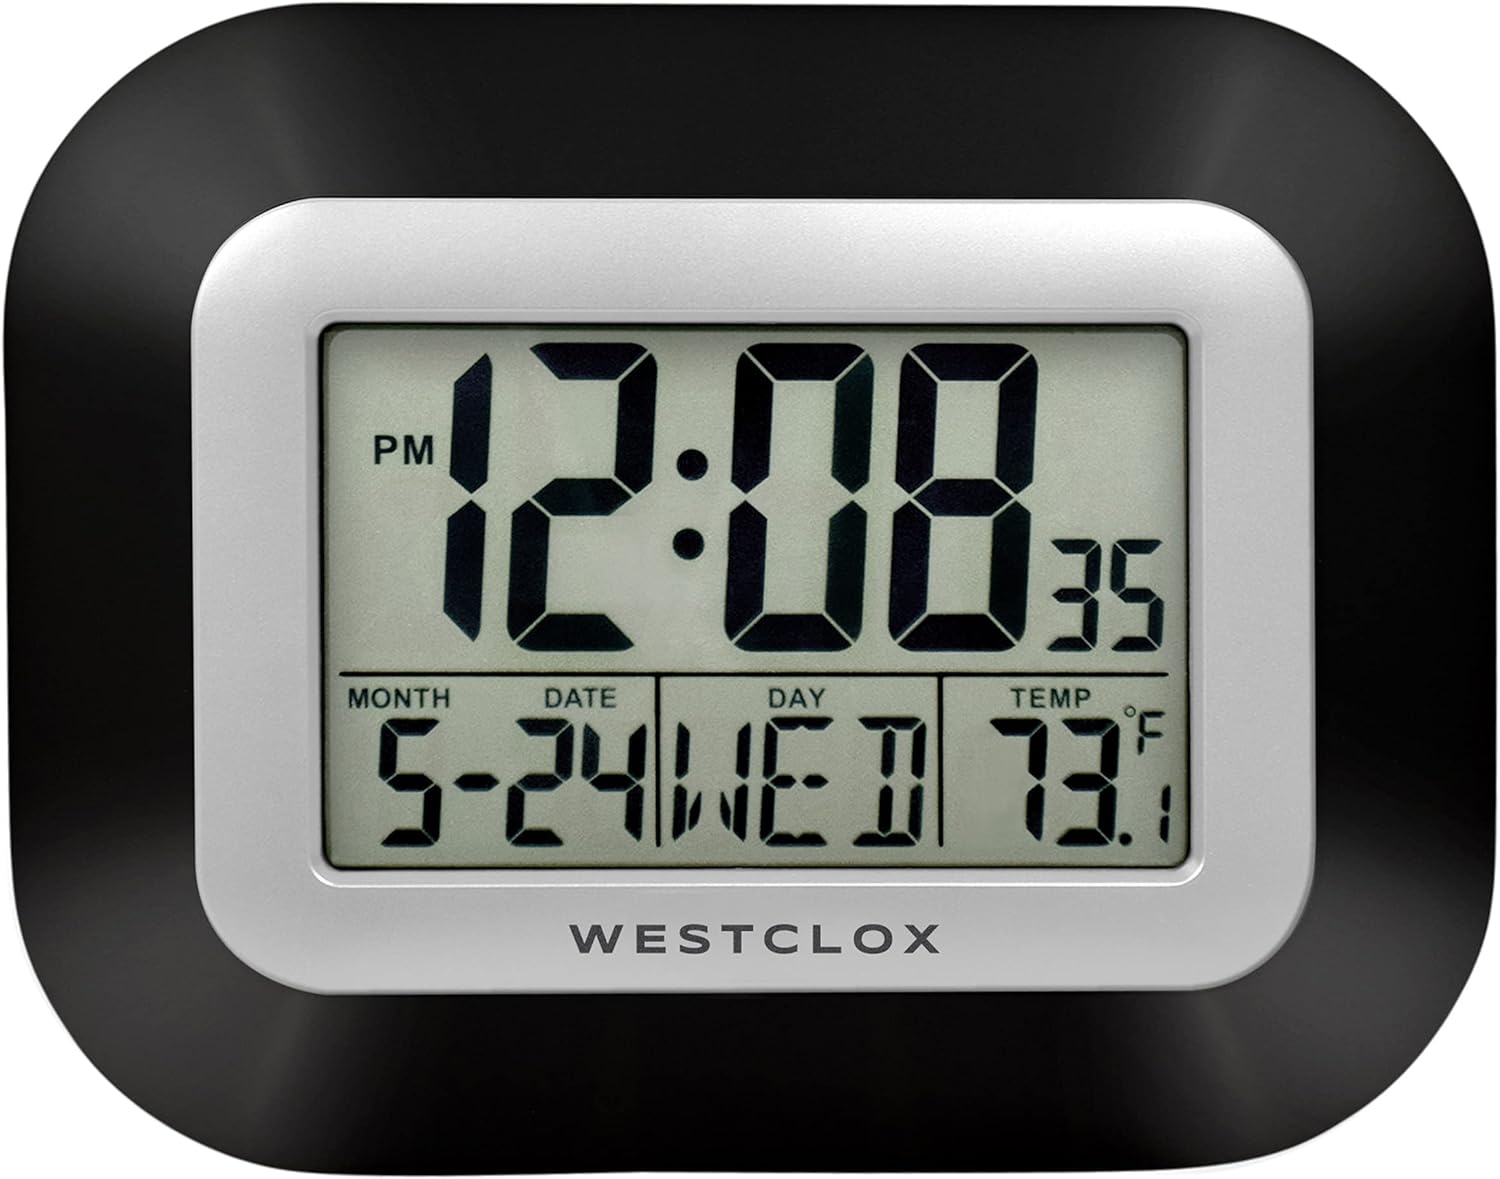
Figure 1: Front view of the Westclox Large Digital Wall Clock.
Setup
1. Unpacking and Contents
Carefully remove the clock from its packaging. Ensure all components are present. The package should contain:
- Westclox Large Digital Wall Clock (Model 55006BK)
- Instruction Manual (this document)
Note: 2 AA batteries are required for operation and are not included.
2. Battery Installation
- Locate the battery compartment on the back of the clock.
- Remove the battery compartment cover.
- Insert two (2) new AA batteries, ensuring correct polarity (+ and -) as indicated inside the compartment.
- Replace the battery compartment cover.

Figure 2: Rear view of the clock with battery compartment and control buttons.
3. Placement Options
Your Westclox Digital Wall Clock can be placed on a flat surface or mounted on a wall.
- Desk Stand: Extend the integrated stand(s) on the back of the clock to position it upright on a desk, table, or nightstand.
- Wall Mount: Use the keyhole slot on the back of the clock to hang it securely on a wall hook or screw.

Figure 3: Clock on a desk.

Figure 4: Clock mounted on a wall.
Operating Instructions
1. Button Functions
The control buttons are located on the back of the clock (refer to Figure 2).
- SET: Used to enter setting modes for time, date, and alarm.
- ALARM: Used to activate/deactivate the alarm and enter alarm setting mode.
- ▲ (Up Arrow): Used to increase values during setting.
- ▼ (Down Arrow): Used to decrease values during setting.
- SNOOZE: Activates the snooze function when the alarm sounds.
2. Setting the Time
- Press the SET button once. The hour digits will begin to flash.
- Use the ▲ or ▼ buttons to adjust the hour. Pay attention to the AM/PM indicator.
- Press SET again. The minute digits will flash.
- Use the ▲ or ▼ buttons to adjust the minutes.
- Press SET to confirm and exit time setting mode.
3. Setting the Date and Day of the Week
- From normal time display, press the SET button twice. The year digits will begin to flash.
- Use the ▲ or ▼ buttons to adjust the year.
- Press SET again. The month digits will flash.
- Use the ▲ or ▼ buttons to adjust the month.
- Press SET again. The date digits will flash.
- Use the ▲ or ▼ buttons to adjust the date.
- The day of the week will automatically adjust based on the set date.
- Press SET to confirm and exit date setting mode.
4. Setting the Alarm
- Press the ALARM button once. The alarm time will be displayed, and the hour digits will flash.
- Use the ▲ or ▼ buttons to adjust the alarm hour.
- Press ALARM again. The minute digits will flash.
- Use the ▲ or ▼ buttons to adjust the alarm minutes.
- Press ALARM to confirm the alarm time.
- To activate the alarm, press the ALARM button until the alarm icon (bell symbol) appears on the display.
- To deactivate the alarm, press the ALARM button until the alarm icon disappears.
5. Using the Snooze Function
When the alarm sounds, press the SNOOZE button. The alarm will temporarily stop and sound again after approximately 5-10 minutes (snooze duration may vary slightly). To turn off the alarm completely, press any other button on the back of the clock.
6. Temperature Display
The clock automatically displays the indoor temperature in Fahrenheit (°F). No setting is required for this function.
Maintenance
1. Cleaning
To clean the clock, gently wipe the surface with a soft, dry cloth. Do not use abrasive cleaners, solvents, or chemical sprays, as these may damage the display or casing.
2. Battery Replacement
When the display becomes dim or the clock functions irregularly, it is time to replace the batteries. Follow the "Battery Installation" steps in the Setup section to replace the two (2) AA batteries.
Troubleshooting
| Problem | Possible Cause | Solution |
|---|---|---|
| Display is blank or dim. | Batteries are low or incorrectly installed. | Replace batteries with new AA batteries, ensuring correct polarity. |
| Time or date is incorrect. | Time/date was not set correctly or reset after battery change. | Follow the "Setting the Time" and "Setting the Date and Day of the Week" instructions. |
| Alarm does not sound. | Alarm is not activated or set incorrectly. | Ensure the alarm time is set and the alarm icon (bell symbol) is visible on the display. |
| Cannot change day/date. | Incorrect mode entered or buttons not pressed in sequence. | Ensure you press the SET button twice to enter year setting, then proceed to month and date. The day of the week adjusts automatically. |
Specifications
| Brand | Westclox |
| Model Number | 55006BK |
| Display Type | Digital LCD |
| Dimensions (W x H) | 7 inches x 9 inches |
| Power Source | 2 x AA Batteries (not included) |
| Special Features | Large Display, Temperature Display, Date, Day of Week, Alarm with Snooze |
| Material | Plastic |
| Item Weight | 10.4 ounces |
| Mounting Type | Wall Mount, Desk Stand |
| Indoor/Outdoor Usage | Indoor |
Warranty and Support
Westclox products are manufactured with quality and care. For specific warranty information or technical support, please refer to the product packaging or visit the official Westclox store online.
You can find more information and contact support through the Westclox Store on Amazon.


