1. Introduction
Thank you for purchasing the Plumeet Digital Alarm Clock. This manual provides detailed instructions for setting up, operating, and maintaining your new alarm clock. Please read this manual thoroughly before use to ensure proper function and to maximize your product experience.

Figure 1: Front view of the Plumeet Digital Alarm Clock, displaying time, date, and alarm setting.
2. Safety Information
- Do not expose the device to extreme temperatures, direct sunlight, or high humidity.
- Keep the device away from water or other liquids.
- Use only the specified battery type (2 AA batteries). Do not mix old and new batteries, or different types of batteries.
- Dispose of used batteries according to local regulations.
- Do not attempt to disassemble or repair the device yourself. Contact customer support if service is required.
3. Package Contents
Please check the package for the following items:
- Plumeet Digital Alarm Clock (1 unit)
- User Manual (this document)
Note: 2 AA batteries are required and are not included in the package.
4. Setup
4.1 Battery Installation
- Locate the battery compartment cover on the back of the alarm clock.
- Slide the cover downwards to open the compartment.
- Insert two (2) new AA batteries, ensuring the correct polarity (+ and -) as indicated inside the compartment.
- Replace the battery compartment cover, sliding it upwards until it clicks into place.
The clock display should now turn on. If not, please check battery orientation or replace with fresh batteries.

Figure 2: Rear view of the alarm clock with battery compartment and control buttons.
5. Operating Instructions
5.1 Button Overview
The alarm clock features several buttons and switches on its rear and top for various functions:
- YEAR / MONTH / DATE / HOUR / MINUTE: Buttons for adjusting respective values.
- ALARM: Button to enter alarm setting mode.
- TIME-CALENDAR: Button to switch between time display and calendar display.
- 12/24: Button to toggle between 12-hour and 24-hour time formats.
- OFF-ON ALARM: Slide switch to enable or disable the alarm function.
- SNOOZE/LIGHT (Top Button): Activates the snooze function when the alarm sounds, or illuminates the backlight for 5 seconds.
5.2 Setting the Time
- Press the TIME-CALENDAR button until the current time is displayed.
- Press and hold the HOUR button to adjust the hour. Release and press repeatedly to advance.
- Press and hold the MINUTE button to adjust the minute. Release and press repeatedly to advance.
- For 12-hour format, ensure AM/PM indicator is correct.
5.3 Setting the Date
- Press the TIME-CALENDAR button until the calendar (Month/Date/Year) is displayed.
- Press and hold the YEAR button to set the current year.
- Press and hold the MONTH button to set the current month.
- Press and hold the DATE button to set the current day.
5.4 Setting 12/24 Hour Format
- In time display mode, press the 12/24 button to toggle between 12-hour (with AM/PM indicator) and 24-hour formats.
5.5 Setting the Alarm
- Slide the OFF-ON ALARM switch to the 'ON' position. An alarm icon will appear on the display.
- Press the ALARM button. The alarm time will flash.
- Use the HOUR and MINUTE buttons to set your desired alarm time.
- Press the ALARM button again to confirm the setting, or wait a few seconds for it to automatically save.
- To deactivate the alarm, slide the OFF-ON ALARM switch to the 'OFF' position. The alarm icon will disappear.
5.6 Snooze Function
When the alarm sounds:
- Press the large SNOOZE/LIGHT button on the top of the clock.
- The alarm will temporarily stop and sound again after approximately 8 minutes.
- To completely turn off the alarm, slide the OFF-ON ALARM switch to 'OFF'.

Figure 3: Activating the snooze function.
5.7 Nightlight/Backlight Function
To illuminate the display in low light conditions:
- Press the large SNOOZE/LIGHT button on the top of the clock.
- The display will light up for approximately 5 seconds, then automatically turn off.
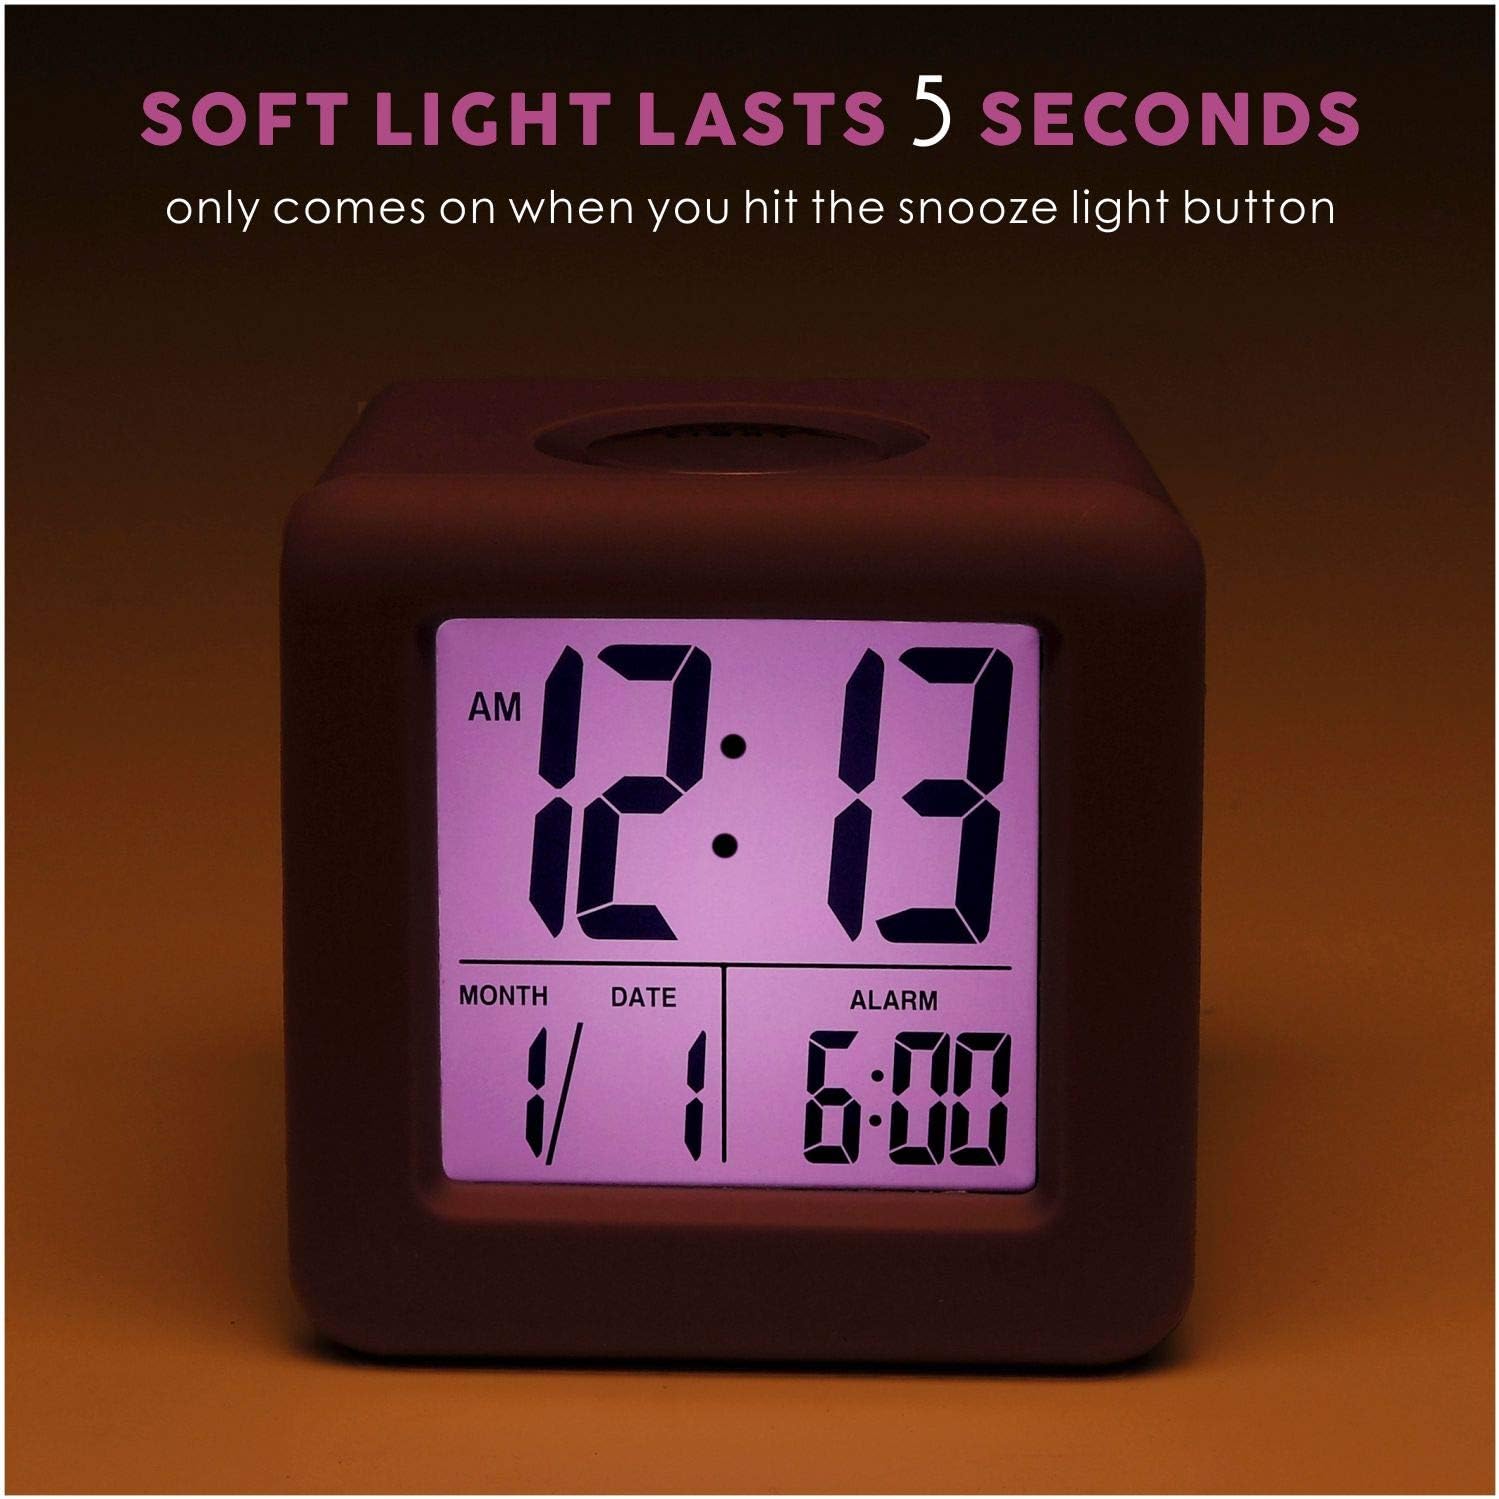
Figure 4: Display with backlight activated.
6. Maintenance
6.1 Cleaning
To clean the alarm clock, gently wipe the surface with a soft, dry cloth. Do not use abrasive cleaners, solvents, or chemical sprays, as these may damage the device.
6.2 Battery Replacement
When the display becomes dim or the clock stops functioning, it is time to replace the batteries. Follow the battery installation steps in Section 4.1. It is recommended to replace both AA batteries simultaneously with new ones.
7. Troubleshooting
| Problem | Possible Cause | Solution |
|---|---|---|
| Display is blank or dim. | Low or dead batteries; incorrect battery installation. | Replace batteries with new AA batteries, ensuring correct polarity. |
| Alarm does not sound. | Alarm function is off; alarm time not set correctly. | Slide the OFF-ON ALARM switch to 'ON'. Verify the alarm time is set as desired. |
| Backlight does not work. | Low batteries. | Replace batteries with new AA batteries. |
| Incorrect time/date displayed. | Time/date not set correctly after battery installation or reset. | Refer to Sections 5.2 and 5.3 to reset the time and date. |
8. Specifications
| Feature | Detail |
|---|---|
| Model Number | EM-008-PU |
| Display Type | LCD |
| Power Source | 2 x AA Batteries (not included) |
| Product Dimensions | 3.15"W x 3.15"H |
| Item Weight | 5.4 Ounces |
| Material | Silicone, Plastic |
| Special Features | Snooze, Nightlight, Ascending Alarm, 12/24 Hour Format, Date Display |
9. Warranty and Support
Plumeet products are designed for reliability and performance. For warranty information or technical support, please refer to the contact details provided with your purchase or visit the official Plumeet website. Please retain your proof of purchase for warranty claims.


