
Important Safety Information
Read all instructions carefully before installation and use. Failure to follow these instructions may result in electric shock, fire, or other hazards.
- Always disconnect power at the circuit breaker before installing, servicing, or cleaning the light kit.
- Ensure all electrical connections comply with local codes and ordinances. If you are unfamiliar with electrical wiring, consult a qualified electrician.
- This product is rated for Dry locations only. Do not install in damp or wet environments.
- The light kit is designed for Indoor use only.
- Please check your local laws before purchasing this product.
Package Contents
Verify that all components listed below are present before beginning installation.
- LED Fan Light Kit (Model 180-1)
- Glass Shade
- Mounting Hardware
- Instruction Manual (this document)
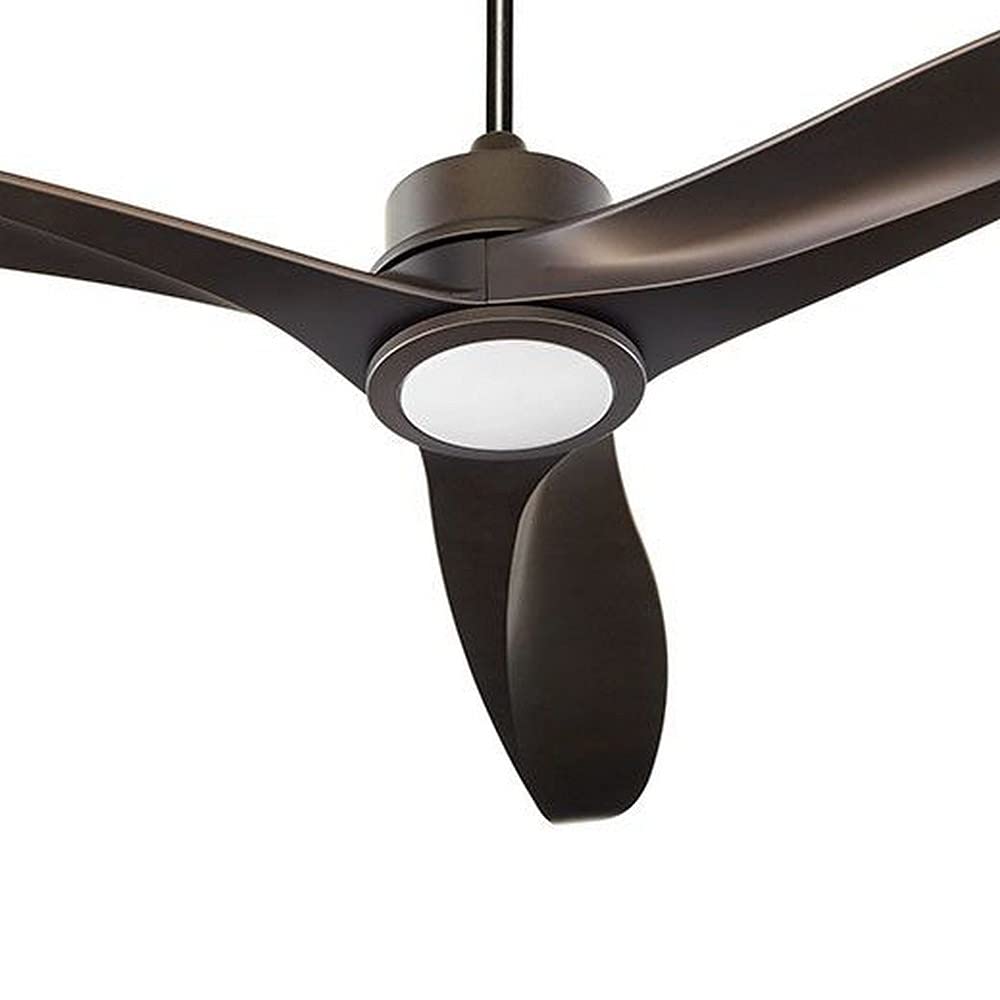
Setup
Pre-Installation
- Tools Required: Phillips screwdriver, flathead screwdriver, wire strippers, electrical tape, ladder.
- Power Off: Before starting, ensure the power to the ceiling fan circuit is turned OFF at the main electrical panel.
- Unpack all components and inspect for any damage. Do not proceed with installation if any parts are damaged.
Installation Steps
This LED fan light kit is designed for Semi Flush Mount installation and requires assembly.
- Prepare the Fan: If replacing an existing light kit, carefully remove the old light kit from the ceiling fan according to its instructions. Ensure the fan's wiring is accessible.
- Connect Wiring: Connect the wires from the LED light kit to the corresponding wires from the ceiling fan. Typically, this involves connecting the black wire from the light kit to the black (hot) wire from the fan, and the white wire from the light kit to the white (neutral) wire from the fan. Connect the ground wire (green or bare copper) from the light kit to the fan's ground wire. Secure connections with wire nuts and electrical tape.
- Mount the Light Kit: Carefully align the light kit with the mounting points on the ceiling fan. Secure the light kit to the fan using the provided screws and hardware. Ensure it is firmly attached and stable.
- Install the Glass Shade: Attach the glass shade to the light kit assembly. Follow the specific mechanism for your model, which may involve twisting, screwing, or using retention clips. Ensure the shade is securely fastened.
- Restore Power: Once installation is complete and all connections are secure, restore power at the main electrical panel.
Operating Instructions
Basic Operation
The Quorum 180-1 LED Fan Light Kit can be controlled via a Wall Switch, Remote Control, or through an App.
- Wall Switch: Flip the wall switch connected to the fan light to turn the light ON or OFF.
- Remote Control: Use the dedicated light button on your ceiling fan's remote control to operate the light kit. Refer to your ceiling fan's manual for remote control pairing and specific button functions.
- App Control: If your ceiling fan system supports app integration, follow the fan's instructions to connect the light kit to the app. This typically allows for ON/OFF control and potentially dimming or scheduling features.
The light kit provides Warm White illumination at a 3000 Kelvin color temperature.
Maintenance
Regular maintenance ensures optimal performance and longevity of your LED Fan Light Kit.
- Cleaning: To clean the light kit, ensure power is OFF at the circuit breaker. Wipe the exterior surfaces with a soft, dry cloth. For the glass shade, a mild glass cleaner can be used, applied to the cloth first, not directly to the fixture. Avoid abrasive cleaners or solvents.
- LED Light Source: The LED light source in this kit is designed for long life and is generally non-removable. If the LED light source fails, the entire light kit may need to be replaced.
- Inspection: Periodically check all mounting screws and electrical connections to ensure they remain secure.
Troubleshooting
If you encounter issues with your LED Fan Light Kit, refer to the following table for common problems and solutions.
| Problem | Possible Cause | Solution |
|---|---|---|
| Light does not turn ON. | No power to the fixture. Loose wiring connection. Faulty wall switch/remote. | Check circuit breaker. Ensure wall switch is ON. Verify all wire connections are secure. Test with remote or app if applicable. |
| Light flickers or dims unexpectedly. | Loose wiring connection. Incompatible dimmer switch (if applicable). Power fluctuations. | Check all wire connections. Ensure any dimmer switch used is compatible with LED lighting. Consult an electrician if power fluctuations are suspected. |
| Light kit is loose or wobbles. | Mounting screws are not tight. | Turn off power at the circuit breaker. Carefully tighten all mounting screws securing the light kit to the fan. |
Specifications
| Feature | Specification |
|---|---|
| Brand | Quorum International |
| Model Number | 180-1 |
| Light Source Type | LED |
| Voltage | 120 Volts |
| Color Temperature | 3000 Kelvin (Warm White) |
| Item Weight | 0.6 Pounds (approx. 9.6 ounces) |
| Product Dimensions | 12 x 6 x 5 inches |
| Installation Type | Semi Flush Mount |
| Indoor/Outdoor Usage | Indoor |
| Control Method | App, Remote Control, Wall Switch |
| Assembly Required | Yes |
| Safety Rating | Dry Location |
| Shade Material | Glass |
Warranty Information
This Quorum 180-1 LED Fan Light Kit is covered by a Manufacturer Warranty. For specific details regarding the warranty period and terms, please refer to the documentation included with your purchase or contact Quorum International directly. The warranty description provided is N/a, indicating that specific terms should be obtained from the manufacturer.
Support
For technical assistance, replacement parts, or further inquiries regarding your Quorum 180-1 LED Fan Light Kit, please contact Quorum International customer support.
You can also visit the official Quorum International Store on Amazon for more product information and support resources.