Introduction
This manual provides essential information for the proper setup, operation, and maintenance of your RME ADI-2 Pro 2-in/4-out AD/DA Converter. The ADI-2 Pro is a versatile audio device designed for professional studio environments, offering high-end analog-to-digital and digital-to-analog conversion, a powerful headphone amplifier, and various digital connectivity options. Please read this manual thoroughly before using the device to ensure optimal performance and longevity.
Safety Information
Always observe the following safety precautions to prevent damage to the device or injury to yourself:
- Do not expose the unit to rain, moisture, or extreme temperatures.
- Ensure proper ventilation around the unit to prevent overheating.
- Use only the specified power supply (9-15V DC, 10 Watt, center pin positive).
- Avoid placing heavy objects on the unit.
- Do not attempt to open or service the unit yourself. Refer all servicing to qualified personnel.
- Keep the unit away from strong magnetic fields.
Package Contents
Verify that all items are present in the package:
- RME ADI-2 Pro Unit
- External Power Supply Unit
- USB Cable
- User Manual (this document)
- Remote Control (if included with specific model variant)
Product Overview: Rear Panel
The rear panel of the ADI-2 Pro provides all necessary connections for power, digital, and analog audio signals.
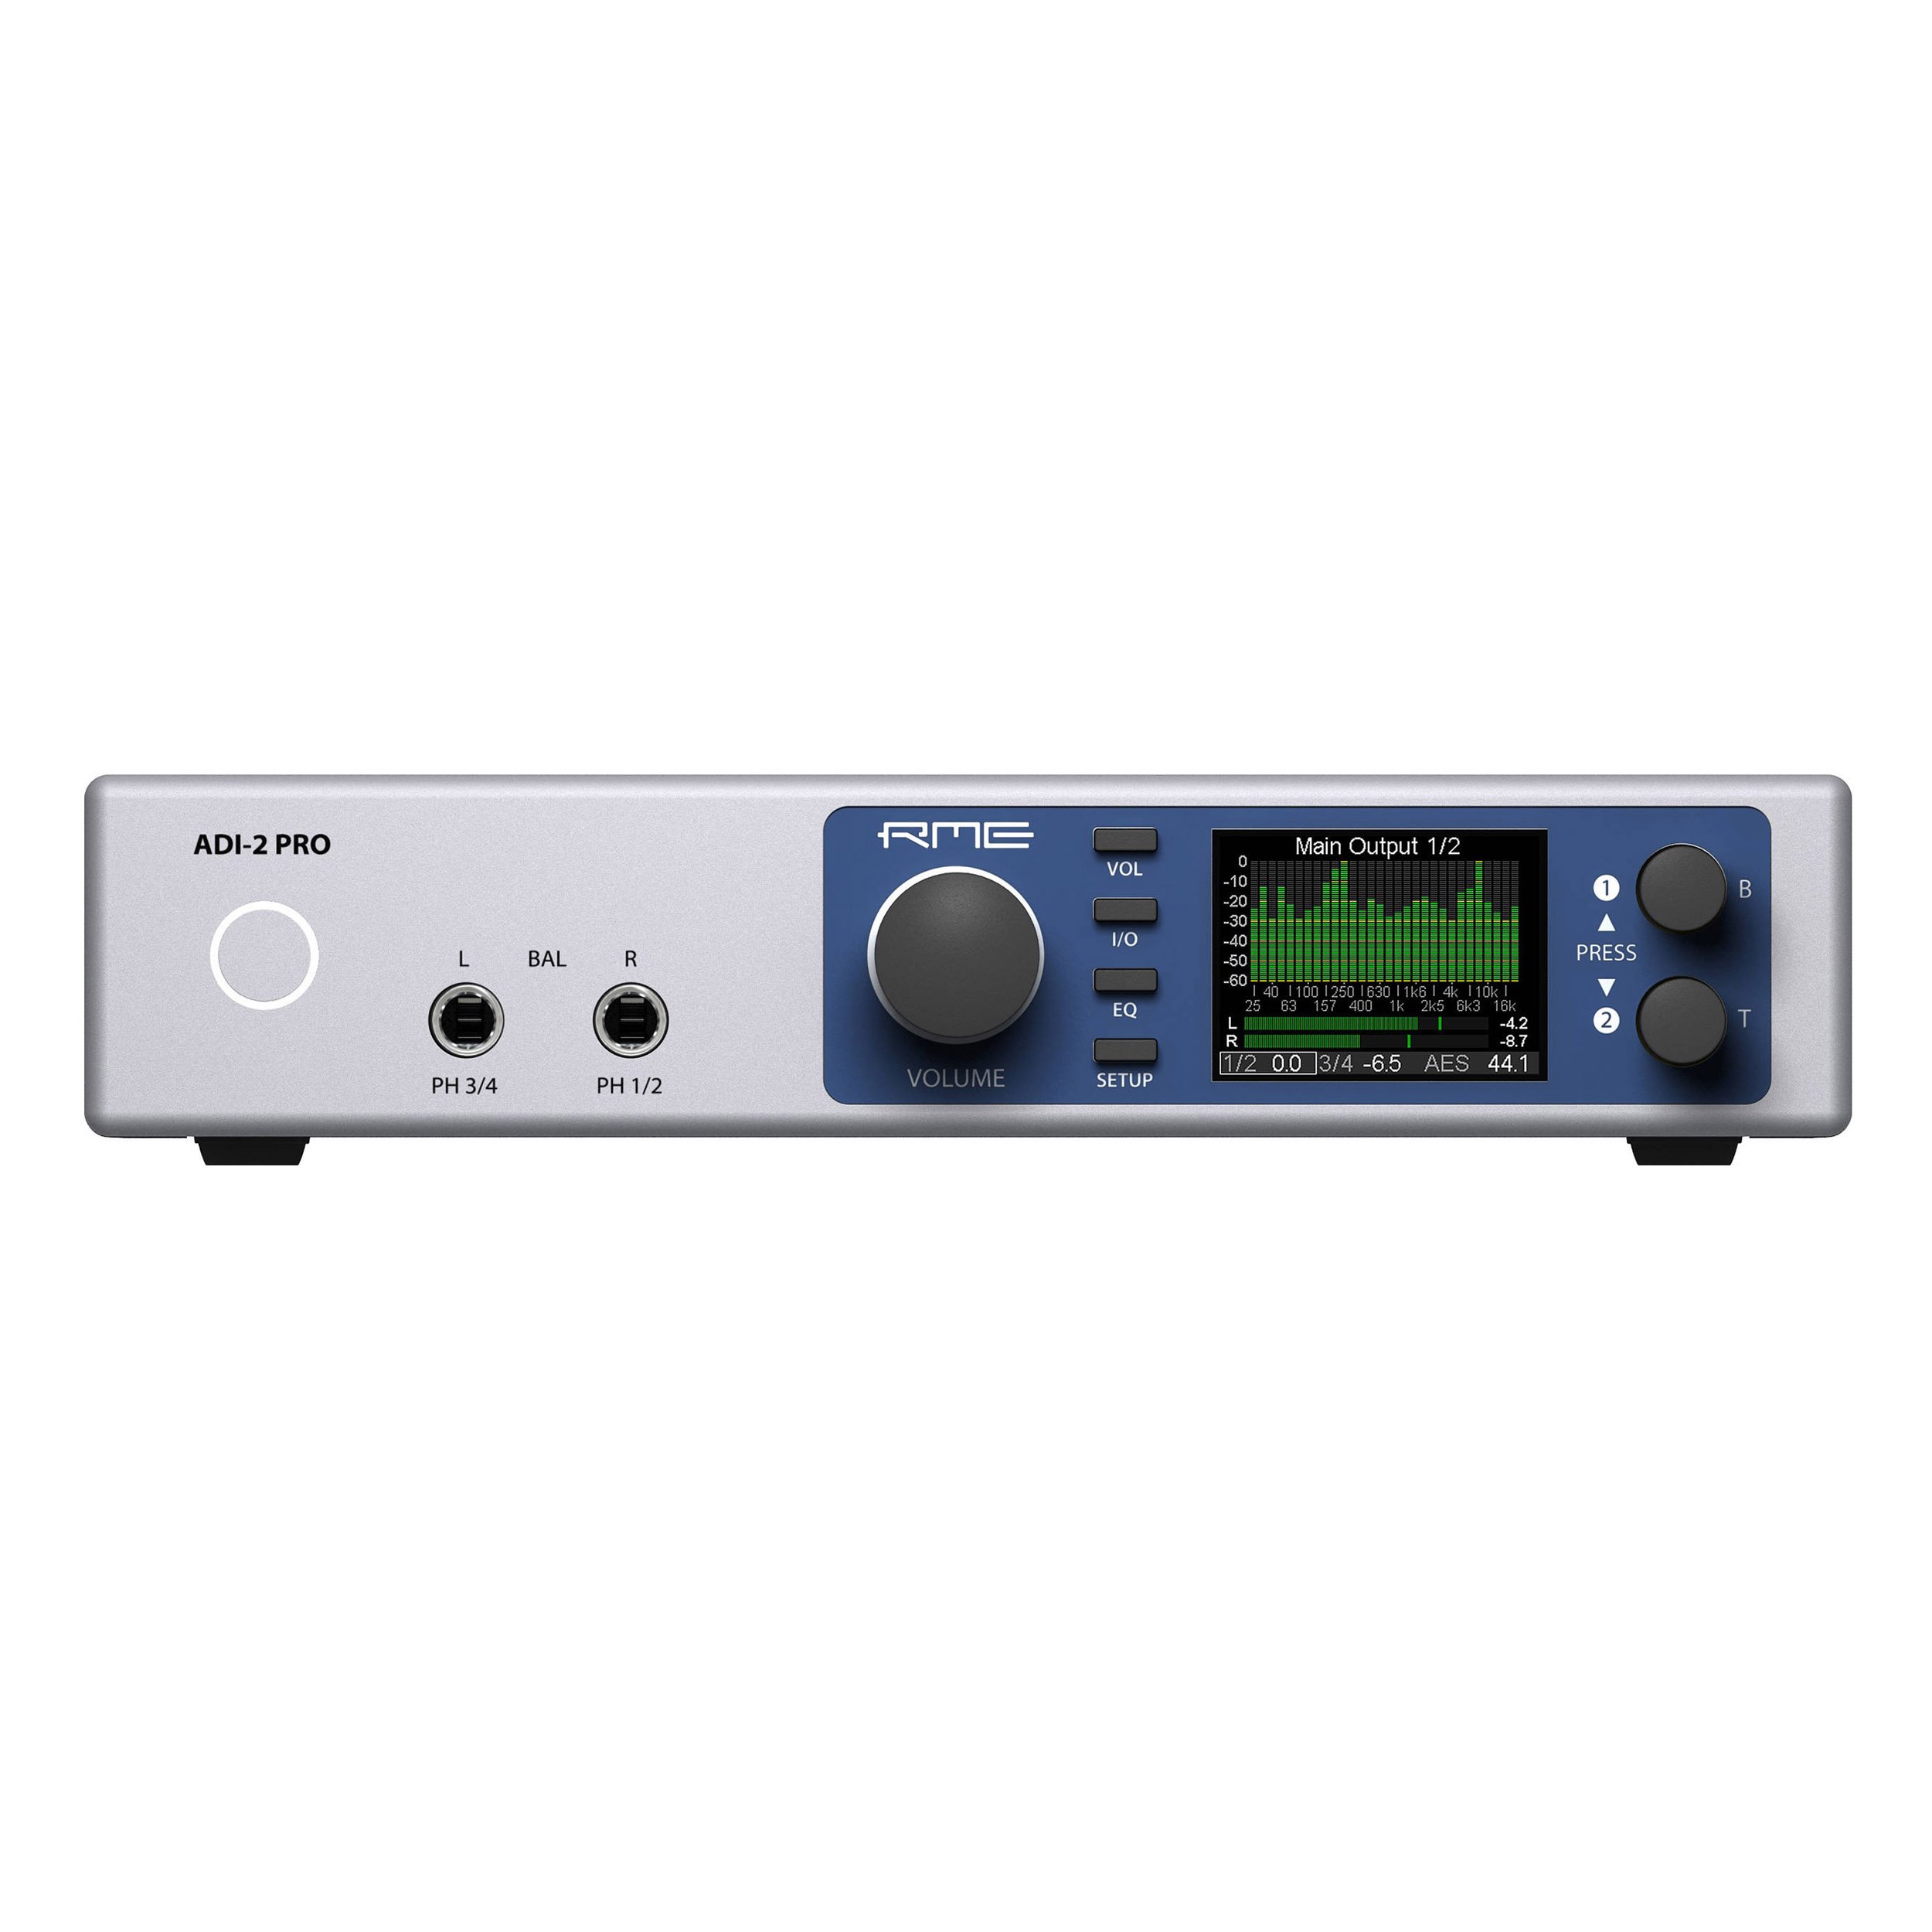
Image: Rear panel of the RME ADI-2 Pro. From left to right, it features the power input, USB 2.0 port, digital I/O section with optical SPDIF/AES-3 and a D-sub connector, analog outputs (Right and Left XLR, plus L/R 1/4" TRS), and analog inputs (Right and Left XLR).
Rear Panel Connections:
- Power Input: DC input for the external power supply. Requires 9-15V DC, 10 Watt, with a center pin positive configuration.
- USB 2.0: Connects the ADI-2 Pro to a computer for audio interface functionality.
- Digital I/O (SPDIF / AES-3):
- Out: Optical output for SPDIF or AES-3 digital audio.
- In: Optical input for SPDIF or AES-3 digital audio.
- D-sub Connector: Provides additional digital I/O options, typically for AES-3 via breakout cable.
- Analog Outputs:
- Right / Left XLR: Balanced analog audio outputs for connecting to studio monitors or other audio equipment.
- L / R (1/4" TRS): Additional balanced analog outputs, often used for alternative monitoring or routing.
- Analog Inputs:
- Right / Left XLR: Balanced analog audio inputs for connecting microphones (with external pre-amp) or line-level sources.
Setup
- Power Connection: Connect the external power supply to the DC input on the rear panel and then to a power outlet.
- USB Connection: Connect the ADI-2 Pro to your computer using the provided USB cable.
- Driver Installation: For Windows and macOS, download and install the latest drivers from the official RME website. Follow the on-screen instructions.
- Audio Connections:
- Connect your studio monitors to the Analog Outputs (XLR or TRS).
- Connect your audio sources (e.g., pre-amplifiers, instruments) to the Analog Inputs (XLR).
- For digital audio, connect optical cables to the SPDIF/AES-3 In/Out ports as needed.
- Initial Power On: Power on the ADI-2 Pro. The device should be recognized by your computer's operating system and audio software.
Operating Instructions
The RME ADI-2 Pro offers extensive functionality through its front panel controls and display. Refer to the detailed software manual for in-depth configuration options.
- Front Panel Controls: Use the rotary encoders and buttons on the front panel to navigate menus, adjust parameters, and select inputs/outputs.
- Display: The high-resolution display provides real-time metering, settings, and status information.
- Headphone Outputs: The ADI-2 Pro features two high-quality headphone outputs. Adjust their volume independently via the front panel.
- Modes of Operation: The device can function as a standalone AD/DA converter, a USB audio interface, a headphone amplifier, and a digital format converter. Specific modes and routing are configured through the internal menu system.
- Software Control: Advanced settings and routing can be managed via the RME driver control panel on your computer.
Maintenance
- Cleaning: Use a soft, dry cloth to clean the exterior of the unit. Do not use liquid cleaners or solvents.
- Ventilation: Ensure that the ventilation slots are not obstructed to prevent overheating.
- Firmware Updates: Periodically check the RME website for firmware updates to ensure optimal performance and access to new features. Follow the provided instructions carefully when updating firmware.
- Storage: When not in use for extended periods, store the unit in a dry, dust-free environment.
Troubleshooting
- No Power:
- Check the power cable connection to the unit and the wall outlet.
- Verify the power adapter is functioning correctly and matches the required specifications (9-15V DC, 10 Watt, center pin positive).
- No Audio Output:
- Ensure the correct output is selected on the ADI-2 Pro and in your computer's audio settings.
- Check all cable connections to your monitors or headphones.
- Verify volume levels on the unit and in your software.
- No Audio Input:
- Confirm the input source is correctly connected to the ADI-2 Pro's analog or digital inputs.
- Select the correct input source on the ADI-2 Pro and in your recording software.
- Ensure any external pre-amplifiers are powered on and functioning.
- Device Not Recognized by Computer:
- Re-install the latest drivers from the RME website.
- Try a different USB port or USB cable.
- Restart your computer and the ADI-2 Pro.
For further assistance, consult the comprehensive RME ADI-2 Pro manual available on the RME website or contact RME technical support.
Specifications
| Item Weight | 4.49 pounds |
| Product Dimensions | 13.75 x 8.5 x 3.35 inches |
| Model Number | ADI2PRO |
| ASIN | B01MTWM896 |
| Date First Available | March 24, 2017 |
| Power Requirement | 9-15V DC, 10 Watt (Center Pin +) |
| Connectivity | USB 2.0, Optical SPDIF/AES-3 I/O, D-sub Digital I/O, Analog XLR I/O, Analog 1/4" TRS Outputs |
Warranty and Support
RME products are covered by a manufacturer's warranty. For specific warranty terms and conditions, please refer to the documentation included with your product or visit the official RME website. For technical support, driver downloads, and additional resources, please visit the RME support page:


