
DROK 200069
DROK AC 500V 200A Digital Volt Ammeter Panel User Manual
Model: 200069 | Brand: DROK
Introduction
This user manual provides comprehensive instructions for the installation, operation, and maintenance of the DROK AC 500V 200A Digital Volt Ammeter Panel. This device is designed to accurately measure and display AC voltage and current simultaneously, making it an essential tool for monitoring electrical systems.
Important Safety Information
WARNING: Electrical shock hazard. Installation and servicing should only be performed by qualified personnel.
- Always disconnect power before installing or servicing the device.
- Ensure all wiring connections are secure and correct to prevent damage to the device or electrical system.
- Do not exceed the specified voltage and current ratings (AC 130-500V, 0.0-200A).
- Keep the device away from moisture and extreme temperatures.
- The back cover is designed for safety; do not remove it unless necessary for calibration by a professional.
Product Features
- Measurement Range: The voltage range is AC 130-500V, and the current range is 0.0-200A.
- Integrated Current Transformer (CT): Equipped with a precise CT, eliminating the need for a separate purchase. This allows for flexible installation.
- Clear Color Display: The multimeter simultaneously displays voltage (red) and current (green) for easy readability.
- Built-in Trimmer Potentiometer: Designed with an embedded trimmer potentiometer for easy calibration of the meter.
- Simple Connection: The meter is powered by the circuit being measured, removing the need for an extra power supply.
Specifications
| Attribute | Value |
|---|---|
| Brand | DROK |
| Model Number | 200069 |
| Type of Material | Plastic |
| Size | AC 130-500V 200A LED Volt Amp Meter |
| Product Dimensions | 7 x 4 x 3 cm; 50 g |
| Package Dimensions | 12.4 x 5.5 x 5.1 cm |
| Requires Batteries? | No |
| ASIN | B01M8LCWNW |
Setup and Installation
Follow these steps to correctly install your DROK Digital Volt Ammeter Panel:
- Prepare the Mounting Location: Ensure you have a suitable panel cutout for the meter. Refer to the dimensions image below for precise measurements.
- Wiring Connections: The meter is a 2-wire design and is powered by the circuit it measures. Connect the red and black wires from the meter to the AC input voltage lines.
- Current Transformer (CT) Connection: Connect the two green wires from the CT to the "CT" terminals on the meter.
- Current Measurement Setup: For current measurement, the wire carrying the load current must pass through the hole in the middle of the current transformer. Ensure only one wire passes through the CT for accurate readings.
- Secure the Device: Once wired, secure the meter into its panel cutout.

Image: Dimensions of the DROK AC 500V 200A Digital Volt Ammeter Panel and its Current Transformer. The meter measures approximately 70mm wide by 40mm high, with a depth of 30mm. The current transformer has an outer diameter of approximately 40mm and an inner diameter of 25mm.

Image: Wiring diagram illustrating the connection of the DROK AC 500V 200A Digital Volt Ammeter Panel. The diagram shows the AC input connected to the meter's voltage input terminals (red and black wires). The current transformer (CT) is connected to the meter via green wires, and the load wire passes through the center of the CT.

Image: Front view of the DROK AC 500V 200A Digital Volt Ammeter Panel, showing the red LED display for voltage and green LED display for current, along with the included toroidal current transformer.
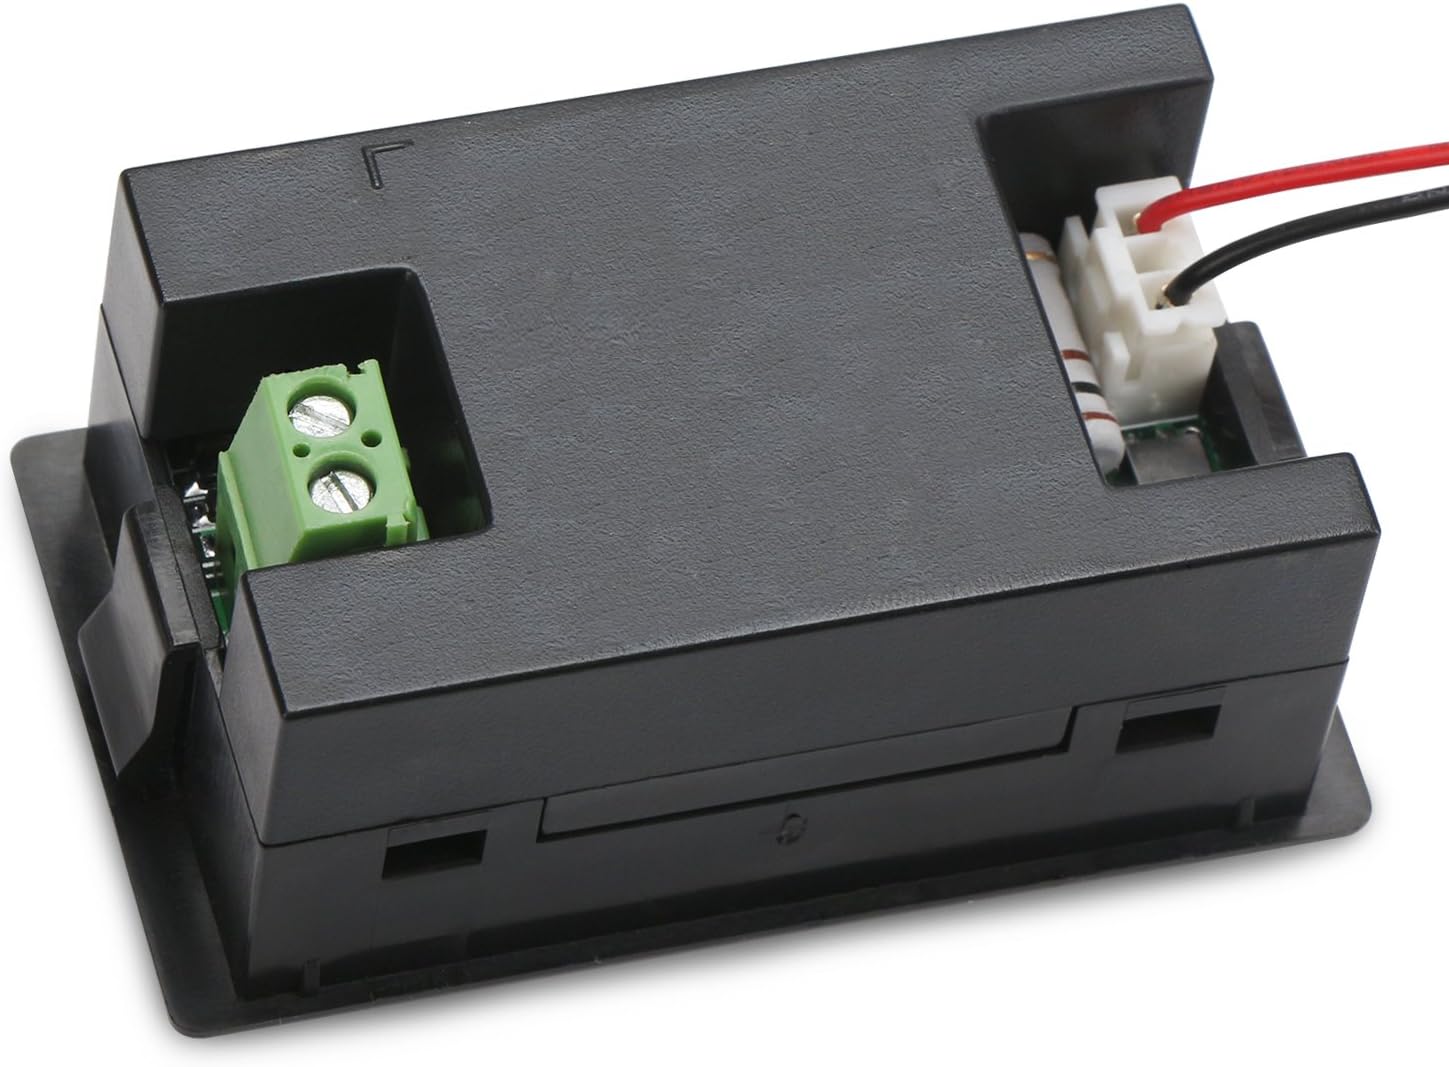
Image: Back view of the DROK AC 500V 200A Digital Volt Ammeter Panel, illustrating the screw terminals for the current transformer connection and the input wires for voltage measurement.
Operating Instructions
Once properly installed and powered, the DROK Digital Volt Ammeter Panel will automatically display the measured AC voltage and current.
- The upper display (red LEDs) indicates the AC voltage in Volts (V).
- The lower display (green LEDs) indicates the AC current in Amperes (A).
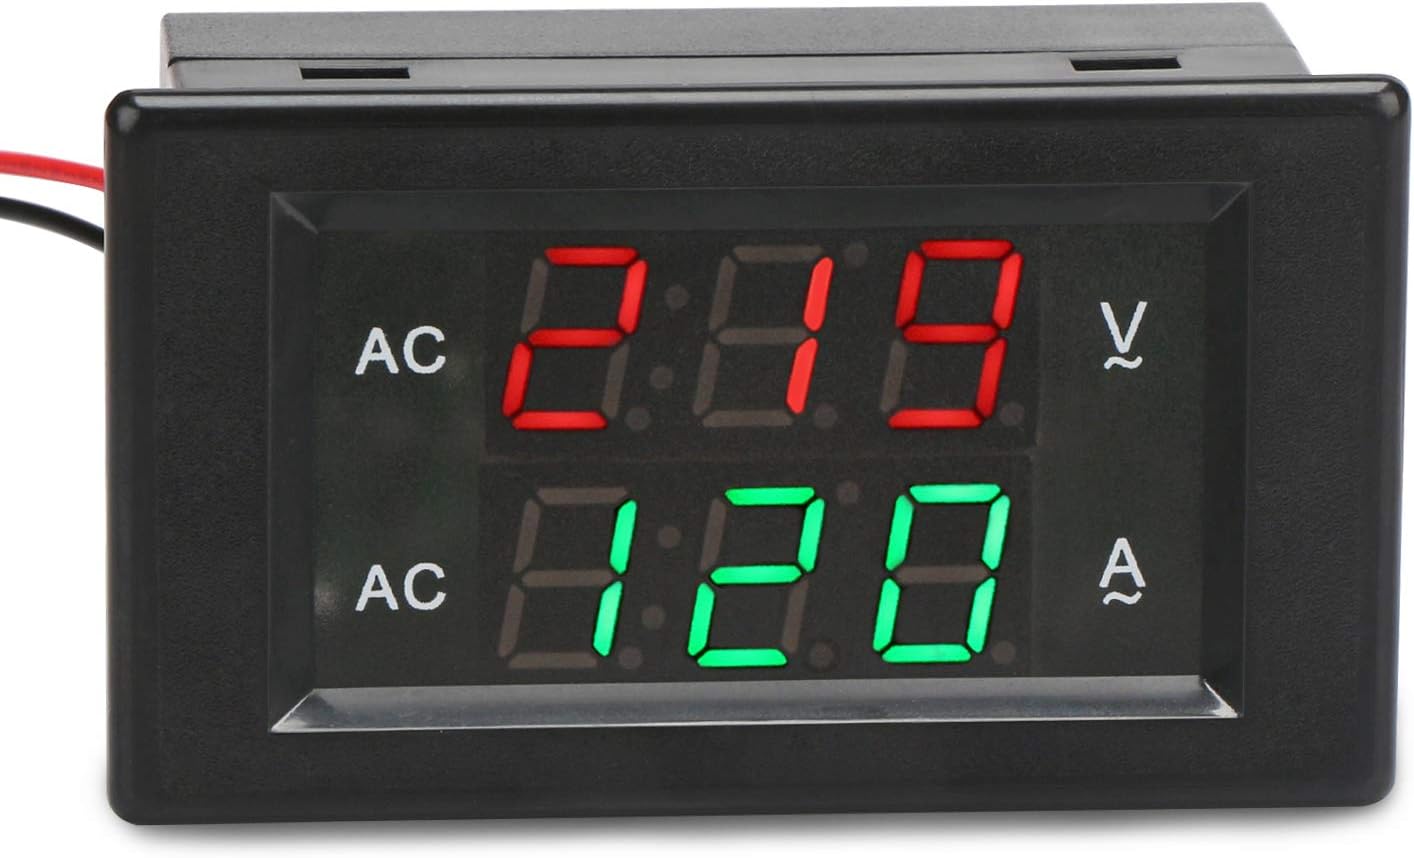
Image: Close-up view of the DROK Digital Volt Ammeter Panel's display, showing an example reading of AC voltage (red digits) and AC current (green digits).
Calibration (Advanced Users Only)
The meter features a built-in trimmer potentiometer for calibration. If you suspect inaccurate readings, a qualified technician can adjust these potentiometers using a known accurate reference meter. The potentiometers are typically located on the back of the unit, labeled for voltage (V-Setting) and amperage (A-Setting) adjustments.
Maintenance
The DROK Digital Volt Ammeter Panel requires minimal maintenance.
- Keep the display clean using a soft, dry cloth. Avoid abrasive cleaners or solvents.
- Periodically check all wiring connections to ensure they remain secure.
- Ensure the operating environment is free from excessive dust, moisture, and corrosive gases.
Troubleshooting
| Problem | Possible Cause | Solution |
|---|---|---|
| No display / Meter not turning on | No power to the meter; incorrect wiring. | Check voltage input connections. Ensure power is supplied to the circuit being measured. |
| Voltage reading is incorrect | Incorrect voltage input connection; meter requires calibration. | Verify voltage input wiring. If persistent, professional calibration may be needed. |
| Current reading is incorrect or zero | CT not connected; load wire not passing through CT; CT connected incorrectly; meter requires calibration. | Ensure CT wires are securely connected to the meter. Verify that only one load wire passes through the center of the CT. If persistent, professional calibration may be needed. |
| Display is flickering or unstable | Unstable power supply; loose connections. | Check power supply stability. Secure all wiring connections. |
Warranty and Support
For warranty information and technical support, please refer to the official DROK website or contact your retailer. Keep your purchase receipt as proof of purchase.
DROK is committed to customer satisfaction. If you encounter any issues with your product, please reach out to their customer service for assistance.
Ask a question about this manual
Ask about setup, troubleshooting, compatibility, parts, safety, or missing instructions. Manuals+ will review the question and use this page’s manual context to help answer it.