
Master Lock 5425EURD
Master Lock Light Up Dial Key Safe 5425EURD User Manual
Comprehensive instructions for setup, operation, and maintenance of your Master Lock 5425EURD Light Up Dial Key Safe.
1. Introduction
The Master Lock 5425EURD Light Up Dial Key Safe is designed for secure storage of keys and access cards, providing convenient access for authorized users. Its durable, wall-mounted design is suitable for both indoor and outdoor use, offering a reliable solution for key management without the need to hide keys under doormats or flowerpots.

Figure 1.1: Master Lock 5425EURD Key Safe, showing the exterior and interior with keys.
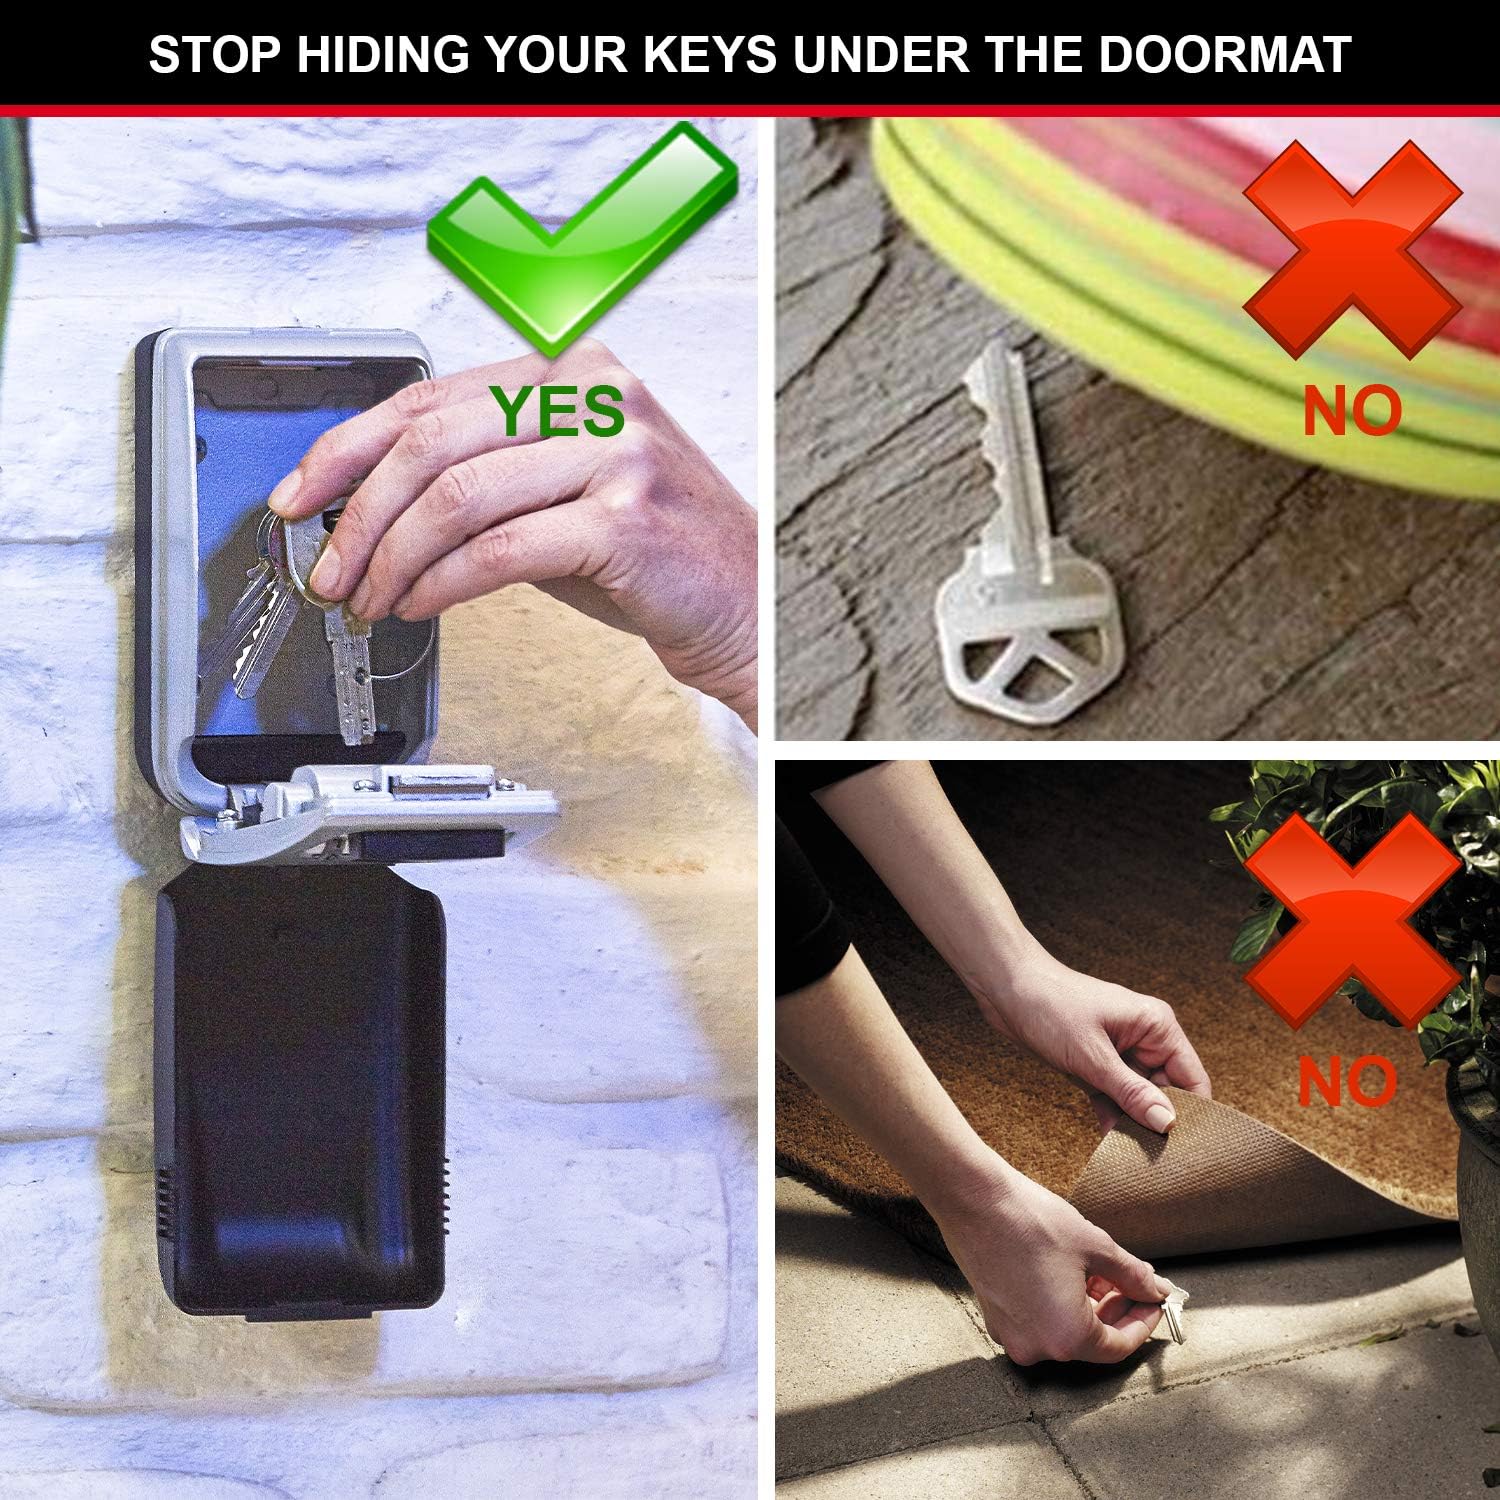
Figure 1.2: Illustrates the security benefit of using a key safe compared to traditional hiding spots.

Figure 1.3: Examples of common applications for the Master Lock 5425EURD Key Safe.
2. Safety Information
Please read and understand all safety instructions before installing and operating the key safe. Failure to follow these instructions may result in property damage or injury.
- Ensure the key safe is mounted securely to a stable and robust surface to prevent unauthorized removal or falling.
- Do not force the dials or internal mechanism. If resistance is met, recheck the combination or inspect for obstructions.
- Keep the key safe closed and locked when not in use to maintain security and protect contents from environmental elements.
- This product is designed for key and access card storage only. Do not store hazardous materials or valuables that require higher security measures.
- Keep out of reach of children to prevent unauthorized access or tampering.
3. Package Contents
Verify that all items are present and in good condition upon opening the package:
- 1 x Master Lock 5425EURD Key Lock Box
- Mounting Kit (screws and anchors)
- Instruction Sheet (this manual)
- 1 x CR2032 Battery (pre-installed)
4. Setup and Installation
4.1 Mounting Instructions
The Master Lock 5425EURD is designed for permanent wall-mounted installation. Ensure you choose a discreet and secure location.

Figure 4.1: Visual guide for mounting the key safe.
- Position the metal mounting plate on the desired surface. Use a level to ensure it is straight.
- Mark the position of the screw holes on the surface using a pencil or marker.
- Remove the plate. Drill holes at the marked positions. The drill bit size will depend on your wall material and the provided anchors. Place anchors into the drilled holes if required for your surface type.
- Place the metal mounting plate back into the Key Lock Box with the mounting plate inside, aligning it with the holes.
- Insert and tighten screws through the key safe and mounting plate into the wall until the unit is firmly secured.
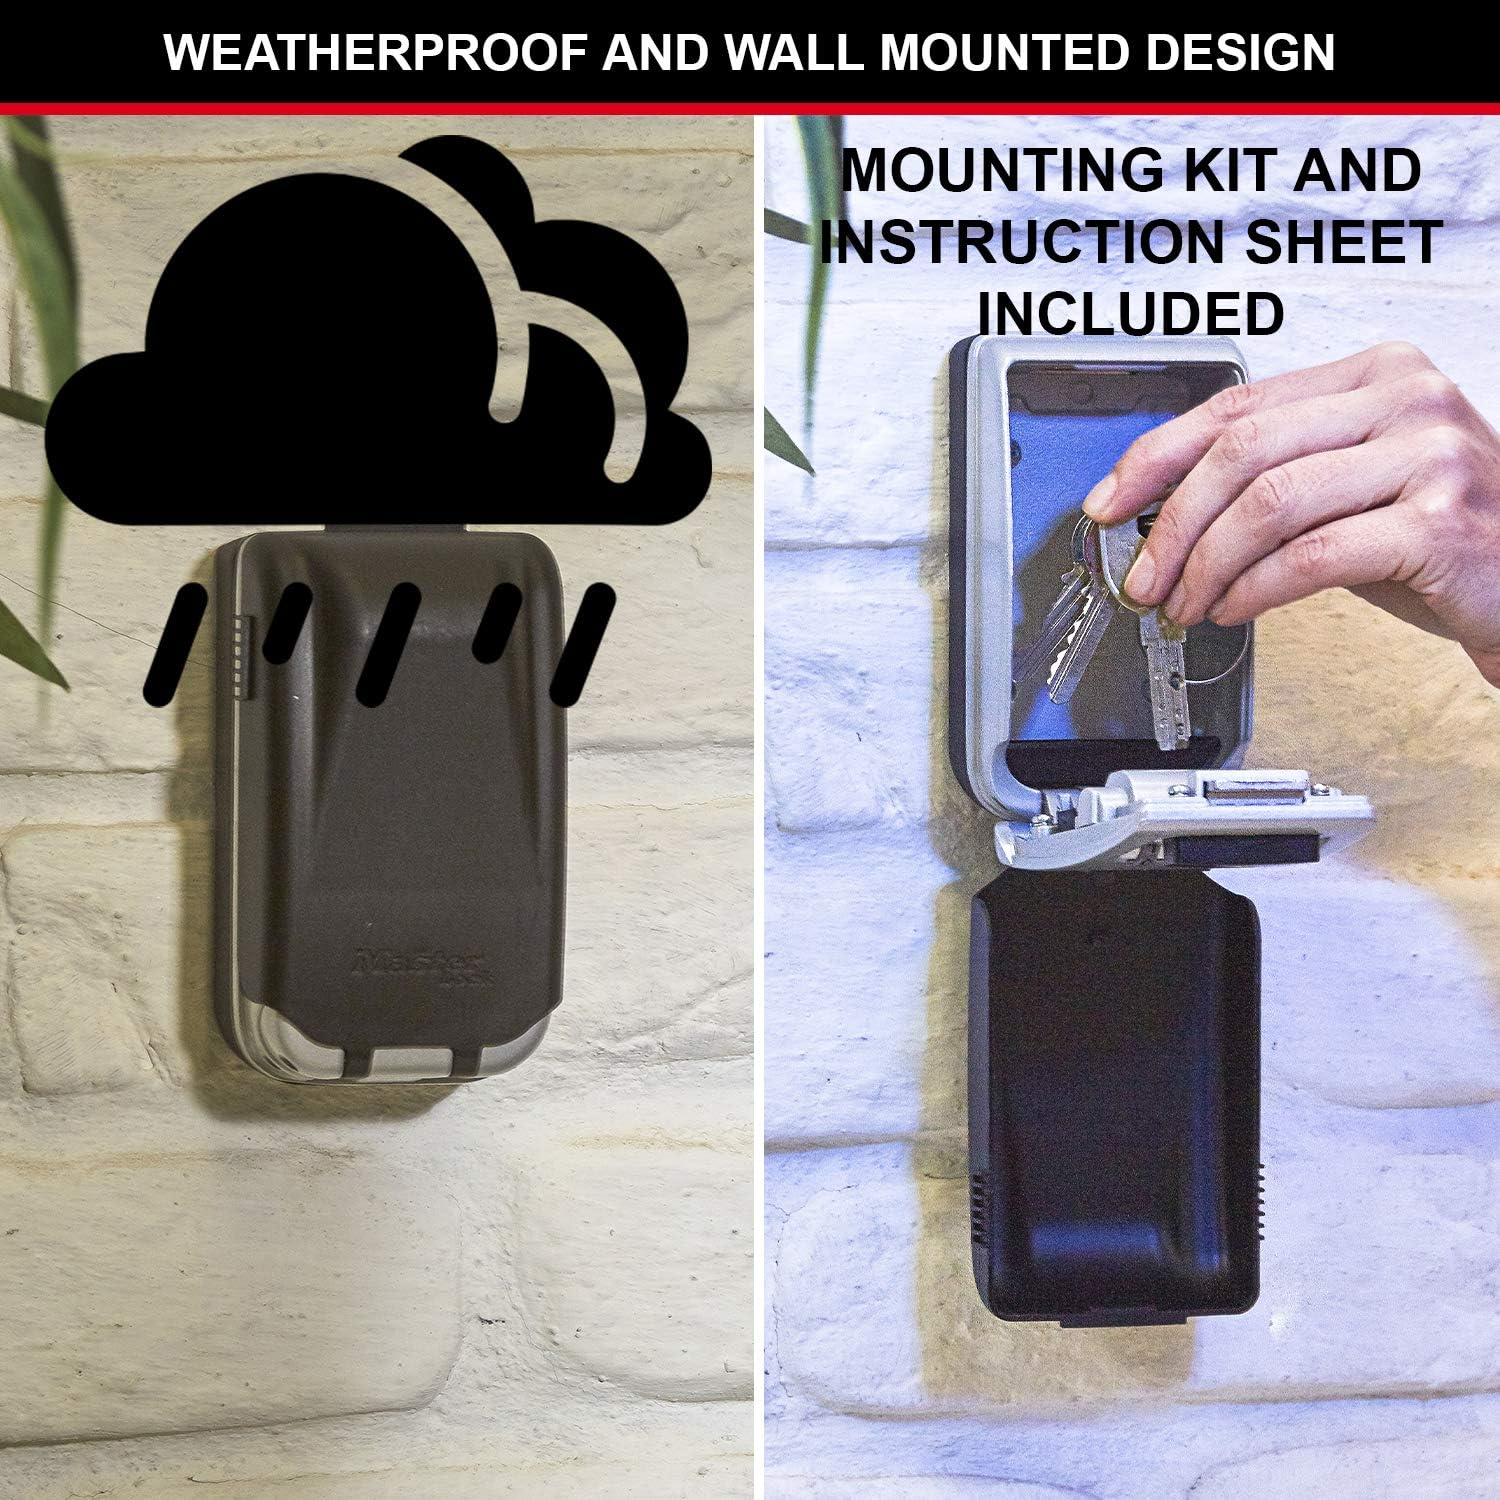
Figure 4.2: The key safe features a weatherproof and wall-mounted design.
4.2 Setting Your Own Combination
The key safe comes with a default combination of 0-0-0-0. It is highly recommended to change this to a personal, memorable 4-digit combination immediately after installation.

Figure 4.3: Steps to set your personalized 4-digit combination.
- Open the lock box using the current combination (default is 0-0-0-0).
- Locate the reset lever inside the unit. Push the reset lever into position A (usually to the right or up).
- While the lever is in position A, rotate the dials to your desired 4-digit combination. Ensure the numbers are clearly aligned.
- Push the reset lever back to position B (usually to the left or down). Close the lock box and scramble the combination dials to secure the new code.
Important: Write down your new combination and store it in a secure, memorable location separate from the key safe. There is no master key or override for forgotten combinations.
5. Operating Instructions
5.1 Opening the Key Safe
- Slide down the weather cover to reveal the dials.
- Rotate the dials to your set 4-digit combination. Ensure each number is precisely aligned with the indicator mark.
- Pull down the large open lever to release the door. The door will swing open, providing access to the internal cavity.
Light-Up Dials: The large, easy-to-read dials will light up automatically each time the weather cover is opened, providing improved visibility in low light conditions.
5.2 Closing and Securing the Key Safe
- Place keys or access cards securely inside the cavity.
- Close the door firmly until it clicks into place.
- Scramble the combination dials to a random set of numbers. This ensures the safe is locked and prevents unauthorized access.
- Slide the weather cover back up to protect the dials from elements.
6. Maintenance
Regular maintenance ensures the longevity and proper functioning of your Master Lock Key Safe.
- Cleaning: Clean the exterior of the key safe periodically with a soft, damp cloth. Avoid using harsh chemicals, abrasive cleaners, or solvents, as these can damage the finish or internal components.
- Battery Replacement: The light-up dials are powered by a CR2032 battery. If the light dims or stops working, it's time to replace the battery. The battery is located inside the unit, typically accessible once the safe is open. Carefully remove the old battery and insert a new CR2032 battery, ensuring correct polarity.
- Mechanism Check: Occasionally check the dials and the opening mechanism for smooth operation. If they become stiff, ensure there is no dirt or debris obstructing them. Do not lubricate the dials or internal mechanism with oil-based products, as this can attract dust and cause issues.
7. Troubleshooting
This section addresses common issues you might encounter with your key safe.
| Problem | Possible Cause | Solution |
|---|---|---|
| Key safe will not open. | Incorrect combination entered. Dials not aligned. | Double-check your combination and ensure each number is perfectly aligned with the indicator. Try the default combination (0-0-0-0) if you recently reset it. |
| Forgotten combination. | Combination was not recorded or remembered. | There is no master key or override for forgotten combinations. If you cannot recall the combination, you may need to contact Master Lock support with proof of purchase for potential solutions, though often replacement is necessary. |
| Dials are stiff or hard to turn. | Dirt or debris in the mechanism. | Clean the dials and surrounding area. Do not use oil or lubricants. If the issue persists, contact customer support. |
| Light-up dials are dim or not working. | Low or dead battery. | Replace the CR2032 battery located inside the unit. |
8. Specifications
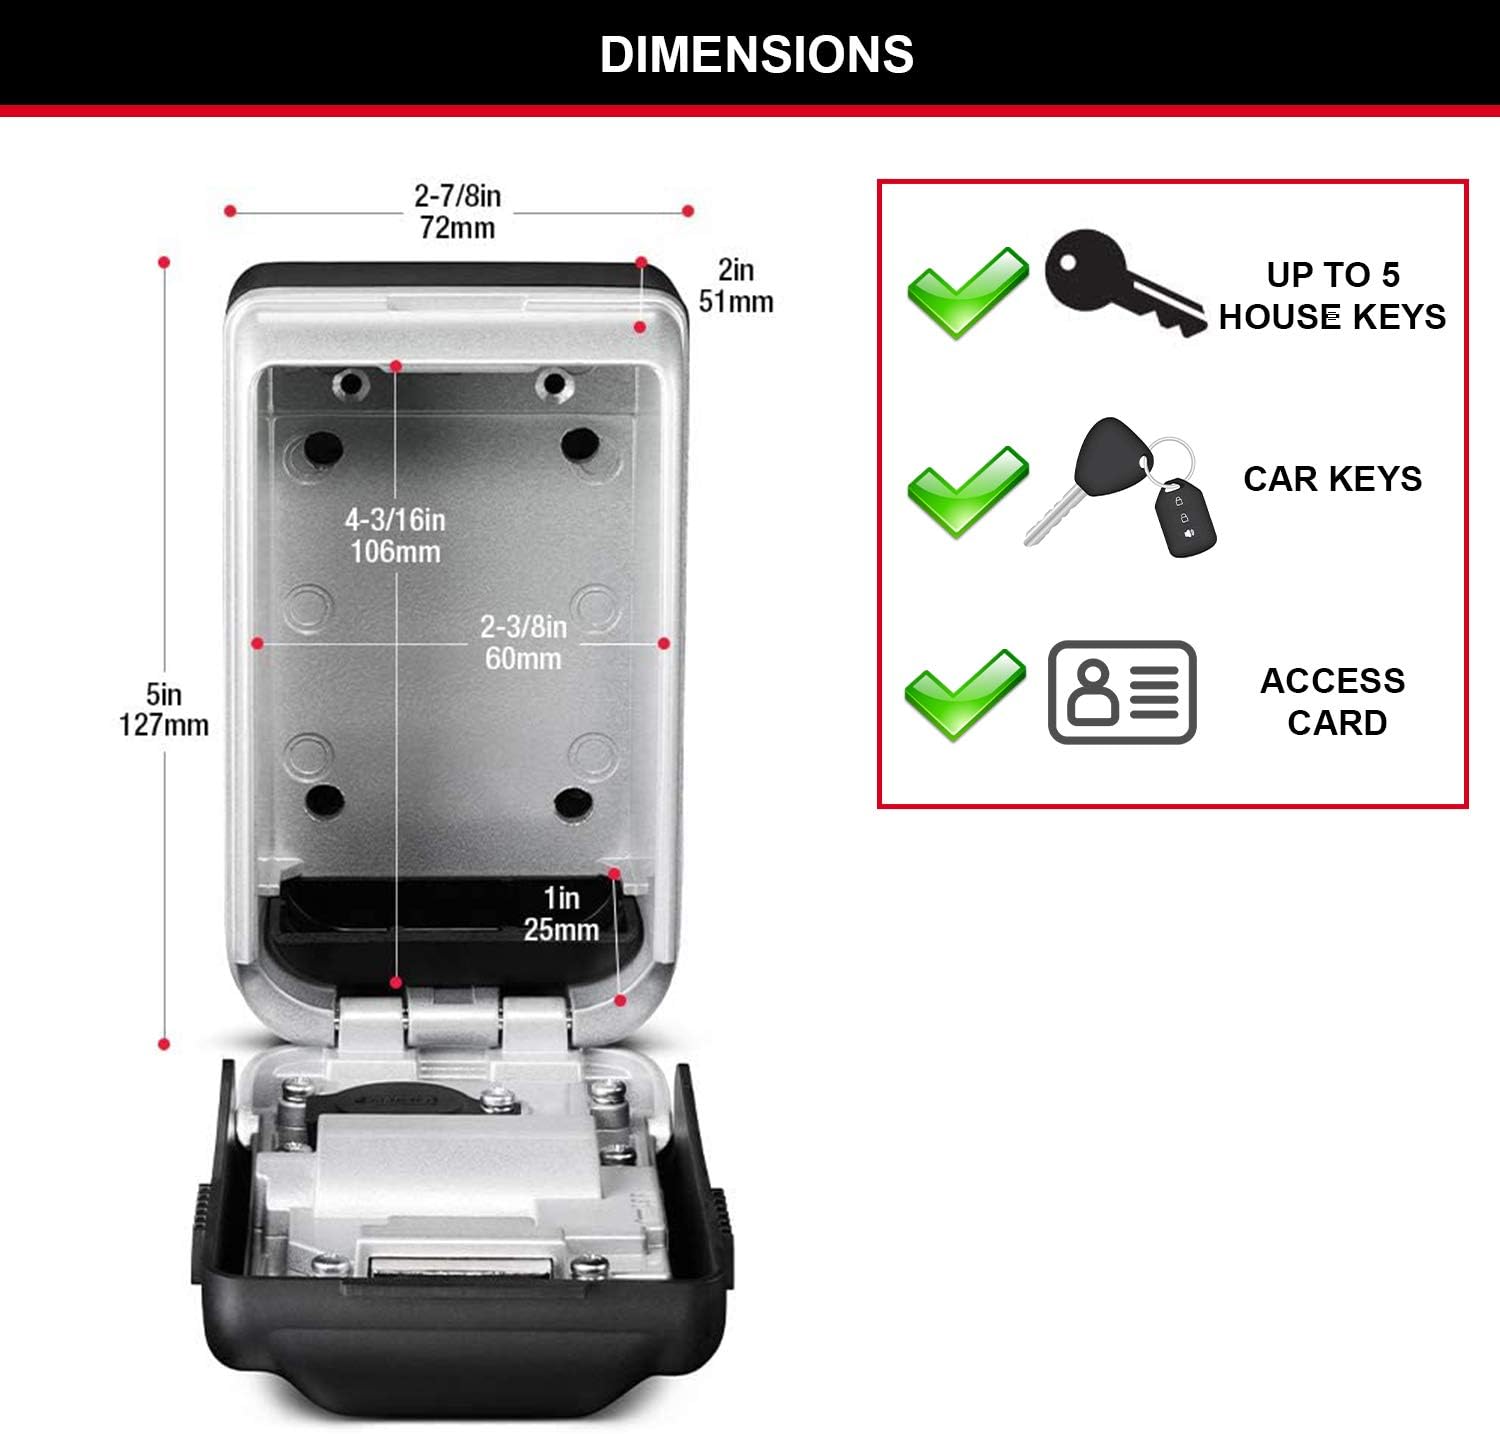
Figure 8.1: Dimensions and capacity of the key safe.
| Feature | Detail |
|---|---|
| Model Number | 5425EURD |
| Lock Type | 4-Digit Resettable Combination |
| External Dimensions (H x W x D) | 127mm x 72mm x 51mm (approx. 5in x 2-7/8in x 2in) |
| Internal Dimensions (H x W x D) | 106mm x 60mm x 25mm (approx. 4-3/16in x 2-3/8in x 1in) |
| Weight | 440 g (0.44 kg) |
| Material | Zinc (Metal Body) |
| Battery Type | CR2032 (for light-up dials) |
| Application | Indoor and Outdoor Use, Wall Mounted |
| Capacity | Up to 5 house keys, car keys, or access cards |
9. Warranty Information
Master Lock stands behind the quality of its products. The Master Lock 5425EURD Key Safe is covered by a Limited Lifetime Warranty.

Figure 9.1: Key features including the Limited Lifetime Warranty.
This warranty covers defects in material and workmanship for the life of the product. For full details regarding warranty terms, conditions, and limitations, please refer to the warranty documentation included with your purchase or visit the official Master Lock website.
10. Customer Support
For further assistance, technical support, or to make a warranty claim, please contact Master Lock customer service:
- Website: Visit the official Master Lock website for FAQs, product registration, and contact information. www.masterlock.com
- Phone: Refer to the contact section on the Master Lock website for regional phone numbers.
When contacting support, please have your product model number (5425EURD) and proof of purchase readily available.
Related documents5425EURD


Ask a question about this manual
Ask about setup, troubleshooting, compatibility, parts, safety, or missing instructions. Manuals+ will review the question and use this page’s manual context to help answer it.