
STANLEY SL18117
STANLEY SL18117 8 Gallon 4 HP Peak Wet Dry Shop Vacuum User Manual
Model: SL18117 | Brand: STANLEY
Introduction
This manual provides essential information for the safe and efficient operation, maintenance, and troubleshooting of your STANLEY SL18117 8 Gallon 4 HP Peak Wet Dry Shop Vacuum. Please read all instructions carefully before use to ensure optimal performance and safety.

Image: The STANLEY SL18117 8 Gallon 4 HP Peak Wet Dry Shop Vacuum, featuring a stainless steel tank, black motor head with yellow handle, and attached hose and wand.

Image: Diagram highlighting key features of the STANLEY SL18117: 8 Gallon capacity, 4 Peak HP motor, and 3-in-1 functionality for wet, dry, and blowing tasks.
Important Safety Instructions
WARNING: To reduce the risk of fire, electric shock, or injury, read and follow all instructions before using this vacuum cleaner.
- Do not use this appliance near fire or other high-temperature sources.
- Ensure the power supply matches the vacuum's requirements (120 volts, 10 Amps).
- Always unplug the vacuum from the electrical outlet before performing any maintenance, cleaning, or when not in use.
- Do not vacuum solids that are larger than the hose diameter to prevent blockages.
- Regularly clean the dust on the filter and inside the tank to maintain optimal air passage and suction performance.
- Do not pick up flammable or combustible liquids, such as gasoline, or use in areas where they may be present.
- Do not pick up anything that is burning or smoking, such as cigarettes, matches, or hot ashes.
- Do not allow the vacuum to be used as a toy. Close attention is necessary when used by or near children.
- Use only as described in this manual. Use only manufacturer's recommended attachments.
- Do not use with damaged cord or plug. If appliance is not working as it should, has been dropped, damaged, left outdoors, or dropped into water, return it to a service center.
What's Included
Your STANLEY SL18117 Wet Dry Vacuum package includes the following components:
- 1 x Wet/Dry Vacuum Unit (8 Gallon Stainless Steel Tank, 4 HP Motor Head)
- 1 x 1-7/8" x 6' Flexible Hose
- 2 x Extension Wands
- 1 x Cartridge Filter
- 1 x Disposable Dust Bag
- 1 x Floor Nozzle
- 1 x Gulper Nozzle
- 1 x Crevice Nozzle
- 1 x User Manual

Image: A visual representation of the included accessories: (A) Crevice nozzle, (B) Extension wand x 2, (C) Floor nozzle, (D) Utility nozzle, (E) 1-7/8" Hose, (F) Cartridge filter, (G) Disposable filter bag, and (H) Product manual.

Image: Another detailed diagram showing the included components: (1) Extension wand x 2, (2) Crevice nozzle, (3) 1-7/8" Hose, (4) Utility nozzle, (5) Floor nozzle, (6) Cartridge filter, (7) Disposable dust bag, and (8) User Manual.
Assembly & Setup
Follow these steps to assemble your STANLEY Wet Dry Vacuum:
1. Unpacking and Component Identification
Carefully remove all contents from the packaging. Verify that all items listed in the "What's Included" section are present. Familiarize yourself with the main parts of the vacuum:

Image: Diagram illustrating the main components of the vacuum: (1) Carry Handle, (2) Large On/Off Switch, (3) Vacuum Port, (4) Dust Tank, (5) Drain Port, (6) Caster, (7) Blower Port, and (8) Two Lid Latch.
2. Attaching Casters
- Invert the tank assembly.
- Insert each caster stem into the designated holes on the bottom of the tank base. Push firmly until they click into place.
3. Connecting the Hose
- For vacuuming, insert the larger end of the flexible hose into the vacuum port (3) on the front of the motor head. Twist to secure.
- For blowing, insert the larger end of the flexible hose into the blower port (7) on the rear of the motor head. Twist to secure.
4. Installing Filters
- For Dry Vacuuming: Ensure the cartridge filter is securely installed over the filter cage inside the tank. A disposable dust bag can also be used for fine dry debris.
- For Wet Vacuuming: The cartridge filter must be removed. A foam filter (not included, but typically used for wet applications) would be installed over the filter cage. If no foam filter is available, operate without a filter for wet pickup, but exercise caution to prevent debris from entering the motor.
Operating Your Wet/Dry Vacuum
Dry Vacuuming
For dry pickup, ensure the cartridge filter is properly installed. Attach the desired accessory (e.g., floor nozzle, gulper nozzle, crevice nozzle) to the end of the hose or extension wands. Plug the power cord into a suitable 120V outlet and turn the vacuum on using the large On/Off switch (2).
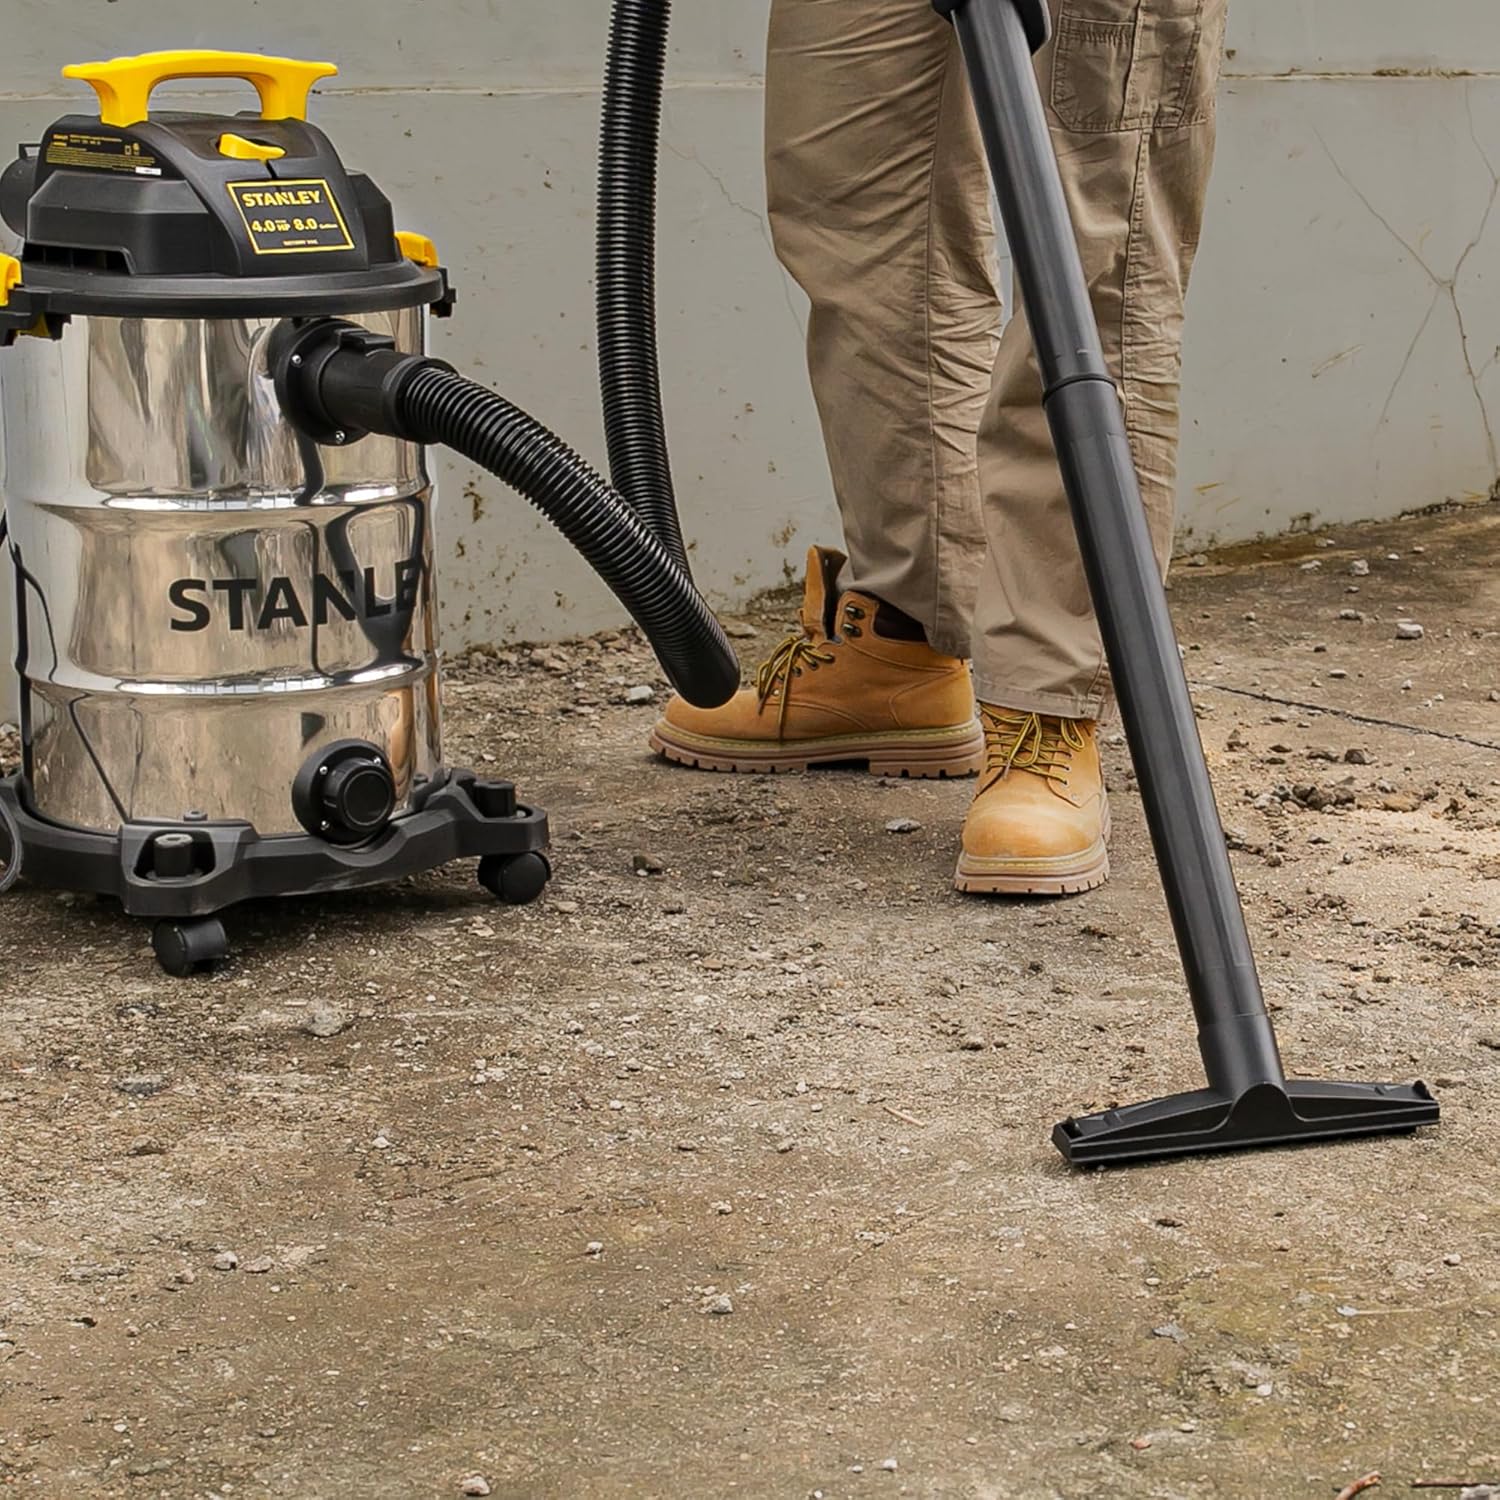
Image: A person demonstrating dry vacuuming on a concrete surface using the STANLEY SL18117 with an extension wand and floor nozzle.
Wet Vacuuming
Before wet pickup, remove the cartridge filter. If available, install a foam filter (sold separately) over the filter cage. Attach the appropriate wet pickup accessory. Plug in the vacuum and turn it on. The large drain port (5) allows for convenient emptying of liquids once the tank is full.

Image: A person demonstrating wet vacuuming, picking up a liquid spill from a concrete surface using the STANLEY SL18117.
Blower Function
The rear blowing port (7) instantly converts the wet dry vac into a powerful blower. To use, detach the hose from the vacuum port and securely insert it into the blower port. This function is ideal for clearing leaves, grass clippings, or light debris from garages, driveways, or workshops.

Image: A person using the STANLEY SL18117 in blower mode, directing the hose to clear debris from a surface.
Using Accessories
The included accessories are designed for various cleaning tasks:
- Floor Nozzle: For general dry and wet pickup on large surfaces.
- Gulper Nozzle: Designed for larger debris and faster pickup.
- Crevice Nozzle: Ideal for tight spaces, corners, and edges.
- Extension Wands: Connect to the hose to extend reach for floors or high areas.
Maintenance and Care
Regular maintenance ensures the longevity and optimal performance of your vacuum.
Cleaning the Tank
After each use, especially after wet pickup, empty the tank and rinse it thoroughly with water. Allow the tank to air dry completely before storing to prevent mold or odors.
Filter Maintenance
- Cartridge Filter: For dry use, tap the filter gently to dislodge dust. For heavily soiled filters, rinse under running water and allow to air dry completely before reinstallation. Replace the filter when it shows signs of wear or reduced performance.
- Disposable Dust Bag: Replace the disposable dust bag when it is full or when suction power decreases significantly.
Hose and Accessory Care
Inspect the hose and accessories regularly for blockages or damage. Clear any obstructions and clean accessories as needed. Store them in a clean, dry place.
Storage
Store the vacuum in a dry, indoor area. The strong handle with convenient built-in power cord wrap helps keep the 10-foot cord organized. On-board tool storage ensures all accessories are kept in one place.
Troubleshooting Guide
Refer to this table for common issues and their solutions:
| Problem | Possible Cause | Solution |
|---|---|---|
| Vacuum does not turn on | No power to outlet; Power cord damaged; On/Off switch faulty | Check power outlet with another appliance; Inspect power cord for damage; Contact customer support if switch is faulty. |
| Loss of suction | Hose or accessories clogged; Filter dirty or clogged; Tank full; Lid not sealed properly | Check and clear hose/accessories; Clean or replace filter; Empty tank; Ensure lid latches are secure. |
| Motor overheating | Clogged filter or hose; Prolonged heavy use | Clean filter and clear any blockages; Allow vacuum to cool down before resuming use. |
| Water leaking from tank | Lid not sealed properly; Drain plug loose or damaged | Ensure lid latches are fully engaged; Check and tighten drain plug; Inspect drain plug for damage. |
| Excessive noise | Motor issue; Loose components; Blockage | Check for loose parts; Clear any blockages; If noise persists, contact customer support. |
Product Specifications
| Feature | Detail |
|---|---|
| Model Name | SL18117 |
| Tank Capacity | 8 Gallons |
| Motor Horsepower | 4 HP Peak |
| Voltage | 120 Volts |
| Amperage | 10 Amps |
| Cord Length | 10 Feet |
| Hose Length | 6 Feet (1.8 Meters) |
| Hose Diameter | 1-7/8 inches |
| Filter Type | Cartridge (for dry use) |
| Item Weight | 17.26 pounds |
| Product Dimensions | 15"L x 15"W x 15"H |
| Noise Level | 70 dB |
| Special Feature | Bagged, Corded, Blower Function |
| Indoor/Outdoor Usage | Indoor |
Warranty and Customer Support
Warranty Information
This STANLEY Wet Dry Vacuum (Model SL18117) comes with a 1-year limited warranty. This warranty covers defects in material and workmanship under normal use. Please retain your proof of purchase for warranty claims.
Customer Support
For technical assistance, warranty inquiries, or to order replacement parts, please refer to the contact information provided in the product packaging or visit the official STANLEY website. When contacting support, please have your product model number (SL18117) and date of purchase readily available.
Related documentsSL18117


Ask a question about this manual
Ask about setup, troubleshooting, compatibility, parts, safety, or missing instructions. Manuals+ will review the question and use this page’s manual context to help answer it.