
1. Introduction
Thank you for choosing the ADE WS1911 Weather Station. This manual provides essential information for setting up, operating, and maintaining your device. Please read these instructions carefully before use to ensure optimal performance and longevity of your weather station.

The ADE WS1911 Weather Station features a clear digital display showing time, indoor/outdoor temperature, humidity, and weather forecast. A red LED projection displays time and temperature.
2. Package Contents
- 1x ADE WS1911 Base Station
- 1x Wireless Outdoor Sensor
- 1x Power Adapter
- Batteries for Outdoor Sensor (type not specified, typically AAA/AA)
- 1x CR2032 Battery (pre-installed or included for main unit backup)
- User Manual
3. Safety Information
- Do not expose the base station to extreme temperatures, direct sunlight, or high humidity.
- The outdoor sensor is splash-proof but should not be submerged in water.
- Use only the provided power adapter.
- Keep batteries out of reach of children. Dispose of used batteries responsibly.
- Do not attempt to disassemble or repair the device yourself. Contact qualified personnel for service.
4. Setup
4.1 Powering the Device
- Insert batteries into the outdoor sensor, observing polarity.
- For the base station, insert the CR2032 backup battery (if not pre-installed).
- Connect the power adapter to the base station and plug it into a power outlet. The display will light up.
4.2 Outdoor Sensor Placement
- Place the outdoor sensor in a shaded area, protected from direct rain and sunlight, to ensure accurate temperature and humidity readings.
- Ensure the sensor is within 60 meters (197 feet) of the base station, avoiding large metal objects or thick walls that may interfere with the radio signal.
4.3 Initial Setup and DCF Signal Reception
Upon powering on, the base station will automatically search for the DCF radio signal to set the time and date. This process may take several minutes or up to an hour, depending on your location and signal strength. Ensure the station is placed away from electronic interference.

The main unit features a clear LCD display. The wireless outdoor sensor can be placed up to 60 meters away and is splash-proof.
5. Operating Instructions
5.1 Display Overview

This diagram highlights key features: Date/Time, Outdoor Temperature, 180° Rotatable Projection Display, Indoor/Outdoor Humidity, Indoor Temperature, Comfort Indicator, and Trend Displays.
The LCD display shows:
- Current Time and Date
- Indoor Temperature and Humidity
- Outdoor Temperature and Humidity
- Weather Forecast (animated icons)
- Comfort Indicator
- Temperature/Humidity Trend
5.2 Setting Time and Date Manually
If the DCF signal is not received, you can manually set the time and date. Refer to the specific buttons on your device (usually 'MODE' or 'SET') and follow the on-screen prompts to adjust hours, minutes, year, month, and day.
5.3 Alarm Function
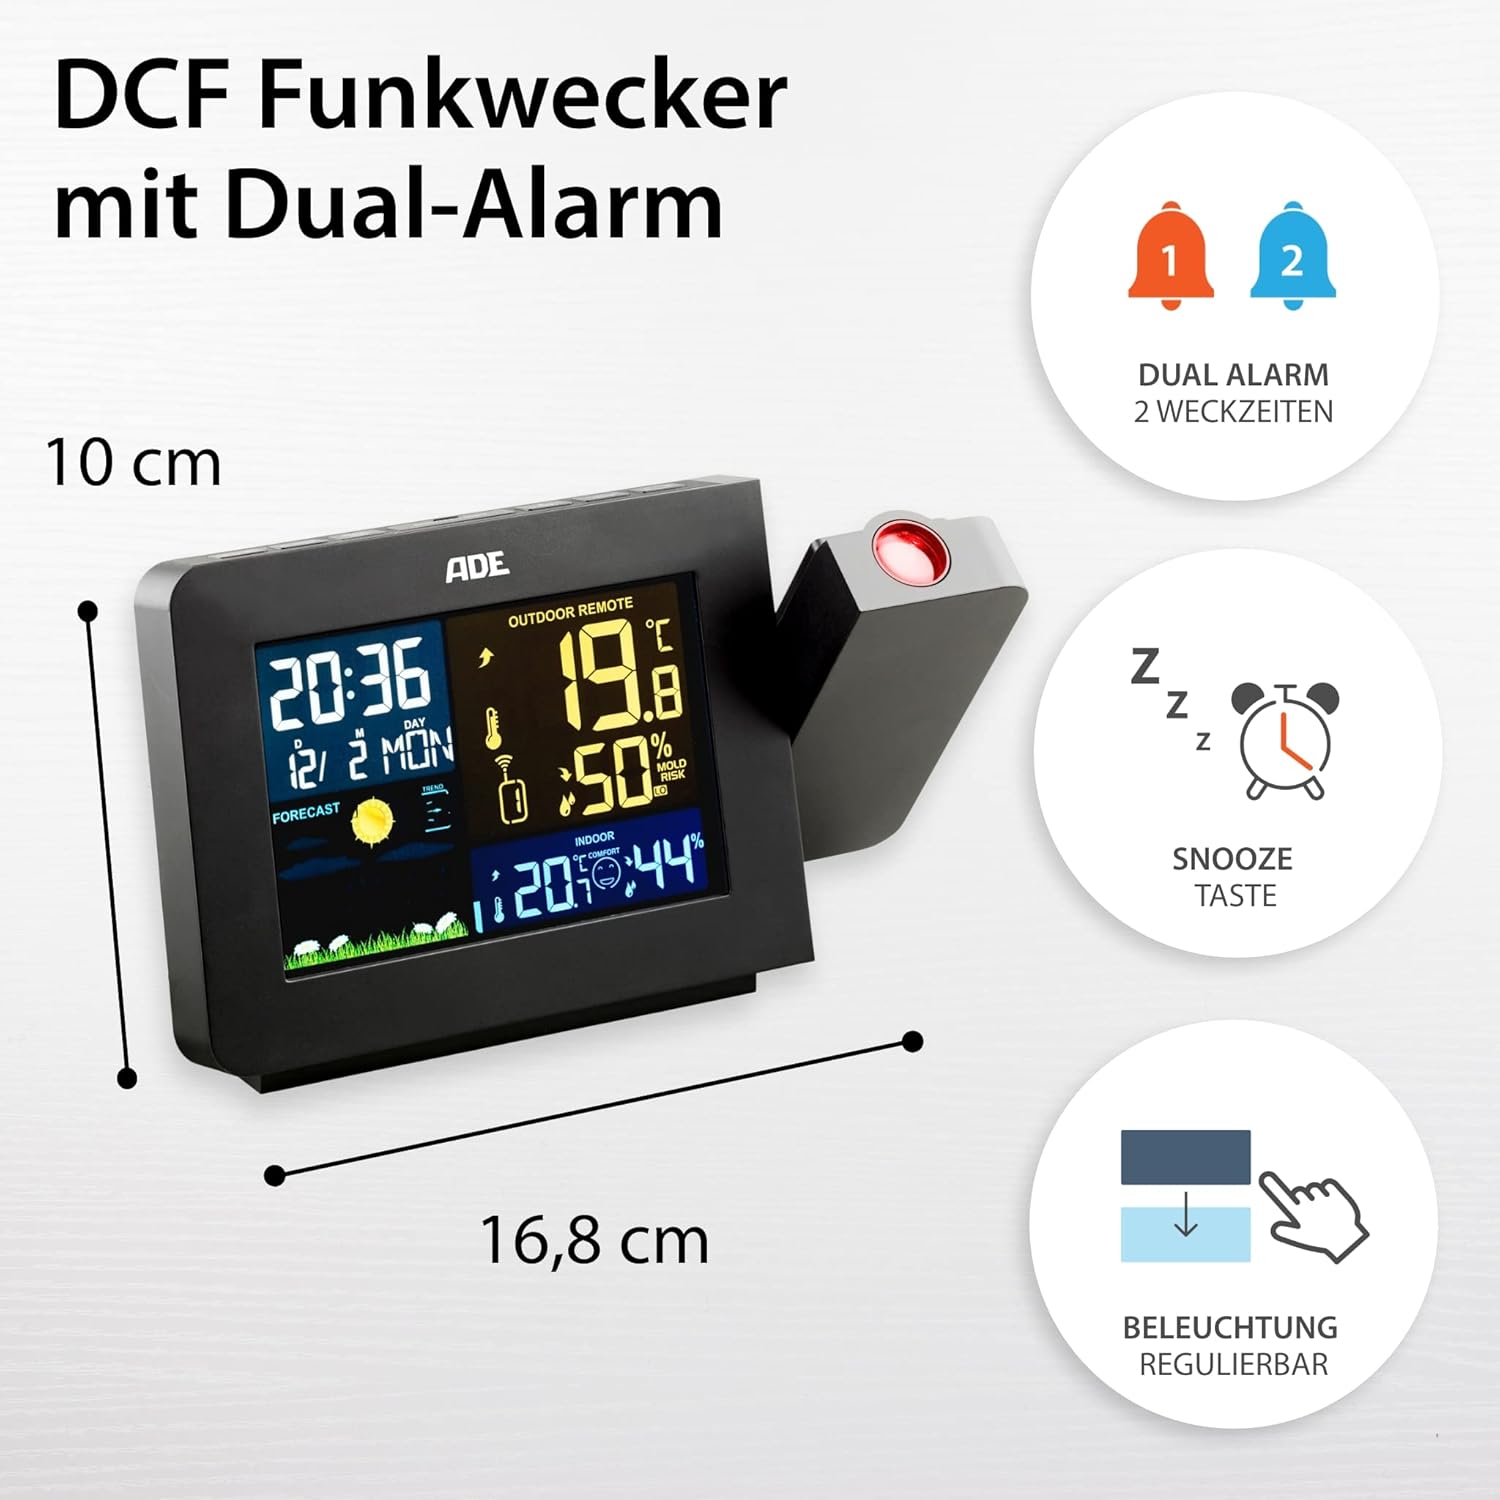
The station includes a DCF radio-controlled clock with two independent alarms and a snooze function. The display backlight is adjustable.
The WS1911 features a dual alarm function. Press the 'ALARM' button to enter alarm setting mode. Use the '+' and '-' buttons to adjust the alarm time. Press 'ALARM' again to confirm. Activate or deactivate alarms using the designated alarm switch or button. The 'SNOOZE' button provides a temporary pause for the alarm.
5.4 Projection Function

The 180° rotatable projection feature allows for easy viewing of time and temperature on a wall or ceiling, especially useful at night.
The weather station can project the time and outdoor temperature onto a wall or ceiling. The projection arm is 180° rotatable for optimal positioning. Locate the projection button (often labeled 'PROJECTION' or a projector icon) to activate or deactivate this feature.
5.5 Weather Forecast

The weather station provides animated weather forecasts, along with indoor and outdoor temperature and humidity readings, contributing to a comfortable indoor climate.
The weather station analyzes atmospheric pressure changes to predict weather conditions for the next 12-24 hours. Animated icons (e.g., sun, clouds, rain) on the display represent the forecast. This is a prediction and may not always be 100% accurate.
5.6 Temperature and Humidity Display
The station displays both indoor and outdoor temperature (in °C or °F) and humidity. Use the '°C/°F' button to switch between Celsius and Fahrenheit. The comfort indicator provides a visual representation of the indoor climate based on temperature and humidity levels.
5.7 Display Brightness
The LCD display features 4 adjustable brightness levels. Use the designated button (often a light bulb icon or 'DIMMER') to cycle through the brightness settings to suit your preference, especially in varying light conditions or at night.
6. Maintenance
6.1 Cleaning
Wipe the base station and outdoor sensor with a soft, damp cloth. Do not use abrasive cleaners or solvents, as these can damage the surfaces.
6.2 Battery Replacement

The ADE WS1911 Weather Station offers flexible power options, operating either via batteries or the included power adapter.
When the battery indicator appears on the display, replace the batteries in the outdoor sensor. For the base station, the CR2032 battery primarily serves as a backup for settings during power outages. Replace it periodically or if settings are lost frequently.
7. Troubleshooting
- No outdoor temperature/humidity reading: Ensure the outdoor sensor batteries are fresh and correctly inserted. Check that the sensor is within range and not obstructed by large metal objects. Try resetting both the base station and the sensor (remove batteries, wait a few seconds, reinsert).
- Incorrect time: If the DCF signal is weak, try relocating the base station to an area with better reception, away from electronic devices. You can also set the time manually.
- Display not working: Check the power adapter connection and ensure it's plugged into a working outlet. If using batteries, ensure they are fresh and correctly inserted.
- Projection unclear: Adjust the focus of the projection lens (if available) or the distance to the projection surface. Ensure the room is sufficiently dark for optimal visibility.
8. Specifications
- Model: ADE WS1911
- Brand: ADE
- Color: Black
- Material: Acrylonitrile Butadiene Styrene (ABS)
- Power Source: AC Adapter (included) or Batteries (1x CR2032 for main unit, batteries for outdoor sensor)
- Connectivity: Radio Frequency (RF) for outdoor sensor
- Outdoor Sensor Range: Up to 60 meters (197 feet)
- Special Features: DCF Radio-controlled clock, Dual Alarm with Snooze, 180° Rotatable LED Projection (Time & Temperature), Indoor/Outdoor Thermometer, Indoor/Outdoor Hygrometer, Animated Weather Forecast, Backlit LCD with 4 brightness levels.
9. Support
For further assistance or if you encounter issues not covered in this manual, please refer to the official ADE website or contact their customer support. Additional language versions of this manual may be available for download online.
If you are not satisfied with your purchase, please initiate a return through your Amazon account for a refund.


