
Vesafe CL-201
VESAFE Wireless Tire Pressure Monitoring System (TPMS) User Manual
Model: CL-201
1. Introduction
Thank you for choosing the VESAFE Wireless Tire Pressure Monitoring System (TPMS). This system is designed to provide real-time monitoring of your vehicle's tire pressure and temperature, enhancing driving safety and preventing accidents caused by abnormal tire conditions. Approximately 70% of high-speed traffic accidents are caused by abnormal tire pressure. This manual will guide you through the installation, operation, and maintenance of your new TPMS.
2. Product Overview
The VESAFE TPMS consists of a display unit that plugs into your car's cigarette lighter socket and four external cap sensors. It provides simultaneous real-time pressure and temperature readings for all four tires.

Figure 2.1: VESAFE TPMS display unit and four external sensors.
This image shows the main components of the VESAFE TPMS: the circular display unit with a cigarette lighter plug and four black external tire pressure sensors with brass threads.

Figure 2.2: VESAFE TPMS components from a different perspective.
A closer view of the VESAFE TPMS, showing the display unit with its digital screen and the four external sensors arranged in a row.
3. Features
- Real-time Monitoring: Provides real-time pressure and temperature for 4 tires simultaneously.
- Audible and Visual Alarms: Immediate visual and audible warnings when tire pressure or temperature thresholds are exceeded.
- Adjustable Alert Values: Pressure and temperature alert values are adjustable (default 29-44psi / 2.0-3.0 bar).
- Selectable Units: Pressure unit (psi/bar) and temperature unit (C) are selectable.
- Anti-theft Sensors: Tire pressure sensors are designed with an anti-theft system, are waterproof, and easy to install.
- Easy Sensor Coding: Sensors are pre-coded to the display; simply install according to position labels (RR, RF, LR, RR). Replacement sensors can be easily coded.
- Universal Compatibility: Universal TPMS for 4-wheel cars (not suitable for RVs, caravans, or trailers).
4. Specifications
| Specification | Value |
|---|---|
| Model Number | CL-201 |
| Brand | Vesafe |
| Power Source | Cigarette Lighter Socket |
| Sensor Battery Type | CR1632 (Lithium metal) |
| Pressure Measurement Range | 29 - 44 psi / 2.0 - 3.0 bar (Adjustable) |
| Weight | 9 Grams (approximate, likely for sensors) |
| Package Dimensions | 18.59 x 13.41 x 6.4 cm |
| Mounting Type | Flange Mount (for sensors) |
| Output Type | Digital |
| UPC | 190835072508 |
5. Setup and Installation
Follow these steps to properly set up and install your VESAFE TPMS.
5.1. Sensor Installation
The sensors are designed for external installation on your tire valves. They are anti-theft and waterproof.
- Unscrew the original valve cap from the tire valve.
- Screw the hexagonal nut onto the valve stem.
- Screw the corresponding sensor (labeled LF, RF, LR, RR for Left Front, Right Front, Left Rear, Right Rear) onto the valve stem until it is hand-tight.
- Use the special wrench provided to tighten the hexagonal nut in the counter-clockwise direction against the sensor to secure it and prevent theft.

Figure 5.1: Step-by-step sensor installation process.
This image illustrates the three main steps for installing the external tire pressure sensors: fixing the hex nut, fastening the sensor to the tire valve, and using the special wrench to tighten the hex nut for anti-theft security.
5.2. Display Unit Installation
Simply plug the display unit into your vehicle's 12V cigarette lighter socket. The unit will power on automatically.
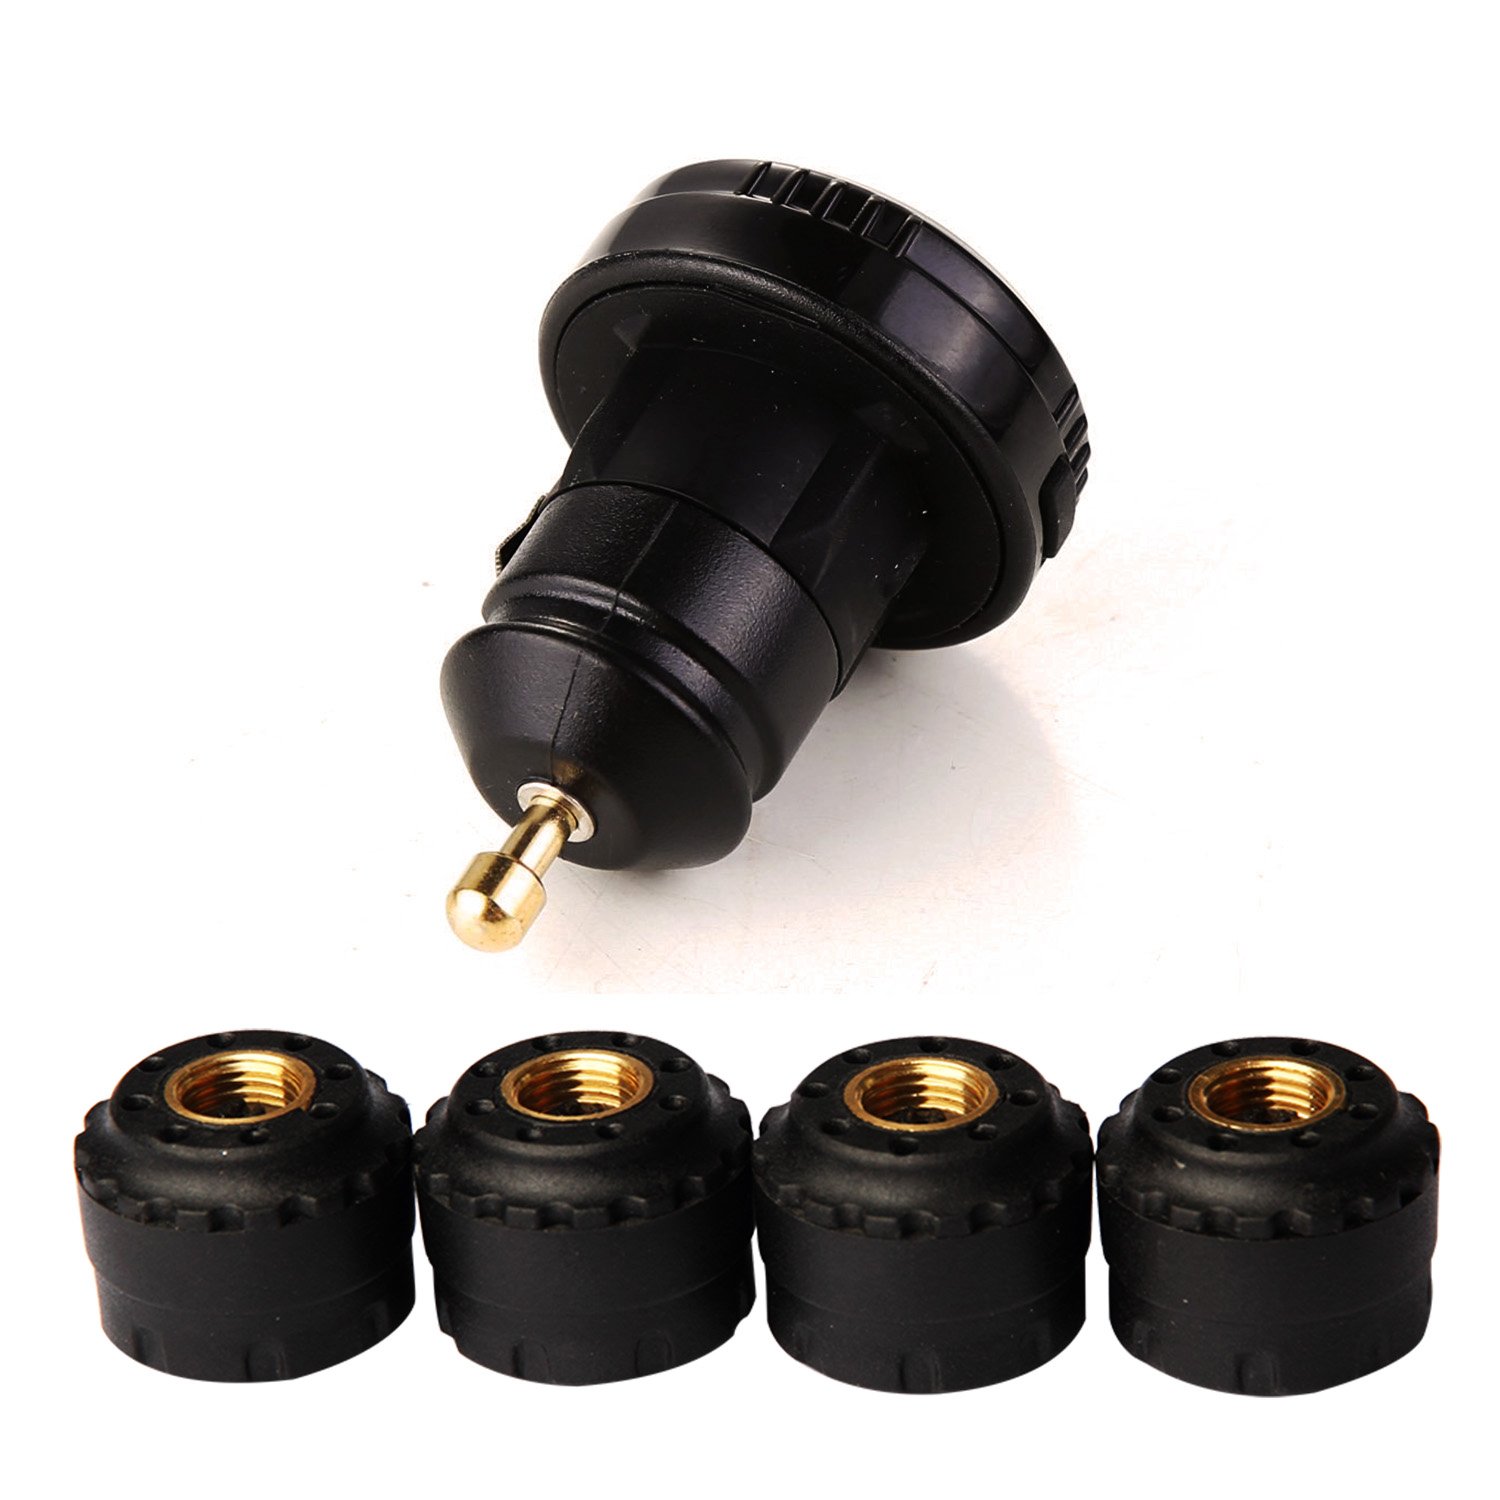
Figure 5.2: Display unit plugged into the car's cigarette lighter.
An image showing the VESAFE TPMS display unit inserted into a car's cigarette lighter port, with the digital display visible.
6. Operating Instructions
6.1. Power On/Off
The display unit powers on automatically when plugged into the cigarette lighter socket and the vehicle's ignition is on. It powers off when the ignition is turned off or the unit is unplugged.
6.2. Reading Display
The display shows the real-time pressure and temperature for all four tires. The readings are typically displayed in pairs (e.g., front left and front right, then rear left and rear right) or all four simultaneously, depending on the display mode.

Figure 6.1: Display showing tire pressure readings in a vehicle.
This image shows the VESAFE TPMS display unit installed in a car's dashboard, clearly showing digital pressure readings for all four tires (e.g., 2.6, 2.5, 2.6, 2.5 bar).
6.3. Alarm Functions
The system will provide an immediate visual and audible alarm if any of the following conditions occur:
- High Pressure Alarm: Tire pressure exceeds the set high-pressure threshold.
- Low Pressure Alarm: Tire pressure falls below the set low-pressure threshold.
- High Temperature Alarm: Tire temperature exceeds the set high-temperature threshold.
- Sensor Battery Low Alarm: A sensor's battery is running low.
- Sensor Signal Loss Alarm: No signal is received from a sensor.
6.4. Adjusting Alarm Thresholds and Units
Refer to the specific buttons on your display unit for adjusting pressure (psi/bar) and temperature (C) units, and for setting high/low pressure and high-temperature alarm thresholds. The default pressure range is 29-44 psi (2.0-3.0 bar).
7. Maintenance
7.1. Sensor Battery Replacement
The external sensors use CR1632 lithium metal batteries. When a sensor battery low alarm is triggered, replace the battery using the special tools provided.
- Unscrew the sensor from the tire valve.
- Use the provided tool to open the sensor casing.
- Carefully remove the old CR1632 battery.
- Insert a new CR1632 battery, ensuring correct polarity.
- Close the sensor casing securely and re-install the sensor on the tire valve.
7.2. Cleaning
Wipe the display unit and sensors with a soft, dry cloth. Do not use abrasive cleaners or solvents.
8. Troubleshooting
| Problem | Possible Cause | Solution |
|---|---|---|
| Display not turning on | No power from cigarette lighter socket; unit not properly plugged in. | Check vehicle's cigarette lighter fuse; ensure unit is fully inserted into the socket. |
| No tire pressure readings | Sensors not installed; sensor battery low; signal interference; sensor not properly tightened. | Ensure all sensors are installed correctly; replace sensor batteries; check for strong electromagnetic interference; re-tighten sensors. |
| Inaccurate readings | Sensor not properly calibrated (rare); extreme temperature changes. | Verify tire pressure with a reliable gauge; ensure sensors are correctly installed and tightened. |
| Alarm sounds frequently | Tire pressure/temperature outside set thresholds; thresholds set too narrowly. | Check tire pressure and inflate/deflate as needed; adjust alarm thresholds to appropriate levels for your vehicle. |
9. Important Safety Information
Always ensure your tires are properly inflated according to your vehicle manufacturer's recommendations. The TPMS is a monitoring system and should not replace regular manual tire pressure checks. Do not attempt to service the system while driving. Consult a professional if you encounter persistent issues.

Figure 9.1: Importance of TPMS for driving safety.
This image highlights six reasons why a Tire Pressure Monitoring System is essential, including preventing accidents from low pressure, avoiding tire damage, and improving fuel efficiency.
10. Warranty and Support
Information regarding warranty coverage and customer support for your VESAFE TPMS may be found on the product packaging or the manufacturer's official website. Please retain your purchase receipt for warranty claims.
For technical support or inquiries, please contact VESAFE customer service through the contact information provided with your product or on their official website.
Ask a question about this manual
Ask about setup, troubleshooting, compatibility, parts, safety, or missing instructions. Manuals+ will review the question and use this page’s manual context to help answer it.