
Introduction
Thank you for choosing the Purelux A114-12 Bathroom Sink Pop-Up Drain Stopper. This manual provides detailed instructions for the proper installation, operation, and maintenance of your new drain stopper assembly. Please read all instructions carefully before beginning installation to ensure safe and correct usage.

Image 1: Purelux A114-12 Brushed Nickel Pop-Up Drain Stopper Assembly. This image shows the complete drain stopper assembly in its brushed nickel finish, ready for installation.
Safety Information
- Always turn off the water supply to the sink before beginning any plumbing work.
- Wear appropriate personal protective equipment, such as safety glasses and gloves, during installation.
- If you are unsure about any step, consult a qualified plumber.
- Keep small parts away from children.
Parts List
Please ensure all parts are present before beginning installation. Refer to the diagram below.

Image 2: Exploded view of Purelux A114-12 drain stopper components. This image displays all individual parts included in the drain stopper assembly, including the main drain body, pop-up stopper, lift rod, pivot rod, and plumber's tape.
- Pop-Up Stopper
- Upper Gasket
- Drain Body
- Lower Gasket
- Mounting Nut
- Tailpiece
- Pivot Rod Assembly (includes pivot ball, pivot rod, and retaining nut)
- Lift Rod
- Lift Rod Strap
- Plumber's Tape (complimentary)
Setup and Installation
This drain stopper is designed for bathroom vanity sinks with a drain hole diameter of 1-1/2” or 1-3/4” and includes an overflow. Ensure your sink has an overflow hole.
Tools Required (Not Included):
- Adjustable Wrench or Channel Lock Pliers
- Screwdriver (for lift rod strap)
- Rag or Towel
Installation Steps:
- Prepare the Sink: Ensure the sink drain opening is clean and free of old sealant or debris.
- Install Upper Drain Body:
Insert the pop-up stopper into the drain body. Place the upper gasket onto the top threaded portion of the drain body. Insert the drain body assembly through the drain hole from the top of the sink. The upper gasket should sit flush against the sink surface.

Image 3: Top view of the drain stopper installed in the sink. This image shows the pop-up stopper and upper gasket correctly positioned in the sink's drain opening.
- Secure Lower Drain Body:
From underneath the sink, slide the lower gasket onto the threaded portion of the drain body, ensuring it sits against the underside of the sink. Thread the mounting nut onto the drain body and hand-tighten. Use an adjustable wrench or channel lock pliers to tighten the mounting nut securely, but do not overtighten. The rubber gaskets provide a watertight seal, eliminating the need for plumber's putty at the top of the sink.
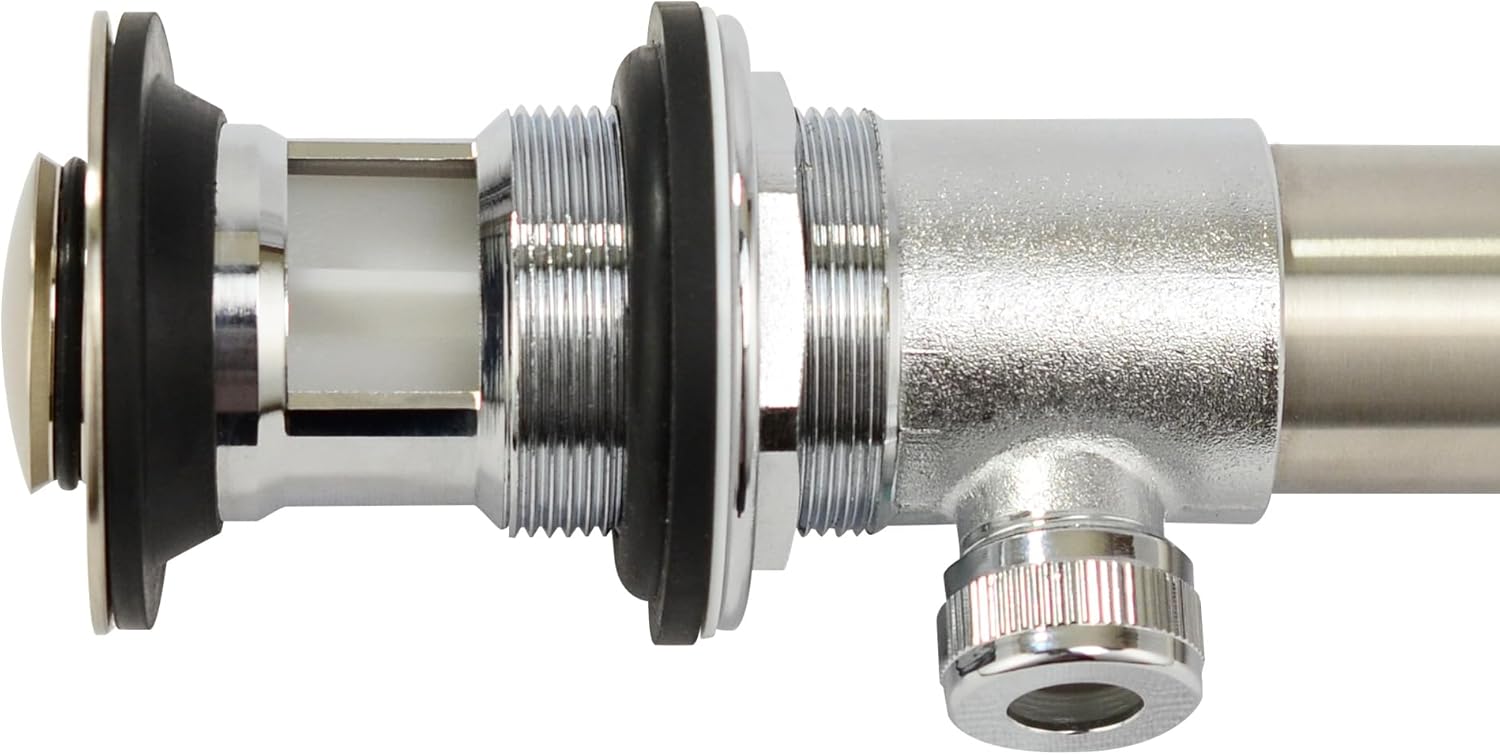
Image 4: Underside view of the drain body with overflow connection. This image highlights the threaded portion, lower gasket, and mounting nut, as well as the overflow opening.
- Attach Tailpiece:
Apply the complimentary plumber's tape (PTFE tape) clockwise around the threads of the tailpiece. Thread the tailpiece onto the bottom of the drain body and tighten securely with an adjustable wrench. Ensure a leak-free connection. Note: The threads on the tailpiece are intentionally short; apply tape liberally and tighten carefully.
- Install Pivot Rod Assembly:
Unscrew the retaining nut from the pivot rod assembly. Insert the pivot rod into the hole on the side of the drain body, ensuring the pivot ball is inside the drain body and engages with the pop-up stopper. Re-thread and tighten the retaining nut onto the pivot rod assembly. Ensure the pivot rod moves freely.

Image 5: Close-up of the pivot rod connection to the drain body. This image shows how the pivot rod assembly connects to the side of the drain body.
- Connect Lift Rod:
Insert the lift rod through the faucet body (if applicable) or through the designated hole in the sink/countertop. Connect the bottom of the lift rod to the lift rod strap. Attach the lift rod strap to the pivot rod using the provided screw, adjusting the height to achieve desired pop-up stopper operation. Note: If the lift rod is too long and hits the back wall, it may need to be shortened by a professional.
- Test for Leaks:
Once all connections are secure, turn on the water supply. Fill the sink with water and then drain it, checking all connections for any leaks. Tighten any leaking connections as necessary.
Operating Instructions
The Purelux A114-12 drain stopper operates using a simple lift rod mechanism.
- To Close the Drain: Push the lift rod down. This will lower the pop-up stopper, sealing the drain opening and allowing the sink to fill with water.
- To Open the Drain: Pull the lift rod up. This will raise the pop-up stopper, opening the drain and allowing water to flow out of the sink.

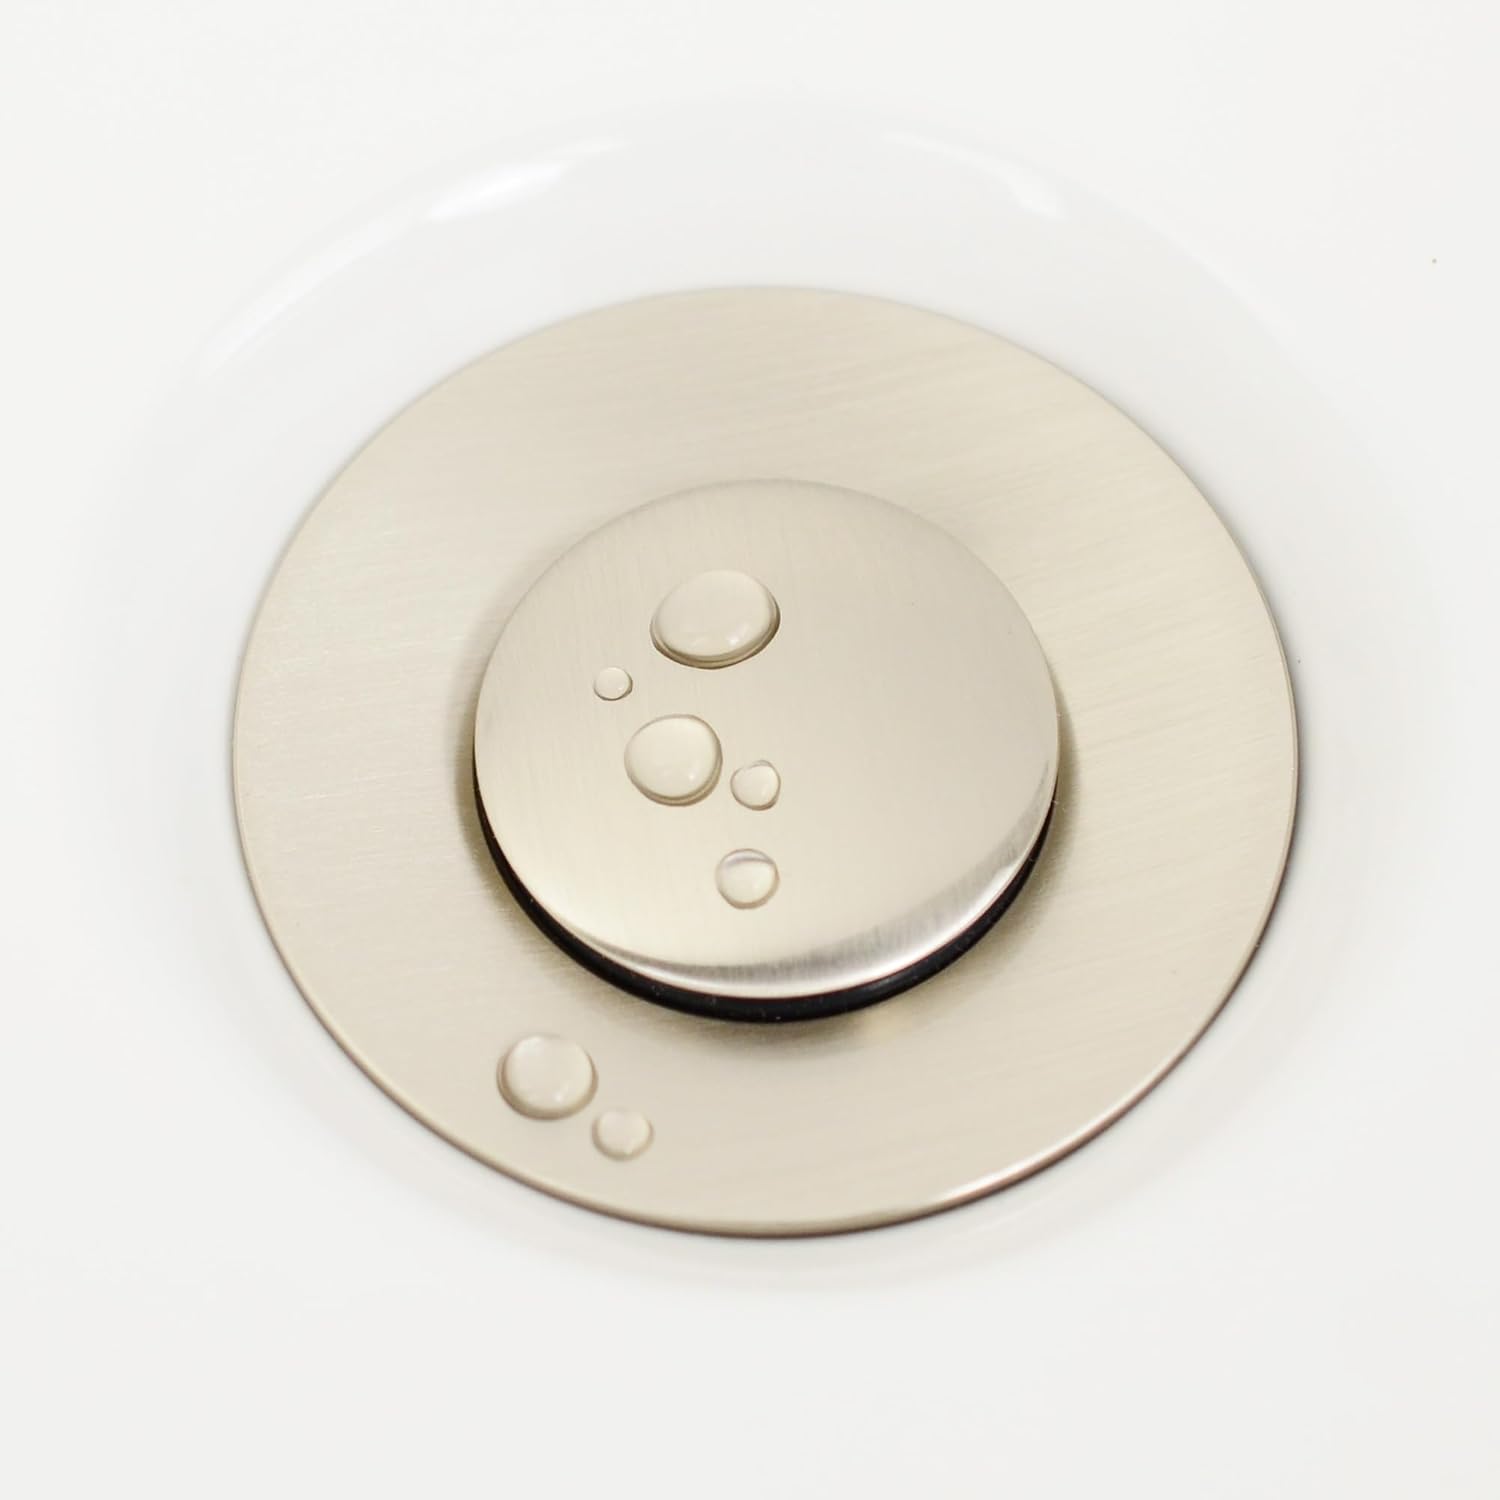
Image 6: Drain stopper in closed position (left) and open position (right). These images demonstrate the visual difference when the pop-up drain is closed to retain water and open to allow drainage.
Maintenance and Care
Regular cleaning and maintenance will ensure the longevity and proper function of your Purelux drain stopper.
- Cleaning the Finish: Clean the brushed nickel finish with a soft, damp cloth. Avoid abrasive cleaners, harsh chemicals, or scouring pads, as these can damage the finish.
- Cleaning the Stopper: Periodically remove the pop-up stopper by pulling it straight up. Clean any hair or debris that may have accumulated around the stopper and inside the drain body. Rinse with water and reinsert.
- Lubrication: If the pivot rod becomes stiff, a small amount of silicone grease can be applied to the pivot ball for smoother operation.
Troubleshooting
| Problem | Possible Cause | Solution |
|---|---|---|
| Leaks from connections | Loose connections; insufficient plumber's tape. | Tighten all nuts and connections. Ensure plumber's tape is applied correctly and liberally on threaded connections. |
| Drain stopper does not seal properly | Debris under stopper; stopper not seated correctly; pivot rod adjustment. | Remove stopper and clean any debris. Ensure stopper is fully seated. Adjust the lift rod strap to ensure the stopper lowers completely. |
| Drain stopper does not open/close smoothly | Pivot rod stiff or obstructed; debris in drain body. | Remove stopper and clean drain body. Apply silicone grease to the pivot ball. Check for any obstructions preventing smooth movement of the pivot rod. |
| Slow drainage | Hair or debris accumulation. | Remove the pop-up stopper and clean out any hair or debris from the drain body. |
Specifications
- Model: A114-12
- Material: Durable Solid Brass Construction
- Finish: Brushed Nickel
- Product Dimensions: 2.13"W x 8.5"H (Refer to Image 7 for detailed dimensions)
- Item Weight: 1.04 Pounds
- Drain Hole Diameter Compatibility: 1-1/2” or 1-3/4”
- Overflow: Yes, designed for sinks with overflow
- Standard: Standard sized US plumbing

Image 7: Detailed dimensions of the Purelux A114-12 drain stopper. This diagram provides precise measurements for the total height, top diameter, and tailpiece diameter.
Warranty and Support
Purelux products are manufactured to high-quality standards. For warranty information or technical support, please contact Purelux customer service. Keep your purchase receipt for warranty claims.
Contact Information: Please refer to the Purelux official website or your purchase documentation for the most current customer service contact details.