
1. Product Overview
The Vimtag CP1 is a wireless IP video monitoring surveillance security camera designed for remote home or business monitoring. It features high-definition video, pan/tilt functionality, two-way audio, and night vision capabilities.
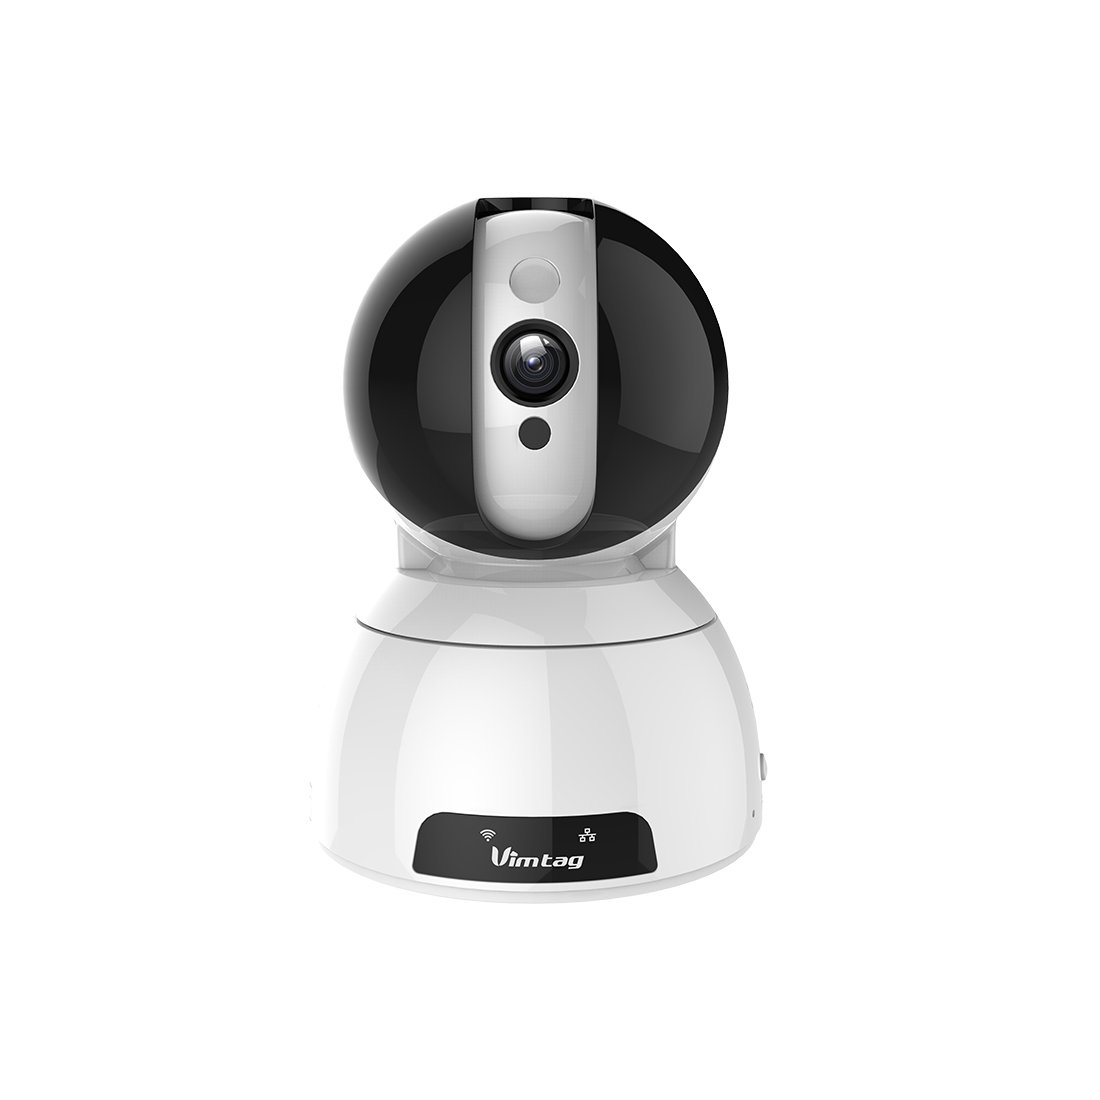
Figure 1: Vimtag CP1 Camera Front View
Key Features:
- HD Video Quality: 1280 x 720p at 25 frames per second for clear monitoring.
- Pan and Tilt Functionality: 350-degree horizontal rotation and 100-degree vertical tilt to cover a wide area.
- Two-Way Audio: Built-in microphone and speaker for communication.
- Night Vision: Infrared LEDs provide clear visibility up to 10 meters in low-light conditions.
- Motion Detection: Alerts with snapshots and video clips upon detecting movement.
- Local and Cloud Storage: Supports Micro SD cards up to 64GB and optional cloud storage.
- Easy Setup: Quick Wi-Fi setup via the Vimtag mobile application.

Figure 2: Vimtag CP1 Key Features
2. Setup Guide
2.1 Package Contents
Before starting, ensure all items are present in the package:
- 1 x Vimtag CP1 Camera
- 1 x Camera Rack
- 1 x Power Cable
- 1 x Ethernet Cable
- 1 x User Manual (this document)
2.2 Initial Setup Steps
- Power On: Connect the power cable to the camera and plug it into a power outlet. The camera will initiate its startup sequence.
- Download the App: Download the free Vimtag app from your smartphone's app store (iOS App Store or Google Play Store).
- Account Registration: Open the Vimtag app and register for a new account or log in if you already have one.
- Add Camera: Follow the in-app instructions to add your new CP1 camera. This typically involves scanning a QR code on the camera or entering its device ID.
- Wi-Fi Configuration: Configure the camera to connect to your Wi-Fi network using the app. Ensure your Wi-Fi network is 2.4GHz, as 5GHz networks may not be supported.
- Mounting (Optional): Use the included camera rack to mount the camera on a wall or ceiling if desired.
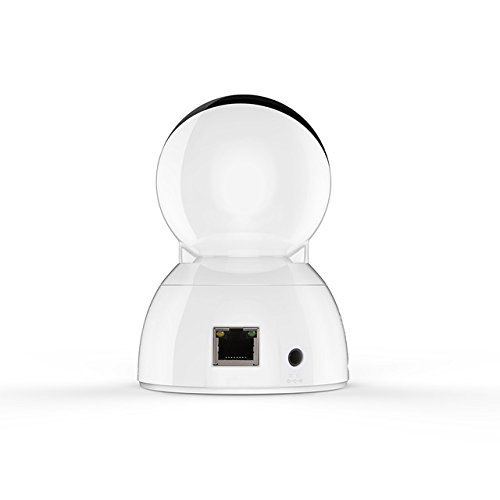
Figure 3: Vimtag CP1 Back View with Ports
For detailed visual guidance, refer to the video tutorials available on the official Vimtag support website.
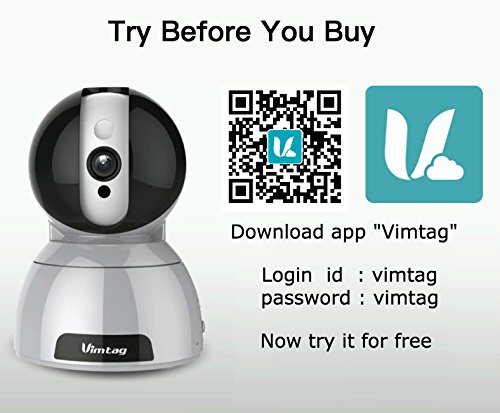
Figure 4: Vimtag App Download and Demo Information
Download the Vimtag app from vimtag.com/download/.
3. Operating Instructions
3.1 Live View and Pan/Tilt Control
Once the camera is connected, open the Vimtag app to access the live video feed. Use the on-screen controls to pan the camera horizontally (350 degrees) and tilt it vertically (100 degrees) to adjust the viewing angle.

Figure 5: Pan and Tilt Control via App
3.2 Two-Way Audio
The camera supports two-way audio. Tap the microphone icon in the app to speak through the camera's speaker, and listen to audio from the camera's built-in microphone.
3.3 Night Vision
The CP1 camera automatically switches to night vision mode in low-light conditions, providing clear black and white video up to 10 meters using its infrared LEDs.
3.4 Motion Detection and Alerts
Configure motion detection settings within the Vimtag app. You can set sensitivity levels and define specific areas for detection. When motion is detected, the camera can send instant notifications to your smartphone, including snapshots or short video clips.
3.5 Video Recording and Storage
The camera supports two primary storage methods:
- Micro SD Card: Insert a Micro SD card (up to 64GB, not included) into the camera's designated slot for local recording. Recordings can be accessed and managed through the app.
- Cloud Storage: Optional cloud storage services are available through Vimtag for remote backup and access to recorded footage.
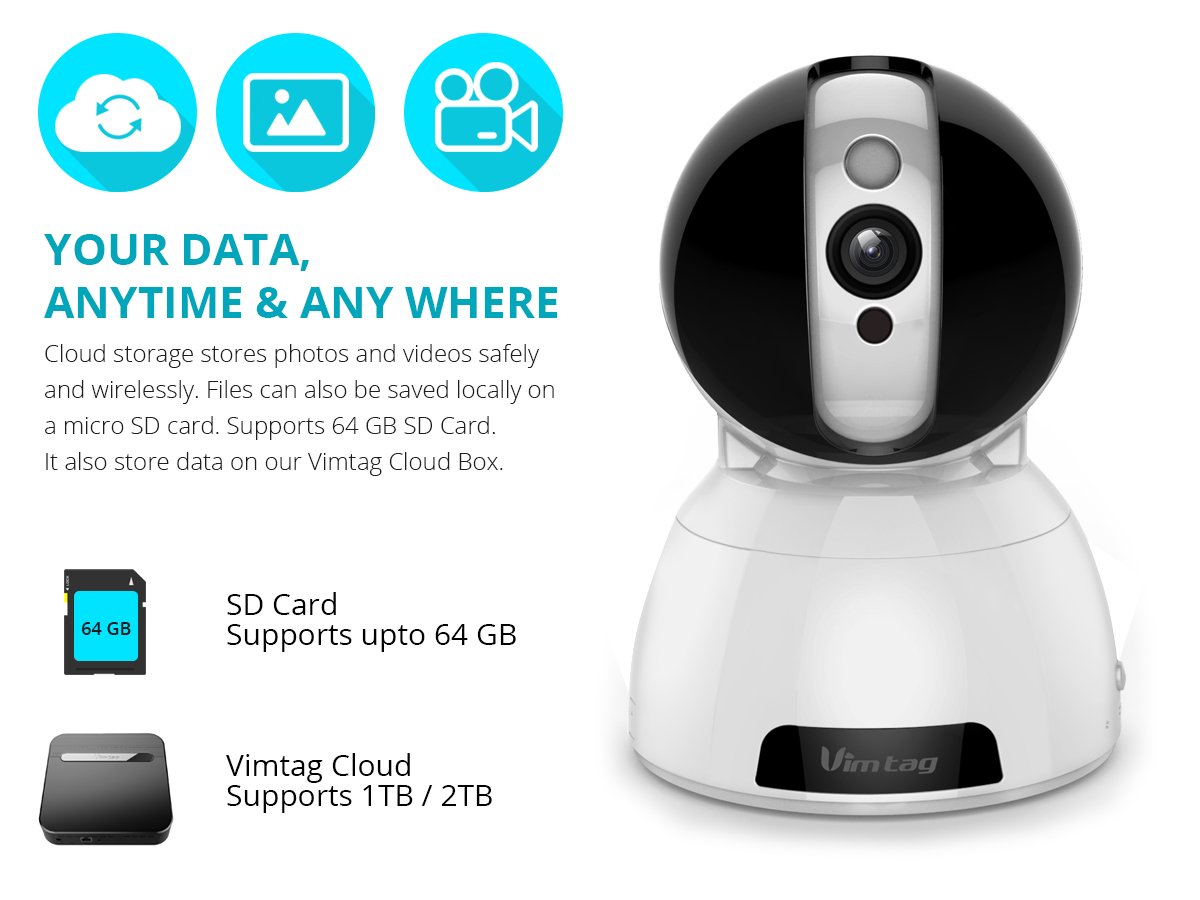
Figure 6: Storage Options for Vimtag CP1
4. Maintenance
4.1 Cleaning
To maintain optimal performance, periodically clean the camera's lens and exterior. Use a soft, dry cloth. Avoid abrasive cleaners or solvents that could damage the camera's finish or lens coating.
4.2 Firmware Updates
Vimtag may release firmware updates to improve camera performance, add features, or enhance security. Check the Vimtag app regularly for available updates and follow the in-app instructions to install them. Ensure the camera remains powered during the update process.
4.3 Environmental Considerations
The Vimtag CP1 camera is designed for indoor use. Avoid exposing it to extreme temperatures, direct sunlight, high humidity, or water, as it is not water-resistant.
5. Troubleshooting
This section addresses common issues you might encounter with your Vimtag CP1 camera.
5.1 Camera Not Connecting to Wi-Fi
- Check Wi-Fi Band: Ensure your Wi-Fi network is 2.4GHz. The camera may not support 5GHz networks.
- Signal Strength: Place the camera closer to your Wi-Fi router to ensure a strong signal.
- Correct Password: Double-check that you are entering the correct Wi-Fi password in the app.
- Reset Camera: Locate the reset button on the camera (often a small pinhole) and press it for 5-10 seconds until the camera resets. Then, attempt the setup process again.
- Router Settings: Verify that your router's firewall or security settings are not blocking the camera's connection.
5.2 Poor Video Quality
- Network Bandwidth: Ensure your internet connection has sufficient upload speed for streaming HD video.
- App Settings: Check the video quality settings within the Vimtag app; you might be able to adjust it.
- Lens Cleanliness: Clean the camera lens with a soft, dry cloth.
5.3 Two-Way Audio Issues
- Volume Levels: Check the volume settings on your smartphone and within the Vimtag app.
- Microphone/Speaker Obstruction: Ensure the camera's microphone and speaker are not obstructed.
- Network Latency: High network latency can affect audio quality and introduce delays.
5.4 Motion Detection Not Working
- Enable Feature: Verify that motion detection is enabled in the Vimtag app settings.
- Sensitivity: Adjust the motion detection sensitivity. If it's too low, it might miss events.
- Detection Zones: Ensure the areas you want to monitor are correctly configured as detection zones.
6. Technical Specifications
| Model Name | Vimtag CP1 |
| Item Model Number | 6970167642228 |
| Video Capture Resolution | 720p (1280 x 720 pixels) |
| Frame Rate | 25 frames per second |
| Pan/Tilt Range | 350 degrees (Pan) x 100 degrees (Tilt) |
| Digital Zoom | 4x |
| Night Vision Distance | Up to 10 meters (Infrared) |
| Storage Options | Micro SD (up to 64GB), Cloud Storage |
| Connectivity | Wireless (Wi-Fi IEEE802.12b/g/n) |
| Power Source | AC Power Adapter (7 Watts) |
| Dimensions (L x W x H) | 40 x 30 x 40 Millimeters |
| Item Weight | 450 grams |
| Indoor/Outdoor Usage | Indoor |
| Water Resistance Level | Not Water Resistant |
| Control Method | App (Android, iOS), Voice |
7. Warranty and Support
7.1 Product Warranty
The Vimtag CP1 camera comes with a 6-month replacement warranty. This warranty covers manufacturing defects and malfunctions under normal use. Please retain your proof of purchase for warranty claims.
7.2 Customer Support
For any queries, technical assistance, or warranty claims, please contact Vimtag customer support. Support is available via telephone, chat, Skype, and email. Refer to the official Vimtag website for the most current contact information.
Step-by-step setup instructions and video tutorials are also available on the Vimtag support portal to assist you with installation and operation.

