
Marathon CL030033BK
Marathon CL030033BK Atomic Wall Clock User Manual
Model: CL030033BK | Brand: Marathon
1. Introduction
Thank you for choosing the Marathon CL030033BK Atomic Wall Clock. This clock is designed for precision and convenience, featuring atomic self-setting and self-adjusting capabilities. It automatically synchronizes with the atomic time signal, ensuring accurate timekeeping without manual adjustments. This manual provides detailed instructions for setting up, operating, and maintaining your new clock.
2. Product Features
- Atomic Timekeeping: Automatically synchronizes with the atomic time signal for precise time.
- Self-Setting & Self-Adjusting: Automatically sets time and adjusts for Daylight Saving Time.
- Large, Easy-to-Read Display: Clear digital display for time, date, day of the week, and temperature.
- Multiple Modes: Displays time, date, and temperature (in both Celsius and Fahrenheit).
- 8 Time Zones: Selectable time zones to suit your location.
- Versatile Placement: Features a built-in table stand and wall-mount option.
- Sleek Design: Modern aesthetic with a brushed steel effect frame.
- Battery Operated: Powered by 2 AA batteries (included).

Figure 2.1: Front view of the Marathon CL030033BK Atomic Wall Clock, showcasing its large digital display.

Figure 2.2: Key features of the Atomic Wall Clock, including its large, easy-to-read display, multiple display modes (time, date, temperature), and support for 8 time zones.
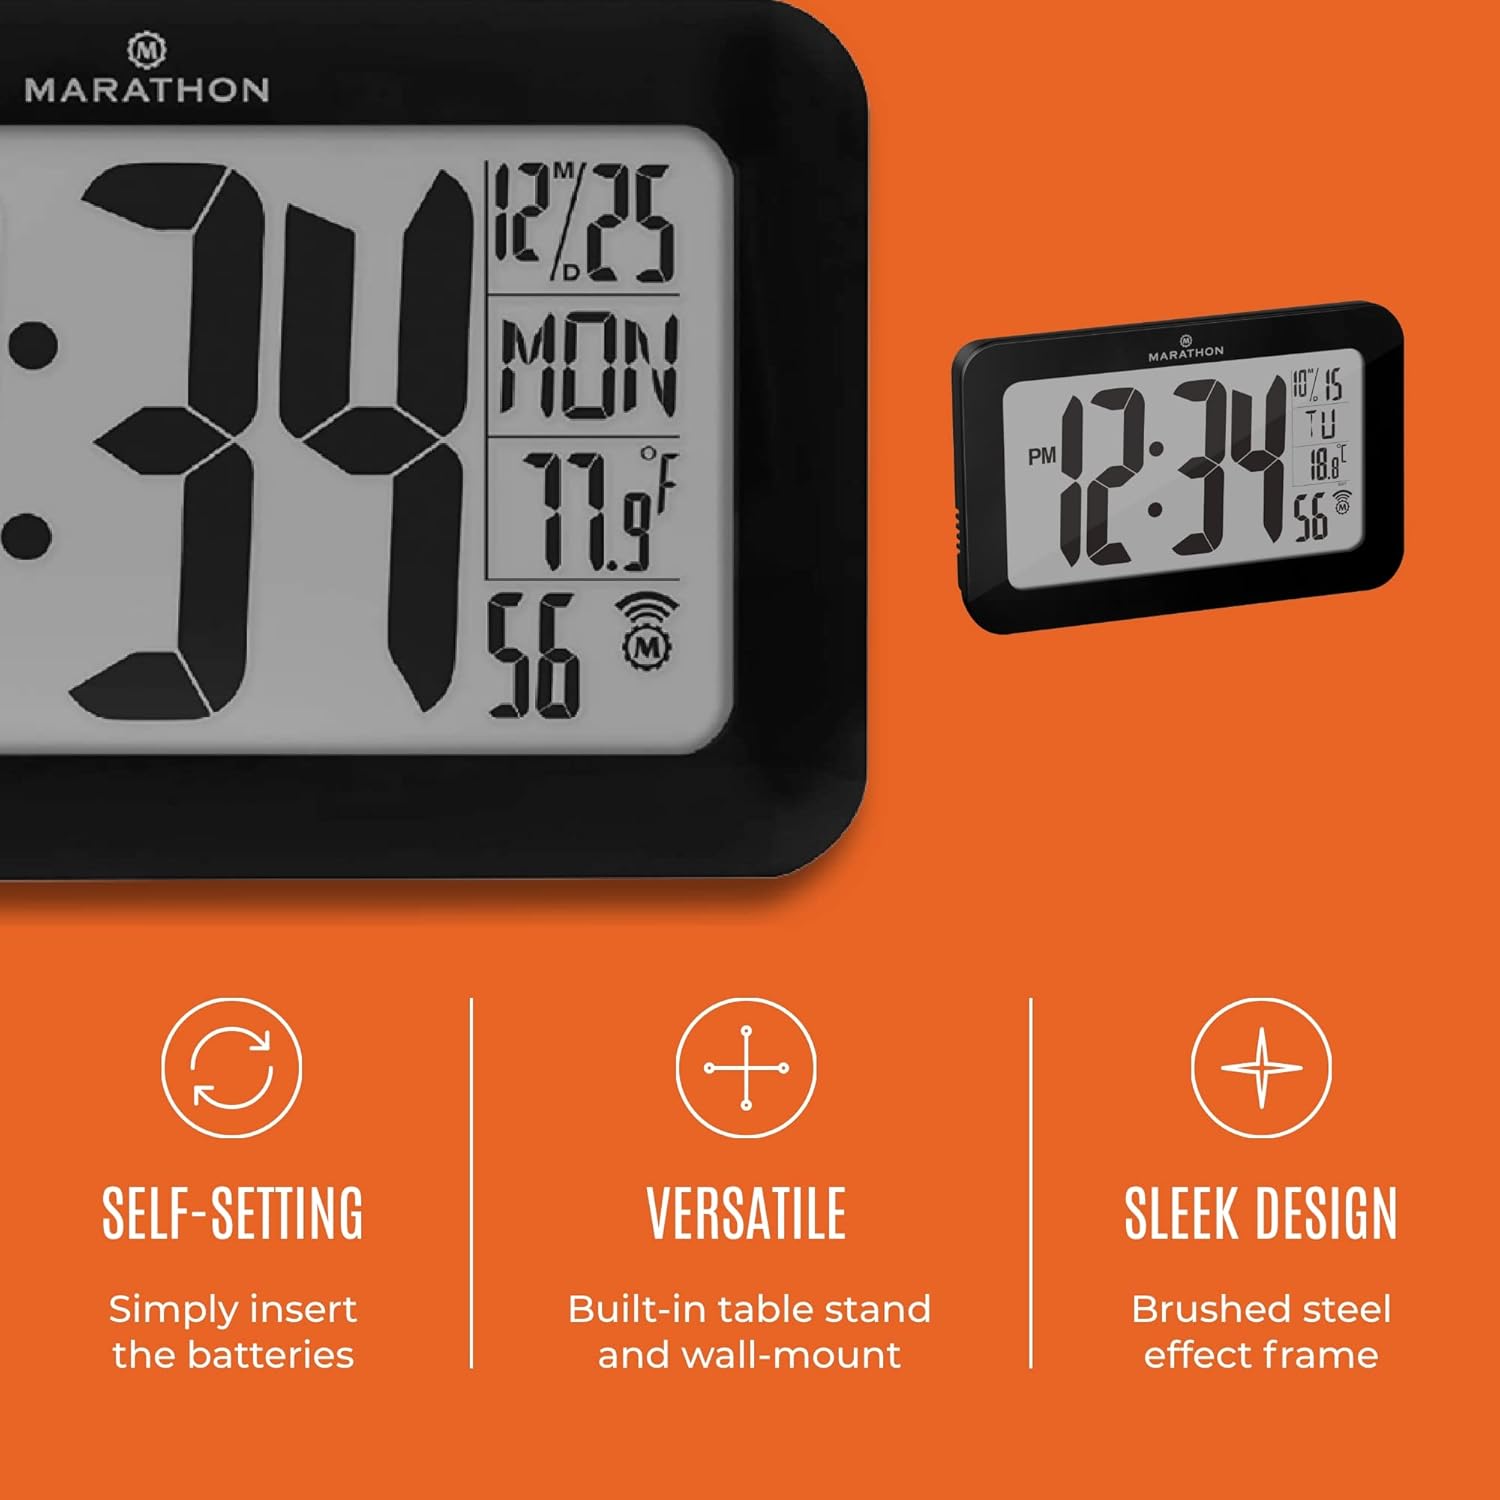
Figure 2.3: Illustrates the clock's self-setting capability (simply insert batteries), versatile placement options (built-in table stand and wall-mount), and sleek design with a brushed steel effect frame.
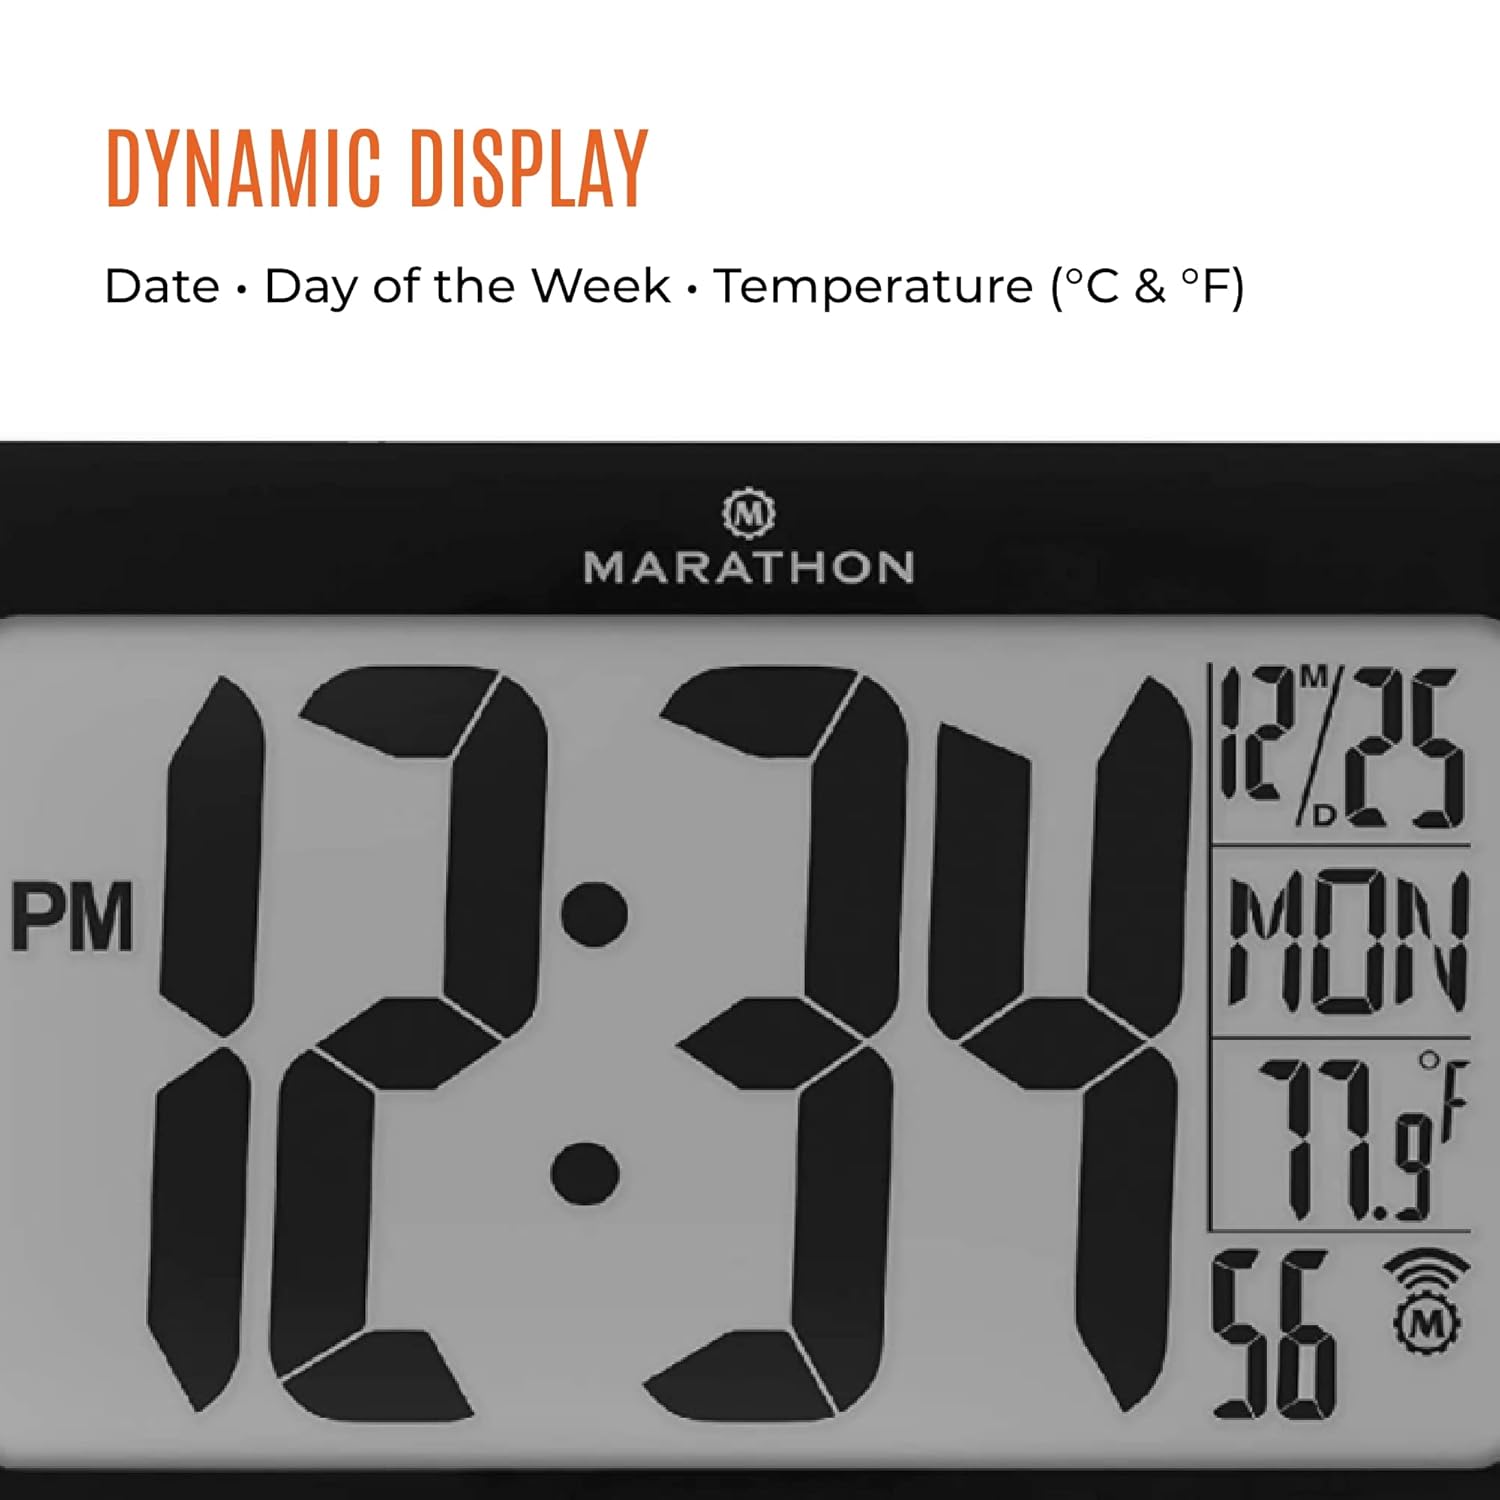
Figure 2.4: Close-up of the dynamic display, showing the current date, day of the week, and temperature in both Celsius and Fahrenheit.
3. Setup
- Unpacking: Carefully remove the clock from its packaging. Ensure all components are present: the clock unit and 2 AA batteries.
- Battery Installation: Locate the battery compartment on the back of the clock. Insert the two included AA batteries, ensuring correct polarity (+ and -). The clock will power on automatically.
- Initial Synchronization: Upon battery installation, the clock will begin searching for the atomic time signal. This process may take several minutes to a few hours, depending on your location and signal strength. Place the clock near a window for better reception.
- Placement:
- Table Stand: Extend the built-in stand on the back of the clock to place it on a flat surface.
- Wall Mount: Use the integrated keyhole slots on the back of the clock to hang it securely on a wall using appropriate hardware (not included).

Figure 3.1: The clock is easy to set and use, primarily requiring only the insertion of the included AA batteries for automatic setup.
4. Operating Instructions
The Marathon CL030033BK is designed for minimal user intervention due to its atomic synchronization. Once set up, it largely operates automatically.
4.1 Automatic Time Synchronization
The clock will automatically receive the atomic time signal (WWVB in North America) and adjust its time accordingly. This typically occurs overnight to avoid interference. The signal icon on the display indicates reception strength.
4.2 Manual Time Zone Selection
While the time is atomic, you may need to manually select your desired time zone. Refer to the buttons on the back of the clock (if any) for a 'Time Zone' or 'TZ' button. Pressing this button will cycle through the 8 available time zones until your local zone is displayed.
4.3 Display Modes
The clock's dynamic display cycles through or can be manually switched between different information modes:
- Time: Displays the current time (AM/PM indicator).
- Date: Displays the month and day.
- Day of the Week: Displays the current day.
- Temperature: Displays the indoor temperature in either Celsius or Fahrenheit. There may be a button (e.g., 'C/F' or 'TEMP') to switch between these units.
5. Maintenance
- Battery Replacement: When the display dims or the clock stops functioning, replace the 2 AA batteries. Always replace both batteries at the same time with new ones.
- Cleaning: Clean the clock's surface with a soft, dry cloth. Do not use abrasive cleaners or chemicals, as they may damage the finish or display.
- Storage: If storing the clock for an extended period, remove the batteries to prevent leakage.
6. Troubleshooting
- Clock not setting time:
- Ensure batteries are fresh and correctly installed.
- Place the clock near a window, away from electronic devices that may cause interference.
- Allow sufficient time (up to 24 hours) for the clock to receive the atomic signal, especially during initial setup or after battery replacement.
- Display is dim or blank:
- Replace the batteries with new ones.
- Incorrect time zone:
- Manually adjust the time zone using the dedicated button on the back of the clock.
7. Specifications

Figure 7.1: Dimensions of the Marathon CL030033BK Atomic Wall Clock, showing its width, height, and digit size.
| Feature | Detail |
|---|---|
| Brand | Marathon |
| Model Number | CL030033BK |
| UPC | 063442321072 |
| Colour | Black |
| Display Type | Analog (Digital Display) |
| Style | Contemporary |
| Special Feature | Atomic, Self-Setting, Self-Adjusting |
| Power Source | Battery Powered |
| Batteries Included | Yes (2 AA batteries) |
| Mounting Type | Wall Mount, Table Stand |
| Frame Material | Alloy Steel |
| Item Weight | 11 Grams |
| Item Dimensions (LxWxH) | 22.9 x 3.8 x 14.5 Centimeters |
| Operation Mode | Atomic |
| Watch Movement | Quartz |
| Alarm Clock | No |
| Room Type | Bedroom, Living Room, Office |
8. Warranty Information
Marathon products are manufactured to high-quality standards. For specific warranty details, including duration and coverage, please refer to the warranty card included with your purchase or visit the official Marathon Watch Company website. Keep your proof of purchase for warranty claims.
9. Customer Support
If you encounter any issues or have questions regarding your Marathon CL030033BK Atomic Wall Clock that are not covered in this manual, please contact Marathon customer service. Contact information can typically be found on the product packaging or the official Marathon Watch Company website.
Related documentsCL030033BK


Ask a question about this manual
Ask about setup, troubleshooting, compatibility, parts, safety, or missing instructions. Manuals+ will review the question and use this page’s manual context to help answer it.