
1. Product Overview
The JT Z3 Super Heavy Duty X-Ring motorcycle chain is engineered for maximum durability and strength, providing high performance for both road and off-road applications. This chain features advanced X-Ring seals designed for superior sealing and reduced friction compared to conventional O-ring chains. Solid bushings enhance resistance to distortion from repetitive shock loading, ensuring a longer service life.
Manufactured using leading-edge technology and high-grade special steel alloys, JT advanced power transfer chains meet or exceed the requirements of all modern motorcycles and ATVs. The Z3 Super Heavy Duty Chains are constructed with quad riveted pins, creating an extra strong rivet that effectively resists powerful lateral forces on the outer plate.
2. Product Features
- Super Heavy Duty X-Ring Design: Engineered for maximum durability and strength, suitable for both road and off-road use.
- X-Ring Seals: Provide a better seal and produce less friction than conventional O-ring chains, contributing to efficiency and longevity.
- Solid Bushings: Offer enhanced resistance to distortion from repetitive shock loading, improving chain reliability.
- High-Grade Steel Alloys: Manufactured with premium materials and advanced technology to meet or exceed modern motorcycle and ATV requirements.
- Quad Riveted Pins: Ensures an extra strong rivet that resists powerful lateral forces on the outer plate, increasing chain integrity.
3. Specifications
| Specification | Value |
|---|---|
| Brand | JT |
| Model Number | JTC520Z3112RL |
| Chain Type | 520Z3 X-Ring Drive Chain |
| Number of Links | 112 |
| Material | Steel |
| Roller Diameter | 10.32 mm |
| Pin Length | 21.40 mm |
| Plate Thickness Inner | 2.2 mm |
| Plate Thickness Outer | 2.4 mm |
| Weight per 100 links | 4.12 lbs (1.87 kg) |
| Average Tensile Strength | 9352 lb-f (41.6 kN) |
| Number of Pin Rivet Presses | 4 (Quad Riveted) |
| Master Link Type | Rivet |
| Recommended Use | Motorcycle, ATV (Road and Off-Road) |
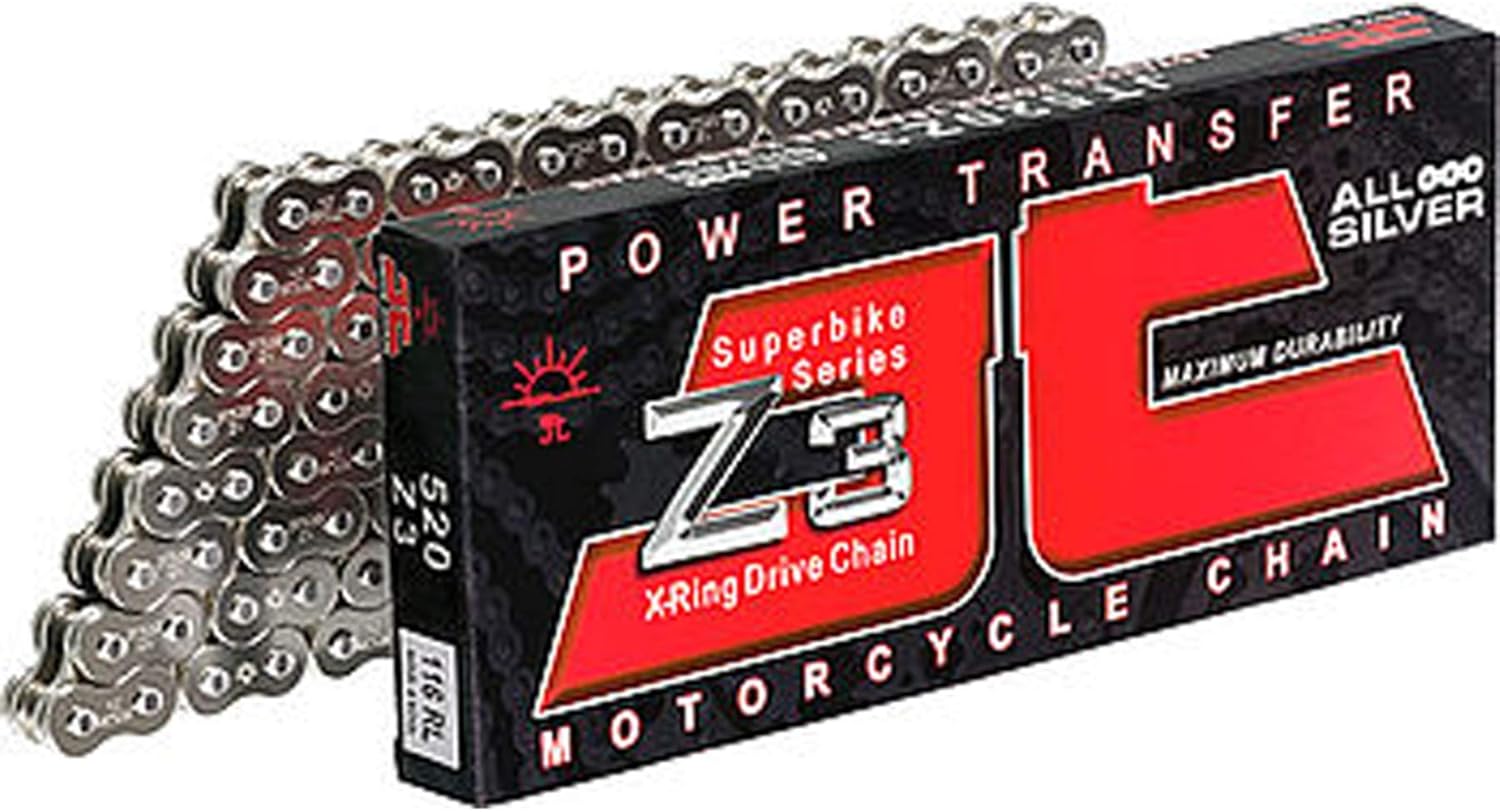
Image 1: The JT Sprockets JTC520Z3112RL 520Z3 X-Ring Drive Chain shown alongside its product packaging. The chain is silver-colored, indicating its steel construction, and the packaging highlights its 'Superbike Series' and 'X-Ring Drive Chain' features.
4. Setup and Installation
Proper installation of a drive chain is critical for safety and performance. It is highly recommended that installation be performed by a qualified motorcycle mechanic or an experienced individual with the necessary tools and knowledge.
4.1 Pre-Installation Checks
- Ensure the new chain matches the required pitch (520) and length (112 links) for your motorcycle or ATV.
- Inspect front and rear sprockets for wear. Worn sprockets can significantly reduce the lifespan of a new chain. Replace sprockets if teeth are hooked, bent, or excessively worn.
- Gather necessary tools, including a chain breaker/riveter tool, torque wrench, measuring tape, and appropriate lubricants.
4.2 Installation Steps (General Guide)
- Remove Old Chain: If replacing an old chain, use a chain breaker to remove it.
- Clean Area: Thoroughly clean the swingarm, chain guides, and sprocket areas.
- Install New Chain: Route the new chain around the front and rear sprockets.
- Connect Master Link: Use the provided rivet-type master link. Ensure X-rings are properly seated on both sides of the link plates and pins.
- Rivet Master Link: Use a chain riveter tool to flare the master link pins to the manufacturer's specified diameter. Incorrect riveting can lead to chain failure.
- Adjust Chain Slack: Adjust the rear wheel position to achieve the correct chain slack as specified in your vehicle's service manual. This is crucial for proper operation and chain life.
- Align Wheel: Ensure the rear wheel is perfectly aligned after adjusting chain slack.
- Torque Axle Nut: Tighten the rear axle nut to the vehicle manufacturer's specified torque.
Warning: Incorrect chain installation, especially improper master link riveting or incorrect chain slack, can lead to catastrophic chain failure, resulting in serious injury or death. If you are unsure, seek professional assistance.
5. Operating Guidelines
Once installed, the JT Z3 X-Ring drive chain is designed for reliable performance. Adhere to the following guidelines for optimal operation:
- Initial Break-in: Avoid aggressive acceleration and high speeds for the first 100-200 km (60-120 miles) to allow the chain to properly seat with the sprockets.
- Regular Inspection: Before each ride, quickly inspect the chain for any visible damage, kinks, or excessive slack.
- Avoid Overloading: Do not exceed the maximum load capacity of your vehicle, as this can put undue stress on the drive chain.
- Smooth Operation: Operate your vehicle smoothly, avoiding sudden harsh acceleration or braking, which can prematurely wear the chain and sprockets.
6. Maintenance
Regular maintenance is essential to maximize the lifespan and performance of your JT Z3 X-Ring drive chain.
6.1 Cleaning
- Clean the chain every 500-1000 km (300-600 miles) or after riding in wet/dirty conditions.
- Use a dedicated chain cleaner or a mild solvent. Avoid harsh degreasers or pressure washers, which can damage the X-rings.
- Use a soft brush to remove dirt and grime from all sides of the chain.
- Rinse thoroughly with water if using a water-based cleaner, then dry completely.
6.2 Lubrication
- Lubricate the chain after every cleaning and every 300-500 km (180-300 miles), or more frequently in adverse conditions.
- Use a high-quality O-ring/X-ring compatible chain lubricant.
- Apply lubricant sparingly to the inner side of the chain, allowing it to penetrate the rollers and X-rings.
- Wipe off any excess lubricant to prevent dirt attraction.
6.3 Chain Slack Adjustment
- Check chain slack regularly, typically every 500 km (300 miles) or as per your vehicle's service manual.
- Refer to your vehicle's service manual for the correct chain slack measurement and adjustment procedure.
- Adjust slack when the chain is cold and the vehicle is on a stand with the rear wheel off the ground.
6.4 Inspection for Wear
- Periodically inspect the chain for tight spots, kinks, rust, or damaged X-rings.
- Check for excessive chain stretch by measuring 20 links. If the measurement exceeds the vehicle manufacturer's specification, the chain should be replaced.
- Inspect sprockets for wear. Replace the chain and sprockets as a set if either is significantly worn.
7. Troubleshooting
This section addresses common issues that may arise with your drive chain.
7.1 Excessive Noise or Vibration
- Cause: Incorrect chain slack, worn sprockets, lack of lubrication, or misaligned wheel.
- Solution: Check and adjust chain slack. Inspect sprockets for wear and replace if necessary. Clean and lubricate the chain. Verify rear wheel alignment.
7.2 Chain Kinks or Stiff Links
- Cause: Insufficient lubrication, dirt ingress, damaged X-rings, or corrosion.
- Solution: Thoroughly clean and lubricate the affected area. If kinks persist or X-rings are visibly damaged, the chain may need replacement.
7.3 Rapid Chain Wear
- Cause: Worn sprockets, improper chain slack (too tight or too loose), lack of lubrication, or aggressive riding style.
- Solution: Always replace chain and sprockets together. Maintain correct chain slack and lubrication schedule. Adjust riding habits if necessary.
7.4 Master Link Failure
- Cause: Improper riveting during installation, damage, or excessive wear.
- Solution: A failed master link requires immediate chain replacement. Ensure correct riveting procedures are followed during installation.
8. Warranty and Support
For information regarding product warranty, please refer to the official JT Sprockets website or contact their customer support directly. Keep your proof of purchase for any warranty claims.
For technical support or further assistance, please visit the JT Sprockets official website or consult with a certified motorcycle mechanic.


