1. Introduction
This manual provides essential instructions for the safe operation, maintenance, and adjustment of your JET 15-Inch Woodworking Bandsaw, Model JWBS-15. This bandsaw is designed for woodworking tasks, offering significant resaw capacity and precision for various cuts. Please read this manual thoroughly before operating the machine to ensure proper use and safety.
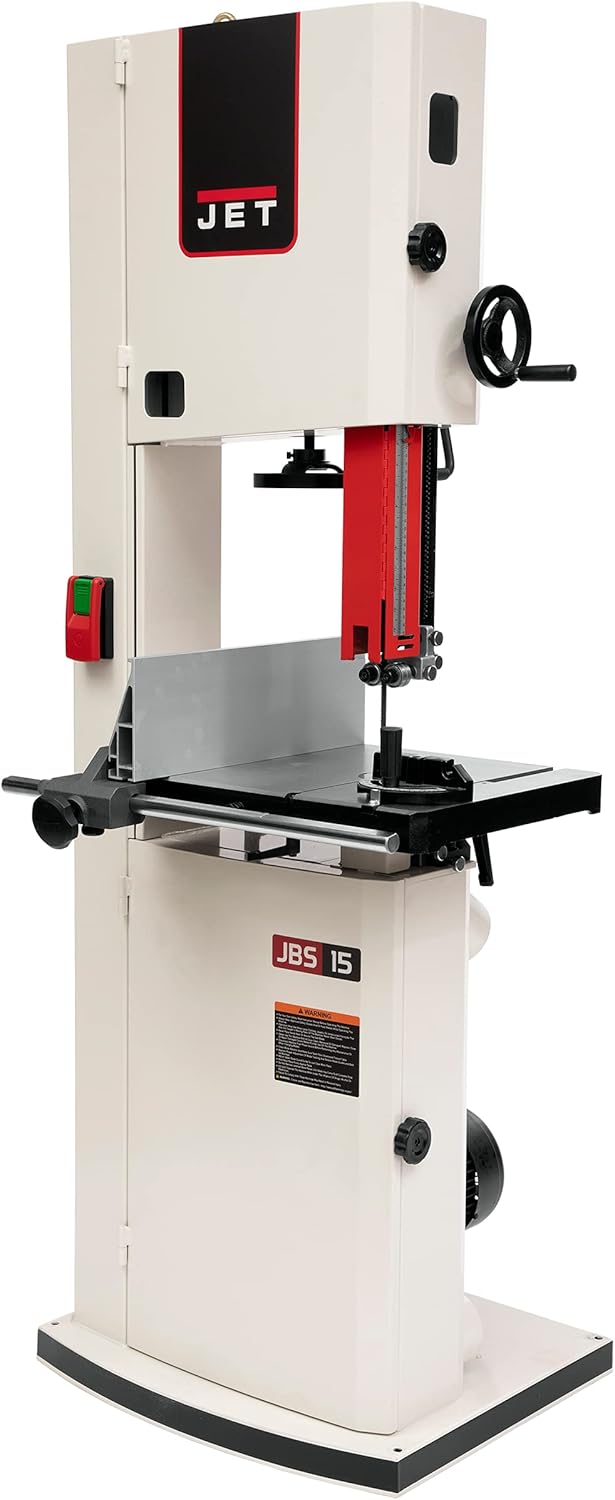
Figure 1: Overview of the JET 15-Inch Woodworking Bandsaw, Model JWBS-15.
2. Safety Instructions
Always prioritize safety when operating power tools. Failure to follow these instructions may result in serious injury or damage to the machine.
- Read the Entire Manual: Understand all operating procedures and safety warnings before use.
- Wear Personal Protective Equipment (PPE): Always wear safety glasses, hearing protection, and appropriate dust masks. Avoid loose clothing, jewelry, and long hair that could get caught in moving parts.
- Ensure a Safe Work Area: Keep the work area clean, well-lit, and free from obstructions. Do not operate the bandsaw in damp or wet conditions.
- Secure Workpiece: Always ensure the workpiece is properly supported and secured before cutting.
- Maintain Proper Guarding: Never operate the bandsaw with guards removed or improperly adjusted.
- Disconnect Power: Always disconnect the power supply before performing any adjustments, maintenance, or blade changes.
- Use Correct Blades: Ensure the blade is sharp, correctly sized, and appropriate for the material being cut.
- Avoid Forcing the Cut: Allow the blade to cut at its own pace. Forcing the material can lead to kickback or blade breakage.
- Emergency Stop: Familiarize yourself with the location and operation of the emergency stop switch.
3. Unpacking and Setup
3.1 Unpacking
The JET JWBS-15 bandsaw is a heavy machine (approximately 382 pounds). Exercise extreme caution during unpacking and moving. It is recommended to have assistance or use appropriate lifting equipment. Consider removing the motor and other packaged components to reduce weight for easier transport, as suggested by experienced users.
3.2 Assembly
Follow the detailed assembly instructions provided in the separate assembly guide that accompanies your bandsaw. Key steps typically include:
- Attaching the base to the main column.
- Mounting the motor (if removed for transport) and connecting the drive belt.
- Installing the cast iron table and securing it.
- Attaching the fence system and guide rail.
- Installing the blade and adjusting initial tension.
- Connecting to the appropriate power supply (115V or 230V, 1Ph). Ensure wiring is correct for your voltage.
Electrical Connection: The machine is designed for 115V/230V, 1Ph operation. If converting to 230V, ensure proper wiring and use a dedicated 20-amp breaker, appropriate receptacle, and plug. Do not use adapters for 240V connections.
4. Operation
Before each use, perform a quick check of the blade tension, blade guides, and fence alignment. Ensure all guards are in place and secure.
4.1 Starting and Stopping
- To start the bandsaw, press the green "ON" button.
- To stop the bandsaw, press the red "OFF" button or use the emergency stop if necessary.
- Allow the blade to reach full speed before beginning a cut.
4.2 Basic Cutting Procedures
- Straight Cuts: Use the heavy-duty cast-iron fence system for accurate straight cuts. The micro-adjust dial allows for precise placement.
- Resawing: The 15-inch resaw capacity allows for cutting large pieces of wood and creating book-matched panels. Ensure the fence is set correctly and the blade is appropriate for resawing.
- Curved Cuts: For curved cuts, remove the fence and guide the material freehand, maintaining a safe distance from the blade.

Figure 2: The precision-ground cast iron table provides a stable work surface.
5. Adjustments
Regular adjustments are crucial for optimal performance and safety.
5.1 Blade Tension
Proper blade tension is vital for straight cuts and blade longevity. Use the quick-release blade tension lever for easy adjustments and the integrated scale for accurate settings.

Figure 3: The easy-to-read blade tension scale assists in setting the correct tension for various blade widths.

Figure 4: The quick-release blade tension lever simplifies blade changes and tension adjustments.
5.2 Blade Guides
The bandsaw features toolless, independently adjustable upper and lower ball bearing guides. Adjust these guides to be just clear of the blade sides and the thrust bearing to be just behind the blade's gullet, without touching during idle operation.
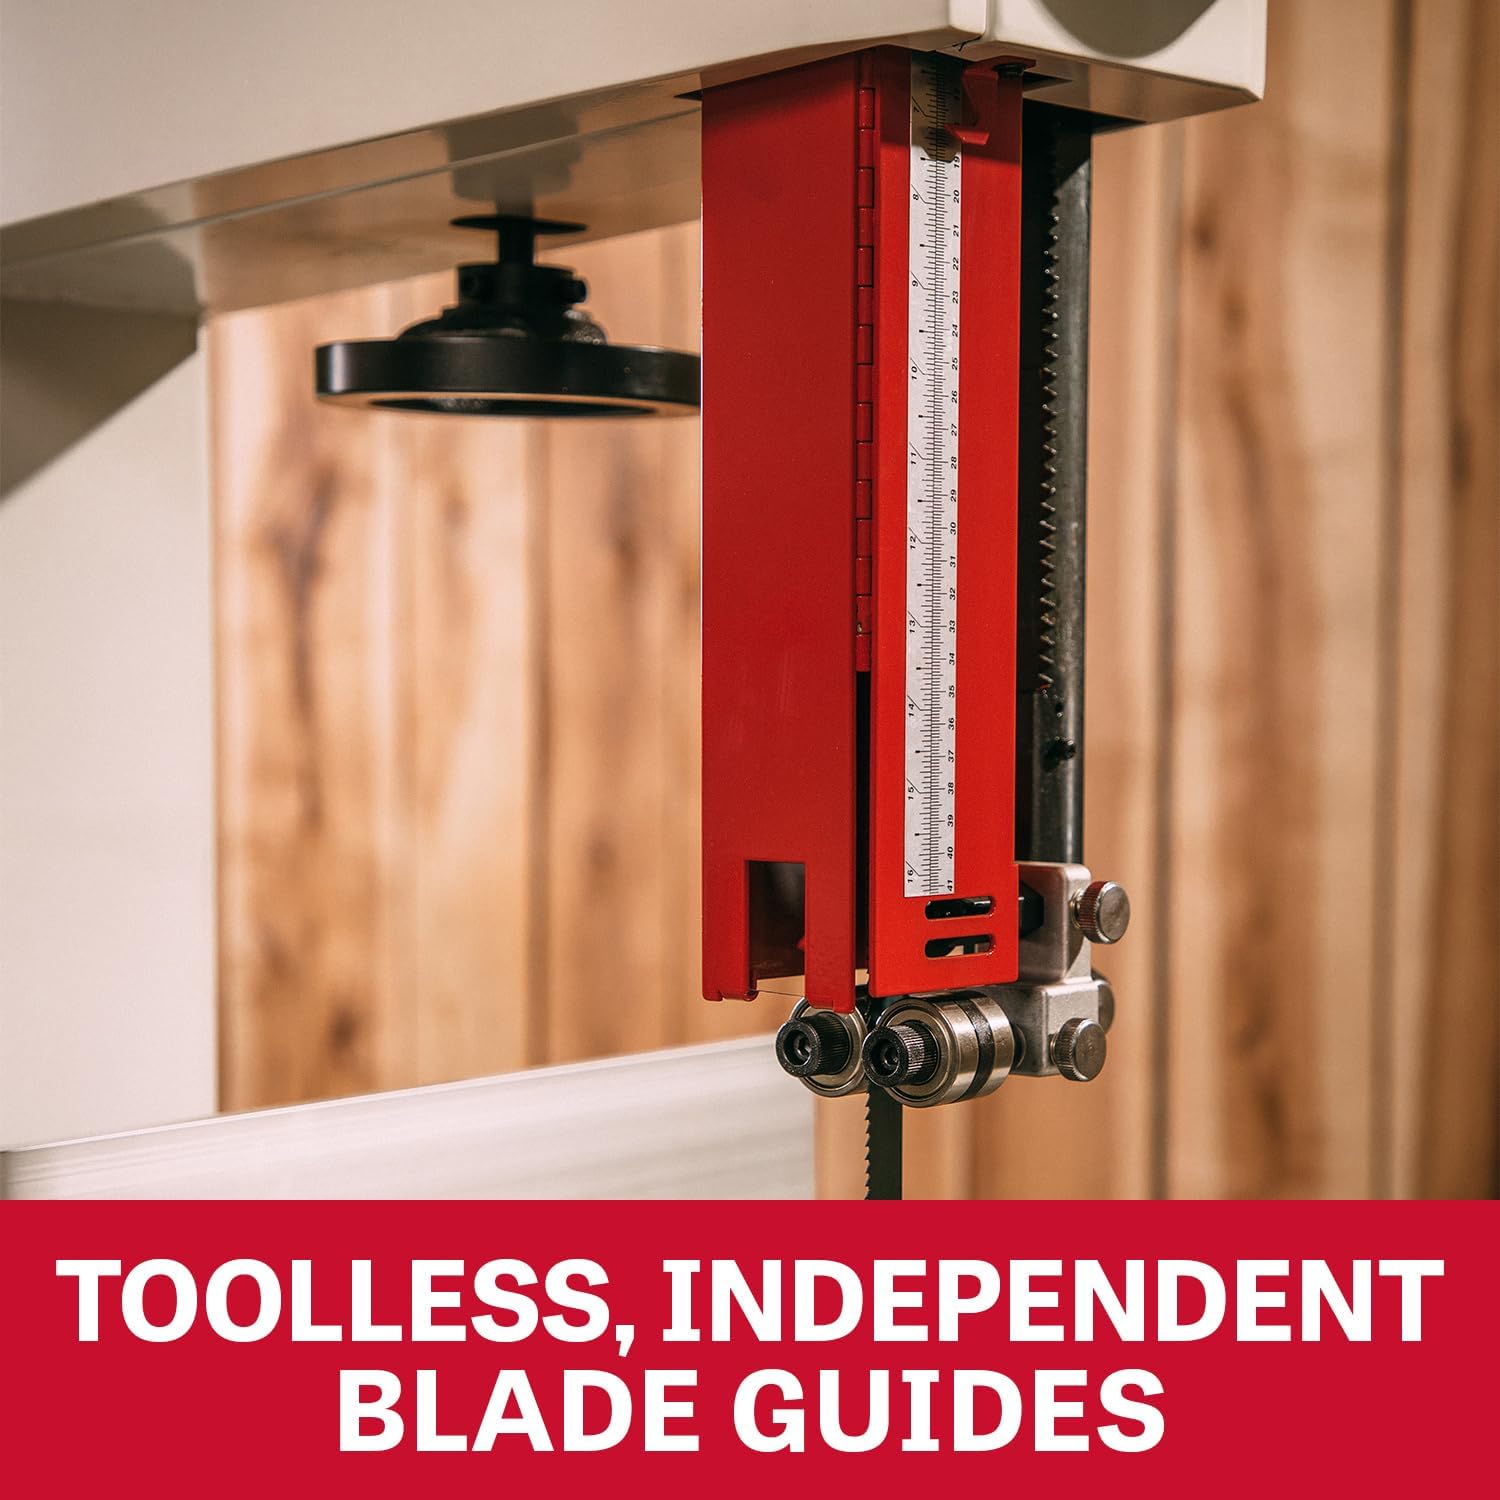
Figure 5: Toolless, independently adjustable blade guides ensure optimal blade support.
5.3 Fence System
The heavy-duty cast-iron fence system includes a micro-adjust dial for exact placement. Ensure the fence is parallel to the blade for accurate cuts. The dual-position side plate can be adjusted for different cutting needs.
5.4 Table Tilt
The precision-ground cast iron table can be tilted for angled cuts. It tilts 5° to the left and 45° to the right. Use the angle scale and locking mechanism to set the desired angle securely.

Figure 6: The table tilt mechanism allows for precise angled cuts.
6. Maintenance
Regular maintenance ensures the longevity and safe operation of your bandsaw.
- Blade Changes: The table is slotted for front blade removal, and the guide post has a magnetic door for efficient blade changes. Always disconnect power before changing blades.
- Dust Collection: The bandsaw is equipped with dual 4-inch dust ports to help manage sawdust. Connect to a dust collection system for a cleaner and safer work environment.
- Cleaning: Keep the machine clean, especially the table surface, blade guides, and wheels. Remove any resin or pitch buildup.
- Lubrication: Refer to your detailed manual for specific lubrication points and schedules.
- Blade Inspection: Regularly inspect blades for sharpness, cracks, or missing teeth. Replace damaged blades immediately.
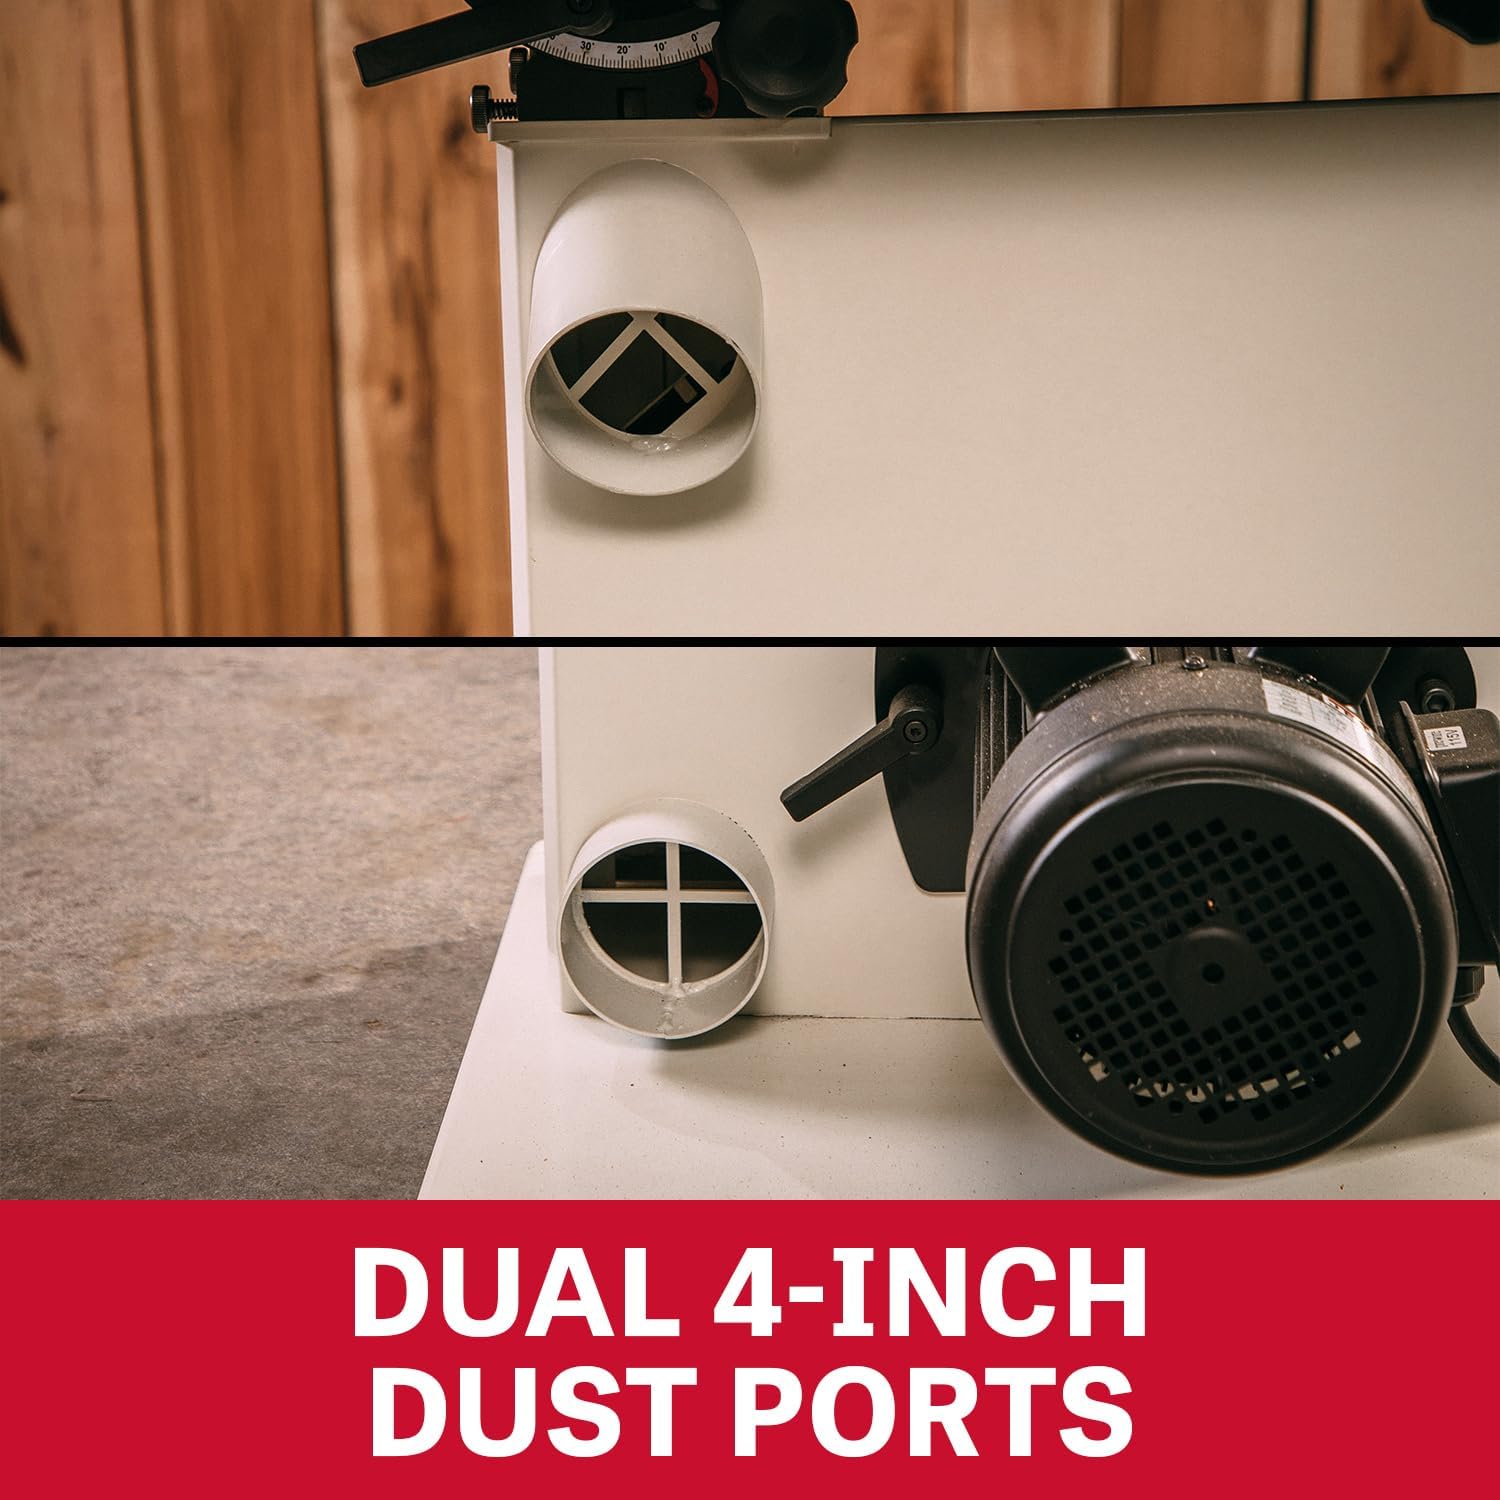
Figure 7: Dual 4-inch dust ports for efficient dust extraction.
7. Troubleshooting
This section addresses common issues you might encounter with your bandsaw.
| Problem | Possible Cause | Solution |
|---|---|---|
| Blade not cutting straight | Incorrect blade tension, dull blade, improper guide adjustment, fence not parallel. | Adjust blade tension, replace blade, adjust blade guides, align fence. |
| Excessive vibration | Loose components, unbalanced wheels, damaged blade. | Check all fasteners, inspect wheels for damage, replace blade. |
| Motor not starting | No power, tripped breaker, faulty switch, incorrect wiring. | Check power supply, reset breaker, inspect wiring, contact service if switch is faulty. |
| Poor dust collection | Clogged dust ports, inadequate dust collector, loose connections. | Clear dust ports, ensure dust collector is sufficient and connected properly. |
For issues not covered here, refer to the comprehensive troubleshooting section in your full product manual or contact JET customer support.
8. Specifications
Key technical specifications for the JET 15-Inch Woodworking Bandsaw (Model JWBS-15):
| Feature | Detail |
|---|---|
| Model Number | JWBS-15 |
| Brand | Jet |
| Horsepower | 1.75 HP |
| Voltage | 115/230 Volts (1 Phase) |
| Wattage | 2242 watts |
| Amperage Capacity | 20 Amps |
| Speed | 3100 FPM (Feet Per Minute) |
| Blade Length | 133 Inches |
| Blade Material | Steel |
| Number of Teeth (Included Blade) | 6 TPI (Teeth Per Inch) |
| Product Dimensions (L x W x H) | 29.5" x 32" x 74" |
| Item Weight | 382 Pounds |
| Table Dimensions | 21.5"L x 16"W x 2"H (Cast Iron) |
| Table Tilt | 5° Left, 45° Right |
| Dust Ports | Dual 4-inch |
| Special Features | Cast Iron Trunnion, Micro-Adjustable Fence System, Toolless Blade Guides |
| Safety Certifications | OSHA, UL |
9. Warranty and Support
9.1 Warranty Information
The JET 15-Inch Woodworking Bandsaw (Model JWBS-15) comes with a 5-Year Limited Warranty for non-commercial use. If used for commercial or industrial purposes, the warranty defaults to a 2-Year Warranty. Please retain your proof of purchase for warranty claims. For full details on warranty coverage and exclusions, refer to the official JET warranty documentation included with your product or visit the JET website.

Figure 8: JET offers a 5-Year Limited Warranty for this product.
9.2 Customer Support
For technical assistance, parts, or service, please contact JET customer support. You can find contact information on the official JET website or in the documentation provided with your bandsaw. Always provide your model number (JWBS-15) and serial number when contacting support.
Visit the official JET store for more information and products: JET Store on Amazon


