
1. Introduction
This manual provides essential information for the proper installation and maintenance of your All Balls Carburetor Repair Kit 26-1327. This kit is designed to restore optimal performance to the carburetor of Honda TRX250EX Sportrax models manufactured between 2001 and 2005. It includes all necessary components for a comprehensive carburetor rebuild.
Important Note: This kit is intended for off-road use only. Components are based on US models; discretion is advised when installing on non-US models.
2. Safety Information
Always prioritize safety when working on your vehicle's fuel system. Failure to follow safety precautions can result in serious injury or damage.
- Ensure the vehicle's engine is cool before beginning work.
- Disconnect the battery to prevent accidental starting.
- Work in a well-ventilated area to avoid inhaling fuel fumes.
- Wear appropriate personal protective equipment, including safety glasses and chemical-resistant gloves.
- Have a fire extinguisher readily available.
- Handle fuel with extreme care. Avoid spills and open flames.
- Refer to your vehicle's official service manual for specific safety procedures and torque specifications.
3. Kit Contents
The All Balls Carburetor Repair Kit 26-1327 provides all the necessary components to repair one carburetor. For ATV models with two carburetors, two kits are required.
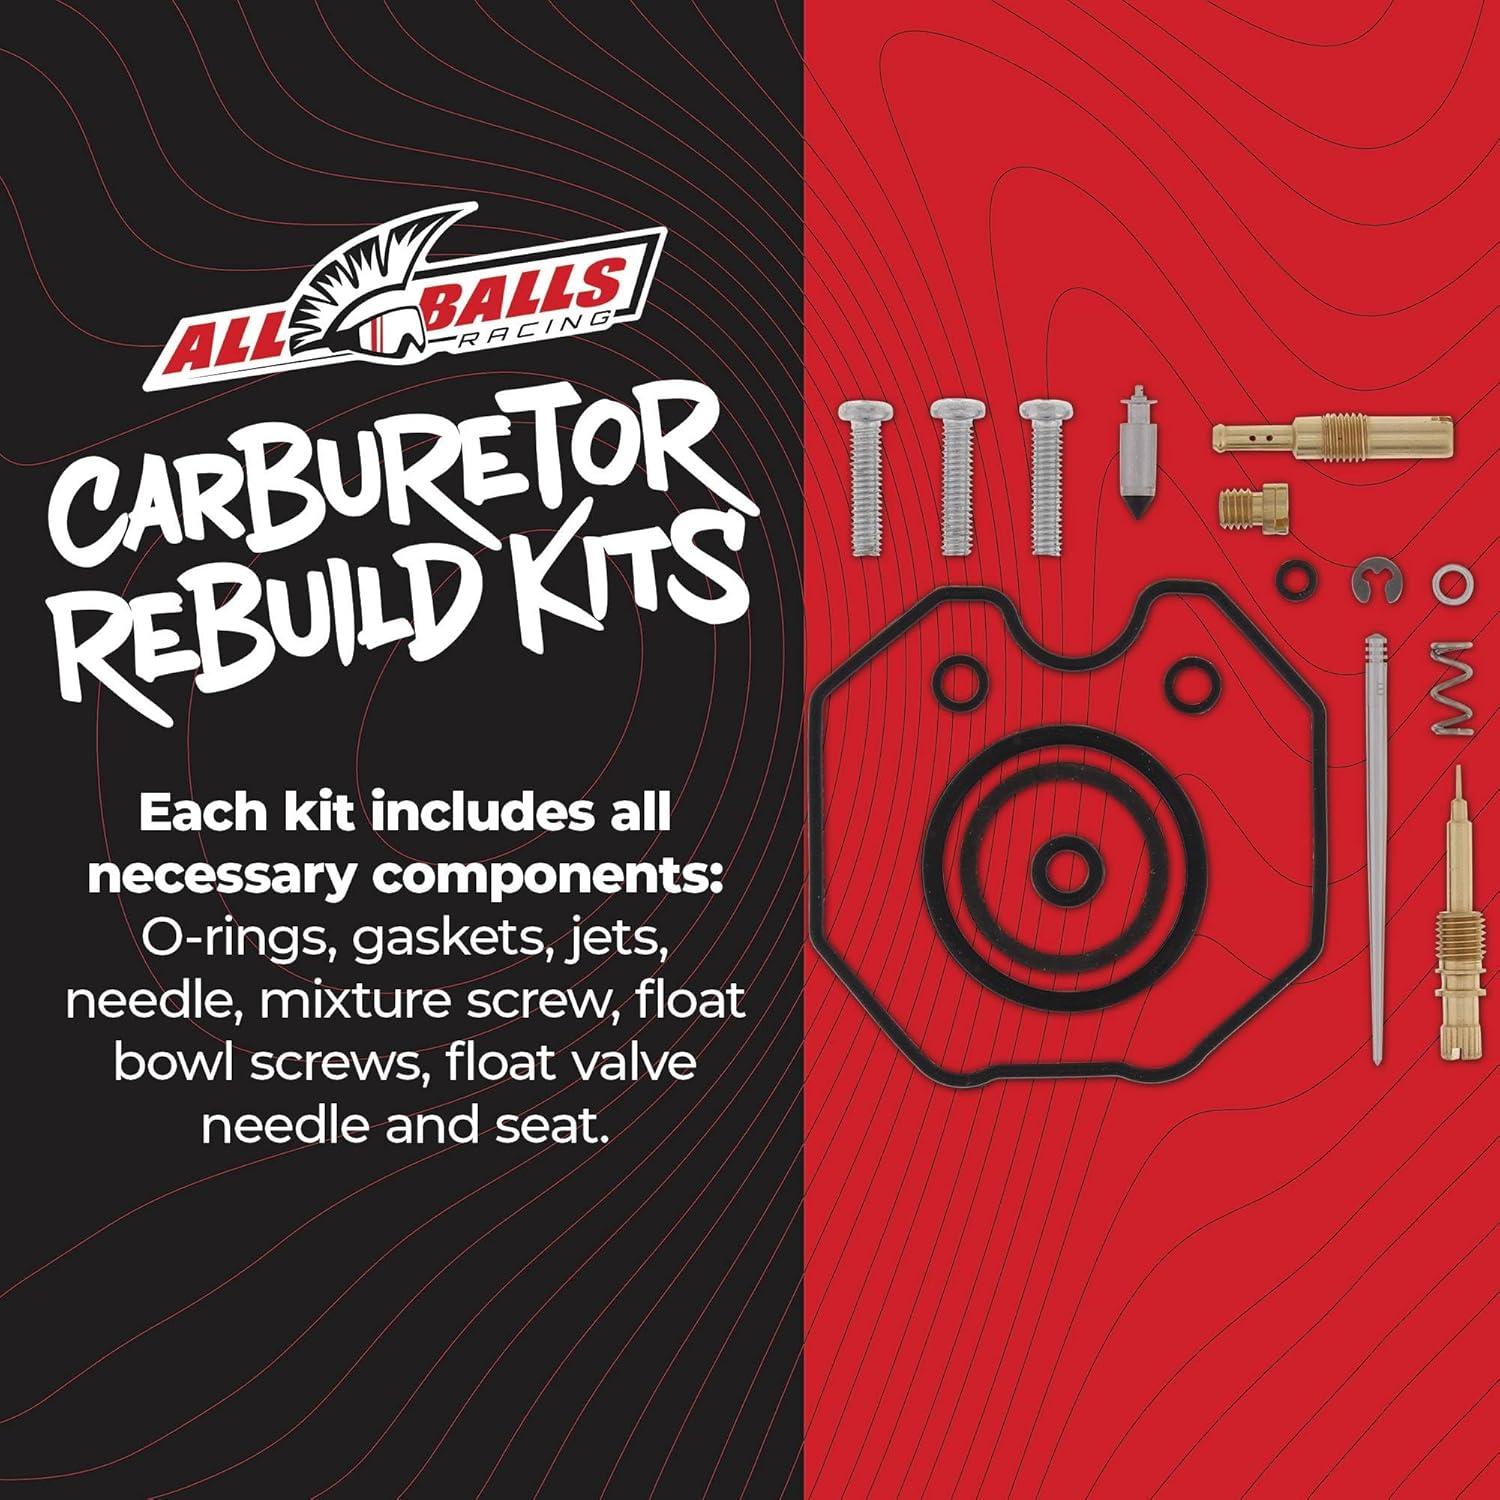
Image: An overview of the All Balls Carburetor Rebuild Kit components, including O-rings, gaskets, jets, needles, and screws.
Each kit typically includes:
- All necessary O-rings and rubber gaskets (made from NBR material for excellent ethanol resistance).
- Jets (OEM jet sizes are included).
- Needle.
- Mixture screw.
- Float bowl screws.
- Float valve needle and seat.
- Upgraded high-performance interface gasket material for applications that originally used paper float bowl gaskets.
4. Installation (Setup)
This section provides general guidance. Always consult your Honda TRX250EX Sportrax service manual for detailed, model-specific disassembly and reassembly procedures, including torque specifications.
- Preparation: Ensure the vehicle is on a stable, level surface. Disconnect the fuel line and drain the carburetor float bowl. Remove the carburetor from the vehicle according to your service manual.
- Disassembly: Carefully disassemble the carburetor, noting the position and orientation of all components. Take photos if necessary. Remove all old O-rings, gaskets, jets, and the float valve assembly.
- Cleaning: Thoroughly clean all carburetor passages and components using a suitable carburetor cleaner. Ensure all old gasket material is removed. Blow out all passages with compressed air.
- Component Replacement: Replace all components with the new parts from the All Balls kit. Match the OEM jet sizes provided in the kit. Ensure all O-rings and gaskets are correctly seated. The NBR rubber material used in the kit offers excellent resistance to ethanol in modern fuels.
- Float Adjustment: Adjust the float height according to your vehicle's service manual specifications. Incorrect float height can lead to fuel delivery issues.
- Reassembly: Reassemble the carburetor, ensuring all screws are tightened to the manufacturer's specified torque. Install the carburetor back onto the vehicle.
- Final Checks: Reconnect the fuel line and battery. Check for any fuel leaks before starting the engine.
5. Operating Considerations
After installing the repair kit, proper carburetor function is crucial for vehicle performance. The All Balls kit is designed to restore consistent fuel delivery, reduce bogging, prevent hard starts, and eliminate fuel leaks.

Image: Visual representation of benefits such as improved fuel delivery and maximized engine performance.
Once installed, the carburetor should provide:
- Improved Fuel Delivery: Consistent fuel flow to the engine.
- Maximized Engine Performance: Optimal air/fuel mixture for smooth throttle response and power output.
- Boosted Reliability: High-quality seals and materials resist breakdown from ethanol-laced fuel.
It may be necessary to perform minor carburetor adjustments (e.g., idle speed, mixture screw) after installation to fine-tune performance. Refer to your vehicle's service manual for adjustment procedures.
6. Maintenance
The All Balls Carburetor Repair Kit utilizes durable materials designed for longevity and resistance to modern fuel blends. Regular maintenance of your carburetor, even after a rebuild, is essential for sustained performance.

Image: Features contributing to enhanced performance and durability, such as fuel-resistant materials.
- Fuel Quality: Always use fresh, high-quality fuel. Ethanol-resistant components are included, but prolonged exposure to stale or contaminated fuel can still cause issues.
- Fuel Filter: Regularly inspect and replace your fuel filter to prevent contaminants from reaching the carburetor.
- Air Filter: Maintain a clean air filter to ensure proper air/fuel mixture and prevent dirt from entering the carburetor.
- Storage: If storing the vehicle for an extended period, drain the fuel from the carburetor or use a fuel stabilizer to prevent gumming and varnish buildup.
7. Troubleshooting
If you experience issues after installing the carburetor repair kit, consider the following common troubleshooting steps:
- Engine Not Starting/Hard Starting:
- Check for proper fuel flow to the carburetor.
- Verify float height adjustment.
- Ensure all jets are clear and correctly installed.
- Confirm spark plug condition and ignition system.
- Poor Performance/Bogging:
- Inspect for clogged jets or passages.
- Check air filter for cleanliness.
- Verify mixture screw adjustment.
- Ensure no air leaks around carburetor boots or gaskets.
- Fuel Leaks:
- Inspect all O-rings and gaskets for proper seating and damage.
- Check float bowl screws for tightness.
- Verify float valve needle and seat are clean and sealing correctly.
- Rough Idle:
- Adjust idle speed and mixture screw.
- Check for vacuum leaks.
If issues persist, it is recommended to consult a qualified mechanic or refer to your vehicle's comprehensive service manual.
8. Specifications
| Feature | Detail |
|---|---|
| Brand | All Balls |
| Model Number | 26-1327 |
| Application | Honda TRX250EX Sportrax (2001-2005) |
| Included Components | Carburetor rebuild components (O-rings, gaskets, jets, needle, mixture screw, float bowl screws, float valve needle and seat) |
| Gasket Material | NBR rubber for O-rings/gaskets, high-performance interface material for float bowl gaskets |
| OEM Jet Sizes | Included |
9. Warranty and Support
For information regarding warranty coverage for your All Balls Carburetor Repair Kit, please refer to the official All Balls website or contact the retailer from whom the product was purchased. Warranty terms typically cover manufacturing defects.
For technical support or further assistance with installation and troubleshooting, please visit the All Balls Racing website or contact their customer service department. Always provide your product model number (26-1327) and vehicle details when seeking support.