1. Introduction
Thank you for choosing the Volteck PLA-209L 24W LED Round Ceiling Light. This manual provides essential information for the safe and efficient installation, operation, and maintenance of your new lighting fixture. Please read these instructions carefully before installation and retain them for future reference.
2. Product Overview
The Volteck PLA-209L is a modern and energy-efficient LED ceiling light designed for various indoor applications. Its sleek, round design integrates seamlessly into any space, providing bright and instant illumination.
Key Features:
- Durable construction with an aluminum body, steel back cover, and glass screen.
- Instantaneous illumination (provides 100% brightness upon switching on).
- Integrated LED technology, eliminating the need for bulb replacement.
- Ideal for homes, commercial spaces, lobbies, and more.
- Saves up to 84% in energy consumption compared to traditional lighting.
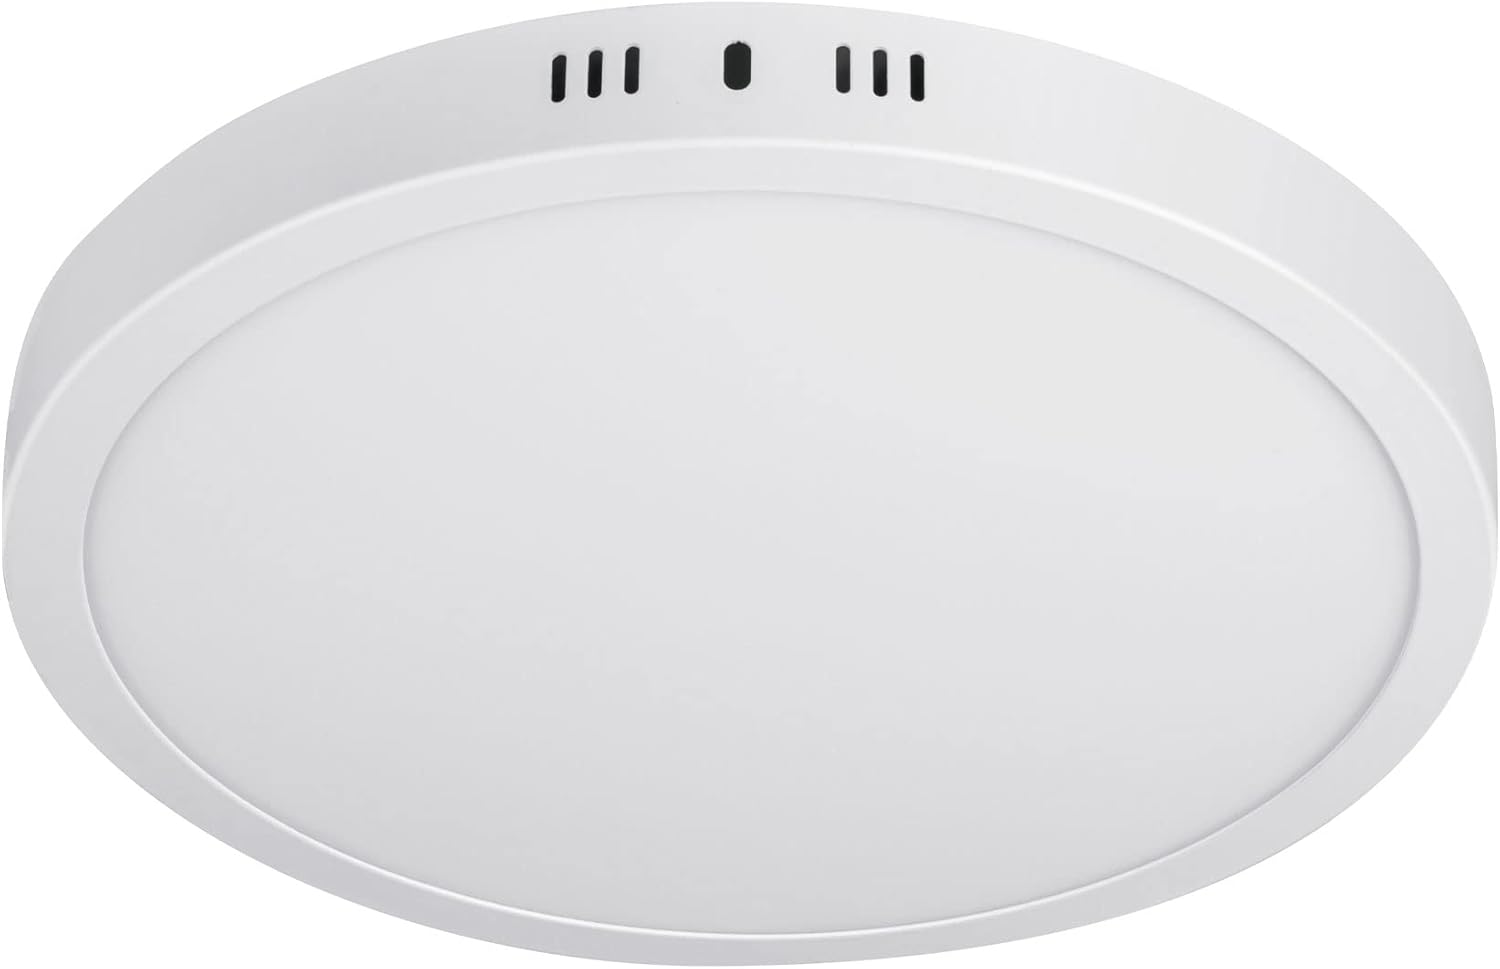
Figure 2.1: Volteck PLA-209L 24W LED Round Ceiling Light.
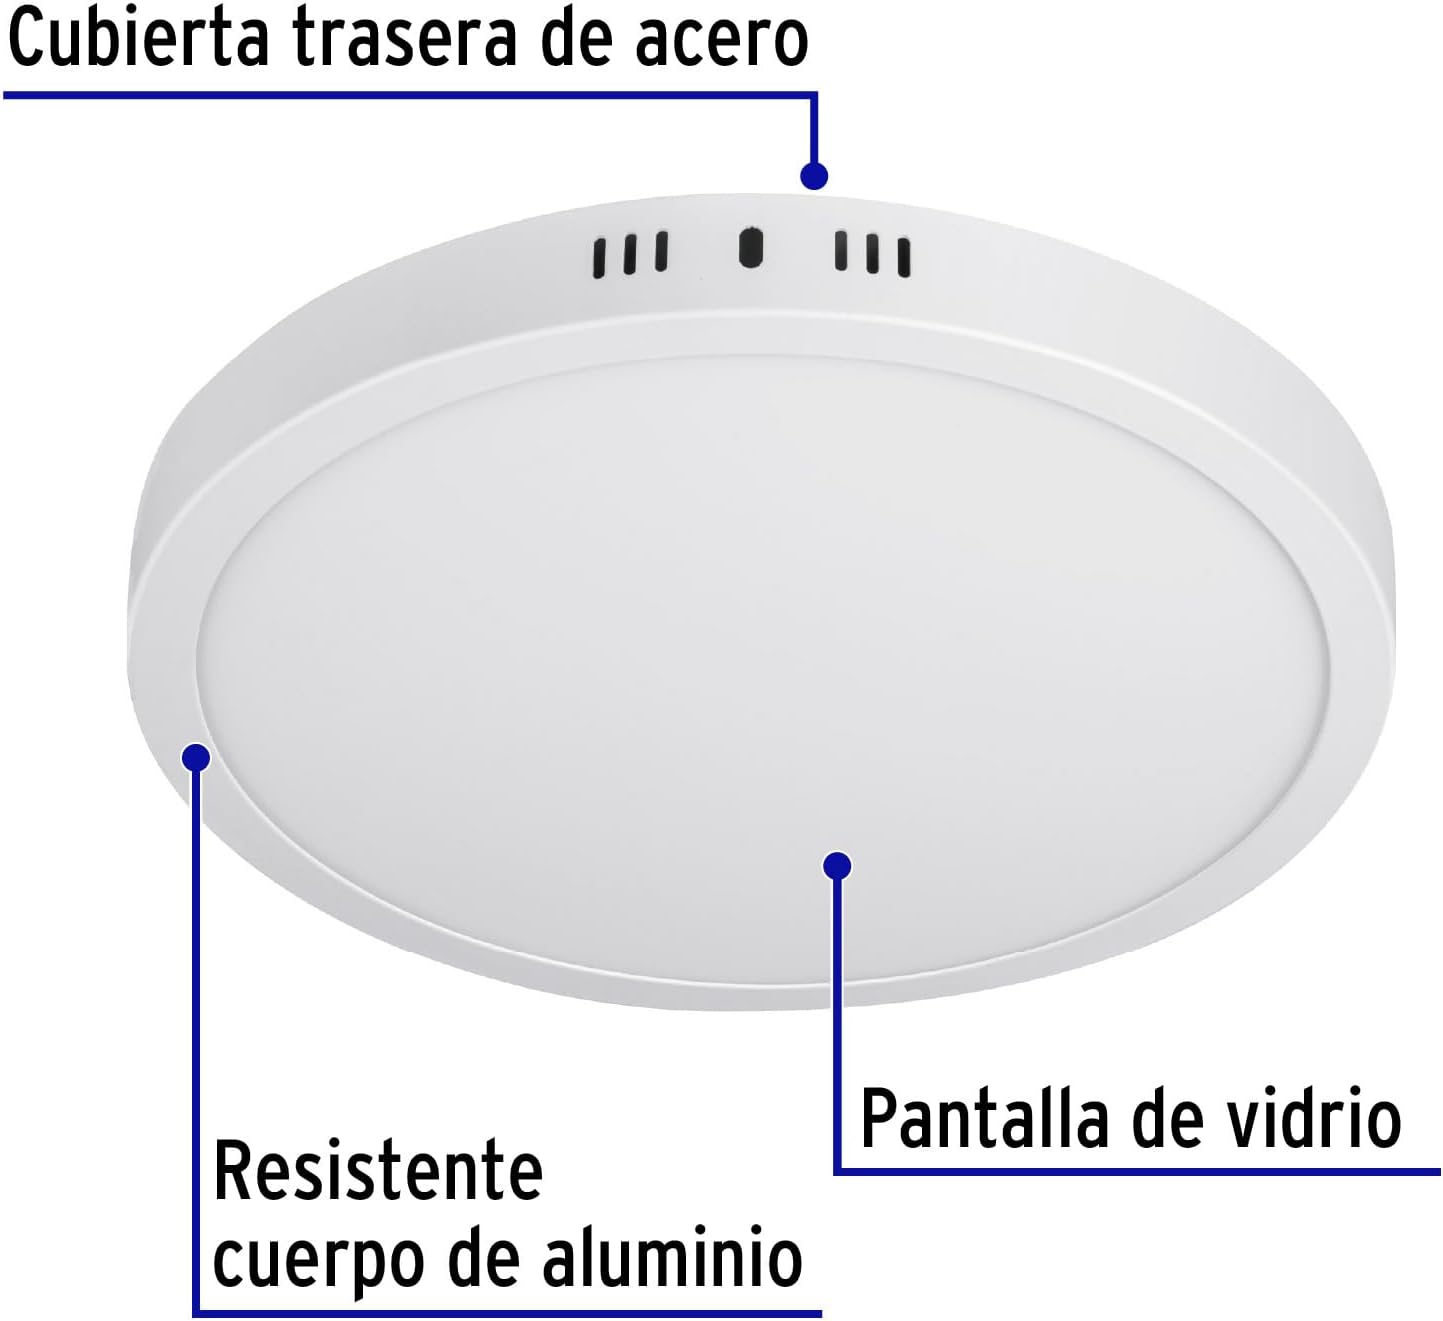
Figure 2.2: Product components highlighting the resistant aluminum body, steel back cover, and glass screen.
3. Specifications
Refer to the table below for detailed technical specifications of the Volteck PLA-209L LED Round Ceiling Light.
| Specification | Value |
|---|---|
| Manufacturer | Truper SA de CV |
| Part Number | 46717 |
| Size | 24 W |
| Color | White |
| Style | Ceiling Light (Plafón) |
| Finish | Painted |
| Material | Aluminum, Polystyrene |
| Pattern | Round Ceiling Light |
| Power Source | Corded Electric |
| Voltage | 120 Volts (AC) |
| Wattage | 24 watts |
| Installation Method | Surface Mount |
| Number of Item Packages | 1 |
| Bulb Type | LED |
| Luminous Flux | 2000 lumen |
| Mounting Profile | Flush Mount |
| Switch Style | Touch |
| Usage | Home |
| Included Components | Remote control, Mounting material, Diffuser |
| Batteries Required? | No |
| Length | 27.94 centimeters |
| Width | 3 centimeters |
| Height | 3 centimeters |
| Product Dimensions | 27.94 x 3 x 3 cm; 560 g |
| Product Model Number | PLA-209L |
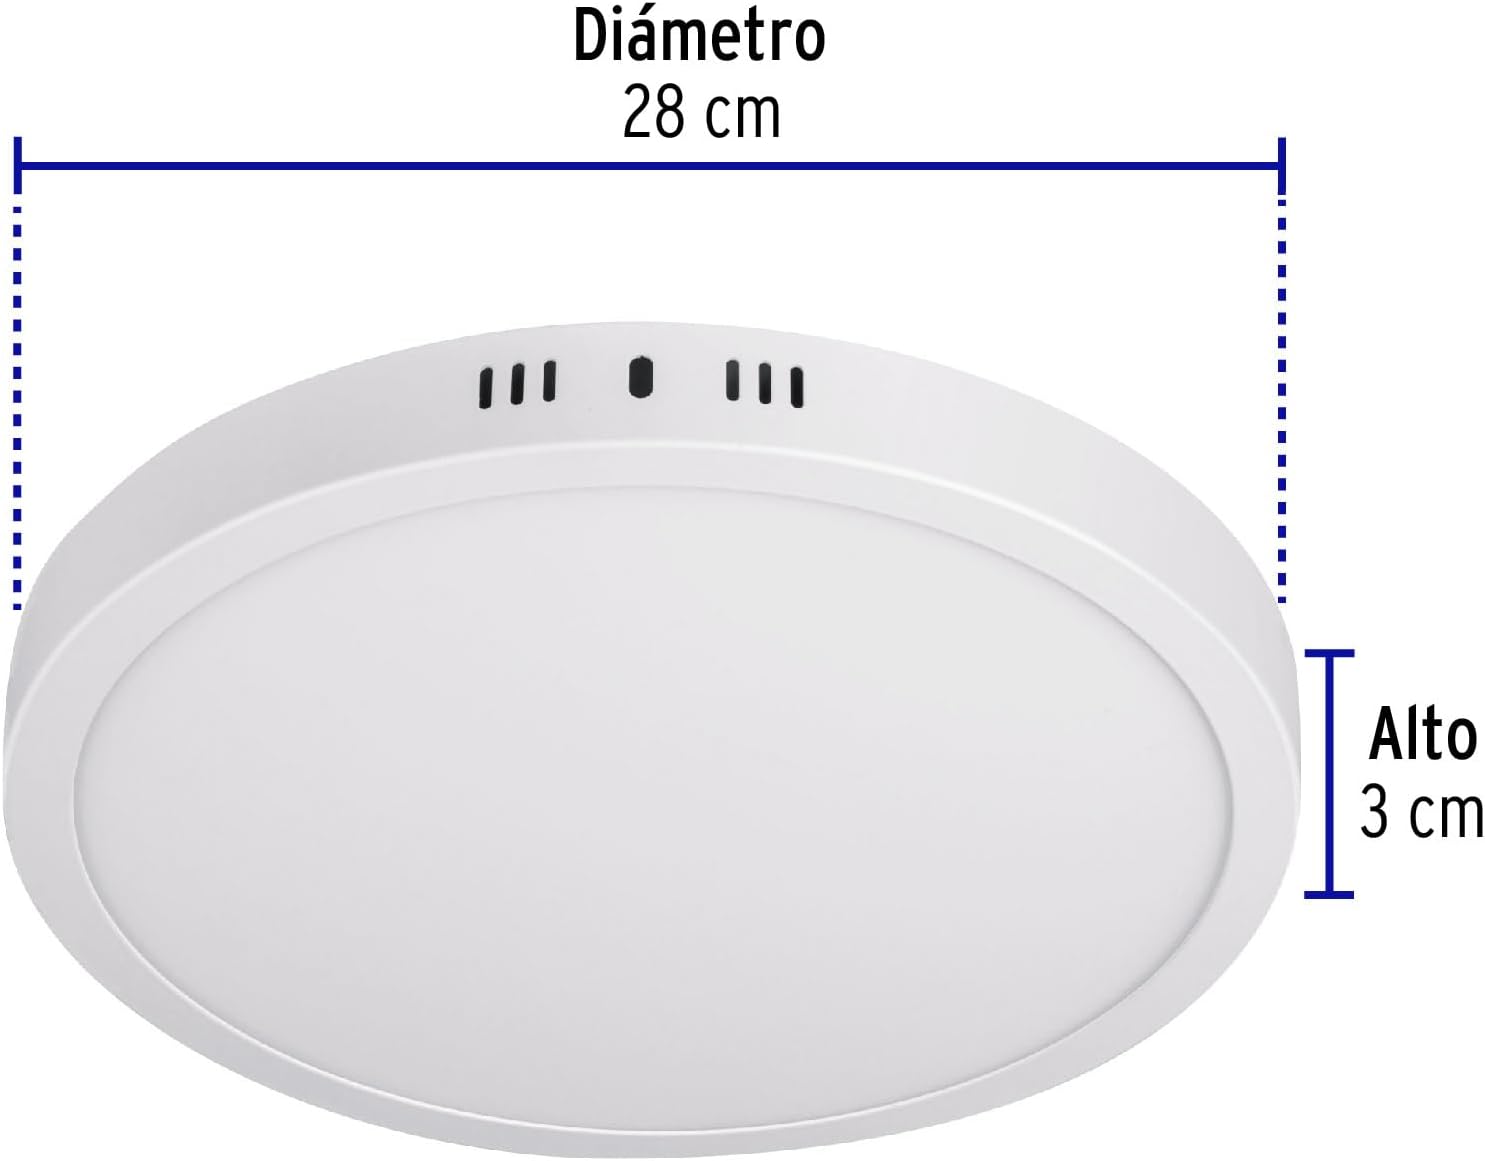
Figure 3.1: Product dimensions showing a diameter of 28 cm and a height of 3 cm.
4. Safety Information
Always follow basic safety precautions when installing or working with electrical devices to reduce the risk of fire, electric shock, and personal injury.
- WARNING: To avoid electric shock, disconnect power at the circuit breaker or fuse box before installation or servicing.
- Ensure the power supply voltage matches the product's specifications (120V AC).
- This product is designed for indoor use only. Do not expose to water or moisture.
- If you are unsure about the installation process, consult a qualified electrician.
- Do not modify the product in any way. Any modifications may void the warranty and pose safety risks.
- Keep packaging materials out of reach of children.
5. Setup (Installation)
The Volteck PLA-209L is designed for surface mounting. Follow these general steps for installation. It is recommended to have basic electrical knowledge or consult a professional.
Tools and Materials Needed (Not Included):
- Screwdriver (Phillips and Flathead)
- Drill with appropriate drill bits
- Wire strippers
- Pencil
- Measuring tape
- Safety glasses
Installation Steps:
- Turn off Power: Locate the circuit breaker controlling the light fixture's power supply and turn it off. Verify that the power is off using a voltage tester.
- Prepare Mounting Surface: Mark the desired mounting location on the ceiling or wall. Use the light fixture's mounting bracket as a template to mark the screw holes.
- Drill Holes: Drill pilot holes at the marked locations. Insert wall anchors (if necessary, included in mounting material) into the drilled holes.
- Attach Mounting Bracket: Secure the mounting bracket to the ceiling/wall using the provided screws.
- Connect Wiring: Carefully connect the electrical wires from the ceiling to the light fixture's wires. Typically, connect the live (black/brown) wire from the ceiling to the live wire of the fixture, and the neutral (white/blue) wire from the ceiling to the neutral wire of the fixture. Ensure all connections are secure using wire nuts.
- Mount Fixture: Align the light fixture with the mounting bracket and secure it in place. Ensure it is firmly attached and flush with the surface.
- Restore Power: Once the installation is complete and all connections are secure, turn the power back on at the circuit breaker.
- Test Light: Turn on the light switch to ensure the fixture is working correctly.
6. Operating Instructions
The Volteck PLA-209L LED Round Ceiling Light is designed for simple operation.
- Power On/Off: Use a standard wall switch to turn the light fixture on or off. The integrated LED provides instantaneous illumination.
- Remote Control (if included): If your model includes a remote control, refer to its specific instructions for functions such as dimming or color temperature adjustment (if applicable). The provided JSON indicates a remote control is included.
7. Maintenance
The Volteck PLA-209L LED Round Ceiling Light requires minimal maintenance.
- Cleaning: To clean the fixture, ensure the power is off. Use a soft, dry cloth to wipe down the surface. For stubborn dirt, a slightly damp cloth with mild soap can be used, followed by a dry cloth. Do not use abrasive cleaners or solvents.
- LED Longevity: The integrated LED has a long lifespan and does not require bulb replacement.
8. Troubleshooting
If you encounter any issues with your Volteck PLA-209L LED Round Ceiling Light, refer to the following common troubleshooting steps:
| Problem | Possible Cause | Solution |
|---|---|---|
| Light does not turn on. | No power supply. | Check the circuit breaker or fuse. Ensure the wall switch is in the ON position. |
| Loose wiring connection. | Turn off power at the circuit breaker. Check all wire connections for tightness. Re-secure if loose. | |
| Light flickers. | Loose wiring or unstable power. | Turn off power. Check wiring connections. Ensure the power supply is stable. |
| Light is dim. | Incorrect voltage or faulty unit. | Verify the voltage supply matches the product specification. If the issue persists, contact customer support. |
If the problem persists after attempting these troubleshooting steps, please contact Volteck customer support.
9. Warranty and Support
Volteck products are backed by Grupo Truper's comprehensive warranty program.
Warranty Information:
Grupo Truper's warranty covers over 25,000 accessories and spare parts, with minimal or no labor cost. They have 177 service centers in Mexico and 15 Latin American countries. It is not necessary to present the purchase receipt to validate the warranty.
Customer Support:
For technical assistance, warranty claims, or any other inquiries, please visit the official Volteck or Grupo Truper website for contact information or locate your nearest service center.


