
1. Introduction
This manual provides essential information for setting up, operating, maintaining, and troubleshooting your HP 15-AY075NR Notebook. Please read this guide thoroughly to ensure proper use and to maximize the lifespan of your device. This notebook is designed for general computing tasks, featuring an Intel Core i3-5005U processor, 6GB of RAM, a 500GB HDD, and runs on Windows 10.
2. Package Contents
Before proceeding with setup, verify that all items are present in the package:
- HP 15-AY075NR Notebook
- AC Power Adapter and Power Cord
- Quick Start Guide (if included)
- Warranty Information (if included)
3. Physical Overview
Familiarize yourself with the main components and ports of your HP 15-AY075NR Notebook.
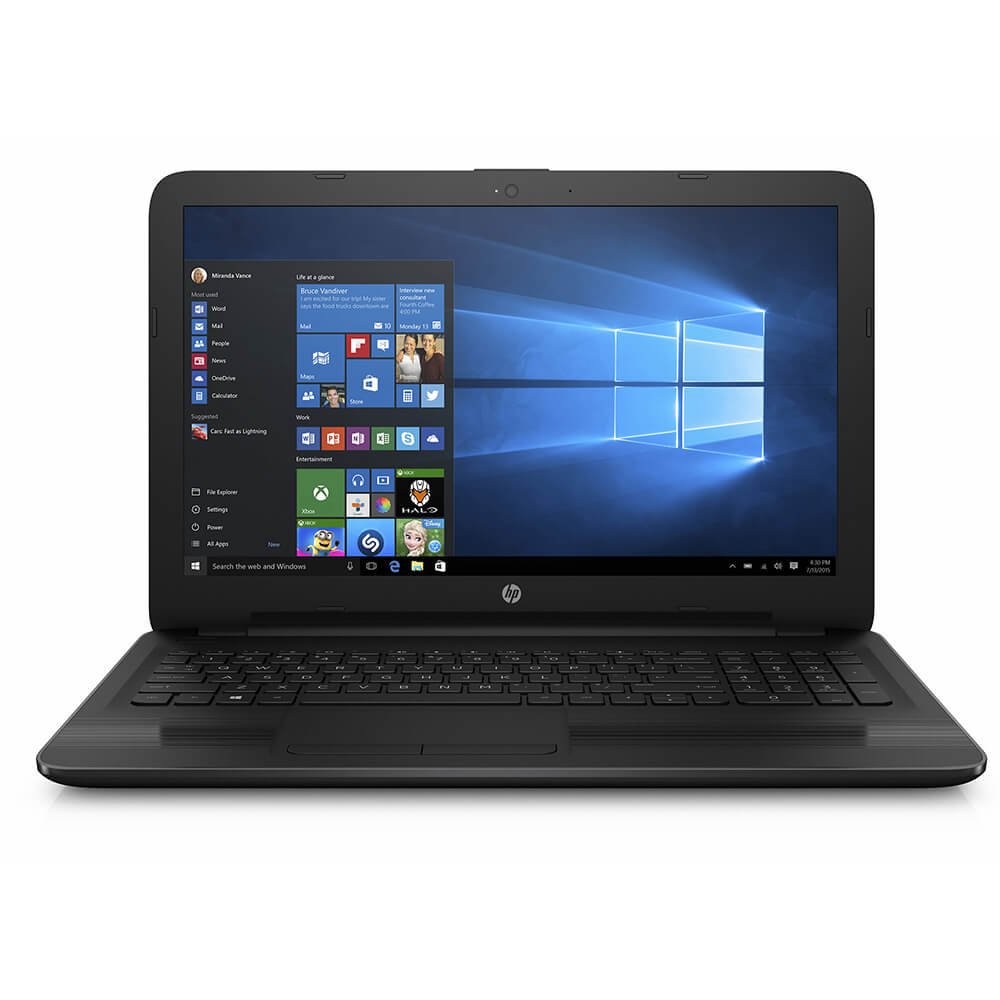
Figure 3.1: Front view of the HP 15-AY075NR Notebook. This image displays the laptop in a closed position, highlighting its sleek black design and overall form factor.
3.1. Left Side Ports
- Power Connector: Connects the AC power adapter.
- Ethernet (RJ-45) Port: For wired network connection.
- HDMI Port: Connects to external displays or TVs.
- USB 3.0 Port: For high-speed data transfer with compatible devices.
- USB 2.0 Port: For connecting peripherals.
- Headphone/Microphone Combo Jack: For audio input/output.
3.2. Right Side Ports
- Optical Drive (DVD Super Multi): For reading and writing CDs/DVDs.
- USB 2.0 Port: For connecting peripherals.
- SD Card Reader: For reading SD memory cards.
3.3. Keyboard and Touchpad
The notebook features a full-size island-style keyboard with a numeric keypad for efficient data entry. The multi-touch touchpad allows for precise cursor control and gesture-based navigation.
4. Setup
4.1. Connecting the Power Adapter
- Connect the AC adapter to the power connector on the left side of the notebook.
- Plug the power cord into a grounded electrical outlet.
- The battery will begin charging automatically. It is recommended to fully charge the battery before first use.
4.2. Initial Power On and Windows 10 Setup
- Open the notebook lid and press the power button, typically located above the keyboard.
- Follow the on-screen instructions to complete the Windows 10 initial setup. This includes selecting your region, language, accepting license terms, creating a user account, and setting up network connections.
- Connect to a Wi-Fi network or use a wired Ethernet connection during setup to download necessary updates.
5. Operating
5.1. Power Management
- Power On: Press the power button.
- Shut Down: Click the Start button, then Power > Shut down.
- Sleep Mode: Close the lid or click the Start button, then Power > Sleep.
- Restart: Click the Start button, then Power > Restart.
5.2. Connecting to Networks
- Wi-Fi: Click the network icon in the taskbar, select your desired network, and enter the password if prompted.
- Wired (Ethernet): Connect an Ethernet cable from your router/modem to the Ethernet port on the notebook.
5.3. Using External Devices
- USB Devices: Insert USB drives, mice, or other peripherals into the available USB 2.0 or USB 3.0 ports.
- External Display: Connect an HDMI cable from the notebook's HDMI port to an external monitor or TV. Press Windows key + P to adjust display settings.
- SD Cards: Insert an SD card into the card reader slot until it clicks into place.
- Optical Discs: Press the eject button on the optical drive to open the tray. Place a CD or DVD onto the tray, label side up, and gently push the tray back in.
6. Maintenance
6.1. Cleaning the Notebook
- Use a soft, lint-free cloth slightly dampened with water or a screen cleaner to clean the display.
- For the keyboard and chassis, use a soft, dry cloth. Avoid harsh chemicals or abrasive materials.
- Periodically use compressed air to clear dust from vents to ensure proper airflow.
6.2. Battery Care
- Avoid fully discharging the battery frequently.
- Store the notebook in a cool, dry place if not used for extended periods.
- If the battery is removable (check your specific model), ensure it is properly seated.
6.3. Software Updates
Regularly check for and install Windows updates and HP driver updates to ensure optimal performance and security. Access Windows updates via Settings > Update & Security > Windows Update.
7. Troubleshooting
7.1. No Power / Does Not Turn On
- Ensure the AC adapter is securely connected to both the notebook and a working power outlet.
- Verify the power outlet is functional by plugging in another device.
- If the battery is completely drained, allow it to charge for at least 15-30 minutes before attempting to power on.
7.2. Blank or Black Screen
- Ensure the notebook is powered on.
- Connect an external monitor to the HDMI port to check if the display output works. If it does, the internal display may have an issue.
- Try adjusting the screen brightness using the function keys (e.g., Fn + F2/F3 or similar, depending on your keyboard layout).
7.3. Wi-Fi Connection Issues
- Ensure Wi-Fi is enabled (check the wireless key or function key, e.g., Fn + F12).
- Restart your router and modem.
- Run the Windows Network Troubleshooter (Settings > Network & Internet > Status > Network troubleshooter).
8. Specifications
| Feature | Specification |
|---|---|
| Model | 15-AY075NR (X0H79UA#ABA) |
| Processor | Intel Core i3-5005U (2.0 GHz, Dual Core) |
| RAM | 6 GB DDR3L-1600 SDRAM |
| Storage | 500 GB HDD (5400 RPM) |
| Graphics | Intel HD Graphics (Integrated) |
| Display | 15.6-inch HD SVA BrightView WLED-backlit (1366 x 768) |
| Operating System | Windows 10 |
| Wireless Connectivity | Intel 802.11a/b/g/n/ac (1x1) Wi-Fi, Bluetooth 4.0 |
| Ports | 1x USB 3.0, 2x USB 2.0, 1x HDMI, 1x RJ-45, 1x Headphone/Mic Combo, 1x Multi-format SD Media Card Reader |
| Optical Drive | DVD Super Multi |
| Battery Life (Average) | 6.25 Hours |
| Weight | 4.73 pounds |
| Dimensions (LxWxH) | 24 x 4 x 14 inches (Product Dimensions) |
9. Warranty and Support
Your HP 15-AY075NR Notebook is covered by a standard manufacturer's warranty. For specific warranty terms and conditions, please refer to the documentation included with your product or visit the official HP support website. HP provides technical support, driver downloads, and troubleshooting resources online.
For further assistance, please visit the official HP Support website: support.hp.com
