
Guide Gear GGT11
Guide Gear 12' Tripod Deer Stand User Manual
Model: GGT11
1. Introduction
Thank you for choosing the Guide Gear 12' Tripod Deer Stand. This manual provides essential information for the safe assembly, operation, and maintenance of your new hunting equipment. Please read this manual thoroughly before assembly or use to ensure proper function and safety.

Figure 1: Fully assembled Guide Gear 12' Tripod Deer Stand.
2. Safety Information
WARNING: Failure to follow these safety instructions could result in serious injury or death. Always use common sense and good judgment when using this product.
- Always wear a full-body harness (FBA) that meets industry standards when using this stand.
- Inspect all components for damage or wear before each use. Do not use if any part is damaged.
- Ensure the stand is placed on firm, level ground. Uneven terrain can compromise stability.
- Do not exceed the maximum weight limit of 300 pounds.
- Always maintain three points of contact (two hands and one foot, or one hand and two feet) when ascending or descending the ladder.
- Do not use this stand during inclement weather conditions such as high winds, lightning, or icy conditions.
- Keep children and unauthorized persons away from the stand, especially during assembly and use.
- Read and understand all instructions before assembly and use. If you have questions, contact Guide Gear customer support.
3. Parts List
Before beginning assembly, verify that all parts are present and undamaged. If any parts are missing or damaged, do not proceed with assembly. Contact customer service for replacement parts.
| Item No. | Description | Quantity |
|---|---|---|
| 1 | Main Tripod Leg Sections | 3 sets |
| 2 | Ladder Sections | Multiple |
| 3 | Swivel Seat Assembly | 1 |
| 4 | Footrest/Platform Ring | 1 |
| 5 | Hardware Kit (Bolts, Nuts, Washers, Pins) | 1 set |
| 6 | Ground Anchors | 3 |

Figure 2: Detail of the sturdy steel tripod base structure.
4. Setup and Assembly
Assembly requires at least two adults. Follow these steps carefully:
- Prepare the Area: Choose a flat, stable location for assembly, clear of obstructions.
- Assemble Tripod Legs: Connect the main tripod leg sections using the provided hardware. Ensure all bolts are securely tightened.
- Attach Footrest/Platform: Secure the circular footrest/platform ring to the top of the tripod legs.

Figure 3: Rear view of the seat assembly, showing the backrest and armrests.
- Install Ladder Sections: Attach the ladder sections to one of the tripod legs, ensuring each section is firmly locked into place with pins.

Figure 4: Example of a secure connection point with a linchpin.
- Mount Swivel Seat: Secure the swivel seat assembly to the top of the tripod structure. Ensure it rotates smoothly and is securely fastened.

Figure 5: Side view of the comfortable swivel seat with padded armrests and backrest.
- Secure to Ground: Once assembled and in its final position, use the provided ground anchors to secure each tripod leg firmly to the earth. This prevents tipping.

Figure 6: Base plate of a tripod leg, designed for ground anchoring.
5. Operating Instructions
Using your Guide Gear Tripod Deer Stand safely and effectively:
- Pre-Use Check: Before each use, visually inspect the entire stand for loose bolts, damaged welds, or worn components. Ensure all pins are in place.
- Ascending/Descending: Always use the ladder provided. Maintain three points of contact at all times. Move slowly and deliberately.
- Sitting: Once on the platform, carefully sit on the swivel seat. The 360-degree swivel allows for easy rotation to track game.
- Shooting Rail: Utilize the stationary shooting rail for stability when aiming.

Figure 7: Hunter utilizing the tripod stand for an elevated view and stable shooting position.
- Exiting the Stand: Descend the ladder facing it, maintaining three points of contact.
6. Maintenance
Regular maintenance will extend the life of your deer stand:
- Cleaning: Clean the stand with mild soap and water. Avoid harsh chemicals that could damage the finish or materials.
- Lubrication: Periodically lubricate the swivel mechanism of the seat with a silicone-based lubricant to ensure smooth rotation.
- Hardware Check: Annually, or more frequently with heavy use, check all bolts, nuts, and pins for tightness. Tighten any loose fasteners.
- Storage: When not in use, store the stand in a dry, covered area to prevent rust and material degradation. Consider disassembling for compact storage.
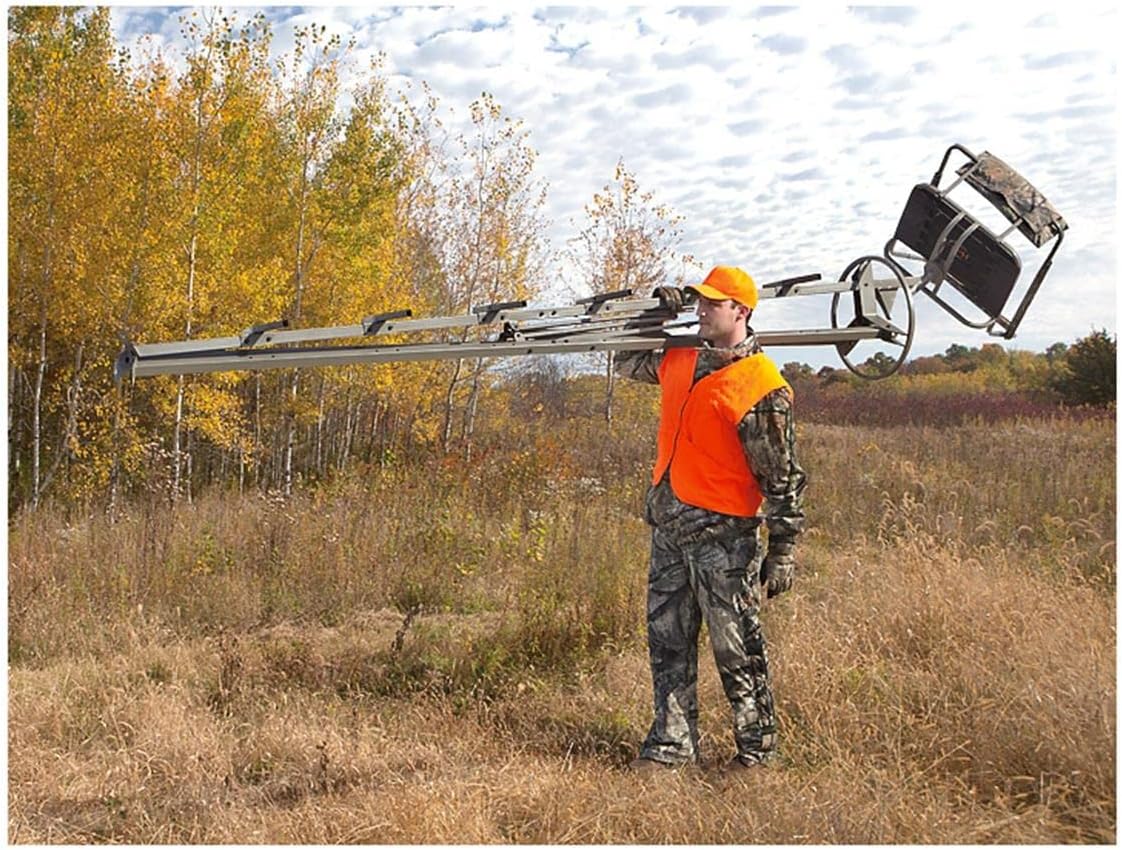
Figure 8: The stand can be disassembled for easier transport and storage.
- Fabric Care: The padded armrests and backrest covers can be spot cleaned. Allow to air dry completely before storage.
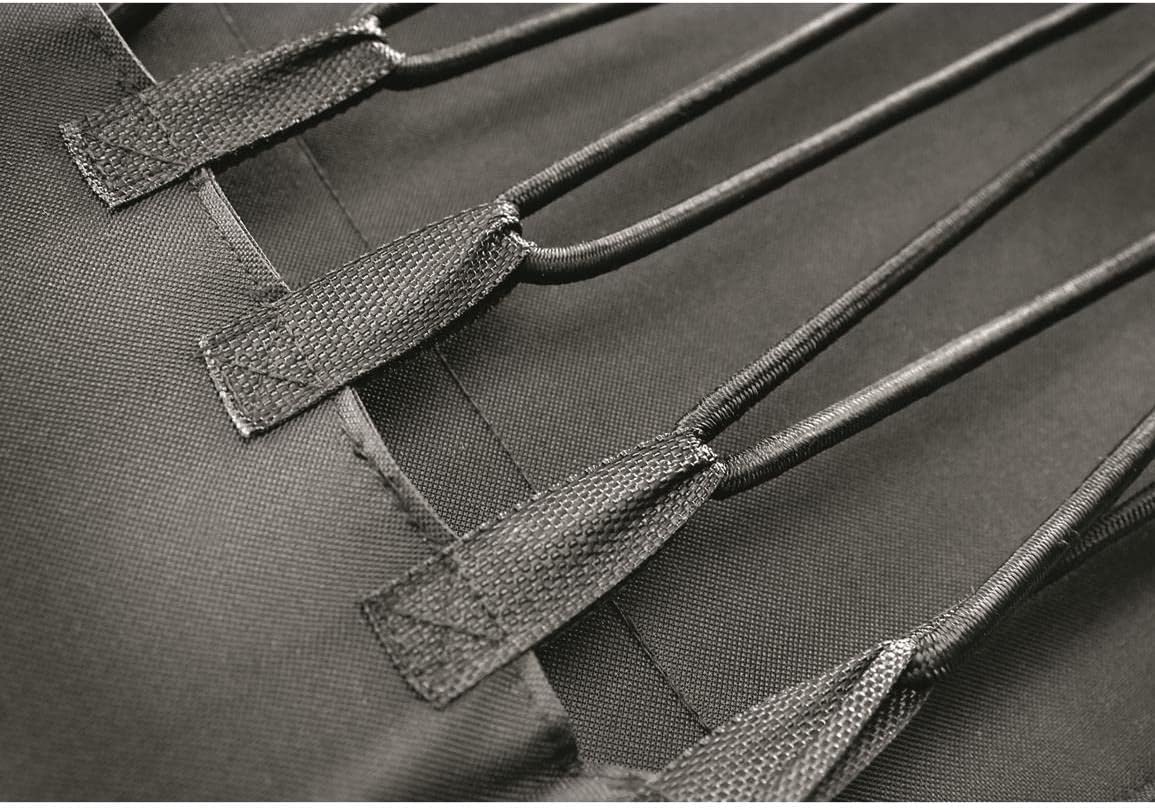
Figure 9: Detail of the durable fabric and bungee cord suspension system on the seat.
7. Troubleshooting
| Problem | Possible Cause | Solution |
|---|---|---|
| Stand feels unstable | Uneven ground; loose connections; insufficient anchoring. | Relocate to level ground; tighten all bolts and pins; ensure ground anchors are fully engaged. |
| Seat does not swivel smoothly | Lack of lubrication; debris in mechanism. | Clean and lubricate the swivel mechanism with silicone spray. |
| Rust appearing on metal parts | Exposure to moisture; improper storage. | Clean affected areas, apply rust-inhibiting paint if necessary. Store in a dry environment. |
8. Specifications
- Brand: Guide Gear
- Model: GGT11
- Maximum Height: 12 Feet (to shooting rail)
- Weight Limit: 300 Pounds
- Material: Alloy Steel (frame), Foam (grip material), Fabric (seat/backrest)
- Item Weight: 71.4 Pounds
- Leg Style: Tripod
- Seat Features: 360-degree swivel, padded backrest and armrests, stationary shooting rail
- Footrest: 20" diameter (approximate)
- UPC: 885344661342
9. Warranty and Support
This Guide Gear product is covered by a standard manufacturer's warranty against defects in materials and workmanship. For specific warranty details, please refer to the warranty card included with your purchase or visit the official Guide Gear website.
For technical assistance, missing parts, or warranty claims, please contact Guide Gear Customer Support:
- Website: www.sportsmansguide.com/customerservice (as Guide Gear is an exclusive brand of Sportsman's Guide)
- Phone: Refer to website for current contact numbers.
Please have your model number (GGT11) and purchase date available when contacting support.
Ask a question about this manual
Ask about setup, troubleshooting, compatibility, parts, safety, or missing instructions. Manuals+ will review the question and use this page’s manual context to help answer it.