
1. Introduction
This manual provides detailed instructions for the safe and effective use of the Subay Professional Nail Art Drill Bits Set and Sanding Bands. This comprehensive kit is designed for various nail care applications, including preparation, shaping, and finishing of acrylic, gel, dip powder, and natural nails. Please read this manual thoroughly before use to ensure optimal performance and longevity of your product.
2. Product Overview
The Subay Professional Nail Art Drill Bits Set includes 6 high-quality carbide nail drill bits and 300 durable sanding bands in three different grits: #80, #120, and #180. These components are designed to be compatible with most 3/32-inch electric nail drill machines.

Image 1: Overview of the Subay Professional Nail Art Drill Bits Set and Sanding Bands.

Image 2: The drill bits and sanding bands are designed for use with a standard nail drill machine.
Package Contents:
- 6 x Professional Nail Drill Bits (3/32 inch shank)
- 300 x Sanding Bands (100 each of #80, #120, #180 grit)
3. Setup
Before using the drill bits and sanding bands, ensure your electric nail drill machine is clean and in good working order. Always disconnect the power before changing bits or bands.
Attaching Sanding Bands:
- Select the appropriate grit sanding band for your task.
- Gently slide the chosen sanding band onto the designated mandrel drill bit. Ensure it fits snugly and securely.
- Insert the mandrel bit with the attached sanding band into the chuck of your nail drill machine. Tighten the chuck according to your machine's instructions to secure the bit.
Inserting Drill Bits:
- Choose the desired drill bit for your specific nail art application.
- Insert the 3/32-inch shank of the drill bit into the chuck of your nail drill machine.
- Securely tighten the chuck to prevent the bit from wobbling or detaching during operation.
4. Operating Instructions
Always wear appropriate eye protection during operation. Start with a low RPM (revolutions per minute) and gradually increase as needed. Avoid applying excessive pressure, as this can cause heat buildup and damage to the nail or the bit.
Understanding Grit Types:
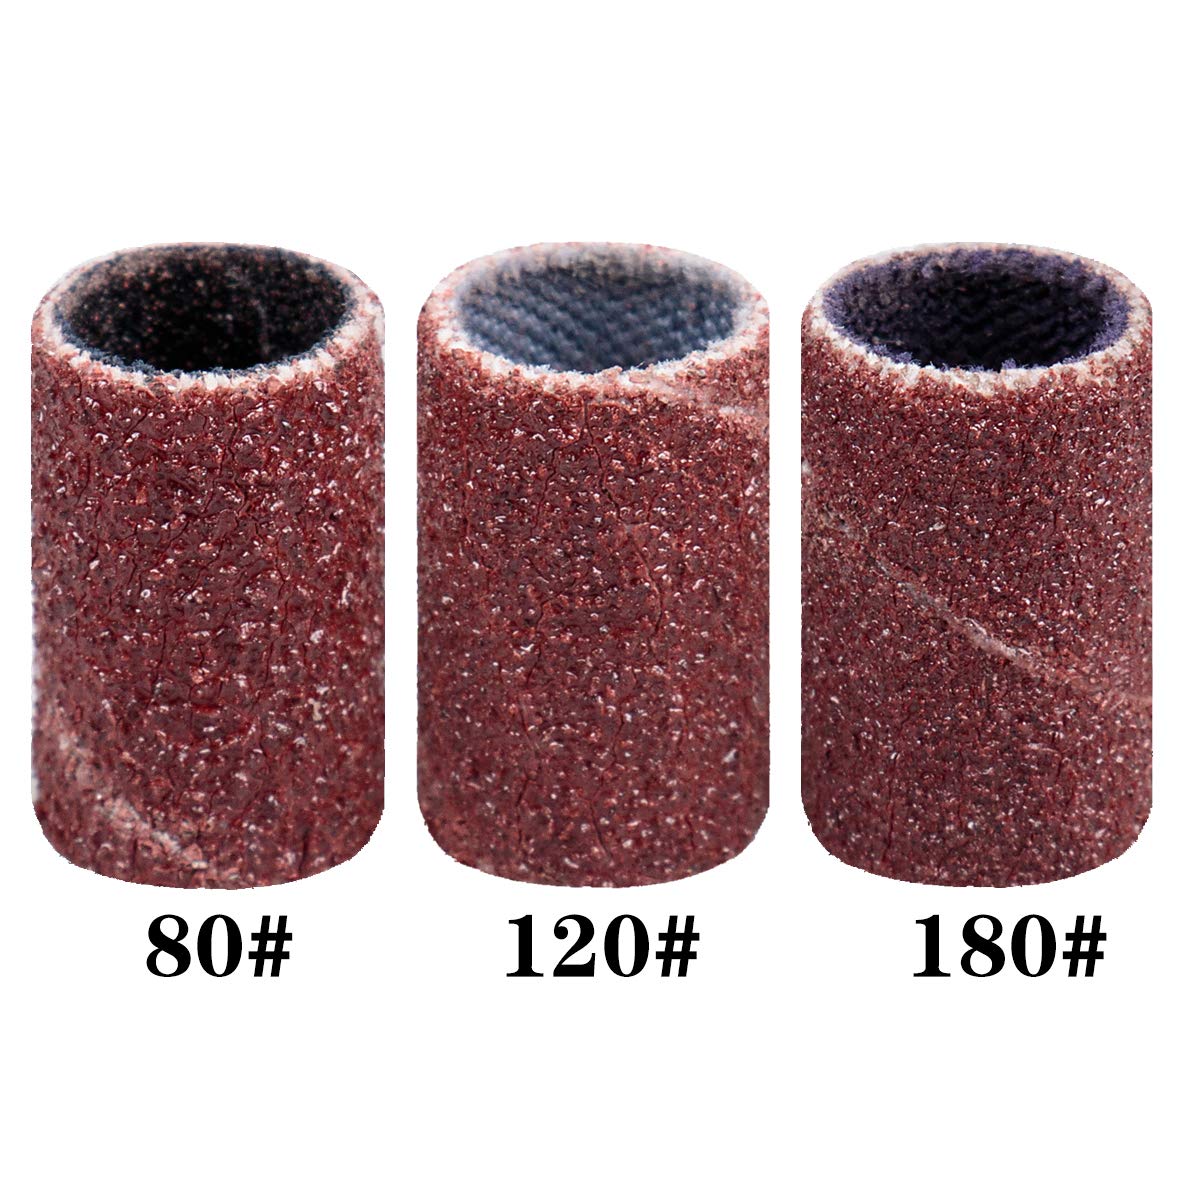
Image 3: Different grit levels of sanding bands for various applications.
- #80 Grit: This coarse grit is suitable for removing hard cuticles, calluses, and for initial shaping of acrylic or gel nails. Use with caution due to its abrasive nature.
- #120 Grit: A medium grit ideal for shaping acrylic and blending for a smooth surface. It can also be used for general nail surface refinement.
- #180 Grit: This fine grit is perfect for prepping natural nails to provide better adhesion for gel or acrylic applications. It's also suitable for gentle buffing and finishing.

Image 4: #80 grit sanding band for hard cuticle removal.

Image 5: #120 grit sanding band for shaping and blending.

Image 6: #180 grit sanding band for natural nail preparation.
Using the Drill Bits:
The 6 professional nail drill bits are designed for a variety of tasks, including:
- Nail preparation
- Acrylic nail shaping and removal
- Gel nail shaping and removal
- Polygel nail work
- Dip powder nail work
- Thick nail reduction
- Manicure and pedicure procedures
- Callus removal
- Routing and polishing

Image 7: The professional 3/32-inch nail drill bits are used to shape and smooth nails, cut cuticles, and remove gel/shape nails.
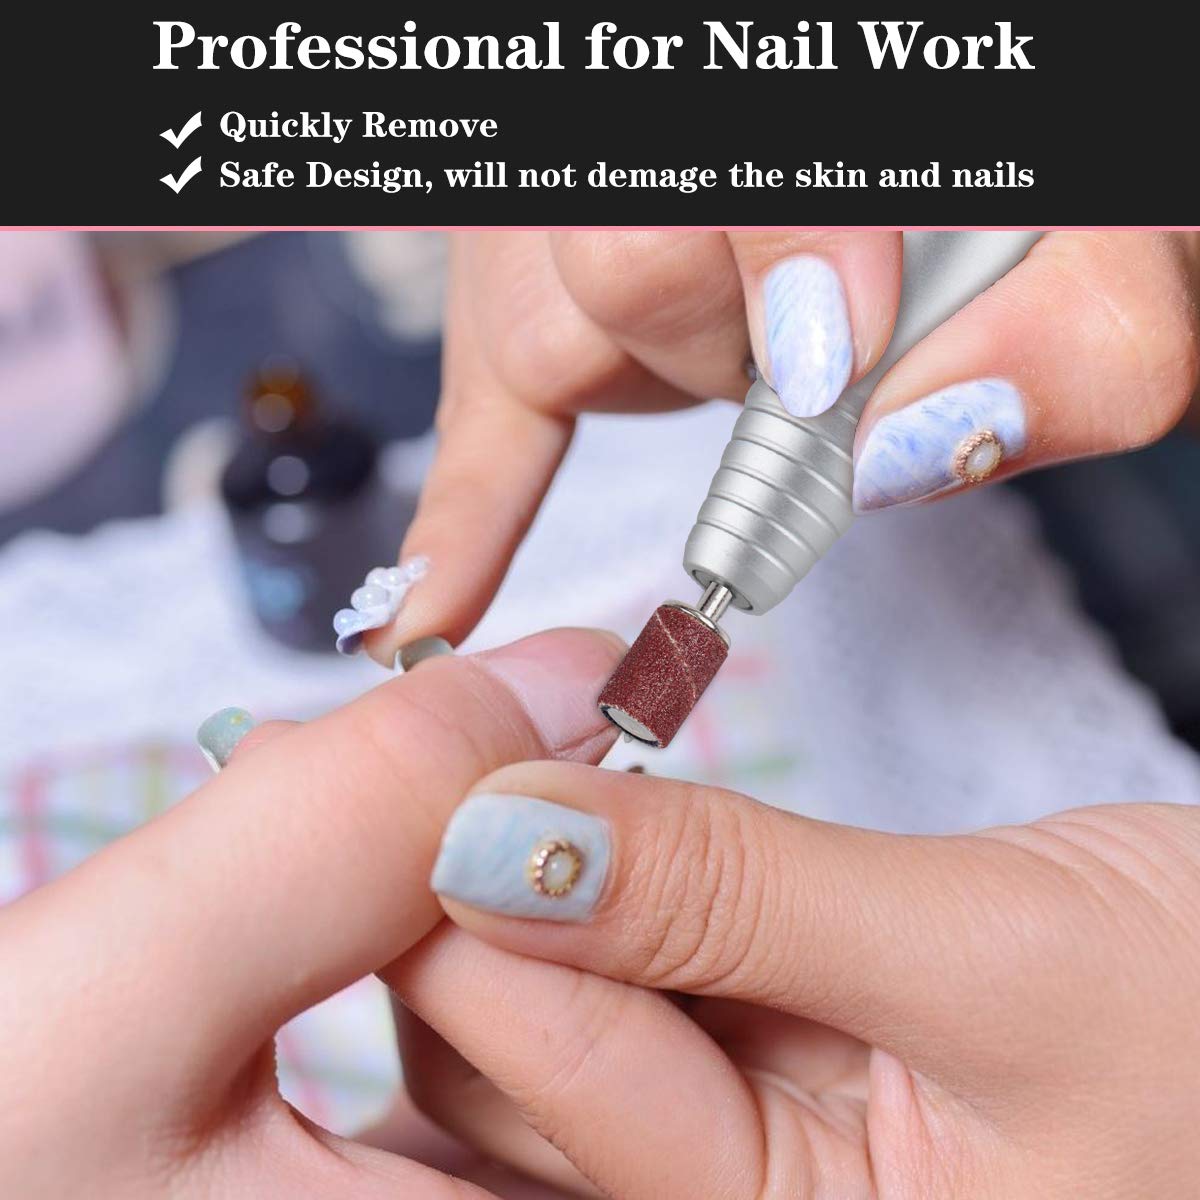
Image 8: Proper technique for using a sanding band on a nail.
For optimal results, ensure your nail drill machine operates within the recommended range of 20,000 RPM to 35,000 RPM.
5. Maintenance
Proper maintenance ensures the longevity and hygiene of your nail drill bits and sanding bands.
Cleaning Drill Bits:
- After each use, remove any dust or debris from the drill bits using a small brush.
- For thorough cleaning, soak the carbide drill bits in an appropriate disinfectant solution for the recommended time.
- Rinse the bits with clean water and allow them to air dry completely before storage.
Sanding Bands:
Sanding bands are disposable and should be replaced after each client or when they show signs of wear to maintain effectiveness and hygiene. Do not attempt to clean or reuse sanding bands.
Storage:
Store all drill bits and unused sanding bands in a clean, dry place, away from direct sunlight and moisture. Keep them in their original packaging or a dedicated storage case to prevent damage and contamination.
6. Troubleshooting
| Problem | Possible Cause | Solution |
|---|---|---|
| Sanding band slips or falls off mandrel. | Band not fully seated; mandrel worn; incorrect band size. | Ensure band is pushed firmly onto the mandrel. Replace worn mandrel. Verify band size matches mandrel. |
| Drill bit wobbles during operation. | Bit not securely tightened in chuck; bent bit shank. | Retighten the chuck. Inspect bit for damage; replace if bent. |
| Sanding bands wear out quickly. | Excessive pressure applied; prolonged use on a single area. | Use lighter pressure. Move the drill continuously across the nail surface. Replace band when abrasive material is worn. |
| Ineffective filing/shaping. | Worn sanding band/drill bit; incorrect grit/bit type for task. | Replace the sanding band or drill bit. Select the appropriate grit or bit type for the specific nail procedure. |
7. Specifications
- Brand: SUBAY
- Model Number: SU-S04
- Product Dimensions: 4.33 x 3.35 x 2.28 inches; 4.5 ounces
- Drill Bit Shank Size: 3/32 inch
- Drill Bit Material: Carbide
- Sanding Band Material: High durable sandpaper
- Sanding Band Grits: #80 (Coarse), #120 (Medium), #180 (Fine)
- Compatible Material: Acrylic, Gel, Dip Powder, Natural Nails
- UPC: 712243493630
- GTIN: 712243493630
8. Warranty & Support
Subay is committed to providing high-quality products and customer satisfaction.
Warranty Information:
This product comes with a 12-month warranty from the date of purchase, covering manufacturing defects. Please retain your proof of purchase for warranty claims.

Image 9: Warranty and support details.
Customer Support:
For any questions, concerns, or assistance with your Subay product, our customer support team is available to help. We offer 24-hour support to ensure your satisfaction.
Please feel free to contact us if you have any problems; we are dedicated to offering the best solution for you.
Contact information can typically be found on the product packaging or the official Subay website.