Introduction
This instruction manual provides essential information for the installation, operation, and maintenance of your 6 Sigma Carburetor Jet Kit for the Suzuki TM400. This kit is designed to optimize your motorcycle's performance by addressing the fuel mixture, which is crucial after modifying exhaust or intake systems. Proper installation and tuning will ensure maximum horsepower, increased engine life, and improved throttle response.
Product Overview
The 6 Sigma Carburetor Jet Kit is engineered to correct the lean fuel condition often found in stock carburetors, especially after performance modifications. By enriching all circuits in the carburetor, this kit prevents engine damage due to excessive heat from running lean and significantly boosts overall performance.
Key benefits include:
- Increased Performance at all RPM's
- Faster Throttle Response
- Stops Lean Exhaust Popping that Damages Engines
- More Peak Horse Power (designed to gain 6%-8% with intake/exhaust, 2-3% on bone stock)
- Longer Engine Life (allows the engine to run cooler)
- Lower EGT's (exhaust gas temperatures)
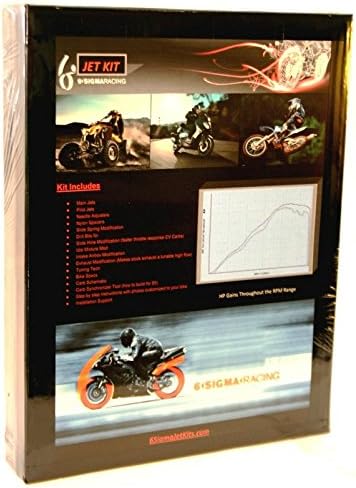
Image: The retail packaging for the 6 Sigma Jet Kit, highlighting its contents and the performance gains (HP gains throughout the RPM range) that can be expected after installation.

Image: A detailed view of the components included in the 6 Sigma Jet Kit, such as various main jets, needle adjusters, nylon spacers, and drill bits for specific modifications.
Installation Guide
The 6 Sigma Jet Kit comes with comprehensive, step-by-step instructions customized to your specific bike model. Only basic hand tools are required for installation. It is crucial to follow the provided instructions carefully to ensure proper setup and optimal performance.
The kit typically includes:
- Main Jets
- Needle Adjusters
- Nylon Spacers
- Drill Bits for: Slide Hole Mod, Slide Spring Mod, Idle Mixture Mod
- Carb Schematic
- Bike Specifications
- Instructions on how to build a Carb Synchronizer Tool (for approximately $5)
- Carb Cleaning Procedure
- Proper Tuning Techniques
- Step-by-step instructions with photos
For detailed installation steps, refer to the specific instructions included with your jet kit. If you require further assistance, full support is available from the manufacturer.
Performance Optimization
Once installed, the jet kit will significantly improve your motorcycle's performance across all RPM ranges. The primary goal is to correct the lean condition that occurs when aftermarket exhaust or intake systems are installed, or even with stock setups that are tuned for emissions rather than performance.
The kit ensures your engine receives the correct fuel-to-air mixture, leading to:
- Smoother power delivery
- Elimination of hesitation or flat spots during acceleration
- Reduced engine operating temperatures, contributing to engine longevity
Maintenance
While the jet kit itself requires no specific maintenance, it is part of your motorcycle's fuel system. Regular maintenance of your carburetor and air filter is recommended to ensure the continued optimal performance of your jet kit and engine.
- Periodically inspect and clean your air filter to ensure proper airflow.
- Follow your motorcycle manufacturer's recommended service intervals for carburetor inspection and cleaning.
- Use high-quality fuel and consider fuel stabilizers if the motorcycle is stored for extended periods.
Troubleshooting
Most performance issues after installing a jet kit are related to incorrect installation or fine-tuning. Refer to the detailed instructions provided with your kit for specific tuning techniques.
Common issues and solutions:
- Engine Popping (especially on deceleration): This is a strong indicator of a lean condition. Ensure all jet kit components are installed correctly and that the idle mixture is properly adjusted. The jet kit is designed to eliminate this issue.
- Poor Throttle Response: Verify that the needle adjusters and slide modifications (if applicable for CV carbs) are correctly implemented as per the instructions.
- Reduced Performance: Double-check all connections, ensure no vacuum leaks, and confirm that the correct jets and settings are used for your specific modifications (exhaust/intake).
If problems persist, consult the manufacturer's support for assistance.
Specifications
| Feature | Detail |
|---|---|
| Brand | 6 Sigma |
| Model Number | 6SIG2532 |
| UPC | 755187386729 |
| ASIN | B01FL4LBTI |
| First Available | May 12, 2016 |
Warranty and Support
6 Sigma offers a 100% Satisfaction Guarantee. Upon installation, if you are not happy with the results, you are eligible for a full refund. This commitment underscores the manufacturer's confidence in the product's ability to deliver significant performance improvements.
For any questions regarding installation, tuning, or troubleshooting, please contact 6 Sigma customer support. Detailed contact information is typically provided with your product packaging.
Legal Disclaimer
Please check your local laws before purchasing and installing this product. Performance modifications may be subject to specific regulations depending on your region.


