1. Important Safety Information
Read all instructions before using this appliance. Failure to follow these instructions may result in electric shock, fire, or property damage. Keep this manual for future reference.
- This appliance must be properly grounded.
- Do not store explosive substances such as aerosol cans with a flammable propellant in this appliance.
- Do not use electrical appliances inside the food storage compartments of the appliance, unless they are of the type recommended by the manufacturer.
- Ensure adequate ventilation around the appliance. Do not obstruct ventilation openings.
- Unplug the freezer before cleaning or performing maintenance.
- If the supply cord is damaged, it must be replaced by the manufacturer, its service agent, or similarly qualified persons to avoid a hazard.
2. Parts and Features
Familiarize yourself with the components of your Hisense chest freezer.

Figure 2.1: Front view of the Hisense FC51D7AWD Chest Freezer with the lid open, showing the interior storage space and wire basket.
- Lid: Top-opening lid for access to the freezer compartment.
- Handle: Conveniently located on the center of the lid for easy opening.
- Temperature Control Dial: Located on the lower front panel, used to adjust the internal temperature.
- Power Light: An indicator light on the front panel that illuminates when the freezer is receiving power.
- Wire Basket: A removable basket for organizing smaller items or frequently accessed foods.
- Drain Plug: Located at the bottom of the freezer interior for manual defrosting.

Figure 2.2: Front view of the Hisense FC51D7AWD Chest Freezer, showing the temperature control dial and power light.
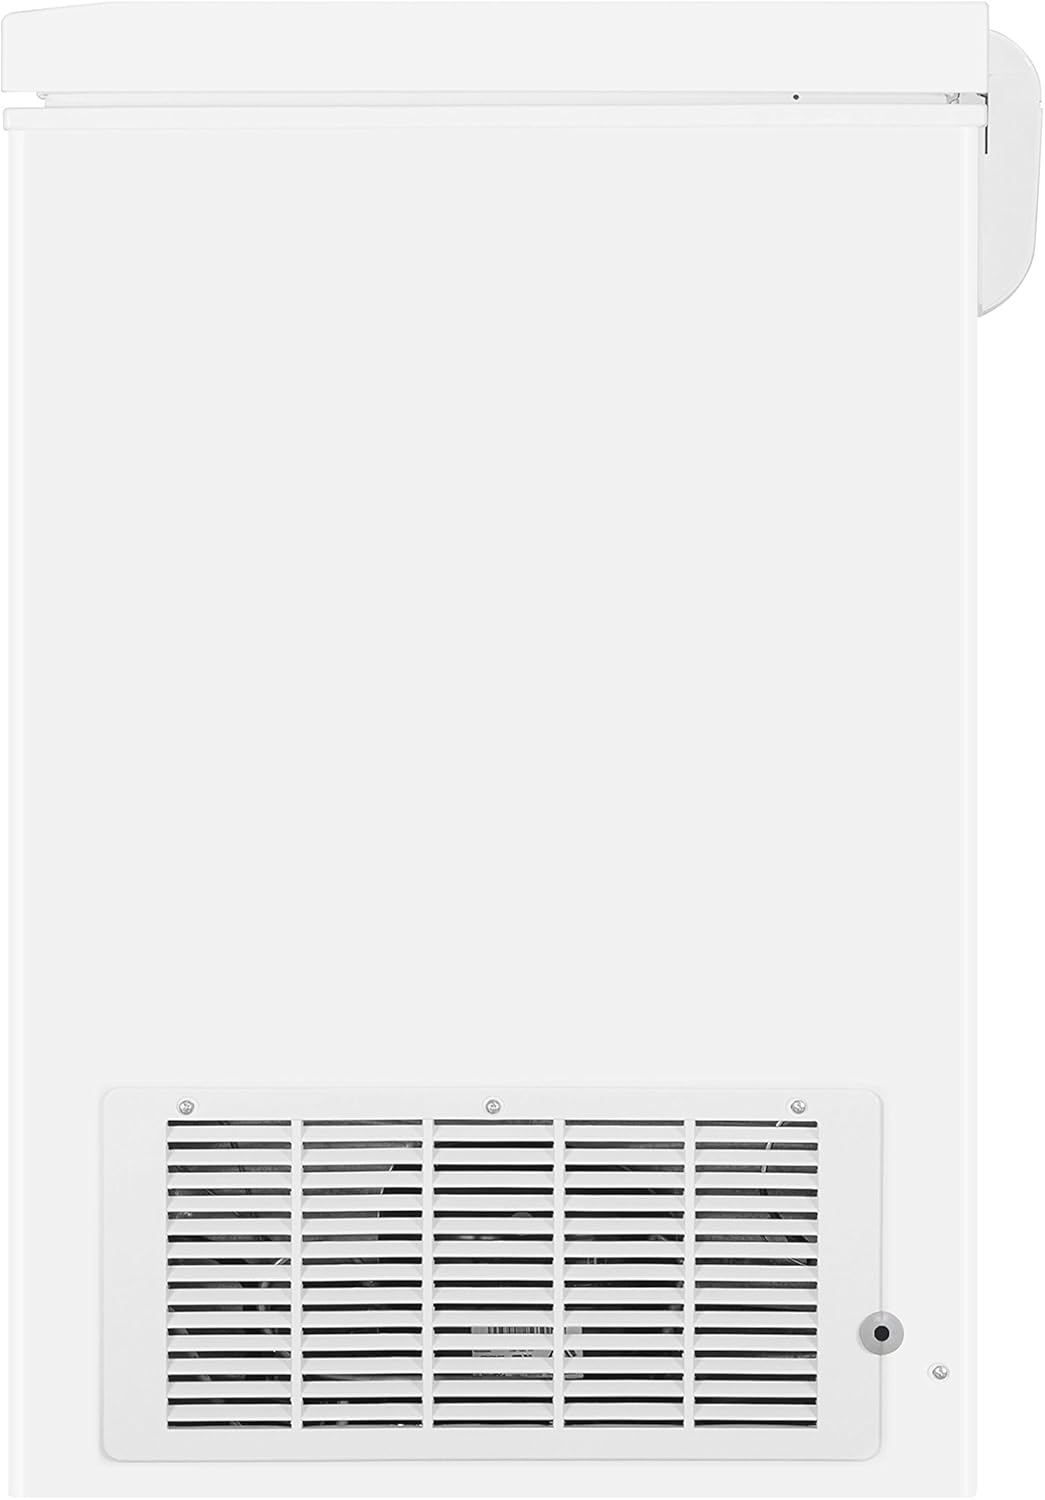
Figure 2.3: Rear view of the Hisense FC51D7AWD Chest Freezer, showing the compressor grille for ventilation.
3. Setup Instructions
3.1 Unpacking
- Remove all packaging materials, including the foam base and adhesive tape.
- Inspect the freezer for any damage during transit. Report any damage to your retailer immediately.
- Remove any internal accessories and wash them with warm water and a mild detergent.
3.2 Location Requirements
- Place the freezer on a firm, level floor that can support its weight when fully loaded.
- Ensure there is at least 4 inches (10 cm) of space around the sides and back of the freezer for proper air circulation.
- Avoid direct sunlight or heat sources (e.g., stove, heater) as this will increase energy consumption.
- Do not install in areas where the temperature may drop below 50°F (10°C) or rise above 100°F (38°C).
3.3 Electrical Connection
- This freezer requires a standard 120 Volt, 60 Hz, 15 Amp electrical outlet with a dedicated circuit.
- Do not use extension cords or adapter plugs.
- Allow the freezer to stand upright for at least 2-4 hours before plugging it in. This allows the refrigerant to settle.
3.4 Initial Operation
- Plug the freezer into a grounded electrical outlet. The power light will illuminate.
- Set the temperature control dial to the 'MAX' setting for initial cooling.
- Allow the freezer to operate for 2-3 hours before placing food inside. This ensures the interior reaches the desired temperature.
4. Operating Instructions
4.1 Temperature Control
The temperature control dial is located on the front of the freezer. It has settings from 'MIN' to 'MAX' and 'OFF'.
- 'OFF': Turns the freezer off.
- 'MIN': Provides a less cold temperature.
- 'MAX': Provides the coldest temperature.
For general use, a setting between 'MIN' and 'MAX' is recommended. Adjust the dial gradually and allow several hours for the temperature to stabilize before making further adjustments.
4.2 Power Light
The power light on the front panel indicates that the freezer is receiving electrical power. If the light is off, check the power connection and circuit breaker.
4.3 Wire Basket Usage
The removable wire basket can be used to store smaller, frequently accessed items, preventing them from being buried at the bottom of the freezer. To remove, simply lift it out of the compartment.
5. Maintenance
5.1 Cleaning the Freezer
Regular cleaning helps maintain efficiency and hygiene.
- Always unplug the freezer before cleaning.
- Wash the interior with a solution of warm water and baking soda (2 tablespoons of baking soda to 1 quart of water).
- Clean the gasket around the lid with a mild detergent and warm water. Ensure it is dry to prevent mold growth.
- Wipe the exterior with a soft cloth and mild detergent.
- Do not use harsh chemicals, abrasive cleaners, or scouring pads.
5.2 Manual Defrosting
This chest freezer features manual defrost. Defrost when frost buildup reaches approximately 1/4 to 1/2 inch (6-12 mm) thick.
- Unplug the freezer from the electrical outlet.
- Remove all food items and store them in another freezer or cooler.
- Open the lid and place towels on the floor around the freezer to catch melting ice.
- Locate the drain plug inside the freezer and remove it. Place a shallow pan or tray under the external drain outlet to collect water.
- Allow the ice to melt naturally. To speed up the process, place bowls of hot water inside the freezer (do not use sharp objects to chip ice).
- Once all ice has melted, clean and dry the interior thoroughly.
- Replace the drain plug, plug in the freezer, and allow it to cool for 2-3 hours before returning food.
5.3 Power Outage
In case of a power outage, keep the freezer lid closed. Food will remain frozen for approximately 24 hours if the lid is kept shut. Do not open the lid unnecessarily.
5.4 Moving the Freezer
When moving the freezer, ensure it is empty and defrosted. Secure the lid with tape. Do not tilt the freezer more than 45 degrees to avoid damage to the compressor. Allow it to stand upright for at least 2-4 hours after moving before plugging it in.
6. Troubleshooting Guide
Review this section before calling for service. It may save you time and expense.
| Problem | Possible Cause | Solution |
|---|---|---|
| Freezer does not operate. | Not plugged in; Circuit breaker tripped/fuse blown; Temperature control set to 'OFF'. | Ensure plug is secure; Reset circuit breaker/replace fuse; Set temperature control to desired setting. |
| Freezer is not cold enough. | Temperature control set too warm; Lid not closed properly; Excessive lid openings; Large amount of warm food added; Poor ventilation. | Adjust temperature control to a colder setting; Ensure lid is sealed; Minimize lid openings; Allow time for new food to cool; Ensure adequate clearance around freezer. |
| Excessive frost buildup. | Lid not sealed properly; Frequent lid openings; High humidity environment. | Check lid gasket for damage or obstruction; Minimize lid openings; Defrost the freezer as per instructions. |
| Unusual noises. | Freezer not level; Objects vibrating against the freezer; Normal operating sounds. | Ensure freezer is level; Move objects away from the freezer; Gurgling or humming sounds are normal. |
7. Specifications
Detailed technical specifications for the Hisense FC51D7AWD Chest Freezer.
| Specification | Value |
|---|---|
| Model Number | FC51D7AWD |
| Capacity | 5.1 Cubic Feet |
| Dimensions (D x W x H) | 22.1 x 28.6 x 32.5 inches |
| Item Weight | 72.6 pounds |
| Voltage | 120 Volts |
| Material Type | Steel |
| Installation Type | Freestanding |
| Door Hinges | Top |

Figure 7.1: Energy Guide label for the Hisense FC51D7AWD Chest Freezer, showing estimated yearly energy cost and electricity use.
8. Warranty Information
This Hisense chest freezer comes with a 2 Year Warranty. Please refer to the warranty card included with your product for full terms and conditions, including coverage details and limitations. Keep your purchase receipt as proof of purchase for warranty claims.
9. Customer Support
For technical assistance, service inquiries, or to order replacement parts, please contact Hisense customer support. Refer to the contact information provided in your warranty documentation or visit the official Hisense website for the most up-to-date support details.
When contacting support, please have your model number (FC51D7AWD) and serial number ready.


