
1. Important Safety Instructions
- Read all instructions before using the appliance.
- Place the humidifier on a firm, flat, waterproof surface at least 12 inches (30 cm) away from walls and appliances.
- Do not place the humidifier near heat sources such as stoves, radiators, or direct sunlight.
- Always unplug the humidifier before filling, cleaning, or moving it.
- Do not operate the humidifier with a damaged cord or plug.
- Keep the humidifier out of reach of children and pets.
- This appliance features an automatic shut-off function when water levels are low or in case of abnormal overheating.
2. Product Components
Familiarize yourself with the different parts of your Joly Joy humidifier for proper setup and operation.
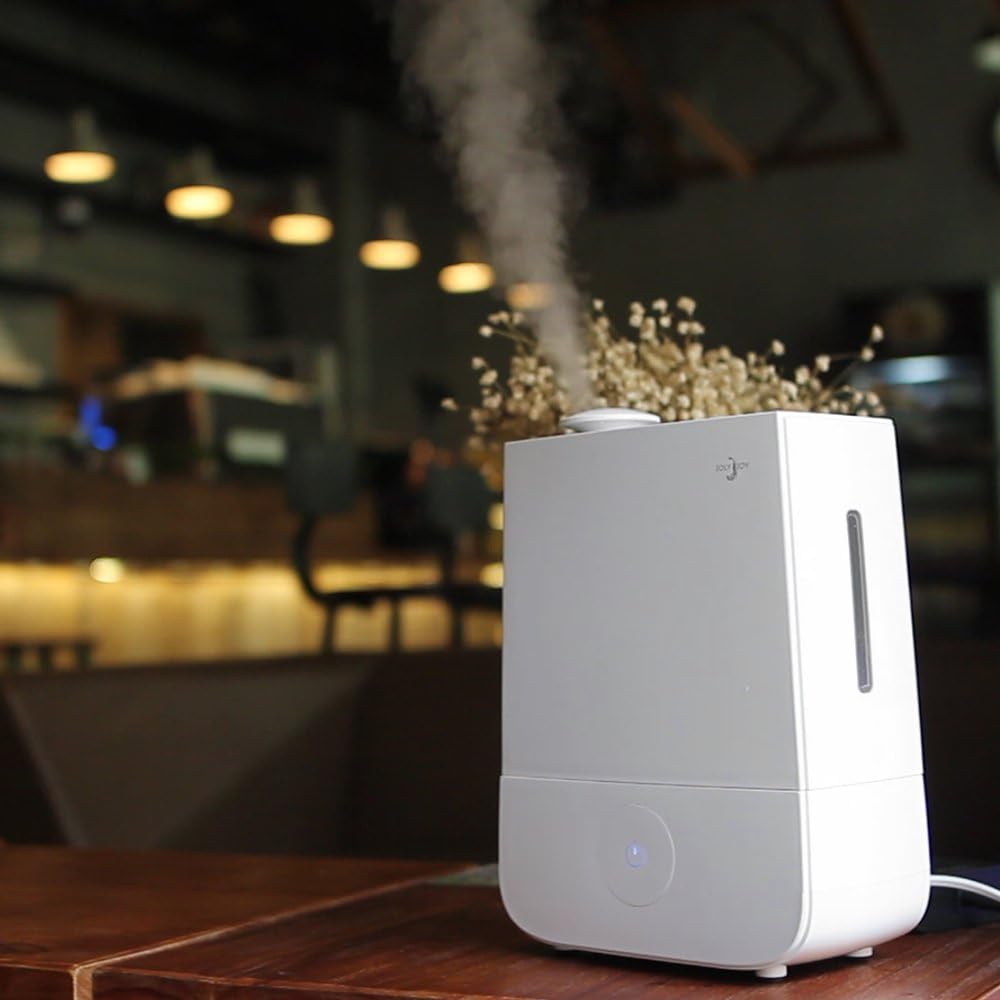
Image 2.1: Exploded view of the humidifier components. This diagram labels the 4L Water Tank, Humidifier Base, Ultrasonic Plate, Water Tank Inlet, ON/OFF/Mist Button, Water Tank Cap, and Mist Inlet, illustrating how the parts fit together.
- 4L Water Tank: Holds up to 4 liters of water.
- Humidifier Base: Contains the ultrasonic plate and electronic components.
- Ultrasonic Plate: Generates cool mist.
- Water Tank Inlet: Opening for refilling the water tank.
- ON/OFF/Mist Button: Controls power and mist intensity.
- Water Tank Cap: Secures the water tank inlet.
- Mist Inlet: Where the mist exits the humidifier.
3. Setup
3.1 Unpacking
- Carefully remove all packaging materials.
- Inspect the humidifier for any damage. Do not operate if damaged.
- Ensure all components listed in Section 2 are present.
3.2 Placement
- Place the humidifier on a flat, stable surface.
- Ensure there is adequate space around the unit for proper mist dispersion.
3.3 Filling the Water Tank
The humidifier features a 4-liter capacity tank for extended operation.

Image 3.1: Demonstrating how to fill the water tank. Water is being poured into the tank's opening, highlighting the large capacity.
- Lift the water tank from the humidifier base using the integrated handle.
- Turn the tank upside down and unscrew the water tank cap.
- Fill the tank with clean, cool tap water. Distilled or demineralized water is recommended to reduce mineral buildup.
- Securely screw the water tank cap back on.
- Place the filled water tank back onto the humidifier base, ensuring it is seated correctly.

Image 3.2: The lift handle on the water tank. This handle is designed for easy removal and transport of the tank.
4. Operating Instructions
4.1 Powering On and Mist Control
The humidifier features a single touch button for power and mist intensity adjustment.

Image 4.1: The ON/OFF/Mist button with LED indicators. The LED changes color to signify the current mist intensity setting.
- Plug the power adapter into a suitable electrical outlet.
- Press the ON/OFF/Mist button once to turn on the humidifier. The LED will illuminate.
- Press the button repeatedly to cycle through the mist intensity modes:
- Low Intensity: LED illuminates pink.
- Medium Intensity: LED illuminates green.
- High Intensity: LED illuminates blue.
- To turn off the humidifier, cycle through all mist modes until the LED light turns off.
4.2 360-Degree Rotating Nozzle
The mist nozzle can be rotated to direct the mist in any desired direction.

Image 4.2: The 360-degree rotating mist nozzle. This feature allows users to adjust the direction of the cool mist output.
- Gently rotate the mist nozzle on top of the humidifier to adjust the mist direction.
5. Maintenance
Regular cleaning is essential for optimal performance and to prevent mineral buildup.
5.1 Daily Maintenance
- Unplug the humidifier before any maintenance.
- Empty any remaining water from the tank and base.
- Rinse the water tank and base with fresh water.
- Wipe the exterior of the unit with a soft, damp cloth.
5.2 Weekly Cleaning (Mineral Buildup)
- Unplug the humidifier.
- Remove the water tank and empty it.
- Pour 1 cup of undiluted white vinegar into the water tank and into the base reservoir (avoid pouring into the mist outlet).
- Let it soak for 20-30 minutes.
- Use a soft brush or cloth to clean the inside of the tank and the ultrasonic plate in the base.
- Rinse both the tank and base thoroughly with clean water until the vinegar smell is gone.
- Allow all parts to air dry completely before reassembling or storing.
6. Troubleshooting
| Problem | Possible Cause | Solution |
|---|---|---|
| No mist or low mist output | No water in tank; Tank not seated correctly; Mineral buildup on ultrasonic plate; Power not connected | Refill water tank; Re-seat tank properly; Clean ultrasonic plate (see Maintenance); Check power connection |
| Unusual noise | Water level too low; Unit not on a flat surface; Foreign object in base | Refill water tank; Place on a flat, stable surface; Unplug and inspect base for obstructions |
| Water leakage | Water tank cap not tightened; Tank not seated correctly; Crack in tank | Tighten water tank cap; Re-seat tank properly; Contact customer support if tank is cracked |
| Humidifier turns off unexpectedly | Water tank empty; Overheating protection activated | Refill water tank; Allow unit to cool down, then restart. Ensure proper ventilation. |
7. Specifications
| Feature | Specification |
|---|---|
| Brand | Joly Joy |
| Model | 4L Ultrasonic Cool Mist Humidifier |
| Water Tank Capacity | 4 Liters |
| Operation Mode | Ultrasonic |
| Power | 30 W |
| Voltage/Frequency | AC100-120 V, 50/60 Hz |
| Mist Output (L/M/H) | 130-30 ml/H (Low); 220-40 ml/H (Medium); 340-50 ml/H (High) |
| Working Time | 12-24 hours (depending on mist level) |
| Dimensions | 236 x 128 x 325 mm (approx. 9.3 x 5 x 12.8 inches) |
| Weight | Approx. 1.5 lbs (680 g) |
| Special Feature | Quiet Operation |
| Color | White |
8. Warranty and Support
For warranty information or technical support, please refer to the contact details provided with your product packaging or visit the official Joly Joy website. Keep your purchase receipt as proof of purchase.