
XtremepowerUS 75139
XtremepowerUS 16" Sand Filter System User Manual
Model: 75139
1. Introduction
This manual provides essential information for the safe and efficient operation and maintenance of your XtremepowerUS 16" Sand Filter System. This system is designed to provide optimum flow rates for clean water quality in above-ground and inground swimming pools up to 21,000 gallons. Please read this manual thoroughly before installation and use.
2. Safety Information
WARNING: Failure to follow these instructions can result in severe injury or death.
- Always disconnect power before servicing the filter system.
- Do not operate the filter system if any part is damaged or leaking.
- Ensure proper electrical grounding for all components.
- Keep children away from the filter system during operation.
- Maintain proper water chemistry in your pool to prevent damage to the filter and ensure safe swimming conditions.
- Do not exceed the maximum operating pressure of the filter system.
- Always turn off the pump before changing the multi-port valve position.
3. Setup and Installation
Proper installation is crucial for the performance and longevity of your sand filter system. This system is compatible with 1.5" threaded fittings.
3.1 Unpacking and Inspection
Carefully unpack all components and inspect for any shipping damage. Ensure all parts listed in the packing list are present. If any parts are missing or damaged, contact customer support immediately.
3.2 Placement
Place the filter system on a firm, level surface, preferably concrete, as close to the pool as possible. Ensure adequate drainage and protection from direct sunlight and extreme weather conditions.
3.3 Adding Filter Media (Sand)
The 16" filter tank requires approximately 110 lbs of filter sand. Use only #20 silica sand (0.45mm to 0.55mm). To prevent sand from entering the laterals during filling:
- Remove the multi-port valve and place the standpipe with laterals inside the tank.
- Cover the top opening of the standpipe with a plastic cap or your hand to prevent sand from entering.
- Slowly add the filter sand into the tank. Ensure the laterals are not damaged during this process.
- Once the sand is added, remove the cap from the standpipe.
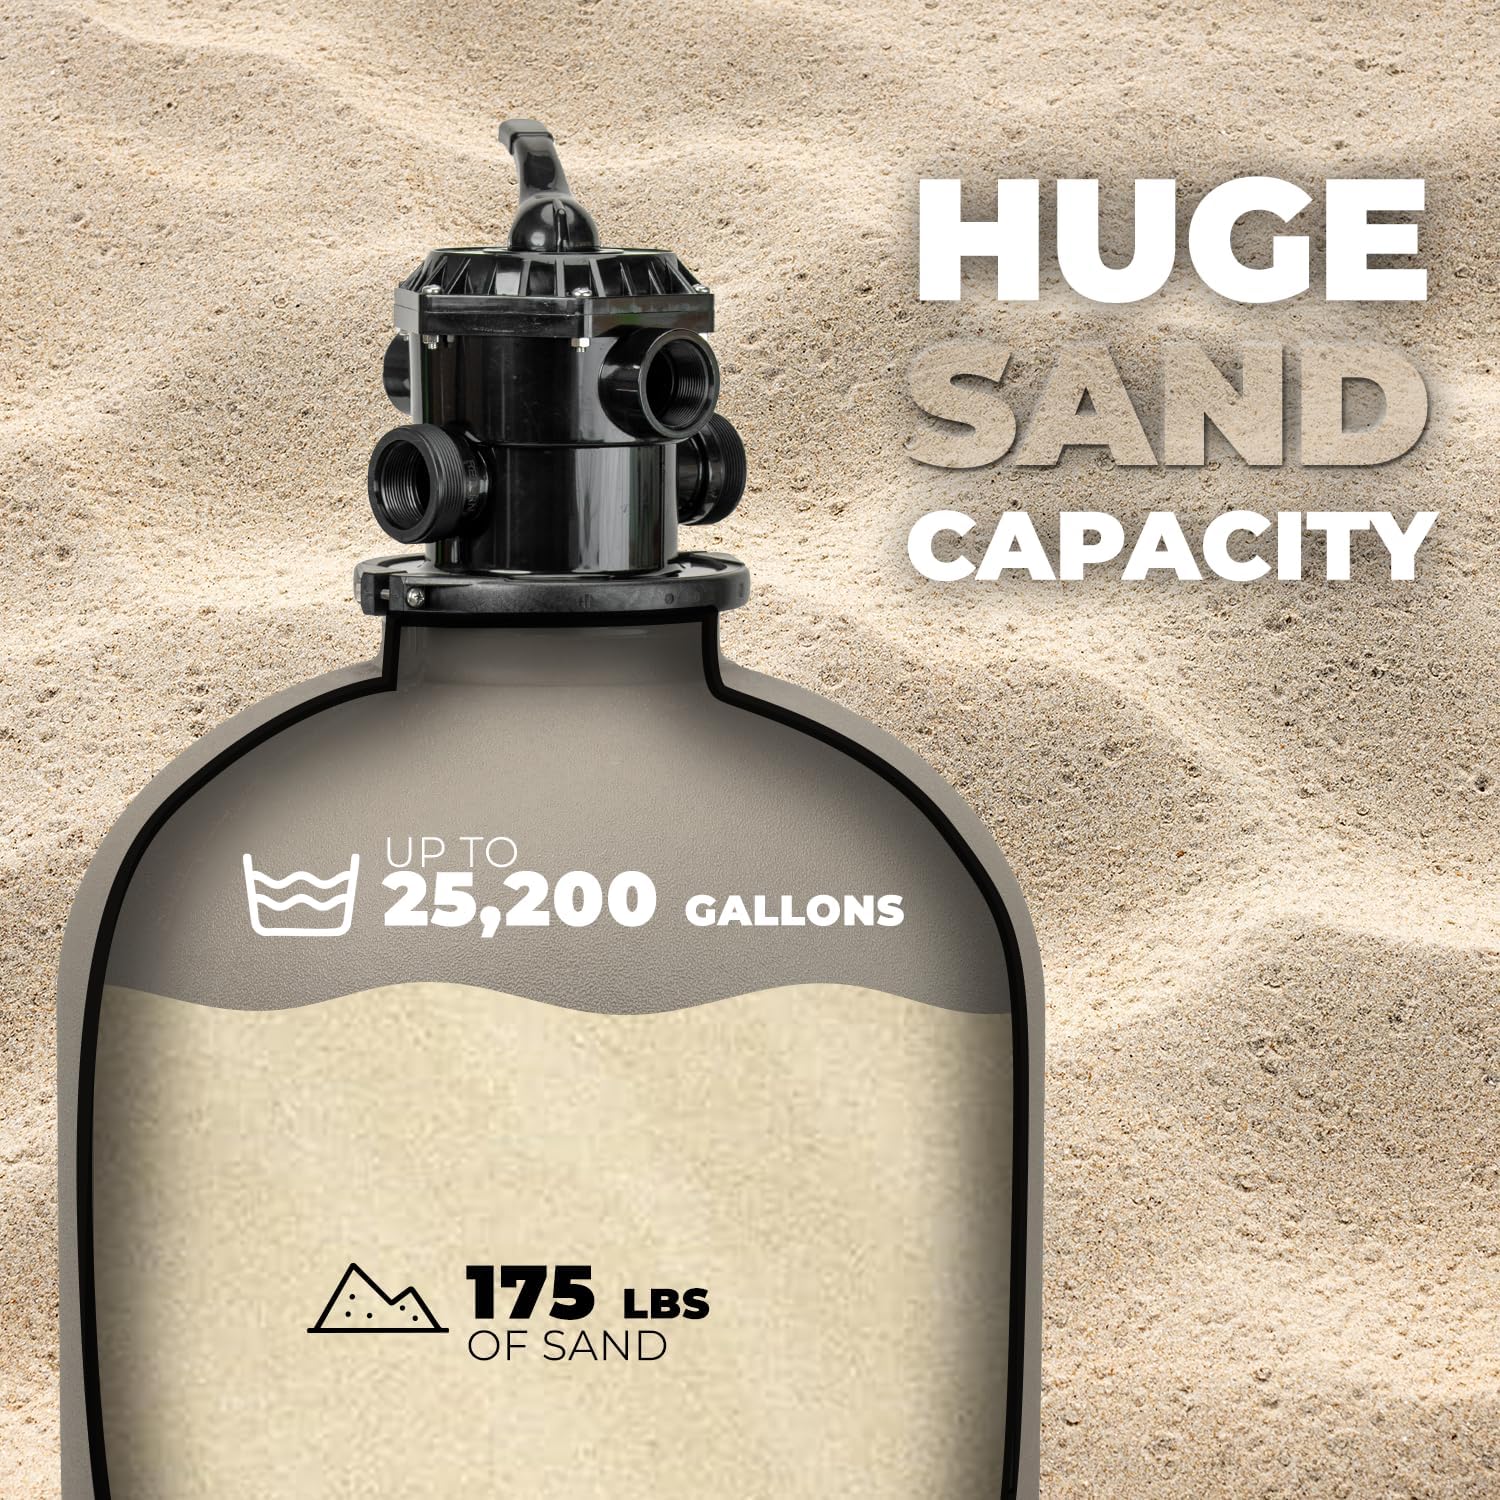
Figure 3.3.1: Illustration of sand capacity within the filter tank. The 16-inch model holds approximately 110 lbs of sand.

Figure 3.3.2: Internal view of the sand filter showing the standpipe and laterals, which distribute water evenly through the sand.
3.4 Multi-Port Valve Installation
Carefully place the multi-port valve onto the top of the filter tank, ensuring the standpipe aligns correctly with the valve's opening. Secure the valve to the tank using the provided clamp or threaded connection. Ensure a tight seal to prevent leaks.
3.5 Plumbing Connections
Connect the pool pump to the "PUMP" port on the multi-port valve. Connect the return line to the pool to the "RETURN" port. The "WASTE" port should be connected to a suitable drainage area. Ensure all connections are tight and leak-free. Adapters and hoses are sold separately.

Figure 3.5.1: The sand filter system connected to a pool, illustrating the hose connections for easy installation.

Figure 3.5.2: Diagram illustrating the water flow path through the sand filter, showing the pump line bringing water in and the return line sending filtered water back to the pool.
4. Operating Instructions
Your sand filter system features a 7-way multi-port valve for various operational modes. Always turn off the pump before changing the valve position.

Figure 4.1: The 7-Way Multi-Port Valve and its functions.
4.1 Multi-Port Valve Functions
- FILTER: Normal filtering mode. Water flows through the sand media, trapping debris, and returns to the pool.
- BACKWASH: Reverses water flow through the filter to clean the sand bed and flush trapped debris out the waste port. Perform when pressure gauge reads 8-10 PSI above starting pressure.
- RINSE: Used after backwashing to flush out any remaining dirty water from the valve and settle the sand bed. Water flows to waste.
- WASTE: Drains water directly from the pool, bypassing the filter. Useful for vacuuming heavy debris directly to waste or lowering pool water level.
- RE-CIRCULATE: Circulates pool water without filtering it through the sand. Useful for distributing chemicals.
- CLOSED: Stops all water flow to and from the filter. Use when performing maintenance on the pump or filter.
- WINTER: Used for winterizing the filter system. Consult your winterizing guide for specific instructions.
4.2 Initial Startup
- Ensure all connections are secure and the pool is filled to the appropriate level.
- Set the multi-port valve to "BACKWASH".
- Turn on the pump and backwash for 2-3 minutes or until the water in the sight glass (if present) runs clear.
- Turn off the pump.
- Set the multi-port valve to "RINSE".
- Turn on the pump and rinse for 30-60 seconds.
- Turn off the pump.
- Set the multi-port valve to "FILTER".
- Turn on the pump. Note the initial pressure gauge reading. This is your clean filter pressure.
5. Maintenance
Regular maintenance ensures optimal performance and extends the life of your filter system.
5.1 Backwashing
Backwash the filter when the pressure gauge reads 8-10 PSI above your clean filter pressure, or when water clarity diminishes. Follow the backwash and rinse procedure outlined in Section 4.2.
5.2 Sand Replacement
Filter sand typically needs to be replaced every 3-5 years, depending on usage and water quality. Refer to Section 3.3 for instructions on adding sand.
5.3 Winterizing
Before freezing temperatures, drain all water from the filter tank and pump. Disconnect hoses and store the multi-port valve in the "WINTER" position. Store the filter and pump in a dry, protected area.
6. Troubleshooting
| Problem | Possible Cause | Solution |
|---|---|---|
| Low water flow / Poor filtration | Clogged filter sand; Clogged pump basket/skimmer; Air leak in suction line; Low water level in pool. | Backwash the filter; Clean pump basket/skimmer; Check all connections for leaks; Add water to pool. |
| Water returning to pool is cloudy | Filter sand needs backwashing or replacement; Damaged laterals; Incorrect sand type. | Backwash/rinse thoroughly; Replace sand if old; Inspect laterals for damage; Ensure correct sand type is used. |
| Water leaking from multi-port valve | Worn O-rings/gaskets; Loose clamp/connections. | Inspect and replace O-rings/gaskets; Tighten clamp/connections. |
| Pressure gauge reading high | Filter sand is dirty and needs backwashing. | Perform a backwash and rinse cycle. |
| Pressure gauge reading low or zero | Air leak in suction line; Pump not primed; Gauge faulty. | Check for air leaks; Prime the pump; Replace gauge if faulty. |
7. Specifications
- Model: 75139
- Filter Type: Sand Filter System
- Tank Diameter: 16 inches
- Max Pool Capacity: Up to 21,000 Gallons
- Sand Capacity: Approximately 110 lbs (#20 Silica Sand)
- Multi-Port Valve: 7-Way (Filter, Backwash, Winter, Re-Circulate, Closed, Rinse, Waste)
- Connections: 1.5" threaded connections
- Overall Dimensions (16" model): 16"(W) x 16"(L) x 32-1/4"(H)
- Item Weight: 20 pounds (empty)

Figure 7.1: The 16-inch sand filter system with its compact and durable design.
8. Warranty and Support
For warranty information and customer support, please refer to the documentation included with your purchase or visit the official XtremepowerUS website. Please note that warranty periods may vary and typically cover manufacturing defects. Keep your proof of purchase for warranty claims.
For technical assistance or parts inquiries, please contact XtremepowerUS customer service directly.
Related documents75139


Ask a question about this manual
Ask about setup, troubleshooting, compatibility, parts, safety, or missing instructions. Manuals+ will review the question and use this page’s manual context to help answer it.