
1. Introduction
The Ronco Veg-O-Matic Deluxe is designed to simplify your food preparation tasks by providing a quick and efficient way to chop, slice, wedge, and dice various fruits and vegetables. Its integrated catch container helps maintain a clean workspace.
Key features include:
- Faster and safer food preparation compared to traditional knives.
- Integrated catch container for mess-free operation.
- Includes Grip Plates, Cleaning Tool, and 5 specialized cutting blades: two slicing blades, one wedging blade, one cubing blade, and one dicing blade.
- Simple one-push operation for consistent cuts.
- Capable of julienning potatoes for french fries.
2. Product Components
Familiarize yourself with the various parts of your Veg-O-Matic Deluxe before use.
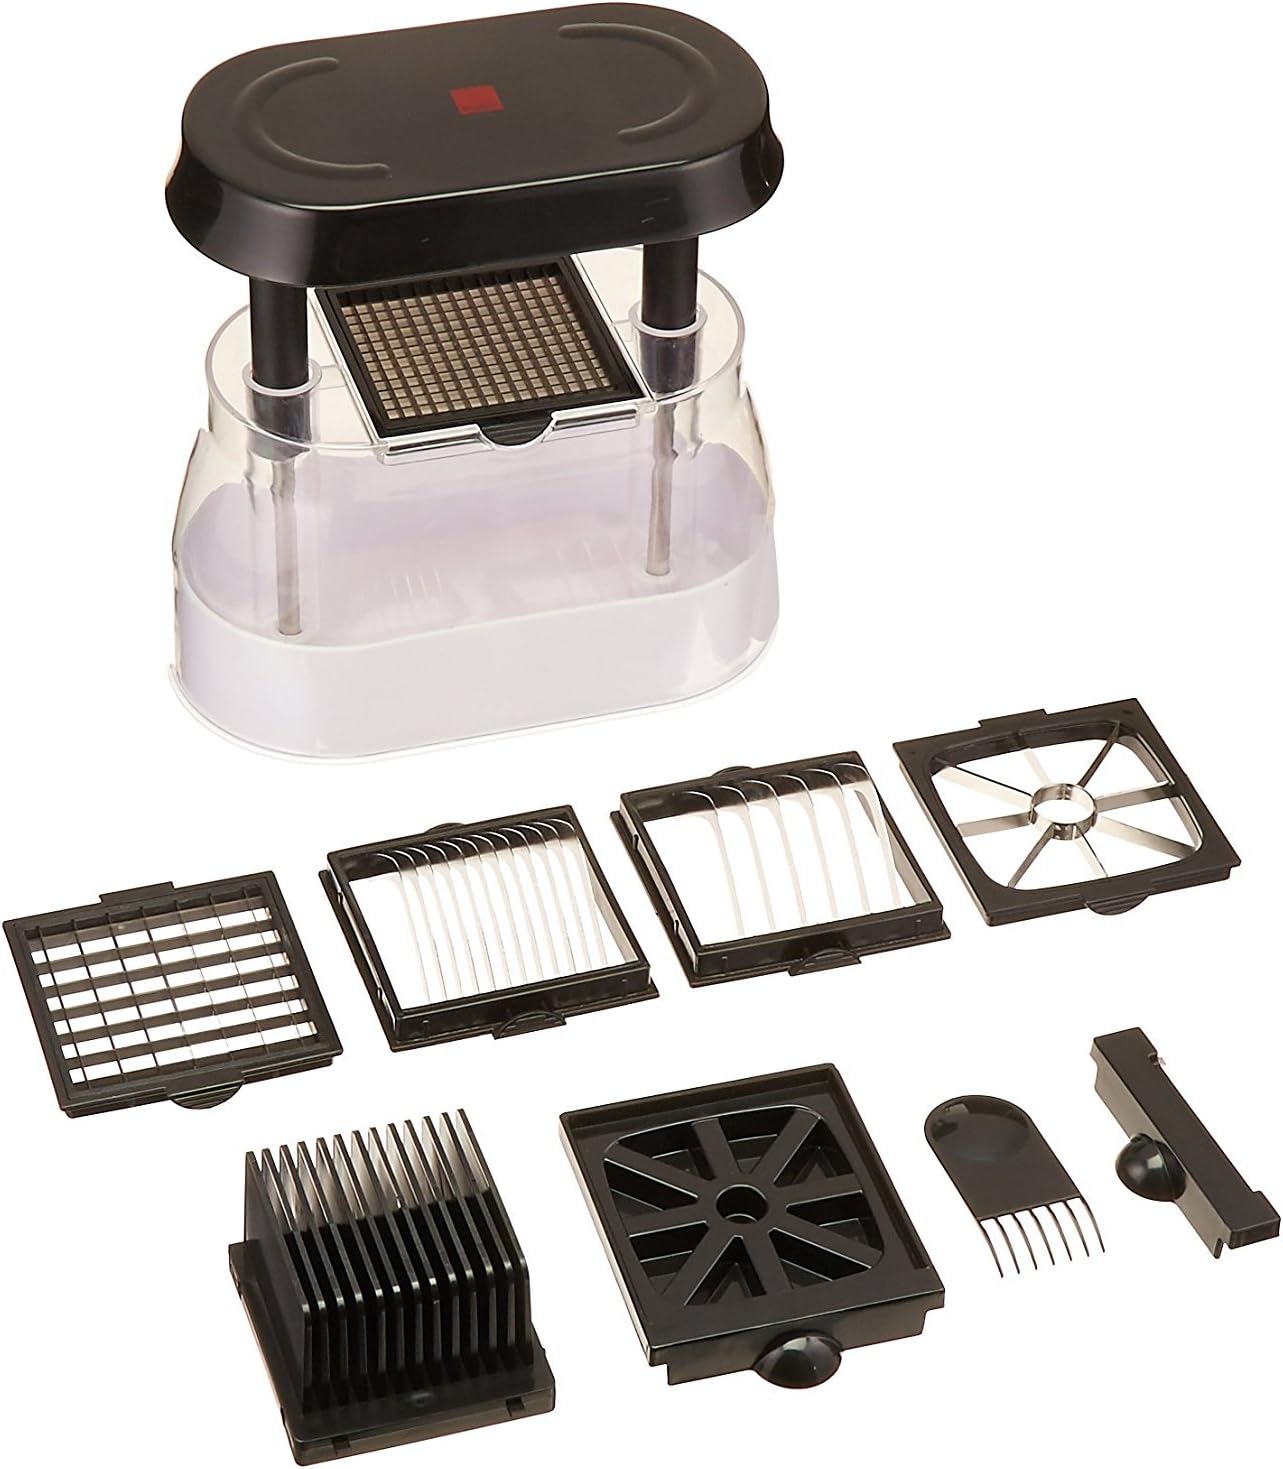
Figure 2.1: All components of the Ronco Veg-O-Matic Deluxe, including the main unit, five interchangeable blades, and a cleaning tool.

Figure 2.2: Labeled diagram highlighting the Spring-Loaded Pusher, Built-in Catch Container, Slice Blades, Julienne Blade, Wedge Blade, Dice Blade, and Cleaning Tool.
Included Parts:
- Main Unit: Consists of the top pusher assembly and the clear catch container with a base.
- Grip Plates: Integrated into the pusher assembly for secure handling.
- Cutting Blades (5 types):
- 2 x Slicing Blades
- 1 x Wedging Blade
- 1 x Cubing Blade
- 1 x Dicing Blade
- Cleaning Tool: For safe and effective cleaning of the blades.
3. Setup
- Unpack: Carefully remove all components from the packaging.
- Wash: Before first use, wash all parts with warm, soapy water. Rinse thoroughly and dry.
- Assemble Base: Ensure the clear catch container is securely seated on the white base.
- Select Blade: Choose the desired cutting blade (slicing, wedging, cubing, or dicing) for your task.
- Insert Blade: Place the selected blade securely into the designated slot on top of the catch container. Ensure it lies flat and is stable.
- Prepare Food: Cut larger fruits or vegetables into pieces that fit comfortably onto the blade surface.
4. Operating Instructions
Follow these steps for safe and effective operation of your Veg-O-Matic Deluxe:
- Position Food: Place the prepared fruit or vegetable piece onto the center of the selected blade.
- Align Pusher: Position the top pusher assembly over the food, ensuring the grid aligns with the blade.
- Press Down: With both hands, firmly and quickly press down on the pusher assembly. The spring-loaded mechanism will push the food through the blade.
- Collect Food: The cut food will fall directly into the clear catch container below.
- Repeat: Lift the pusher, remove any remaining food from the blade if necessary, and repeat the process for additional pieces.

Figure 4.1: Demonstrating the slicing of an onion, with the cut pieces falling into the collection container.
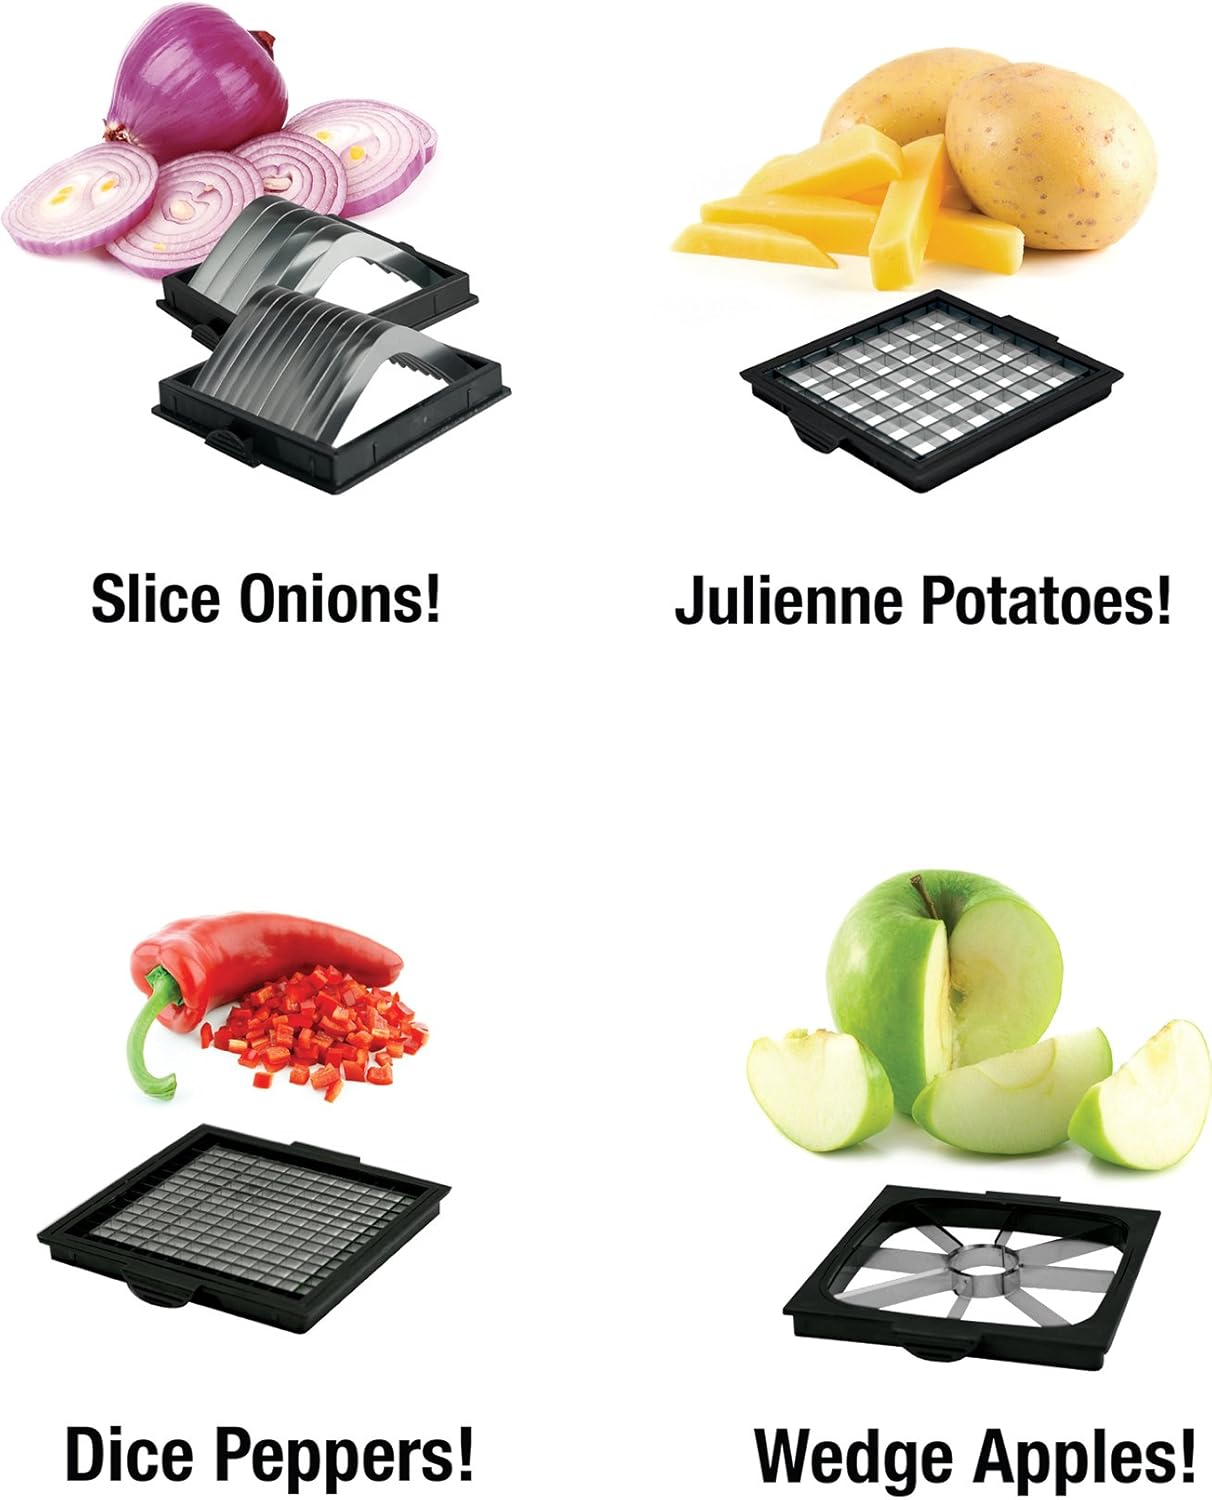
Figure 4.2: Visual examples of various cuts achievable with the Veg-O-Matic Deluxe, including slicing, julienning, dicing, and wedging.
Video Demonstration:
Video 4.1: Official product video demonstrating the Ronco Veg-O-Matic Deluxe in action, showcasing its various cutting functions for different vegetables and fruits.
5. Maintenance and Cleaning
Regular cleaning ensures the longevity and hygienic operation of your Veg-O-Matic Deluxe.
- Disassemble: Separate the pusher assembly, the chosen blade, and the catch container from the base.
- Remove Food Residue: Use the included cleaning tool to carefully remove any food particles stuck in the blades or pusher grid. Exercise caution as blades are sharp.
- Wash: Wash all components with warm, soapy water. A soft brush can be used for thorough cleaning.
- Rinse: Rinse all parts under running water until all soap residue is gone.
- Dry: Allow all components to air dry completely before reassembling or storing.
- Storage: Store the Veg-O-Matic Deluxe in a clean, dry place.
6. Troubleshooting
| Problem | Possible Cause | Solution |
|---|---|---|
| Difficulty cutting hard vegetables (e.g., raw sweet potatoes). | Vegetable is too dense or large for a single push. | Pre-cut harder vegetables into smaller, thinner pieces. Apply firm, even pressure. Some very hard vegetables may not be suitable for this device. |
| Blade gets stuck or does not cut cleanly. | Food residue in blades, improper blade placement, or insufficient force. | Clean blades thoroughly with the cleaning tool. Ensure the blade is seated correctly and flat. Apply a quick, firm push. |
| Food pieces are unevenly cut. | Food not centered on the blade or uneven pressure applied. | Ensure food is centered on the blade. Apply even pressure across the pusher assembly. |
7. Specifications
| Feature | Detail |
|---|---|
| Product Dimensions | 9.25 x 5.13 x 9.13 inches |
| Item Weight | 2.4 pounds |
| Model Number | FS200300BLGEN |
| ASIN | B01EOTBRGI |
| Manufacturer | Ronco |
| Date First Available | April 23, 2016 |
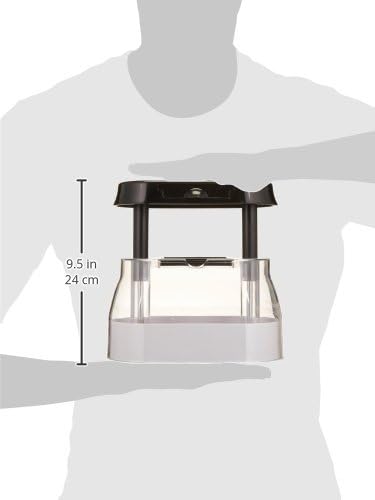
Figure 7.1: Visual representation of the product dimensions, showing a height of 9.5 inches (24 cm).
8. Warranty and Support
For warranty information or product support, please refer to the official Ronco website or contact their customer service department. Keep your purchase receipt for warranty claims.
Online Support: Visit the Ronco Store on Amazon