
1. Product Overview
The NP NIGHT PROVISION TX11 is a high-performance tactical flashlight designed for various applications including police, security, military, and general outdoor use. It features a powerful Luminus LED capable of delivering up to 1600 lumens, providing exceptional brightness and a long beam distance. Constructed with military-grade durability, the TX11 is built to withstand challenging environments.

Image 1.1: The TX11 Tactical Flashlight shown with its included duty belt holster. This image highlights the compact design and the robust construction of the flashlight.
Key features include versatile operating modes, a smart circuitry for extended run-time and battery conservation, and a durable aircraft-grade aluminum body with water and shock resistance. The TX11 is designed for reliability and ease of use in demanding situations.
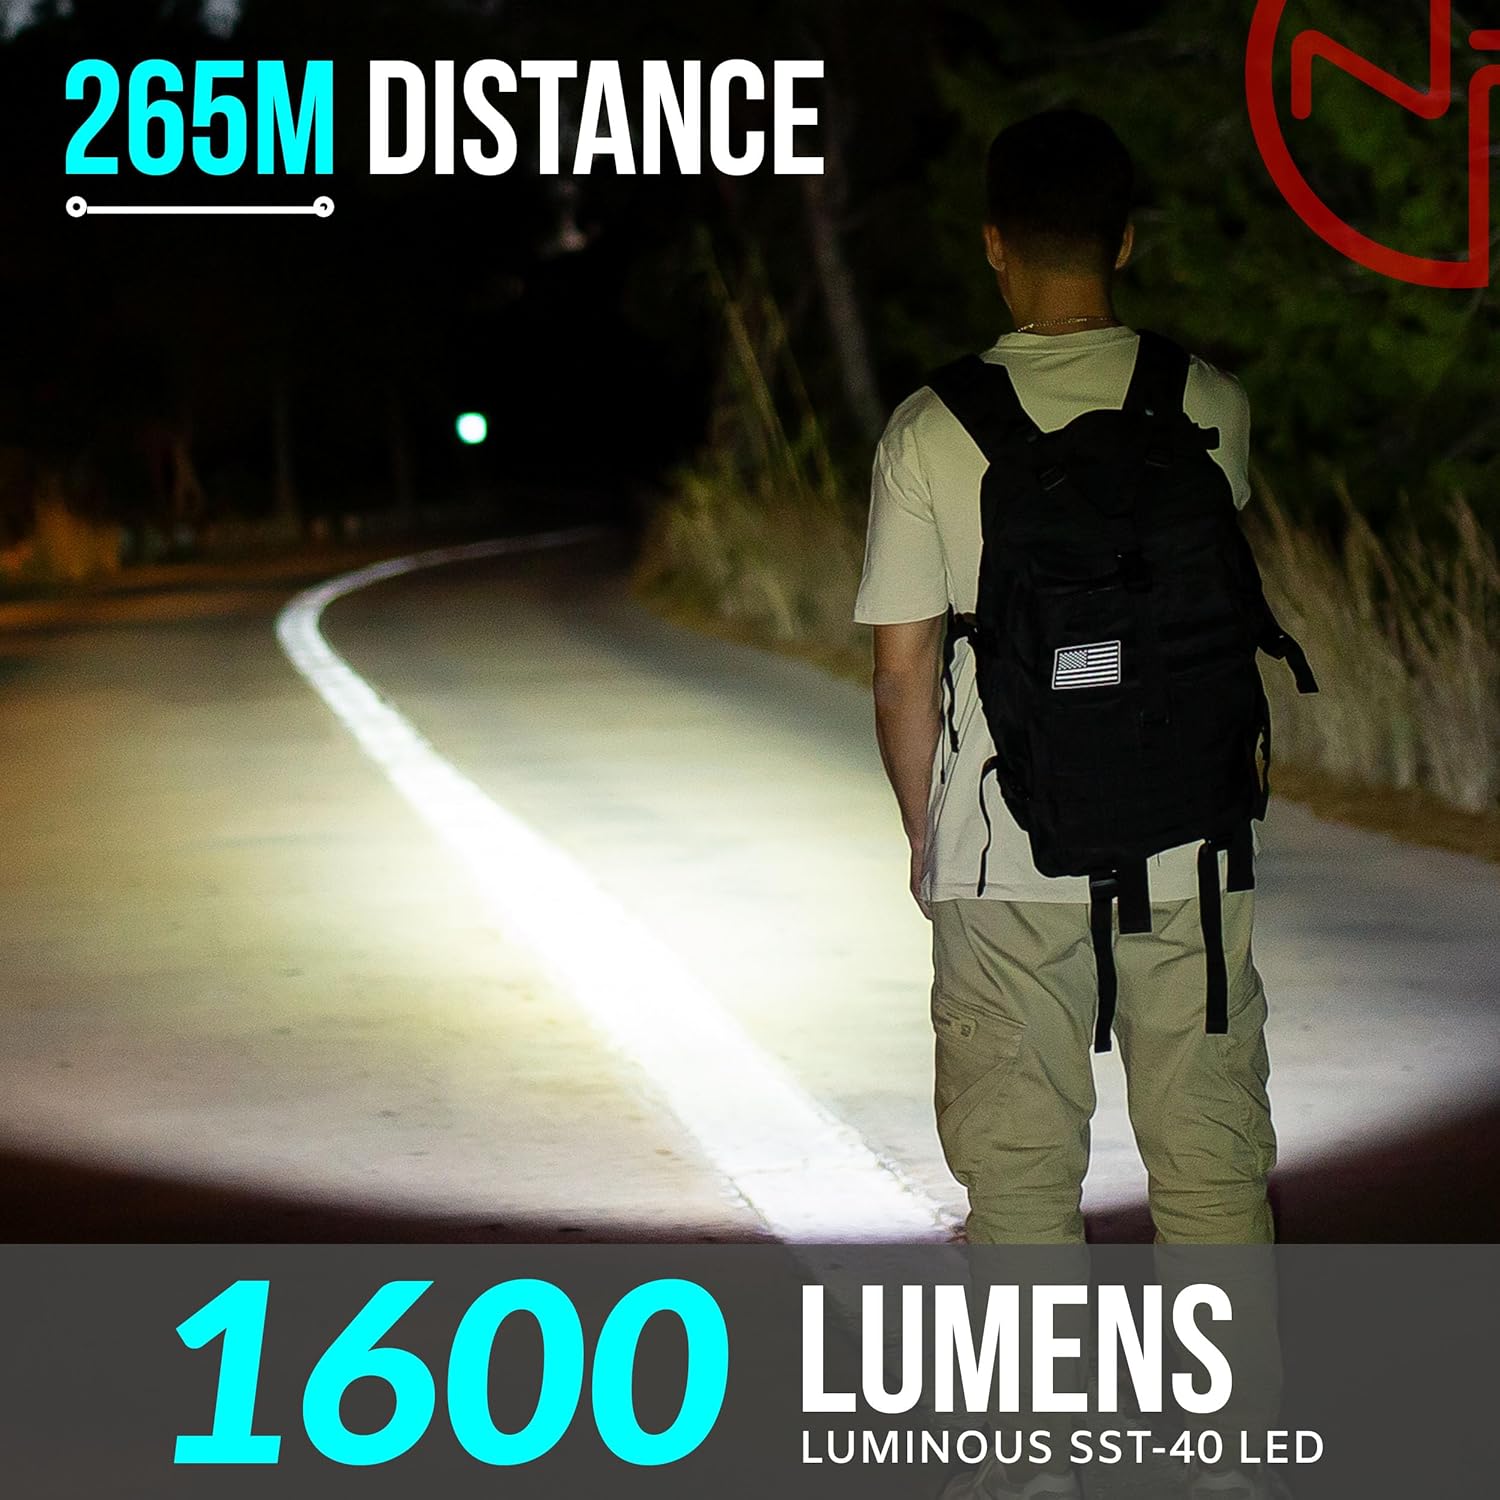
Image 1.2: A visual representation of the TX11 flashlight's powerful beam, illustrating its 265-meter distance and 1600 lumens output. This demonstrates the flashlight's capability to illuminate large areas effectively.
2. Setup Guide
2.1 Battery Installation
The TX11 Tactical Flashlight requires one 18650 Lithium Ion battery (not included). It is crucial to use the correct battery type for optimal performance and safety. Do not use CR123 batteries as specified by the manufacturer.
- Unscrew the tail cap of the flashlight by turning it counter-clockwise.
- Insert one 18650 Lithium Ion battery with the positive (+) end facing towards the head of the flashlight.
- Carefully screw the tail cap back on by turning it clockwise until it is securely tightened. Ensure a snug fit to maintain water resistance and proper electrical contact.
2.2 Attaching the Duty Belt Holster
The TX11 comes with a nylon duty belt holster for convenient carrying.
- Locate the loop on the back of the nylon holster.
- Thread your duty belt through this loop.
- Secure the holster in a comfortable and accessible position on your belt.
- Insert the TX11 flashlight into the holster, ensuring it is seated properly.

Image 2.1: The TX11 flashlight securely placed in its nylon duty-belt holster, demonstrating how it can be conveniently carried on a belt for quick access.
3. Operating Instructions
3.1 Powering On/Off and Mode Selection
The TX11 features two distinct buttons for operation: a Rear Tactical Button and a Metal Side Mode Switch.
- Rear Tactical Button:
- Press fully to turn the flashlight ON or OFF.
- Half-press and hold for momentary ON. Release to turn off.
- Metal Side Mode Switch:
- Once the flashlight is ON (via the Rear Tactical Button), press the Metal Side Mode Switch to cycle through the available light modes.
- The TX11 features 6 light modes: Firefly (2 lumens), Low (35 lumens), Mid (300 lumens), High (750 lumens), Turbo (1600 lumens), and Strobe (1600 lumens).
- The flashlight has a mode memory function, meaning it will revert to the last used mode when turned back on.
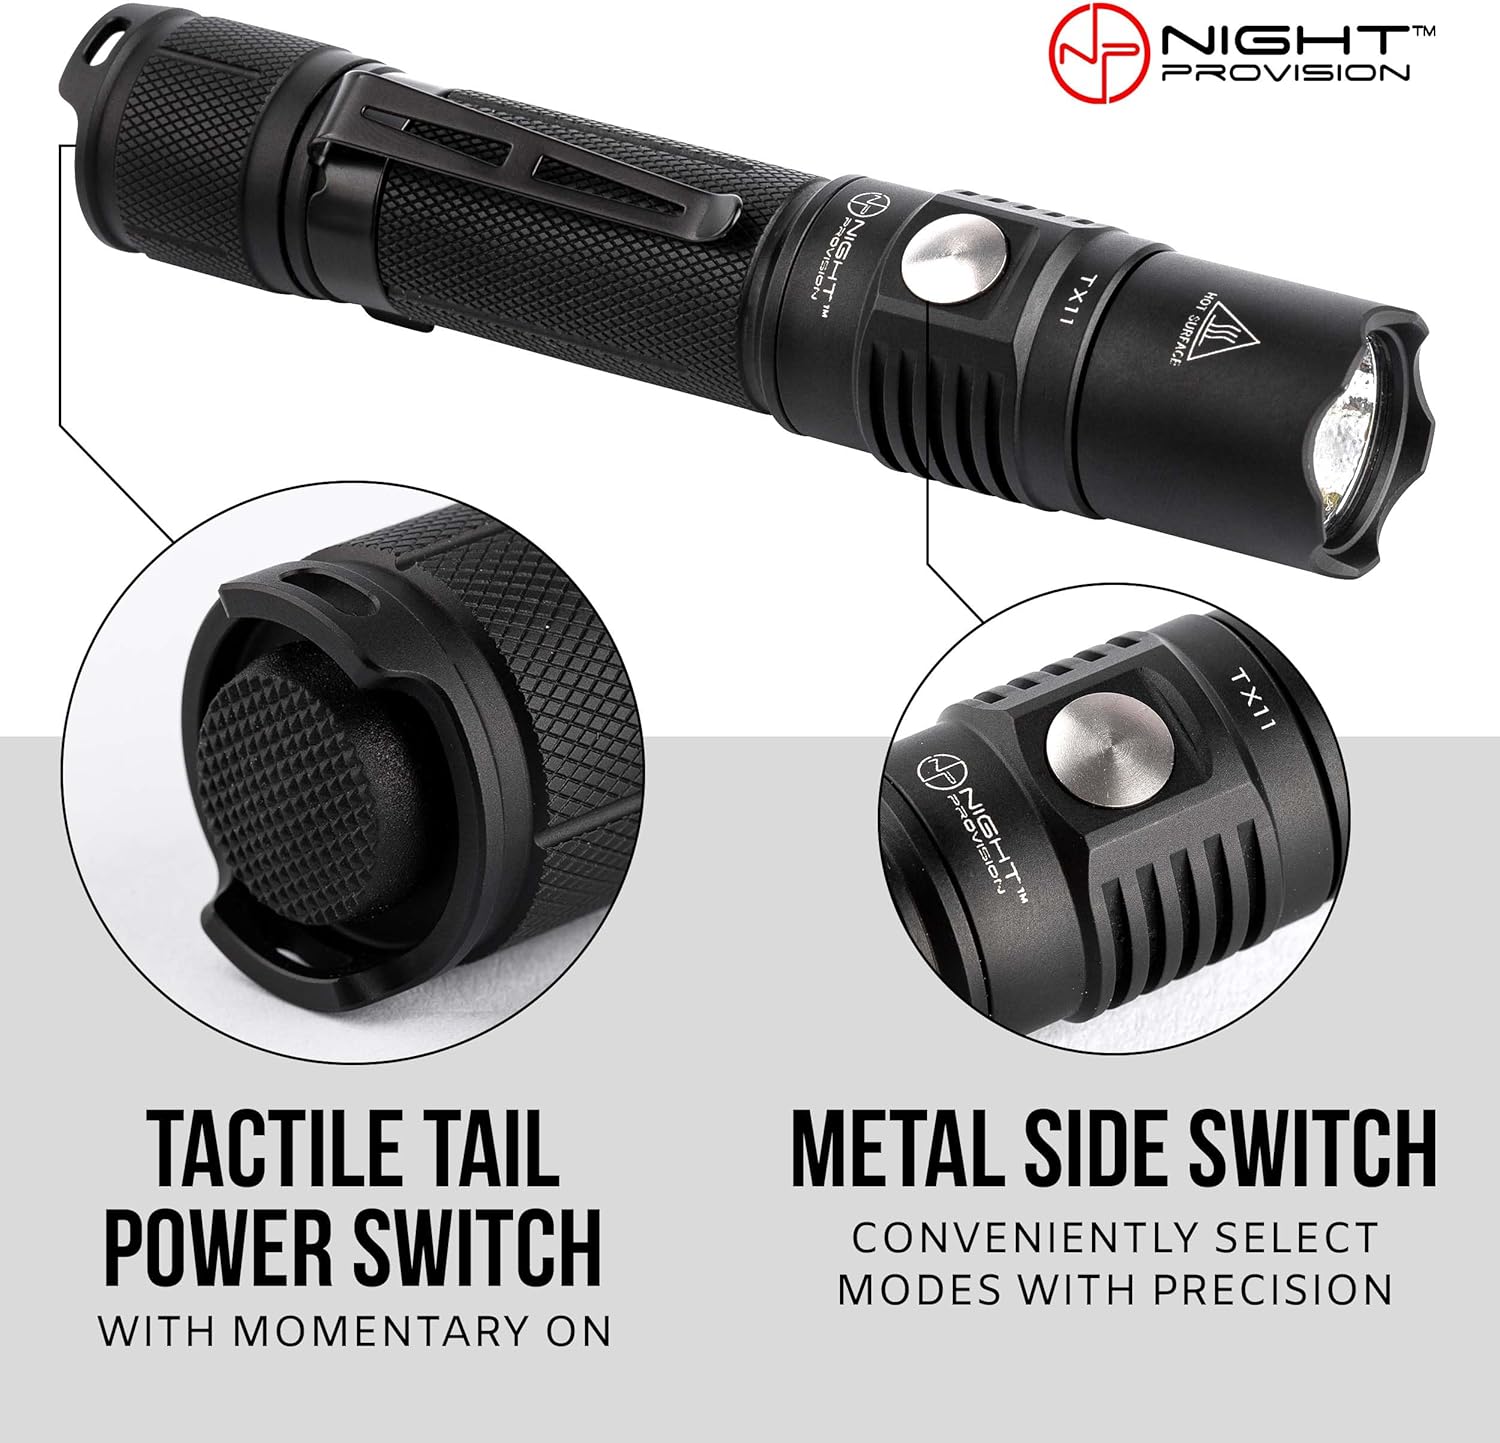
Image 3.1: Close-up view of the TX11's tactile tail power switch for momentary or constant on/off, and the metal side switch for convenient mode selection.

Image 3.2: An illustration detailing the six versatile light settings of the TX11 flashlight, including their respective lumen outputs and approximate runtimes.
3.2 Smart Circuitry Features
The TX11 incorporates smart circuitry to optimize battery life and user experience:
- Auto Mode Step Down: To conserve battery and prevent overheating, the flashlight may automatically step down from higher brightness modes to lower ones as the battery depletes or if the temperature rises.
- Low Battery Reminder Indicator: The flashlight provides a 3-flash warning to indicate when the battery level is low, prompting the user to replace or recharge the battery.
- Max Run-Time: In Firefly mode (2 lumens), the TX11 can achieve up to 715 hours of run-time, making it suitable for prolonged low-light situations.

Image 3.3: Diagram illustrating the smart chip features of the TX11, including auto-step down for extended run-time, low-battery indicator, and maximum run-time in firefly mode.
4. Maintenance
4.1 Cleaning
- Wipe the flashlight body with a clean, soft cloth.
- For stubborn dirt, a slightly damp cloth can be used, followed by drying.
- Do not use abrasive cleaners or solvents, as these can damage the finish and seals.
- Keep the lens clean for optimal light output. Use a lens cleaning cloth if necessary.
4.2 Battery Care and Storage
- Always use high-quality 18650 Lithium Ion batteries.
- If the flashlight will not be used for an extended period, remove the battery to prevent potential leakage or self-discharge.
- Store the flashlight and batteries in a cool, dry place away from direct sunlight and extreme temperatures.
- Ensure battery contacts are clean. If necessary, clean them with a cotton swab dipped in rubbing alcohol.
4.3 O-Ring Lubrication
To maintain the flashlight's water resistance, periodically lubricate the O-rings (seals) with silicone grease. This helps prevent drying and cracking.
5. Troubleshooting
| Problem | Possible Cause | Solution |
|---|---|---|
| Flashlight does not turn on. |
|
|
| Light output is dim or flickers. |
|
|
| Flashlight gets hot quickly. |
|
|
| Cannot change modes with side switch. |
|
|
6. Product Specifications
| Feature | Detail |
|---|---|
| Model | TX11 |
| Brightness | Up to 1600 Lumens |
| Beam Distance | Up to 200 yards (approx. 183 meters) / 265 meters (as per image) |
| Light Source Type | LED (Luminus SST-40 LED) |
| Power Source | Battery Powered (1 x 18650 Lithium Ion battery required, not included) |
| Material | Aircraft Grade Aluminum (Type III Hard Anodization Finish) |
| Water Resistance Level | Waterproof |
| Shock Resistance | Up to 1 meter |
| Product Dimensions | 0.95"D x 0.95"W x 5.45"H |
| Item Weight | 6.7 ounces (approx. 0.42 Pounds) |
| Operating Modes | 6 modes (Firefly, Low, Mid, High, Turbo, Strobe) |
| Max Run-time | 715 hours (Firefly mode) |
| Special Features | Adjustable Light Modes, High Power, Impact Resistant, Long Range, Non Slip Grip, Auto Mode Step Down, Low Battery Reminder Indicator |
7. Warranty and Support
The NP NIGHT PROVISION TX11 Tactical Flashlight is backed by a comprehensive warranty and satisfaction guarantee:
- 5-Year Limited Warranty: This warranty covers defects in materials and workmanship under normal use. Please retain your proof of purchase for warranty claims.
- 60-Day Money-Back Guarantee: If you are not completely satisfied with your purchase, you may return the product within 60 days for a full refund.
For further assistance, technical support, or to make a warranty claim, please visit the official NP NIGHT PROVISION store or contact customer service through the retailer where the product was purchased.
Official Brand Store: NP NIGHT PROVISION Store on Amazon