
1. Overview
The Titan Meshtec Ultimate Security Sliding Patio Screen Door is designed to provide enhanced security, ventilation, and clear views for your home's sliding glass entry door. It features a high-tensile stainless steel mesh and a robust 3-point locking system, integrated into a durable aluminum frame. This product is a secondary security door and does not replace the primary glass entry sliding patio door.
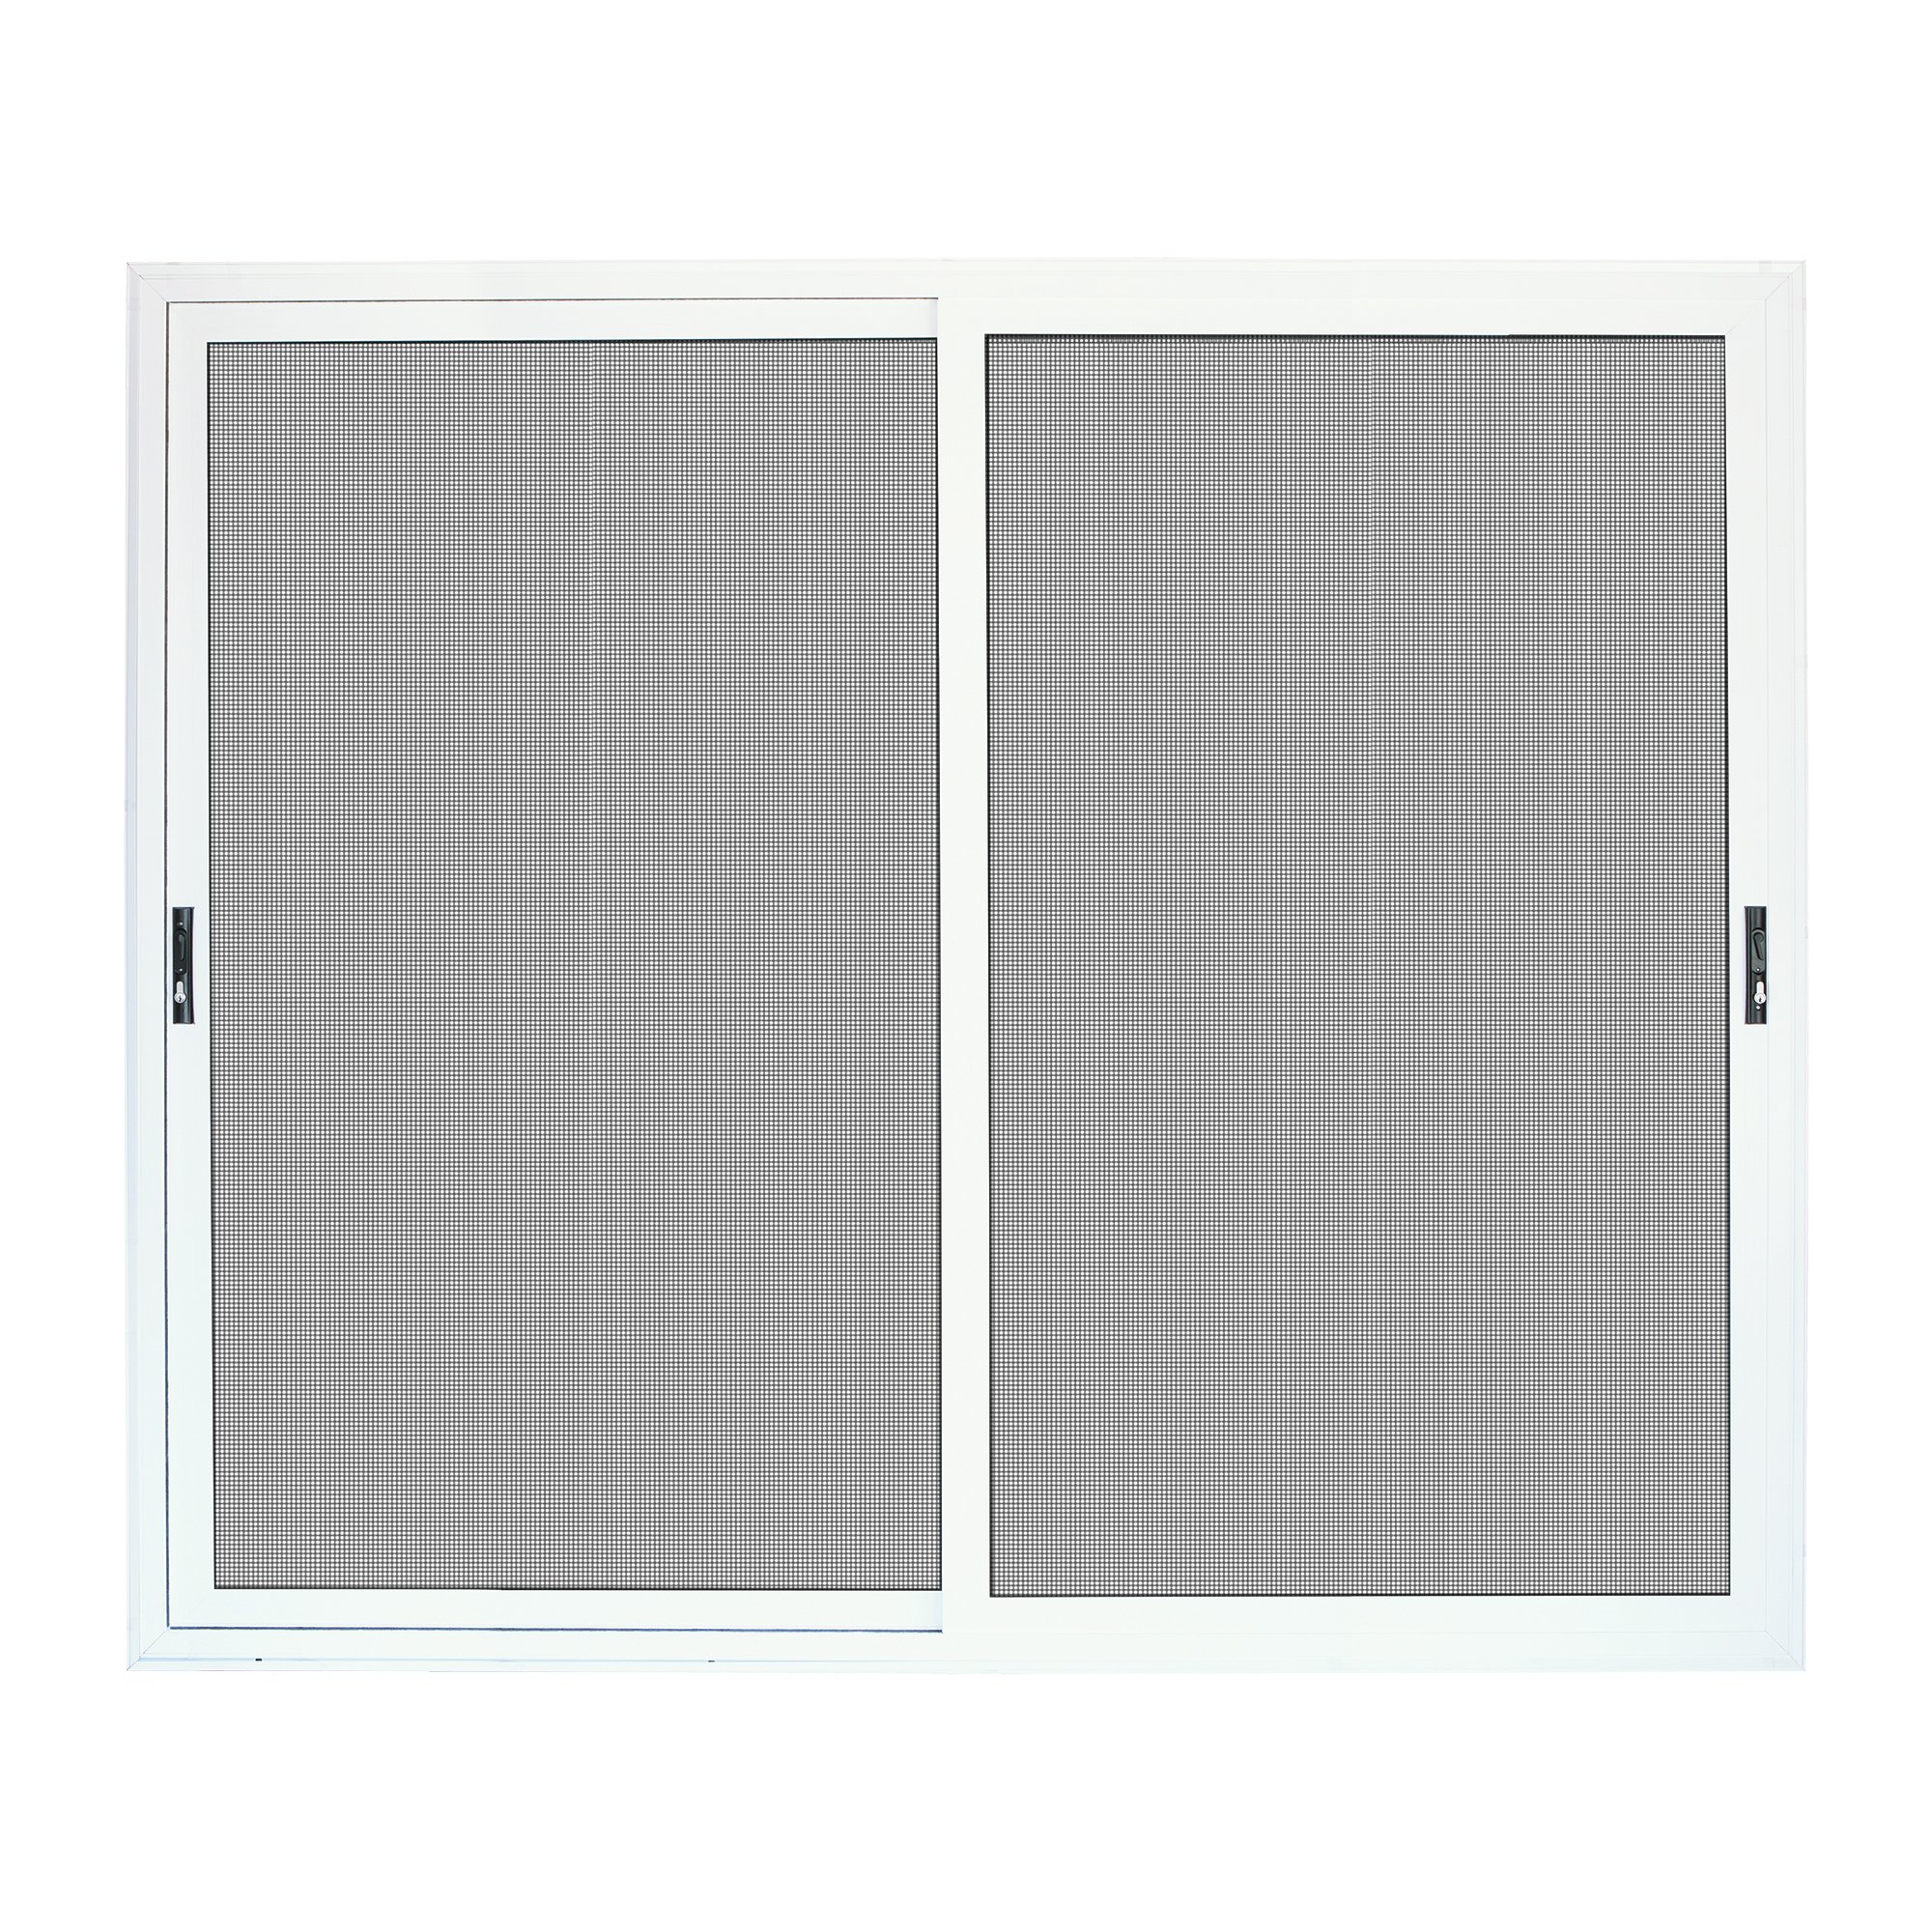
Image: A white Titan Meshtec 96x80 Ultimate Security Sliding Patio Screen Door installed on a patio, offering a full view.
2. Safety Information
Read all instructions carefully before installation and use. Failure to follow these instructions may result in injury or product damage.
- Always wear appropriate personal protective equipment (PPE) during installation, including safety glasses and gloves.
- Ensure the installation area is clear of obstructions and stable.
- This product is a secondary security door and does not replace the primary glass entry sliding patio door.
- Do not attempt to modify the door or its components, as this may compromise its security features and void the warranty.
- Keep children and pets away from the installation area.
- Proper lifting techniques should be used due to the item's weight (approximately 115.2 lbs). Consider assistance for lifting and positioning.
3. Components
The Titan Meshtec Security Sliding Patio Screen Door system includes the following main components:
- Heavy-duty aluminum frame (96 in. x 80 in.)
- High-tensile stainless steel mesh screen
- 3-point locking system
- Panel interlock system
- Surface mount frame and sliding track system
- Hardware for installation (screws, etc.)
- Handle/Lever (Center placement)

Image: Detailed view of the high-tensile stainless steel Meshtec screen mesh.
4. Setup & Installation
Professional installation is recommended due to the complexity and weight of the product. This section provides general guidance. Refer to the detailed installation video for visual instructions.
4.1. Pre-Installation Checks
- Ensure a flat minimum mounting surface of 2-1/8 inches above, below, and on both sides of your entry door.
- Check for any obstructions (light fixtures, doorbell, low overhang, bushes, etc.) that may prevent proper installation or operation.
- If necessary, build out the mounting surface to meet the minimum requirements. Ensure any build-out is flush with the existing stoop to avoid tripping hazards.
4.2. Measuring Your Opening
Accurate measurements are crucial for proper fit. Measure the rough opening width and height in three locations each and record the shortest measurement.
- Rough Opening Width: Measure from the inside edge of the mounting surface to the opposite inside edge. For a 96" x 80" door, the fit range is typically 94-1/4" to 97".
- Rough Opening Height: Measure from the inside top edge of the mounting surface to the existing stoop directly below. For a 96" x 80" door, the fit range is typically 79-3/4" to 82-1/2".
Video: Instructions on how to accurately measure your patio door opening for the Titan Meshtec Security Door.
4.3. Frame Assembly and Installation
- Unpack all components carefully, retaining all packaging materials until installation is complete.
- Familiarize yourself with all parts, hardware, and fasteners as listed in the enclosed instructions.
- Assemble the frame by connecting the top, bottom, and side tracks. Ensure the bottom track (identifiable by weep holes) is correctly positioned.
- Insert corner connectors and secure them with provided screws, leaving the top inactive side corner loose for later adjustment.
- Stand the assembled frame in the opening, ensuring the exterior face is facing outward.
- Ensure the active side of the frame is flush with the inside edge of the mounting surface. Shim as needed to achieve a level and plumb frame.
- Secure the frame temporarily using provided screws through the mounting holes.
4.4. Door Panel Installation
- Install the interlock channel into the active door, ensuring the lip faces outward. Secure with provided screws.
- Install the snap cover over the interlock channel screws.
- Raise the top bar of the frame to allow installation of the active sliding door panel.
- Install the active door panel into the inside track, ensuring the interlock hook faces away from the house.
- Slide the active door closed to create space for the inactive door panel.
- Install the inactive door panel by first placing the bottom into the outside track, then lifting the top frame corner to fit the top of the door into the track.
- Install a temporary mounting screw in the top track of the passive side jamb.
4.5. Hardware Installation & Final Adjustments
- Install the handle hardware on both the active and inactive door panels. Insert the spindle and mounting screws into the mortise gear. Align the exterior handle and drive mounting screws, leaving them slightly loose.
- Insert the double deadbolt inactive lock cylinder from the inside of the door. Insert and tighten the retainer screws on the edge of the door panel until snug (do not overtighten).
- Tighten the two handle mounting screws until snug.
- Secure the interlock channel into the inactive door, ensuring the lip is on the inside. Install the snap cover over the interlock attaching screws.
- Test the slide of both doors. Adjust the bottom wheels up or down for the smoothest operation. If the slide remains tight, recheck the plumb of the inside frames and shims.
- Install the adjustment screw caps over the wheel adjustment holes at the top and bottom of both doors.
- Use the thumb turn to engage the 3-point locking mechanism so the throws are deployed.
- Place the latch keepers into the latch holes on the active door edge, with the two-sided tape facing away from the door panel. Use the thumb turn to engage the 3-point locking system, which will keep the latch keepers in place.
- Carefully remove the two-sided tape backing from all three keepers. Slide the door closed and push it firmly into the side jamb to stick the latch keepers in place.
- Use the thumb turn to unlock the door and then slowly slide it open. Press on each latch keeper to ensure it is securely adhered to the jamb.
- Using a 3/32-inch drill bit, pre-drill through the mounting holes in each latch keeper and permanently install them using the screws provided.
- Install all permanent mounting screws provided through the mounting holes in the frame. Drive them straight and level to avoid racking the frame. Check level and plumb as you go, using shims as necessary.
- Remove existing screws on the inactive side and replace with door stoppers using the screws provided. The active side door should now gently bump against the stops.
- Set the snap cover into the channel, leading with the outside edge, and tap the inside edge into place using a mallet and wood block.
Video: Detailed installation guide for the 2-Panel Ultimate Meshtec Patio Door.
5. Operation
The Titan Meshtec Security Sliding Patio Screen Door is designed for ease of use while providing robust security.
- Opening/Closing: Gently slide the active door panel along its track. The high-quality rollers ensure smooth movement.
- Locking: Use the center-placed handle and the 3-point locking system to secure the door. Engage the thumb turn to deploy the locking throws into the latch keepers.
- Ventilation: The Meshtec screen allows for natural airflow and circulation while maintaining security.
- Clear Vision: The full-view design ensures clear visibility through the screen.
6. Maintenance
Regular maintenance will ensure the longevity and optimal performance of your Titan Meshtec Security Sliding Patio Screen Door.
- Cleaning the Mesh: Periodically clean the stainless steel mesh with a soft brush or cloth and mild soapy water. Rinse thoroughly with clean water. Avoid abrasive cleaners or tools that could damage the mesh or powder coating.
- Frame Cleaning: Wipe down the aluminum frame with a soft cloth and mild detergent. The protective powder coat is designed for durability and resistance to rust.
- Track Maintenance: Keep the sliding tracks free of dirt, debris, and obstructions to ensure smooth operation. Vacuum or wipe the tracks regularly.
- Lubrication: Occasionally apply a silicone-based lubricant to the rollers and locking mechanism to maintain smooth function.
- Inspection: Regularly inspect the mesh for any signs of damage, the frame for structural integrity, and the locking system for proper engagement. Address any issues promptly.
7. Troubleshooting
If you encounter issues with your security screen door, refer to the following common problems and solutions:
| Problem | Possible Cause | Solution |
|---|---|---|
| Door is difficult to slide. | Debris in tracks, misaligned rollers, frame not plumb/level. | Clean tracks thoroughly. Adjust bottom wheels for smoother operation. Recheck frame plumb and level, shimming as needed. |
| Locking mechanism does not engage properly. | Misaligned latch keepers, debris in mechanism, worn components. | Ensure latch keepers are correctly aligned and securely fastened. Clean the locking mechanism. If components are worn, contact support. |
| Door does not close completely. | Obstruction in track, frame out of alignment, door stoppers incorrectly placed. | Clear tracks. Recheck frame alignment. Adjust or reposition door stoppers. |
| Visible damage to mesh or frame. | Impact, wear and tear, improper cleaning. | For minor cosmetic issues, touch-up paint may be used. For significant damage, contact customer support for repair or replacement options. |
8. Specifications
| Feature | Detail |
|---|---|
| Brand | Meshtec (Manufacturer: Titan Security Doors) |
| Model Number | 5V0000ML0WH00P |
| Size | 96 inches x 80 inches |
| Product Dimensions | 2.8 x 99 x 84.5 inches |
| Item Weight | 115.2 Pounds |
| Material | Aluminum frame, High-tensile Stainless Steel mesh |
| Color | White |
| Locking System | 3-point locking system |
| Mounting Type | Surface Mount |
| UPC | 847443021618 |
| Date First Available | March 15, 2016 |
9. Quality and Durability
The Meshtec Advanced Screen System is engineered for exceptional durability and security. The high-tensile stainless steel mesh is tear and puncture resistant, capable of withstanding significant impact and knife shear testing without damage. The mesh is powder-coated to endure extreme external conditions, equivalent to 100 years of normal use without visible signs of corrosion.
Video: Overview of the Meshtec Advanced Screen System production process and durability testing.
Video: Preview of the Meshtec Advanced Screen System in action, demonstrating its strength and resistance to impacts and pet damage.
10. Warranty & Support
For specific warranty details, please refer to the documentation included with your product or contact customer support. Professional installation is highly recommended for this product due to its complexity.
If you experience difficulty with your installation or require assistance, please contact customer service and technical support:
- Phone: 1-866-317-8867
- Email: support@uhdco.com
- Hours: Monday through Friday, 6:30 AM to 4 PM Pacific Standard Time


