
1. Introduction
Thank you for choosing the Summerset Sizzler 32-inch 4-burner Built-in Propane Gas Grill with Rear Infrared Burner (Model SIZ32-LP). This manual provides essential information for the safe and efficient installation, operation, and maintenance of your new grill. Please read this manual thoroughly before using the grill and retain it for future reference.

Figure 1: Front view of the Summerset Sizzler 32-inch 4-burner Built-in Propane Gas Grill.
2. Safety Information
Always adhere to local codes and regulations for gas appliance installation. Failure to follow these instructions could result in fire, explosion, or carbon monoxide poisoning, which could cause property damage, personal injury, or death.
2.1 General Safety Precautions
- This grill is for outdoor use only. Do not operate indoors or in an enclosed area.
- Ensure adequate ventilation around the grill.
- Keep the grill area clear and free from combustible materials, gasoline, and other flammable vapors and liquids.
- Maintain a minimum clearance of 18 inches (45 cm) from the back and sides of the grill to combustible construction.
- Do not store a spare propane cylinder under or near the grill.
- Always check for gas leaks before each use.
- Never leave a lit grill unattended.
- Keep children and pets away from the grill during operation.
- Wear protective gloves when handling hot surfaces.
2.2 Propane Gas Safety
- Use only a 20 lb (9.1 kg) propane cylinder with an OPD (Overfill Protection Device) valve.
- Ensure the propane cylinder is stored upright and secured.
- Do not use a propane cylinder that is dented, rusted, or has a damaged valve.
- Always turn off the gas supply at the cylinder valve when the grill is not in use.
3. Setup & Installation
3.1 Unpacking
Carefully remove all packaging materials from the grill. Inspect the grill for any shipping damage. If any damage is found, contact your retailer immediately. Retain all packaging materials until you are satisfied with the product.
3.2 Installation Requirements
This Summerset Sizzler grill is designed for built-in installation. Ensure your outdoor kitchen island or counter cutout meets the required dimensions for a secure fit.
- The grill requires a cutout of approximately 25 inches deep by 32.5 inches wide. Refer to the detailed specifications section for precise cutout dimensions.
- Ensure proper ventilation for the built-in enclosure to prevent gas accumulation.
- The grill must be installed on a non-combustible surface.
- A qualified gas technician should perform all gas connections.
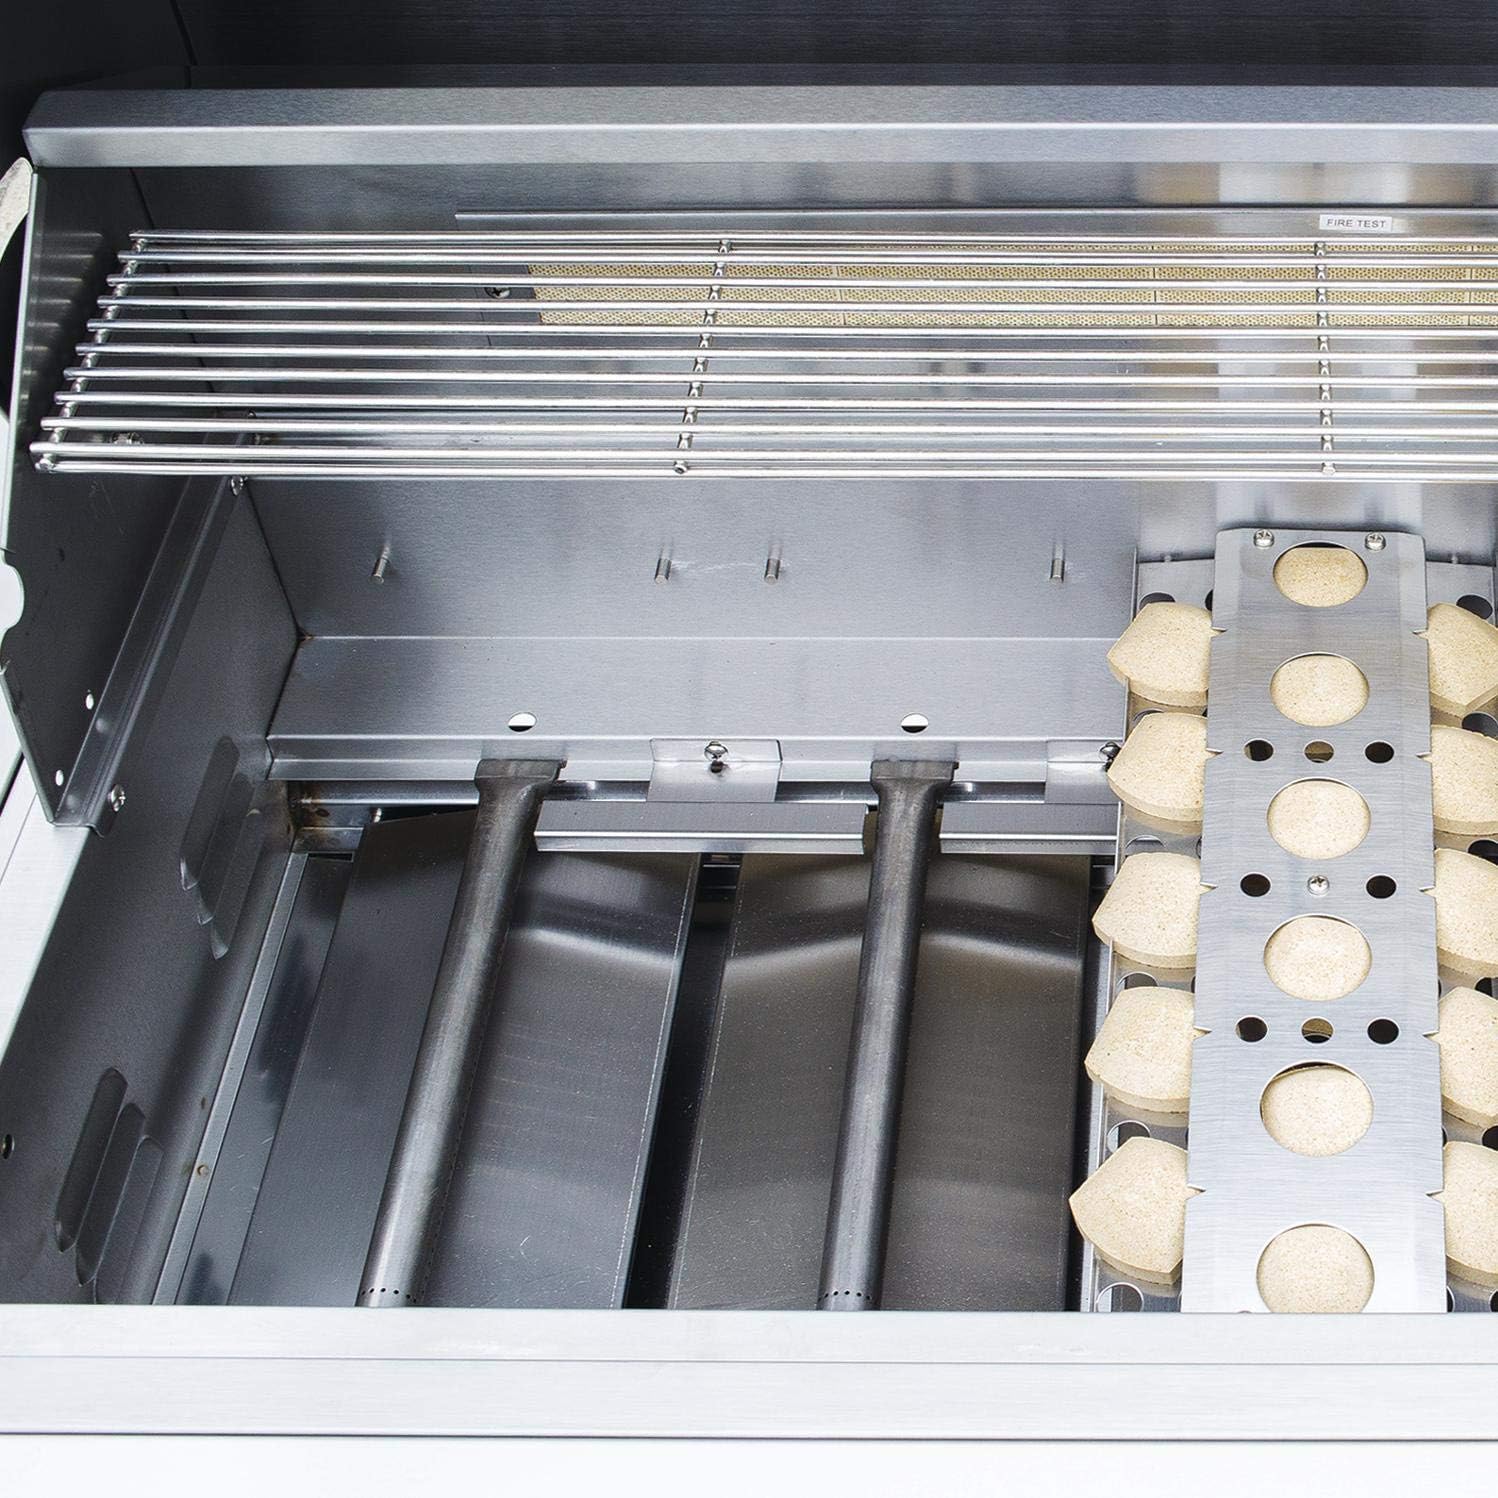
Figure 2: Interior view of the grill, highlighting the main burners and ceramic briquette tray.
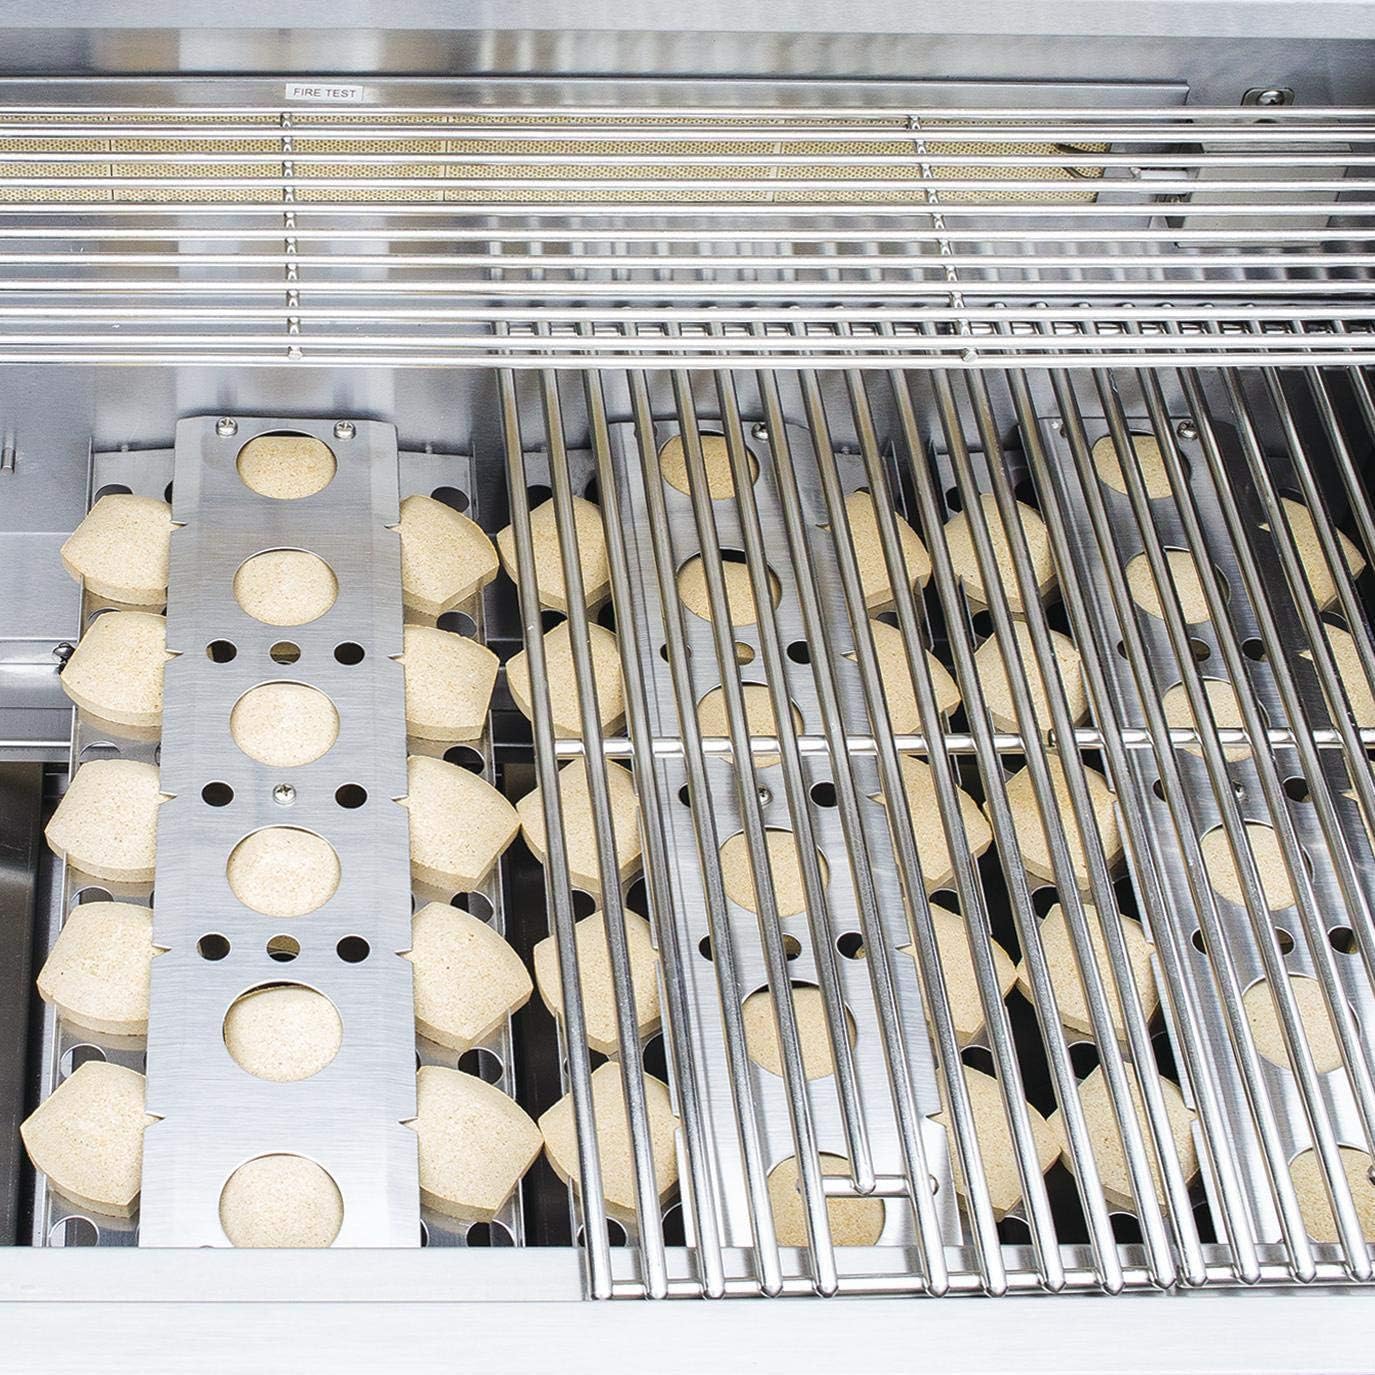
Figure 3: Detailed view of the stainless steel cooking grates and ceramic briquettes for even heat distribution.
4. Operation
4.1 Before First Use
- Ensure all packing materials are removed from inside the grill.
- Perform a leak test on all gas connections.
- Season the cooking grates by heating the grill on high for 15-20 minutes.
4.2 Lighting the Main Burners
- Open the grill hood.
- Ensure all burner control knobs are in the "OFF" position.
- Slowly open the propane cylinder valve.
- Push in and turn one main burner control knob counter-clockwise to the "HIGH" position.
- The electronic igniter should spark and light the burner. If the burner does not light within 5 seconds, turn the knob to "OFF", wait 5 minutes for gas to dissipate, and repeat the process.
- Once lit, adjust the flame to the desired setting.
- Repeat for other main burners as needed.
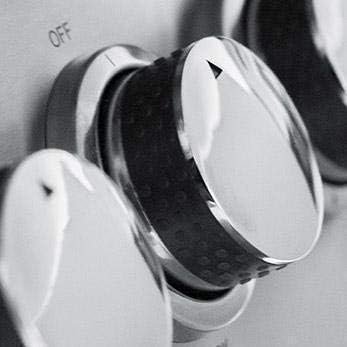
Figure 4: Detail of a main burner control knob, showing "OFF" and "ON" positions.
4.3 Using the Rear Infrared Burner
The rear infrared burner is ideal for rotisserie cooking, providing intense, even heat.
- Ensure the rotisserie kit (sold separately) is properly installed.
- Open the grill hood.
- Push in and turn the rear infrared burner control knob counter-clockwise to the "ON" position.
- The igniter should light the burner. If not, follow the manual lighting instructions.
- Allow the infrared burner to preheat for a few minutes before placing food on the rotisserie.
4.4 Temperature Monitoring
The built-in thermometer on the grill hood provides an approximate internal temperature reading, allowing you to monitor cooking progress without lifting the lid.

Figure 5: The integrated temperature gauge on the grill hood, displaying temperatures in both Celsius and Fahrenheit.
5. Cleaning and Maintenance
Regular cleaning and maintenance will extend the life of your Summerset Sizzler grill and ensure optimal performance. Always allow the grill to cool completely before cleaning.
5.1 Exterior Cleaning
- Wipe stainless steel surfaces with a soft cloth and a stainless steel cleaner or mild soap and water.
- Always wipe in the direction of the grain to prevent scratching.
- Avoid abrasive cleaners or scouring pads, which can damage the finish.
5.2 Interior Cleaning
- Cooking Grates: Brush off food residue with a grill brush after each use while the grates are still warm. For deeper cleaning, remove and wash with warm soapy water.
- Ceramic Briquettes: The ceramic briquettes are designed to vaporize drippings, reducing flare-ups. Periodically inspect them for excessive grease buildup. If needed, remove and clean them according to manufacturer recommendations or replace if heavily soiled.
- Burners: Ensure burner ports are clear of debris. Use a wire brush to clean the burner tubes if necessary.
- Drip Tray: Regularly empty and clean the drip tray to prevent grease fires.
6. Troubleshooting
This section addresses common issues you might encounter with your grill. For problems not listed here, contact customer support.
| Problem | Possible Cause | Solution |
|---|---|---|
| Burner not lighting with igniter | No gas flow; clogged burner port; faulty igniter electrode; low propane. | Check propane tank connection and level; clean burner ports; check igniter wire connection; try manual lighting. |
| Low flame or uneven heat | Low gas pressure; clogged burner ports; regulator issue. | Check propane tank level; clean burner ports; reset regulator (turn off grill and tank, disconnect, wait 30s, reconnect, open tank slowly). |
| Flare-ups | Excessive grease buildup; high heat setting. | Clean drip tray and interior; reduce heat; trim excess fat from food. |
| Gas odor | Gas leak. | IMMEDIATELY turn off gas supply. Do not operate. Perform a leak test. If odor persists, contact a qualified gas technician. |
7. Specifications
| Feature | Detail |
|---|---|
| Brand | Summerset Grills |
| Model Number | SIZ32-LP |
| Product Dimensions (D x W) | 25"D x 32.5"W |
| Installation Type | Built-In |
| Fuel Type | Propane Gas |
| Main Burner Count | 4 |
| Special Feature | Rear Infrared Rotisserie Burner |
| Cooking Surface Area | 740 Square Inches |
| Material (Frame/Handle) | Stainless Steel |
| Material (Briquettes) | Ceramic |
| Item Weight | 119 pounds |
| Assembly Required | No (for the grill itself, installation into island required) |
| Date First Available | March 9, 2016 |
8. Warranty & Support
For specific warranty information regarding your Summerset Sizzler grill, please refer to the warranty card included with your product or visit the official Summerset Grills website. Warranty terms typically cover manufacturing defects for a specified period.
For technical support, parts, or service inquiries, please contact Summerset Grills customer service directly. Have your model number (SIZ32-LP) and purchase date ready when contacting support.
Summerset Grills Official Website: www.summersetgrills.com


