1. Important Safety Information
Before using the HMS Magnetic Bike M2218, please read and understand all instructions in this manual. Keep this manual for future reference.
- Consult your physician before starting any exercise program, especially if you have pre-existing health conditions.
- Ensure all parts are securely fastened and in good working condition before each use. Do not use the bike if any parts are damaged or missing.
- Keep children and pets away from the equipment during operation.
- Place the bike on a flat, stable surface with adequate clearance around it.
- Wear appropriate exercise clothing and footwear. Avoid loose clothing that could get caught in moving parts.
- The maximum user weight for this device is 125 kg.
- Stop exercising immediately if you feel faint, dizzy, or experience pain.
- This product is designed for domestic use only.
2. Assembly Instructions
Carefully unpack all components and ensure you have all parts listed in the packing list (not provided in this document). Assembly typically requires two people.
2.1 Base Stabilizers Installation
Attach the front and rear stabilizer bars to the main frame using the provided bolts and washers. Ensure they are tightened securely to provide a stable base for the bike.

Figure 1: Side view of the assembled bike, illustrating the stable base provided by the front and rear stabilizers.
2.2 Pedal Installation
Identify the left (L) and right (R) pedals. The right pedal screws in clockwise, and the left pedal screws in counter-clockwise. Ensure the pedal straps are correctly oriented for foot placement.
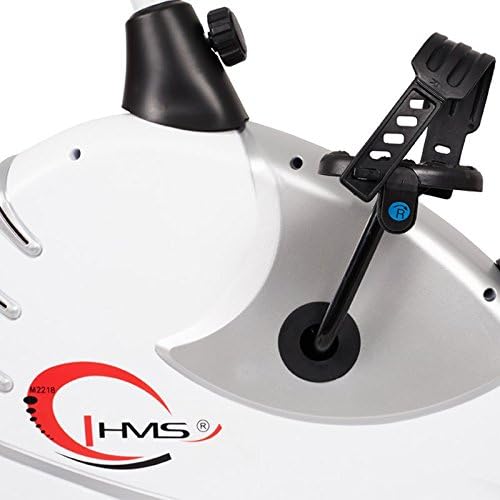
Figure 2: Detail of the pedal with adjustable strap, ensuring secure foot placement during exercise.
2.3 Seat Post and Seat Installation
Insert the seat post into the main frame. Adjust the height to your preference and secure it with the adjustment knob. Attach the ergonomic seat to the top of the seat post.
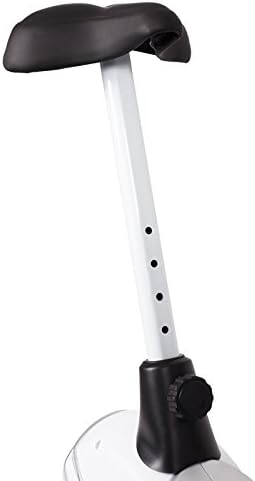
Figure 3: The seat post features multiple adjustment holes for vertical height customization, secured by a knob.

Figure 4: The comfortable, ergonomic seat designed for extended use.
2.4 Handlebar and Console Installation
Attach the handlebar post to the main frame. Secure the handlebars to the post. Finally, connect the console wires and mount the console onto the handlebar post. Ensure all connections are firm.
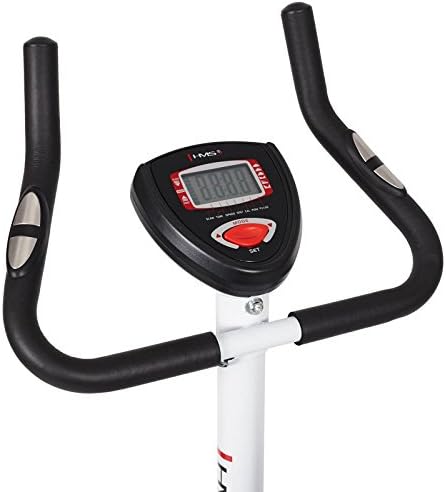
Figure 5: The handlebars provide multiple grip positions, and the central console displays workout data.

Figure 6: The console features a clear digital display and control buttons for mode and settings.
3. Operating Instructions
3.1 Adjusting Seat and Handlebars
Adjust the seat height so that your leg is slightly bent at the knee when the pedal is at its lowest point. The handlebars can also be adjusted for comfort and proper posture during your workout.
3.2 Adjusting Resistance
The HMS M2218 features an automatic magnetic resistance system. Use the resistance adjustment knob, typically located below the console, to increase or decrease the workout intensity. Turn clockwise to increase resistance and counter-clockwise to decrease it.
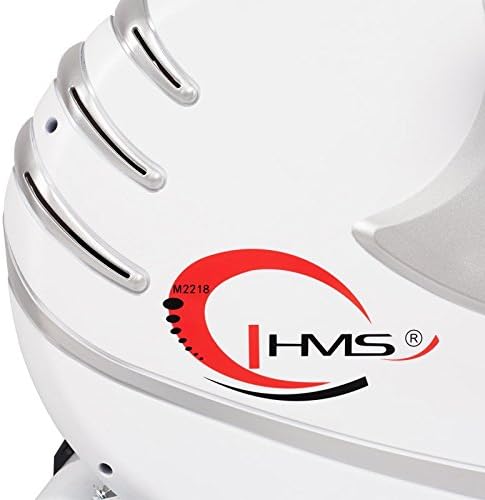
Figure 7: The main body housing the magnetic resistance system, with the HMS logo and model identifier.
3.3 Using the Console
The console displays various workout metrics to help you track your progress:
- Time: Duration of your workout.
- Speed: Current cycling speed.
- Distance: Total distance covered during the workout.
- Calories: Estimated calories burned.
- Pulse: Heart rate reading from the integrated sensors on the handlebars.
- Scan: Automatically cycles through all display functions.
Use the 'MODE' and 'SET' buttons to navigate through display options and set workout targets if available.
4. Maintenance
Regular maintenance ensures the longevity and safe operation of your HMS Magnetic Bike M2218.
- Cleaning: Wipe down the bike with a damp cloth after each use to remove sweat and dust. Avoid abrasive cleaners or solvents. The plastic elements are easy to clean.
- Check Connections: Periodically check all bolts, nuts, and screws to ensure they are tight. Tighten any loose connections.
- Inspect Moving Parts: Check pedals, crank arms, and the resistance mechanism for any signs of wear or damage.
- Battery Replacement: The console requires 4 AA batteries. Replace them when the display becomes dim or unresponsive.
5. Troubleshooting
If you encounter issues with your HMS Magnetic Bike M2218, refer to the following common problems and solutions:
| Problem | Possible Cause | Solution |
|---|---|---|
| Console not displaying data | Dead batteries; Loose sensor connection | Replace AA batteries; Check all console cable connections. |
| No resistance or inconsistent resistance | Resistance mechanism issue; Loose adjustment knob | Ensure resistance knob is properly engaged; Inspect internal resistance mechanism (contact support if issue persists). |
| Unusual noises during operation | Loose bolts/nuts; Worn moving parts | Check and tighten all assembly bolts; Inspect pedals and crank for wear. |
| Inaccurate pulse reading | Hands not firmly on sensors; Dry hands | Ensure firm contact with both hand pulse sensors; Lightly moisten hands if too dry. |
6. Product Specifications
Key technical details for the HMS Magnetic Bike M2218:
| Feature | Detail |
|---|---|
| Model Name | M2218 |
| Resistance Type | Magnetic, Automatic Adjustment |
| Flywheel Weight | 6.2 kg |
| Dimensions (L x W x H) | 89 x 55 x 131 cm (Product); 89 x 55 x 126 cm (Shipping) |
| Product Weight | 26 kg |
| Maximum User Load | 125 kg |
| Console Functions | Time, Speed, Distance, Calories, Pulse, Scan |
| Seat Adjustment | Vertical |
| Power Source (Console) | 4 AA batteries (included) |
| Color | White/Silver |
7. Warranty and Support
For warranty information, technical support, or to order replacement parts, please contact HMS customer service. Refer to your purchase documentation for specific warranty terms and contact details.
Keep your proof of purchase for any warranty claims.


