Introduction
This manual provides essential instructions for the safe and proper setup, operation, and maintenance of your Wilbar Fallston 15 ft x 30 ft Oval Above Ground Swimming Pool. Please read all instructions carefully before beginning installation and retain this manual for future reference.

Image: Wilbar Fallston 15 ft x 30 ft Oval Above Ground Swimming Pool.
Safety Information
Always prioritize safety during installation and use of the swimming pool. Failure to follow safety guidelines can result in serious injury or death.
- Adult supervision is required at all times when children are in or near the pool.
- Ensure the pool area is secure to prevent unauthorized access.
- Do not dive or jump into the pool.
- Keep electrical devices away from the pool.
- Consult local building codes and ordinances regarding pool installation and fencing requirements.
- Never install the pool under overhead power lines.
Package Contents
Verify that all components are present before beginning assembly. If any parts are missing or damaged, contact customer support immediately.
- Steel Pool Wall (Hot-dip galvanized and resin-coated)
- 25 Gauge Overlap Liner (100% virgin vinyl, hand-folded)
- Widemouth Skimmer
- Coping Strips for liner installation
- Stabilizer Rails
- Vertical Uprights
- Top Ledges
- Hardware and Fasteners
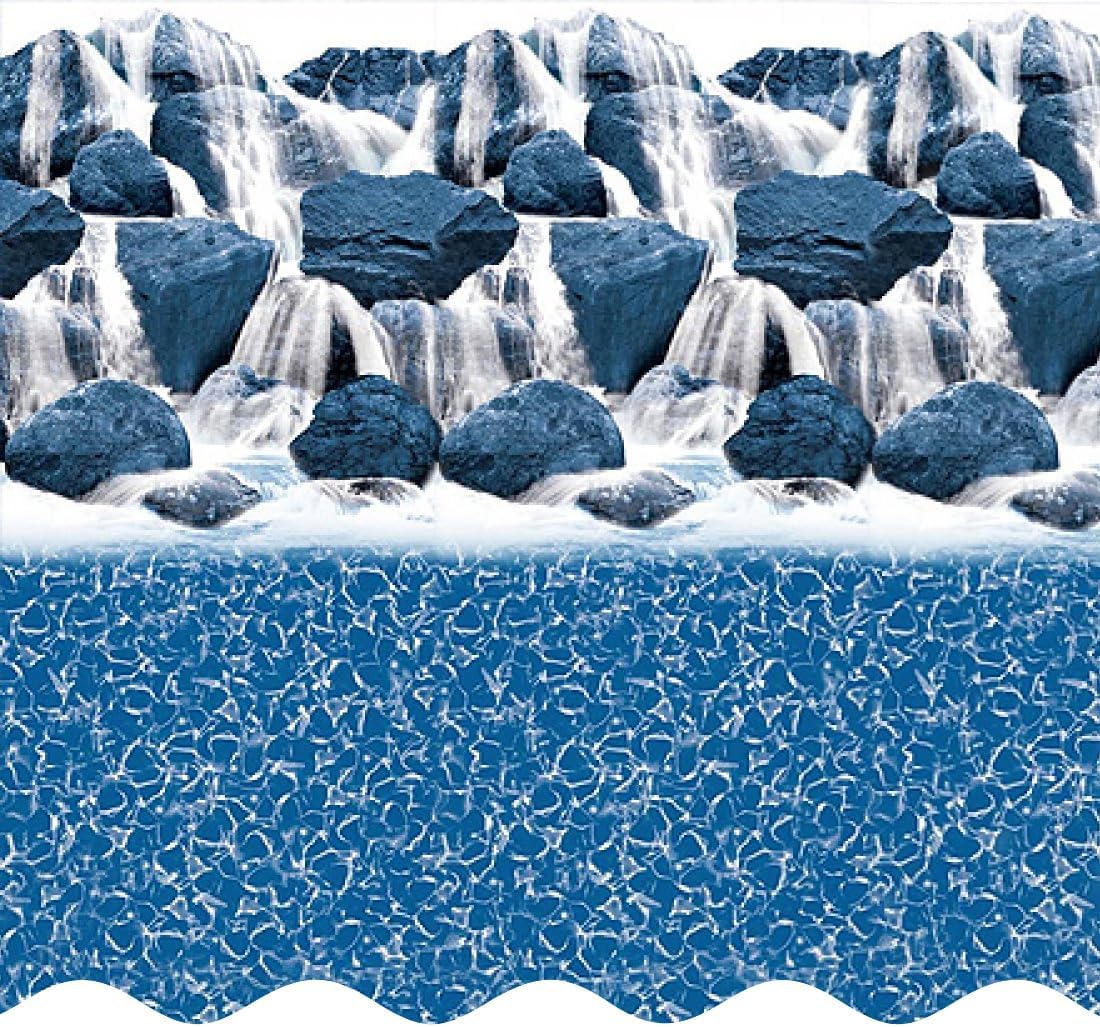
Image: Example of pool liner pattern.

Image: Features of the SmartLine pool liner, including 100% virgin vinyl, double welded seams, and heat bonded construction.

Image: Included widemouth skimmer component.
Site Preparation
Proper site preparation is crucial for the stability and longevity of your above-ground pool.
- Location Selection: Choose a level area free from overhead obstructions (e.g., power lines, tree branches). Ensure adequate drainage away from the pool.
- Leveling the Ground: The ground must be perfectly level. Use a transit or a long, straight board with a level to ensure the entire area is within 1 inch of level. Uneven ground can cause structural stress and void the warranty.
- Clear Debris: Remove all rocks, roots, and sharp objects from the pool area.
- Base Material: A sand base (typically 2-4 inches deep) is recommended to protect the liner and provide a smooth surface.
Setup and Installation
Installation requires multiple adults. Follow the manufacturer's detailed instructions provided with the physical product for specific steps. The following is a general overview.
- Bottom Track Assembly: Assemble the bottom stabilizer rails according to the pool's oval shape. Ensure all connections are secure.
- Wall Installation: Carefully unroll the steel pool wall into the bottom track. The wall is constructed from copper-bearing steel, hot-dip galvanized and resin-coated on both interior and exterior surfaces for corrosion protection and durability. Secure the wall ends together using the provided hardware.
- Upright and Top Ledge Installation: Install the vertical uprights and top ledges around the perimeter of the pool. These components provide structural support and secure the liner.
- Liner Installation:
- The liner material is hand-folded to minimize creasing.
- For installation, warm the vinyl liner in direct sunlight for at least one hour to improve elasticity. Optimal installation temperatures are between 70-80 degrees Fahrenheit (21-27 degrees Celsius).
- Position the overlap liner over the pool wall, ensuring even distribution.
- Secure the liner with coping strips over the top of the pool wall.

Image: Diagram illustrating overlap liner installation with stabilizer bar, coping strip, pool wall, and excess liner.
- Skimmer Installation: Install the widemouth skimmer into the pre-drilled cutout in the pool wall, following the skimmer manufacturer's instructions. Ensure all gaskets and seals are properly seated to prevent leaks.
- Filling the Pool: Begin filling the pool with water. As the water level rises, smooth out any wrinkles in the liner from the center outwards. Continue filling to the recommended level.
- Filter System Connection: Connect your chosen filter system (sold separately) to the skimmer and return fittings according to its specific instructions.
Operating the Pool
Once installed and filled, proper operation ensures a clean and safe swimming environment.
- Water Chemistry: Maintain proper water chemistry by regularly testing and adjusting pH, chlorine, alkalinity, and calcium hardness levels. Refer to a pool water testing kit for guidelines.
- Filtration: Operate your pool's filtration system for at least 8-12 hours daily to ensure adequate water circulation and cleaning.
- Skimmer Use: The widemouth skimmer helps remove surface debris. Regularly empty the skimmer basket.
Maintenance
Regular maintenance extends the life of your pool and ensures a pleasant swimming experience.
- Cleaning: Regularly brush the pool walls and vacuum the bottom to remove algae and debris.
- Liner Care: Avoid sharp objects in the pool that could puncture the liner. Address any small tears or leaks promptly with a vinyl repair kit.
- Winterization: This pool is designed to remain in place year-round. For winterization, follow specific guidelines for your climate, which typically include lowering the water level, cleaning the pool, adding winterizing chemicals, and covering the pool. Drain all water from the pump, filter, and heater to prevent freezing damage.
- Structural Inspection: Periodically inspect the pool wall, uprights, and top ledges for any signs of corrosion, damage, or loose fasteners.
Troubleshooting
Refer to this section for common issues and their potential solutions.
- Liner Wrinkles: Small wrinkles are common during initial filling. Ensure the liner is warmed before installation and smooth out wrinkles as the pool fills. Persistent wrinkles may indicate an uneven base or improper liner placement.
- Water Leaks: Check all connections, especially around the skimmer and return fittings. Inspect the liner for punctures. Repair small leaks with a vinyl repair kit.
- Cloudy Water: This often indicates poor filtration, improper chemical balance, or insufficient run time for the filter. Test water chemistry and backwash/clean the filter.
- Algae Growth: Shock the pool with appropriate chemicals and brush the walls. Ensure proper chlorine levels and filtration.
- Missing Parts: If any components were missing upon delivery, refer to the "Customer Support" section to contact the manufacturer for assistance.
Specifications
| Feature | Detail |
|---|---|
| Brand | Wilbar |
| Model Number | PIBF153052 |
| Product Dimensions (L x W x H) | 360"L x 180"W x 52"H (15 ft x 30 ft x 52 inches) |
| Shape | Oval |
| Color | Fallston (Neutral Gray Tone) |
| Material | Alloy Steel, Resin, Vinyl |
| Wall Height | 52 inches |
| Top Ledge Width | 9 inches |
| Upright Width | 7 inches |
| Number of Verticals | 20 |
| Estimated Water Capacity | 12,000 – 14,000 Gallons |
| Liner Gauge | 25 Gauge Overlap Liner |
| Included Components | Liner, Skimmer, Coping Strips |

Image: Diagram showing pool wall height, top ledge width, upright width, and resin-coated galvanized steel construction.
Warranty Information
The Wilbar Fallston 15 ft x 30 ft Oval Above Ground Swimming Pool comes with a 10-Year Limited Manufacturer Warranty. This warranty covers defects in materials and workmanship under normal use and service. Please refer to the specific warranty documentation included with your product for full terms, conditions, and limitations. Improper installation or use, including sinking the pool into the ground, may void the manufacturer's warranty.
Customer Support
For technical assistance, missing parts, or warranty claims, please contact Wilbar customer support. Have your model number (PIBF153052) and purchase information ready when you call.
Contact information can typically be found on the product packaging or the manufacturer's official website.