Product Overview
The STANLEY BC25BS Smart 12V Battery Charger is a versatile and fully automatic high-frequency maintenance charger designed for various 12V batteries, including AGM, GEL, and WET types. It features a powerful 75 amp engine start function for quick vehicle starting and a 25 amp rapid charge capability. This unit is ideal for maintaining batteries in motorhomes, boats, jet skis, lawn tractors, ATVs, snowmobiles, and vehicles that are stored for extended periods.
Key features include a digital LCD screen for status display, a patented alternator check, and automatic 3-stage charging (fast charge, top-off, trickle charge) for optimal battery performance and longevity. Its design prioritizes ease of use and storage with built-in cord, cable wrap, and clamp storage.
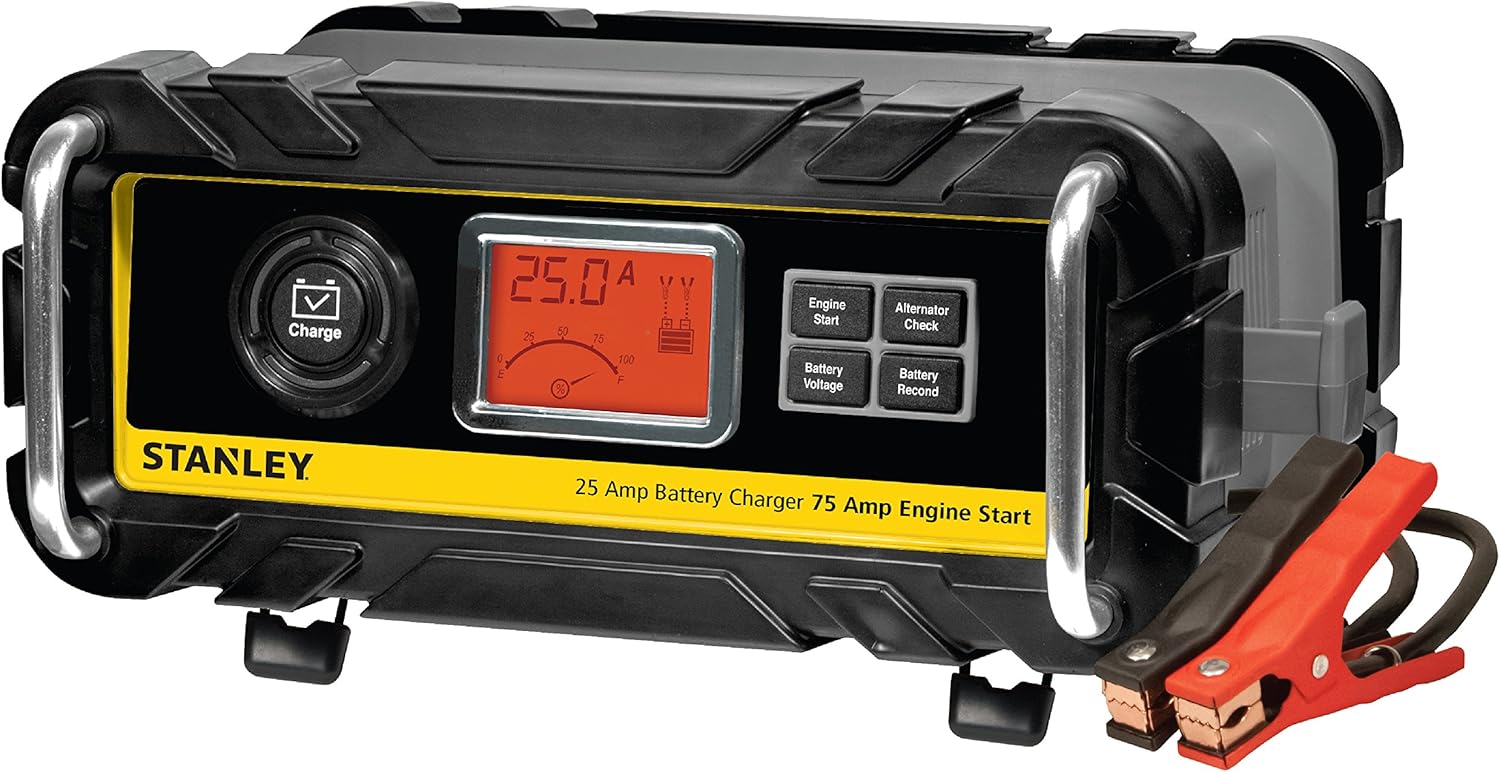
Image: Front view of the STANLEY BC25BS Smart 12V Battery Charger, showcasing its digital display and control buttons.
Important Safety Information
WARNING: Cancer and reproductive harm. For more information go to www.P65Warnings.ca.gov.
- Always read and understand all instructions before using the battery charger.
- Ensure proper ventilation when charging batteries to prevent gas accumulation.
- Wear eye protection and protective clothing when working with batteries.
- Do not smoke or allow sparks or flames in the vicinity of the battery or charger.
- Connect and disconnect DC output clamps only after setting the charger switch to the OFF position and removing the AC cord from the electrical outlet.
- Never charge a frozen battery.
- Keep out of reach of children.
What's in the Box
- STANLEY BC25BS Battery Charger with Engine Start (25-Amp Charger, 75-Amp Starter)

Image: Illustration showing the main unit of the STANLEY BC25BS battery charger, representing the contents included in the package.
Setup
- Prepare the Battery: Ensure the battery terminals are clean and free of corrosion. If necessary, clean them with a wire brush and a mixture of baking soda and water.
- Connect the Charger:
- Connect the red (positive, +) clamp to the positive battery terminal.
- Connect the black (negative, -) clamp to the negative battery terminal or to a non-painted metal part of the vehicle chassis away from the battery.

Image: The STANLEY BC25BS battery charger with its red and black clamps connected to a battery, illustrating proper connection for charging.
- Plug in the Charger: Once the clamps are securely connected, plug the charger's AC power cord into a standard 120V AC electrical outlet. The charger will power on and the LCD screen will illuminate.
Operating Instructions
The STANLEY BC25BS features an intuitive interface with a digital LCD screen and dedicated buttons for various functions.

Image: A collage of icons representing key features of the STANLEY BC25BS: 75A Engine Start, 25A Rapid Charge, Reverse Polarity Warning, Automatic Smart Charge, Compatibility with all 12V batteries (AGM, GEL, WET), and Voltage Check.
Charging Modes:
- Automatic Charging: Once connected and plugged in, the charger automatically detects the battery type and condition, then initiates a 3-stage charging process:
- Fast Charge: Delivers maximum current to quickly bring the battery to near full capacity.
- Top-Off Charge: Reduces current to safely bring the battery to full charge.
- Trickle Charge (Float Mode): Maintains the battery at full charge without overcharging, ideal for long-term maintenance. The LCD will display "FLO" when in this mode.

The Automatic Smart Charge feature intelligently selects the optimal charging current for your battery.
- Engine Start (75 Amp): For jump-starting a vehicle with a discharged battery.
- Ensure the charger is properly connected to the battery and plugged into AC power.
- Press the "Engine Start" button. The charger will deliver a high current boost for approximately 90 seconds.
- Attempt to start the vehicle. If it doesn't start, wait a few minutes before trying again.

The 75 Amp Engine Start function provides a powerful boost to help start your vehicle quickly.
- Battery Recondition: This mode attempts to reverse sulfate buildup on battery plates, which can extend battery life.
- Connect the charger to the battery.
- Press the "Battery Recond" button. The process can take several hours.

Utilize the Battery Recondition feature to help restore and extend the life of your battery.
Additional Functions:
- Alternator Check: Evaluates the vehicle's alternator to ensure it is properly charging the battery.
- Connect the charger to the battery.
- Start the vehicle's engine.
- Press the "Alternator Check" button. The LCD will display the alternator's output voltage.

The Alternator Check function helps you verify if your vehicle's alternator is functioning correctly.
- Battery Voltage Display: Shows the current voltage of the connected battery.
- Connect the charger to the battery.
- Press the "Battery Voltage" button. The LCD will show the battery's voltage.

Quickly check your battery's current voltage with the dedicated Voltage Check feature.
LCD Screen Indicators:
The digital LCD screen provides real-time information on charging status and battery condition.

The LCD screen provides clear, easy-to-understand icons and readings for battery and charging status.
- Charging Status: Displays current amperage and a charging progress bar.
- Battery Status: Icons indicate battery level and type.
- Error Indicators: Alerts for issues like reverse polarity (Reverse Polarity Warning icon:
 ) or faulty battery.
 - FLO: Indicates the charger is in float (trickle charge) mode.
Charging Time Reference:
The following chart provides estimated charging times for various battery capacities.

Image: A chart illustrating estimated charging times for different battery capacities (e.g., Motorcycle, Snowmobile, ATV, Car, Marine, SUV, Truck, RV, Diesel Truck) when using the 25 Amp Battery Maintainer/Charger.
Maintenance
- Cleaning: Disconnect the charger from AC power and the battery before cleaning. Wipe the case and clamps with a dry cloth. Do not immerse the charger in water.
- Storage: Store the charger in a cool, dry place. Utilize the built-in cord and clamp storage for neat organization.
- Battery Maintenance: For vehicles stored for extended periods, connect the charger in trickle charge (float) mode to maintain optimal battery health.
Troubleshooting
| Problem | Possible Cause | Solution |
|---|---|---|
| Charger does not turn on. | No AC power; faulty outlet; internal fuse. | Check AC outlet; ensure charger is plugged in securely. |
| "FLO" displayed immediately after connecting. | Battery is already fully charged or near full. | This is normal. The charger is in maintenance mode. |
| "Reverse Polarity" warning. | Clamps connected incorrectly (positive to negative, negative to positive). | Disconnect charger from AC, then correctly re-attach clamps: red to positive (+), black to negative (-). |
| Charger stops charging prematurely or displays error. | Poor connection to battery; faulty battery; internal charger issue. | Ensure clamps have a solid connection to battery terminals. Test battery condition. If problem persists, contact customer support. |
| Engine Start function does not work. | Battery too deeply discharged; poor connection; vehicle issue. | Ensure battery has at least 2V. Check connections. Allow charger to charge battery for a short period before attempting Engine Start again. |
Specifications
- Model: BC25BS
- Input Voltage: 120V AC
- Output Voltage: 12V DC
- Engine Start Current: 75 Amps
- Charging Current: 25 Amps
- Compatible Battery Types: 12V AGM, GEL, WET automotive or marine batteries
- Product Dimensions: 14.8 x 9.8 x 5.8 inches (approx. 37.6 x 24.9 x 14.7 cm)
- Item Weight: 5.94 pounds (approx. 2.69 kg)
- Certifications: ETL Certified, California Energy Commission (CEC) compliant
Warranty and Support
The STANLEY BC25BS Smart 12V Battery Charger comes with a 1-Year Limited Warranty.

The product is backed by a 1-Year Limited Warranty for your peace of mind.
For detailed warranty information, technical support, or to download the full user manual, please refer to the official STANLEY website or contact their customer service.
You can also find the official User Manual (PDF) here.


