1. Introduction
Thank you for choosing the Renkforce 4161c12 Radio Controlled Alarm Clock. This manual provides essential information for the safe and efficient operation of your device. Please read these instructions carefully before use and retain them for future reference.
2. Safety Instructions
- Do not expose the device to extreme temperatures, direct sunlight, or high humidity.
- Avoid dropping the device or subjecting it to strong impacts.
- Keep the device away from water and other liquids.
- Only use the specified battery type (AA). Ensure correct polarity when inserting batteries.
- Remove batteries if the device will not be used for an extended period to prevent leakage.
- Do not attempt to disassemble or modify the device. Refer all servicing to qualified personnel.
3. Package Contents
Please check that all items listed below are present and in good condition:
- Renkforce 4161c12 Radio Controlled Alarm Clock
- User Manual (this document)
Note: 1 AA battery is required for operation and is not included.
4. Product Overview
The Renkforce 4161c12 is a compact radio-controlled alarm clock designed for clear time display and reliable alarm functions. Its sleek black design and easy-to-read display make it suitable for any bedside table or desk.
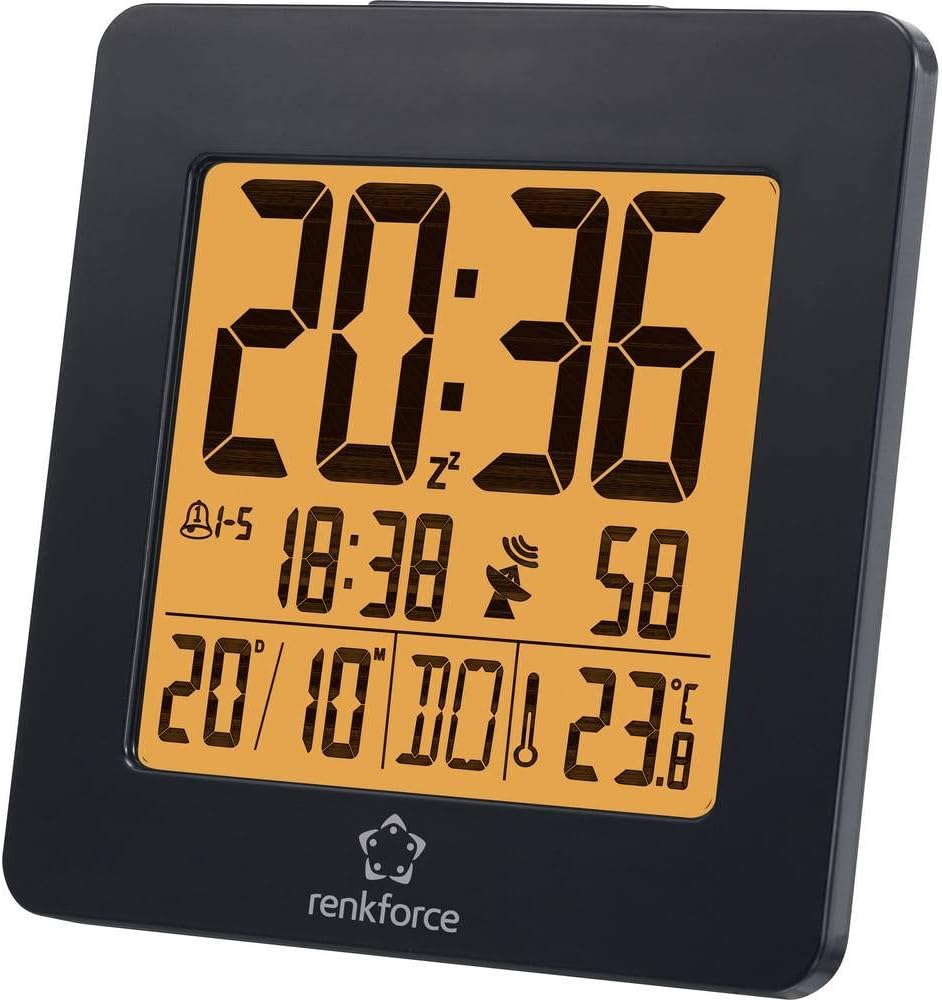
Figure 4.1: Front view of the Renkforce 4161c12 Radio Controlled Alarm Clock. The display shows the current time (20:36), alarm indicators, date (20/10), and temperature (23.8°C). The Renkforce logo is visible at the bottom.

Figure 4.2: The alarm clock positioned on a desk, demonstrating its compact size and suitability for various environments. It is shown alongside a laptop and a desk lamp.

Figure 4.3: Rear view of the alarm clock, highlighting the control buttons for settings and the battery compartment cover. This view is crucial for understanding how to operate the device.
5. Setup
5.1. Battery Installation
- Locate the battery compartment cover on the back of the alarm clock (refer to Figure 4.3).
- Slide or lift the cover to open the compartment.
- Insert one (1) AA battery, ensuring the correct polarity (+ and -) as indicated inside the compartment.
- Replace the battery compartment cover securely.
5.2. Initial Setup and Radio Signal Reception
Upon battery insertion, the alarm clock will automatically attempt to receive the radio time signal (DCF77 in Europe). This process may take several minutes. During reception, a signal icon (often a tower or antenna symbol) will typically flash on the display.
- Place the alarm clock near a window for optimal signal reception.
- Avoid placing it near electronic devices that may cause interference (e.g., TVs, computers, mobile phones).
- Once the signal is successfully received, the time and date will be automatically set and synchronized. The signal icon will appear solid on the display.
- If the signal is not received within a few minutes, try repositioning the clock or manually setting the time (see Section 6.1). The clock will continue to attempt signal reception periodically.
6. Operating Instructions
Familiarize yourself with the buttons on the back of the device (refer to Figure 4.3 for general location). Common buttons include MODE, SET, UP/+, DOWN/-, ALARM, SNOOZE/LIGHT.
6.1. Manual Time Setting
If radio reception is unavailable or you wish to set the time manually:
- Press and hold the MODE or SET button for a few seconds until the time display starts flashing.
- Use the UP/+ and DOWN/- buttons to adjust the hours.
- Press MODE or SET again to move to minutes, then adjust using UP/+ and DOWN/-.
- Continue pressing MODE or SET to cycle through other settings like year, month, date, and 12/24-hour format, adjusting each as needed.
- Press MODE or SET one last time, or wait for a few seconds, to exit the setting mode.
6.2. Setting Alarms (Alarm 1 & Alarm 2)
This alarm clock supports two independent alarms. To set an alarm:
- Press the ALARM button once to display Alarm 1 time. Press again for Alarm 2 time.
- While the desired alarm time is displayed, press and hold the ALARM button until the alarm time starts flashing.
- Use UP/+ and DOWN/- to set the desired alarm hour.
- Press ALARM again to move to minutes, then adjust using UP/+ and DOWN/-.
- Press ALARM one last time, or wait, to confirm and exit.
- To activate/deactivate an alarm, press the ALARM button repeatedly until the alarm icon (e.g., a bell) appears or disappears for the respective alarm.
6.3. Snooze Function and Backlight
- When an alarm sounds, press the large SNOOZE/LIGHT button to temporarily silence the alarm. The alarm will sound again after a few minutes (typically 5-10 minutes).
- To turn off the alarm completely, press any other button (e.g., ALARM or MODE).
- To activate the backlight for a few seconds, press the SNOOZE/LIGHT button when the alarm is not sounding.
6.4. Weekend Function
This model may feature a weekend function, allowing the alarm to be active only on weekdays (Monday-Friday) or to have different settings for weekdays and weekends. Consult the display for specific indicators (e.g., "1-5" for weekdays) and use the MODE or ALARM buttons in conjunction with UP/+ or DOWN/- to cycle through alarm modes (e.g., everyday, weekday, weekend).
7. Maintenance
- Cleaning: Wipe the device with a soft, dry cloth. Do not use abrasive cleaners or solvents.
- Battery Replacement: Replace the AA battery when the display dims or the clock stops functioning correctly. Follow the battery installation steps in Section 5.1.
8. Troubleshooting
| Problem | Possible Cause | Solution |
|---|---|---|
| Display is blank or dim. | Low or depleted battery. Incorrect battery installation. | Replace the AA battery. Ensure correct polarity (+/-). |
| Time is incorrect or not setting automatically. | Poor radio signal reception. Interference from other electronics. | Move the clock closer to a window. Keep away from electronic devices. Manually set the time (Section 6.1). |
| Alarm does not sound. | Alarm is not activated. Alarm volume is too low (if adjustable). Incorrect alarm time set. | Ensure the alarm icon is displayed (Section 6.2). Verify alarm time. |
| Backlight is not working. | Backlight is momentary and requires button press. | Press the SNOOZE/LIGHT button to activate the backlight (Section 6.3). |
9. Specifications
| Feature | Detail |
|---|---|
| Brand | Renkforce |
| Model Number | 4161c12 |
| Color | Black |
| Special Feature | Radio Controlled Time (DCF77) |
| Power Source | Battery Powered |
| Battery Type | 1 x AA (not included) |
| Shape | Round (display), Square (overall casing) |
| Material | Acrylonitrile Butadiene Styrene (Plastic) |
| Mounting Type | Tabletop |
| Product Dimensions | 3.66 x 1.42 x 3.66 inches (approx. 9.3 x 3.6 x 9.3 cm) |
| Item Weight | 5 ounces (approx. 142 grams) |
| Alarm Clock | Yes, with 2 wake-up times and Snooze function |
| Operation Mode | Electrical (battery-powered) |
10. Warranty and Support
Renkforce products are designed for reliability and performance. For information regarding warranty terms, technical support, or service, please refer to the warranty card included with your purchase or visit the official Renkforce website. Please have your model number (4161c12) and purchase details ready when contacting support.


