1. Introduction
This manual provides essential information for the safe and efficient installation, operation, and maintenance of your Volteck Hanging LED Panel. Please read these instructions thoroughly before installation and retain them for future reference. This LED panel is designed for indoor use, providing bright, cool white illumination suitable for various environments such as offices, homes, and commercial spaces.
2. Safety Instructions
Always follow basic safety precautions when installing or using this product to reduce the risk of fire, electric shock, or injury to persons.
- Electrical Safety: Ensure the power supply is disconnected at the circuit breaker before installation, maintenance, or cleaning. All wiring must comply with local electrical codes and regulations.
- Qualified Personnel: Installation should be performed by a qualified electrician or trained personnel.
- Voltage Compatibility: Verify that the supply voltage is compatible with the panel's operating voltage (refer to specifications).
- Indoor Use Only: This product is designed for indoor use. Do not expose it to moisture or outdoor elements.
- Mounting: Ensure the mounting surface and hardware can support the weight of the LED panel securely.
- Handling: Handle the panel with care to avoid damage to the light source or housing. Do not apply excessive force.
- No User Serviceable Parts: Do not attempt to open or repair the LED panel or its driver. There are no user-serviceable parts inside.
- Heat: While LED panels generate less heat than traditional lighting, ensure adequate ventilation around the fixture.
3. Package Contents
Carefully unpack the box and ensure all items are present and undamaged. If any items are missing or damaged, contact your retailer immediately.
- Volteck Hanging LED Panel (1 unit)
- LED Driver (1 unit)
- Hanging Installation Kit (includes cables and ceiling mounts)

Figure 3.1: Included LED driver and hanging cables for installation.
4. Product Overview
The Volteck Hanging LED Panel is a modern lighting solution featuring a slim design and high-efficiency LED technology. It provides uniform, bright illumination with a cool white color temperature (6500K).

Figure 4.1: Front view of the LED panel, highlighting its aluminum body and polypropylene light diffuser cover.

Figure 4.2: Side view illustrating the panel's dimensions, approximately 60 cm (23.6 inches) in length and width.
Key Features:
- Dimensions: 60cm x 60cm (approximately 23.6 x 23.6 inches)
- Power: 45 Watts
- Color Temperature: 6500K (Cool White)
- Brightness: 4500 Lumens
- Material: Aluminum body, Polypropylene diffuser
- Control: Remote control compatible (remote sold separately, if not included)
5. Setup and Installation
Before beginning installation, ensure you have read and understood all safety instructions. Installation requires basic electrical knowledge and tools.
Tools Required (Not Included):
- Drill
- Screwdriver
- Wire strippers
- Measuring tape
- Pencil
- Safety glasses
Installation Steps:
- Disconnect Power: Turn off the main power supply at the circuit breaker before starting any electrical work.
- Mark Mounting Points: Determine the desired hanging height and position for the panel. Mark the locations on the ceiling where the hanging kit's ceiling mounts will be installed. Ensure these points are structurally sound.
- Install Ceiling Mounts: Drill pilot holes at the marked points and securely fasten the ceiling mounts using appropriate screws and anchors (if necessary).
- Attach Hanging Cables: Connect one end of each hanging cable to the ceiling mounts and the other end to the designated attachment points on the back of the LED panel. Adjust the cable length to achieve the desired hanging height. Ensure the panel is level.
- Connect Electrical Wiring:
- Connect the AC input wires from the LED driver to your building's electrical supply (Live, Neutral, Ground). Follow local electrical codes for proper wiring.
- Connect the DC output wires from the LED driver to the input connector on the back of the LED panel. Ensure polarity is correct (usually indicated by connectors that only fit one way).
- Secure Driver: Position the LED driver in a safe, accessible location, ensuring it is not obstructed and has adequate ventilation.
- Restore Power: Once all connections are secure and the panel is safely mounted, restore power at the circuit breaker.
- Test Functionality: Turn on the light switch to verify the panel operates correctly.
6. Operating Instructions
The Volteck Hanging LED Panel is designed for straightforward operation.
- Power On/Off: Use the wall switch connected to the panel's power supply to turn the light on or off.
- Remote Control (Optional): If a compatible remote control is used (sold separately or included depending on package), refer to the remote control's specific instructions for functions such as dimming or color temperature adjustment. This model supports remote control functionality.
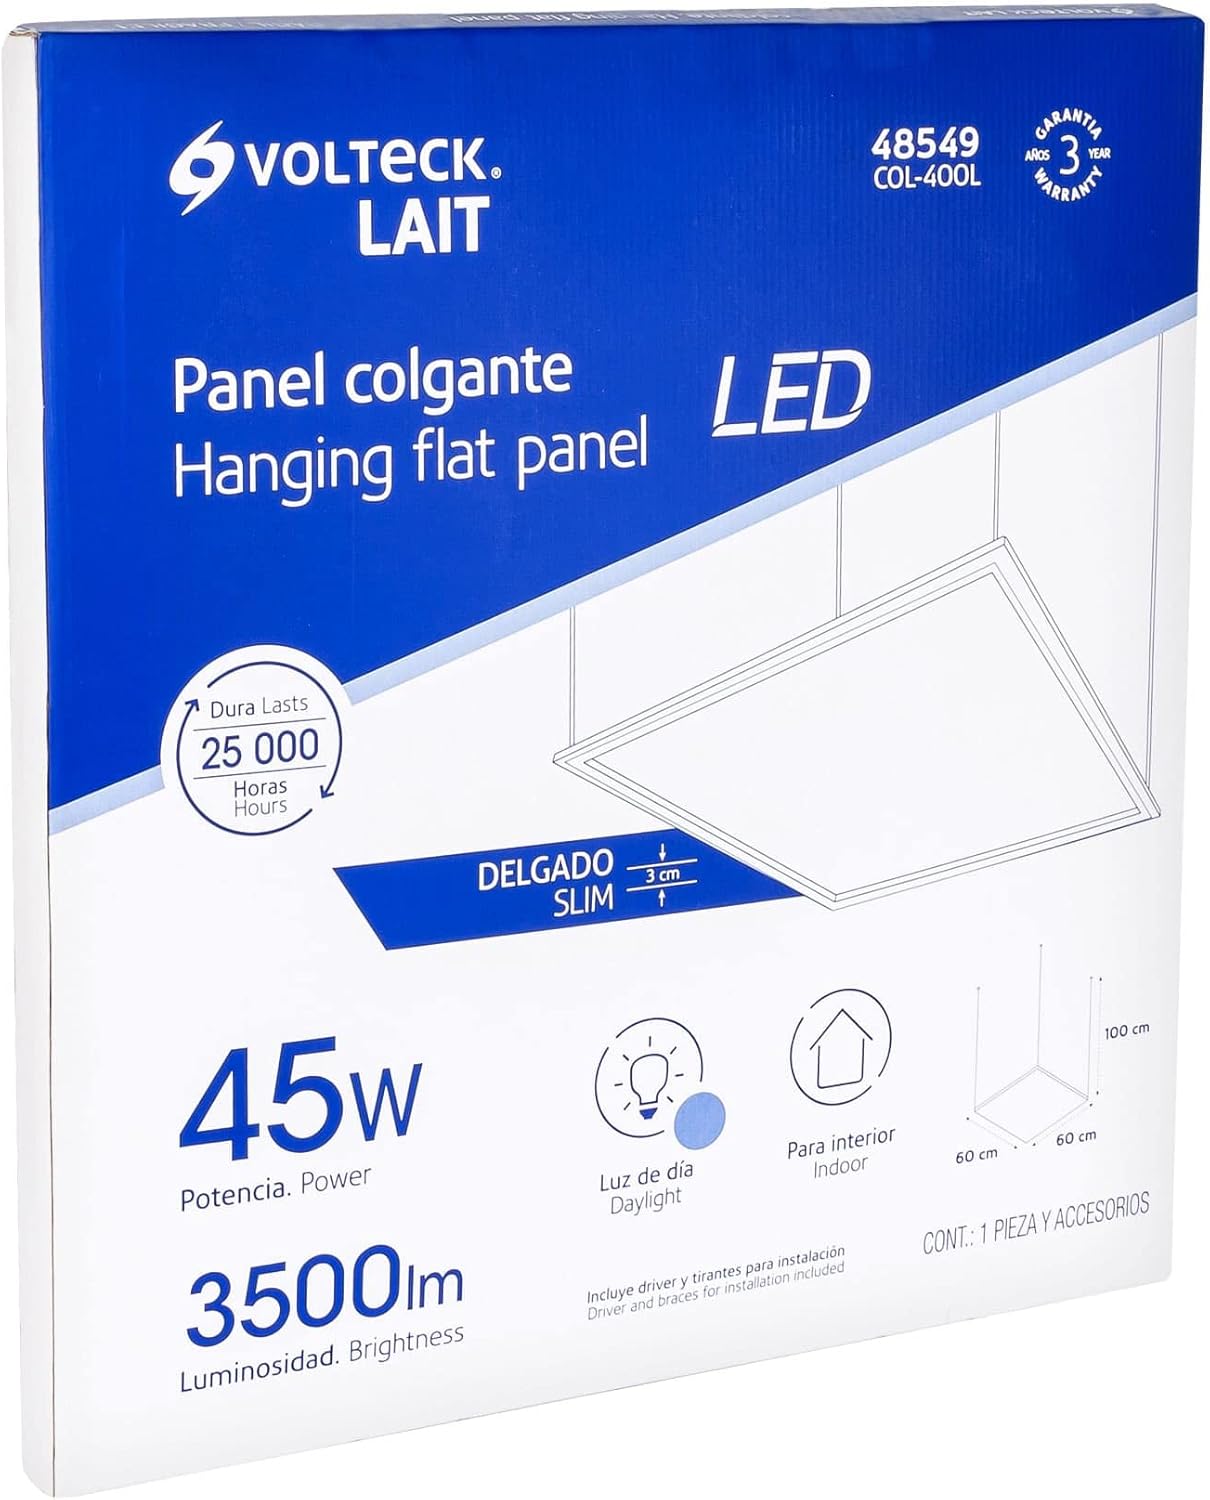
Figure 6.1: Example of the Volteck LED Panel installed in an office environment, providing uniform illumination.
7. Maintenance
The Volteck LED Panel requires minimal maintenance. Regular cleaning will help maintain its appearance and light output.
- Cleaning: Before cleaning, ensure the power supply to the panel is disconnected. Use a soft, dry, or slightly damp cloth to wipe the surface of the panel. Do not use abrasive cleaners, solvents, or harsh chemicals, as these can damage the finish or diffuser.
- Inspection: Periodically check the hanging cables and electrical connections for any signs of wear or damage. If any issues are found, disconnect power and consult a qualified electrician.
- No Bulb Replacement: The LED light source is integrated and not user-replaceable. The panel is designed for a long operational life.
8. Troubleshooting
If you encounter issues with your LED panel, refer to the following common problems and solutions:
| Problem | Possible Cause | Solution |
|---|---|---|
| Panel does not light up. |
|
|
| Panel flickers or dims unexpectedly. |
|
|
| Remote control not working. |
|
|
If the problem persists after trying these solutions, please contact Volteck customer support.
9. Specifications
Detailed technical specifications for the Volteck Hanging LED Panel (Model 48549).
| Feature | Detail |
|---|---|
| Brand | Volteck |
| Model Number | 48549 (COL-400L) |
| Product Dimensions | 60cm x 60cm (approx. 23.6 x 23.6 inches) |
| Item Weight | 0.49 Kilograms (1.07 pounds) |
| Wattage | 45 Watts |
| Brightness | 4500 Lumens |
| Efficiency | 100 lumens per watt |
| Light Color | Cool White (6500K) |
| Light Source Type | LED |
| Material | Aluminum (body), Polypropylene (diffuser) |
| Color | White |
| Installation Type | Surface Mount / Hanging |
| Control Method | Remote (Remote Control Type) |
| Indoor/Outdoor Usage | Indoor Only |
| Power Source | Corded Electric |
| Water Resistance Level | Not Water Resistant |
| Assembly Required | No (referring to the panel itself, installation of hanging kit is required) |
| Expected Lifespan | 25,000 Hours |
10. Warranty and Support
Volteck products are manufactured to high-quality standards and are backed by a warranty.
Warranty Information:
This Volteck LED Panel comes with a 3-year warranty from the date of purchase, covering defects in materials and workmanship under normal use. Please retain your proof of purchase for warranty claims.

Figure 10.1: Product packaging indicating a 3-year warranty and key specifications.
Customer Support:
For technical assistance, warranty claims, or further information, please contact Volteck customer support through their official website or the contact details provided with your product packaging.
Please note: Warranty may be voided by improper installation, unauthorized modifications, or use outside of specified conditions.


