
EXCELVAN B018G4DZMQ
EXCELVAN Weather Station User Manual
Model: B018G4DZMQ
1. Introduction
This manual provides detailed instructions for the operation and maintenance of your EXCELVAN Weather Station. This device is designed to provide accurate indoor and outdoor temperature and humidity readings, barometric pressure, and weather forecasts. It also features time display with dual alarms and moon phase information.

Image: Front view of the EXCELVAN Weather Station main unit, showing its large LCD display with indoor/outdoor temperature, humidity, pressure history, time, date, moon phase, and sunrise/sunset times.
2. Package Contents
Please check the package contents carefully. If any items are missing or damaged, contact customer support.
- 1 x EXCELVAN Weather Station Main Unit
- 1 x Wireless Outdoor Sensor
- 1 x User Manual

Image: The complete package contents, including the main weather station unit, the wireless remote sensor, and the user manual.
3. Specifications
| Feature | Specification |
|---|---|
| Temperature Units | °C / °F selectable |
| Indoor Temperature Range | 0°C ~ 50°C (32°F ~ 122°F) |
| Outdoor Temperature Range | -20°C ~ 60°C (-4°F ~ 140°F) |
| Humidity Range | 20% ~ 95% RH |
| Calendar | 2000 ~ 2099 (Year), Date, Month, Day of Week |
| Time Format | 12/24 Hour selectable |
| Wireless Channels | Up to 3 external sensors supported |
| Main Unit Power | 2 x 1.5V AA Batteries (not included) |
| Remote Sensor Power | 2 x 1.5V AAA Batteries (not included) |
| Main Unit Dimensions | 171 x 123 x 50mm |
| LCD Dimensions | 124 x 78mm |
| Transmission Frequency | 433 MHz |
| Wireless Range | Up to 50m (164ft) in open space |
4. Setup
4.1 Battery Installation
- Main Unit: Open the battery compartment cover on the back of the main unit. Insert 2 x AA batteries, observing the correct polarity (+/-). Close the cover.
- Remote Sensor: Open the battery compartment cover on the back of the remote sensor. Insert 2 x AAA batteries, observing the correct polarity (+/-). Close the cover.
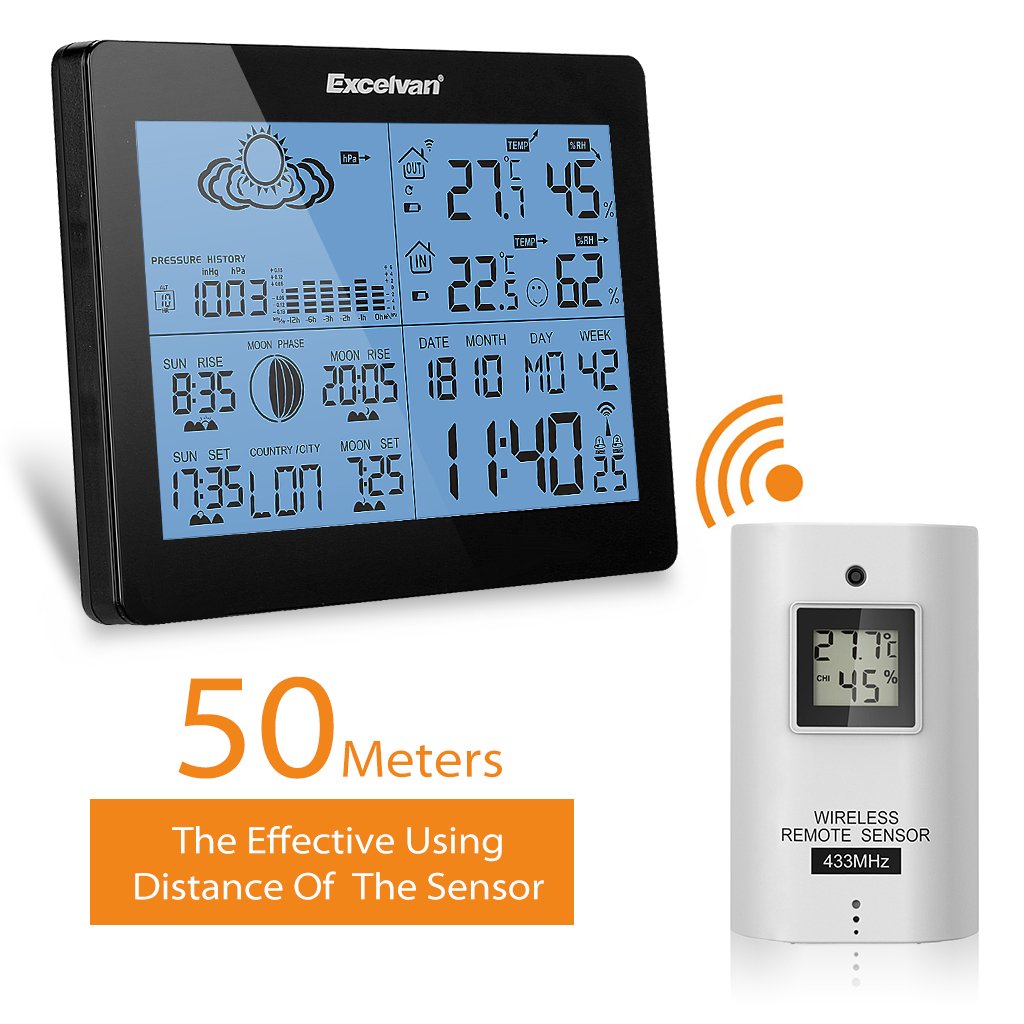
Image: Rear view of the main weather station unit, showing the battery compartment with the cover removed, indicating where to insert AA batteries.

Image: Front and back views of the wireless remote sensor, highlighting its compact design and the mounting hole on the back.
4.2 Sensor Placement
- The main unit is designed for indoor use only and should be placed on a desktop.
- The remote sensor can be wall-mounted or placed on a desktop. For accurate outdoor readings, place the sensor in a shaded area, away from direct sunlight and precipitation.
- Ensure the sensor is within 50 meters (164 feet) of the main unit, free from major obstructions that could interfere with the wireless signal.

Image: The main weather station unit and the wireless remote sensor, illustrating the effective wireless range of 50 meters between them.
5. Operating Instructions
5.1 Initial Setup and Synchronization
After battery installation, the main unit will automatically search for the remote sensor signal. This may take a few minutes. Once connected, the outdoor temperature and humidity will be displayed.
5.2 Time and Date Setting
Press the MODE button to cycle through display modes. When in time display mode, press and hold MODE to enter setting mode. Use the UP and DOWN buttons to adjust values, and MODE to confirm and move to the next setting (e.g., 12/24 hour format, hour, minute, year, month, day, language for day of week).
5.3 Temperature and Humidity Display
The main unit displays both indoor and outdoor temperature and humidity simultaneously. You can switch between °C and °F by pressing the °C/°F button (if available, or usually part of time setting).
5.4 Weather Forecast
The weather station provides a forecast based on barometric pressure changes. The forecast icons (sunny, partly cloudy, cloudy, rainy, stormy) are displayed on the screen.
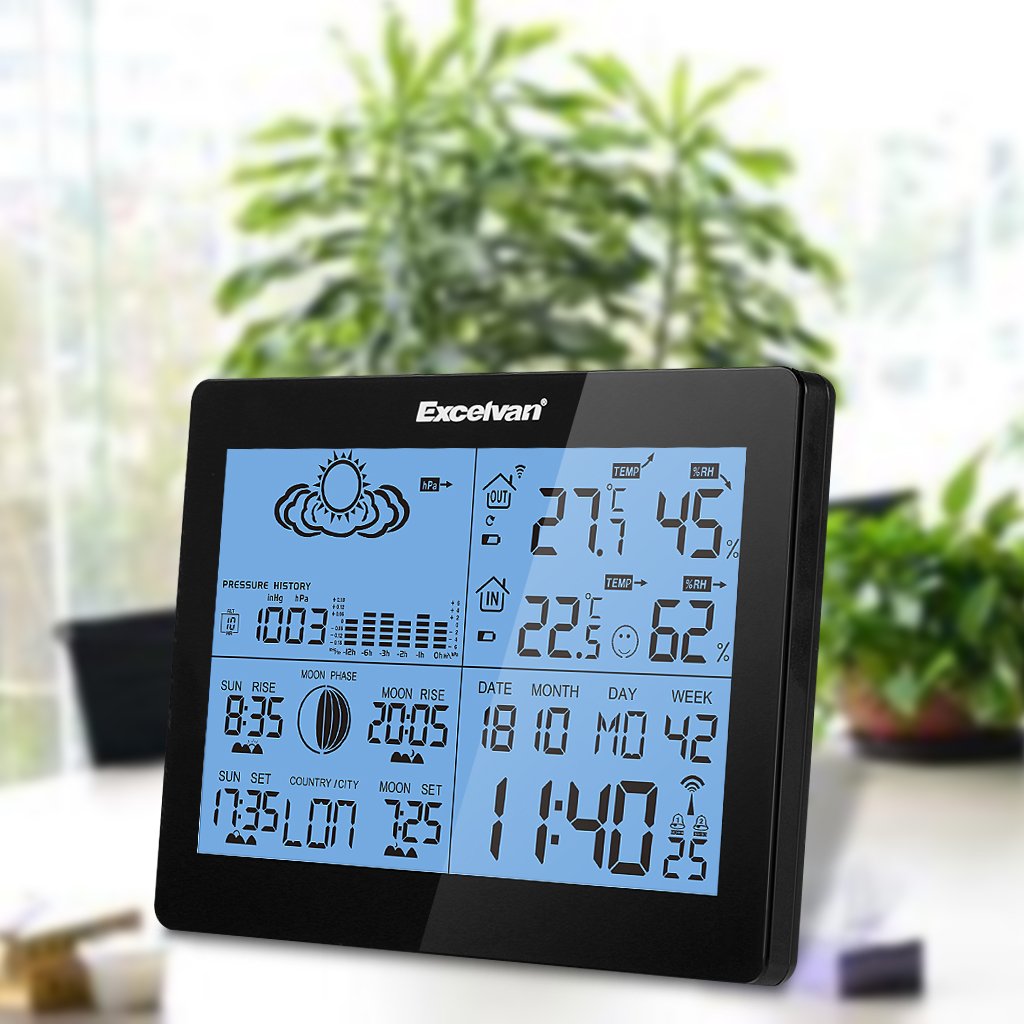
Image: Close-up of the EXCELVAN Weather Station display, highlighting the weather forecast icons at the top, such as sunny, cloudy, and rainy.
5.5 Alarm Setting
The unit features dual daily alarms. Press the ALARM button to view alarm times. Press and hold ALARM to set Alarm 1, then repeat for Alarm 2. Use UP/DOWN to adjust and ALARM to confirm. The snooze function can be activated by pressing the SNOOZE/LIGHT button when the alarm sounds.

Image: Top view of the EXCELVAN Weather Station, showing the prominent SNOOZE/LIGHT button located on the top edge of the unit.
5.6 Channel Selection (for multiple sensors)
If you have multiple outdoor sensors (up to 3 supported), press the CHANNEL button on the main unit to cycle through the sensor channels (CH1, CH2, CH3) and view their respective readings.
6. Maintenance
- Clean the unit with a soft, damp cloth. Do not use abrasive cleaners or solvents.
- Avoid exposing the main unit to direct sunlight, extreme temperatures, or high humidity.
- If the display becomes dim or unresponsive, replace the batteries.
- Do not disassemble the unit; this will void the warranty.
7. Troubleshooting
- No outdoor temperature/humidity display:
- Ensure batteries are correctly installed in both the main unit and the remote sensor. Check that the sensor is within range (50m) and free from major obstructions. Try re-synchronizing by removing and reinserting batteries in both units, starting with the main unit.
- Inaccurate readings:
- Ensure the sensor is placed in a shaded, well-ventilated area, away from heat sources or direct sunlight. Allow time for readings to stabilize after initial setup or relocation.
- Display is dim or blank:
- Replace the batteries in the main unit.
8. Warranty and Support
This EXCELVAN product comes with a standard manufacturer's warranty. For specific warranty terms and conditions, please refer to the warranty card included in your package or contact EXCELVAN customer support. For technical assistance or further inquiries, please visit the official EXCELVAN website or contact their customer service department.
Related documentsB018G4DZMQ

Ask a question about this manual
Ask about setup, troubleshooting, compatibility, parts, safety, or missing instructions. Manuals+ will review the question and use this page’s manual context to help answer it.