
Introduction
This manual provides essential information for the safe and efficient operation, assembly, and maintenance of your Broil King Regal S 590 Pro Natural Gas Grill. Please read all instructions carefully before using your grill to ensure a safe and enjoyable grilling experience.
Important Safety Information
- Always use the grill outdoors in a well-ventilated area. Never operate the grill in an enclosed space.
- Perform a leak test on all gas connections before initial use and after any gas cylinder change.
- Keep children and pets away from the grill during operation and while it is cooling down.
- Do not store flammable materials near the grill.
- Ensure the grill is on a stable, level surface.
- Always wear protective gloves when handling hot components.
Setup and Assembly
The following steps outline the general assembly process for your Broil King Regal S 590 Pro grill. For detailed visual guidance, please refer to the assembly video provided below.
Video: Broil King Regal 400 & 500 Series Grill Assembly. This video provides step-by-step instructions for assembling your Broil King gas grill, including attaching casters, panels, and internal components.
Key Assembly Steps:
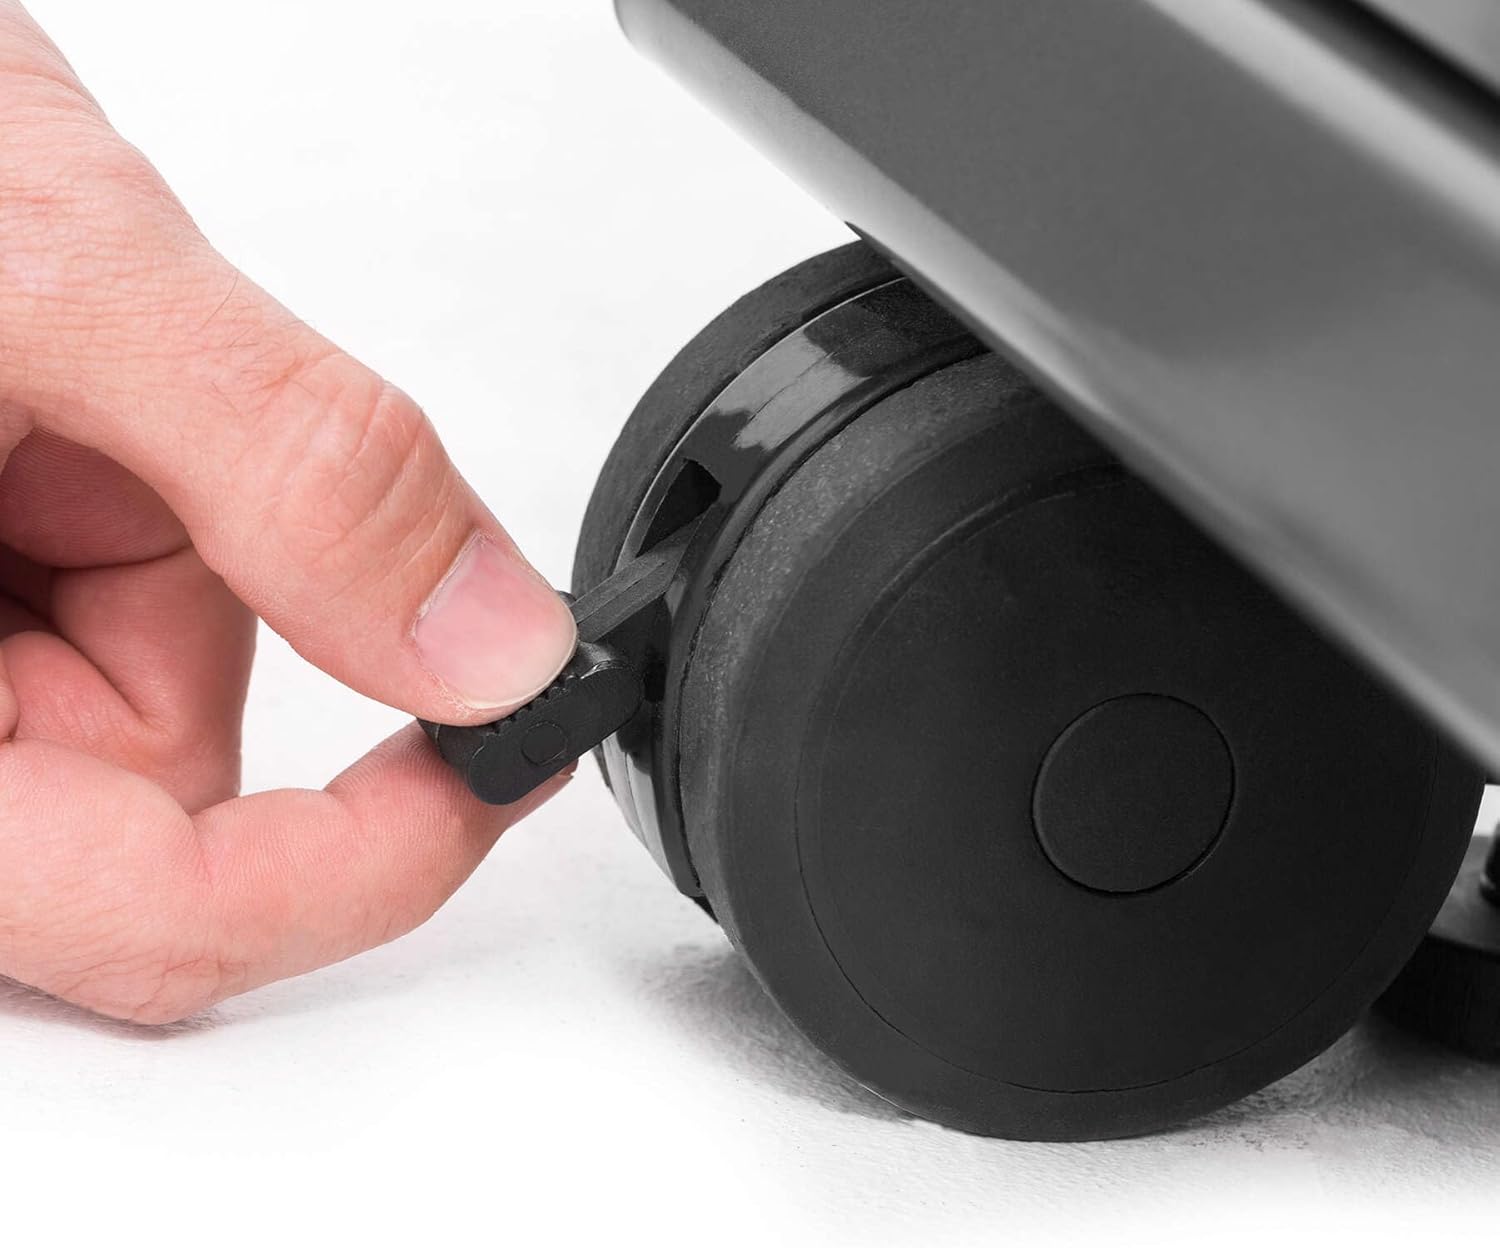
- Base and Casters: Attach the locking casters to the bottom of the grill base using the provided screws. Ensure they are securely fastened.
- Tank Slide Assembly: Install the tank slide assembly to the base, aligning the holes and securing with screws. This allows for easy access to the propane tank.
- Cabinet Panels: Assemble the side and rear panels of the cabinet. Secure them together using the designated screws.
- Grease Tray Rails: Install the grease tray rails inside the cabinet. These rails support the grease tray during operation.
- Tank Retainer Bracket: Attach the tank retainer bracket to the left-hand side panel, ensuring it is positioned correctly to secure the gas tank.
- Cook Box to Cabinet: Carefully align and secure the cook box assembly to the top of the cabinet using the provided screws. Ensure all gas lines and electrical wires are routed correctly.
- Electronic Igniter: Install the electronic igniter, including the battery, into its designated slot on the control panel. Connect the battery pack to the wiring harness.
- Gas Hose Bracket: Fasten the gas hose bracket to the door catch bracket, securing the gas line.
- Cabinet Doors: Install the cabinet doors, ensuring they swing freely and close securely.
- Side Shelves: Attach the right and left side shelves to the grill. These provide convenient workspace and storage.
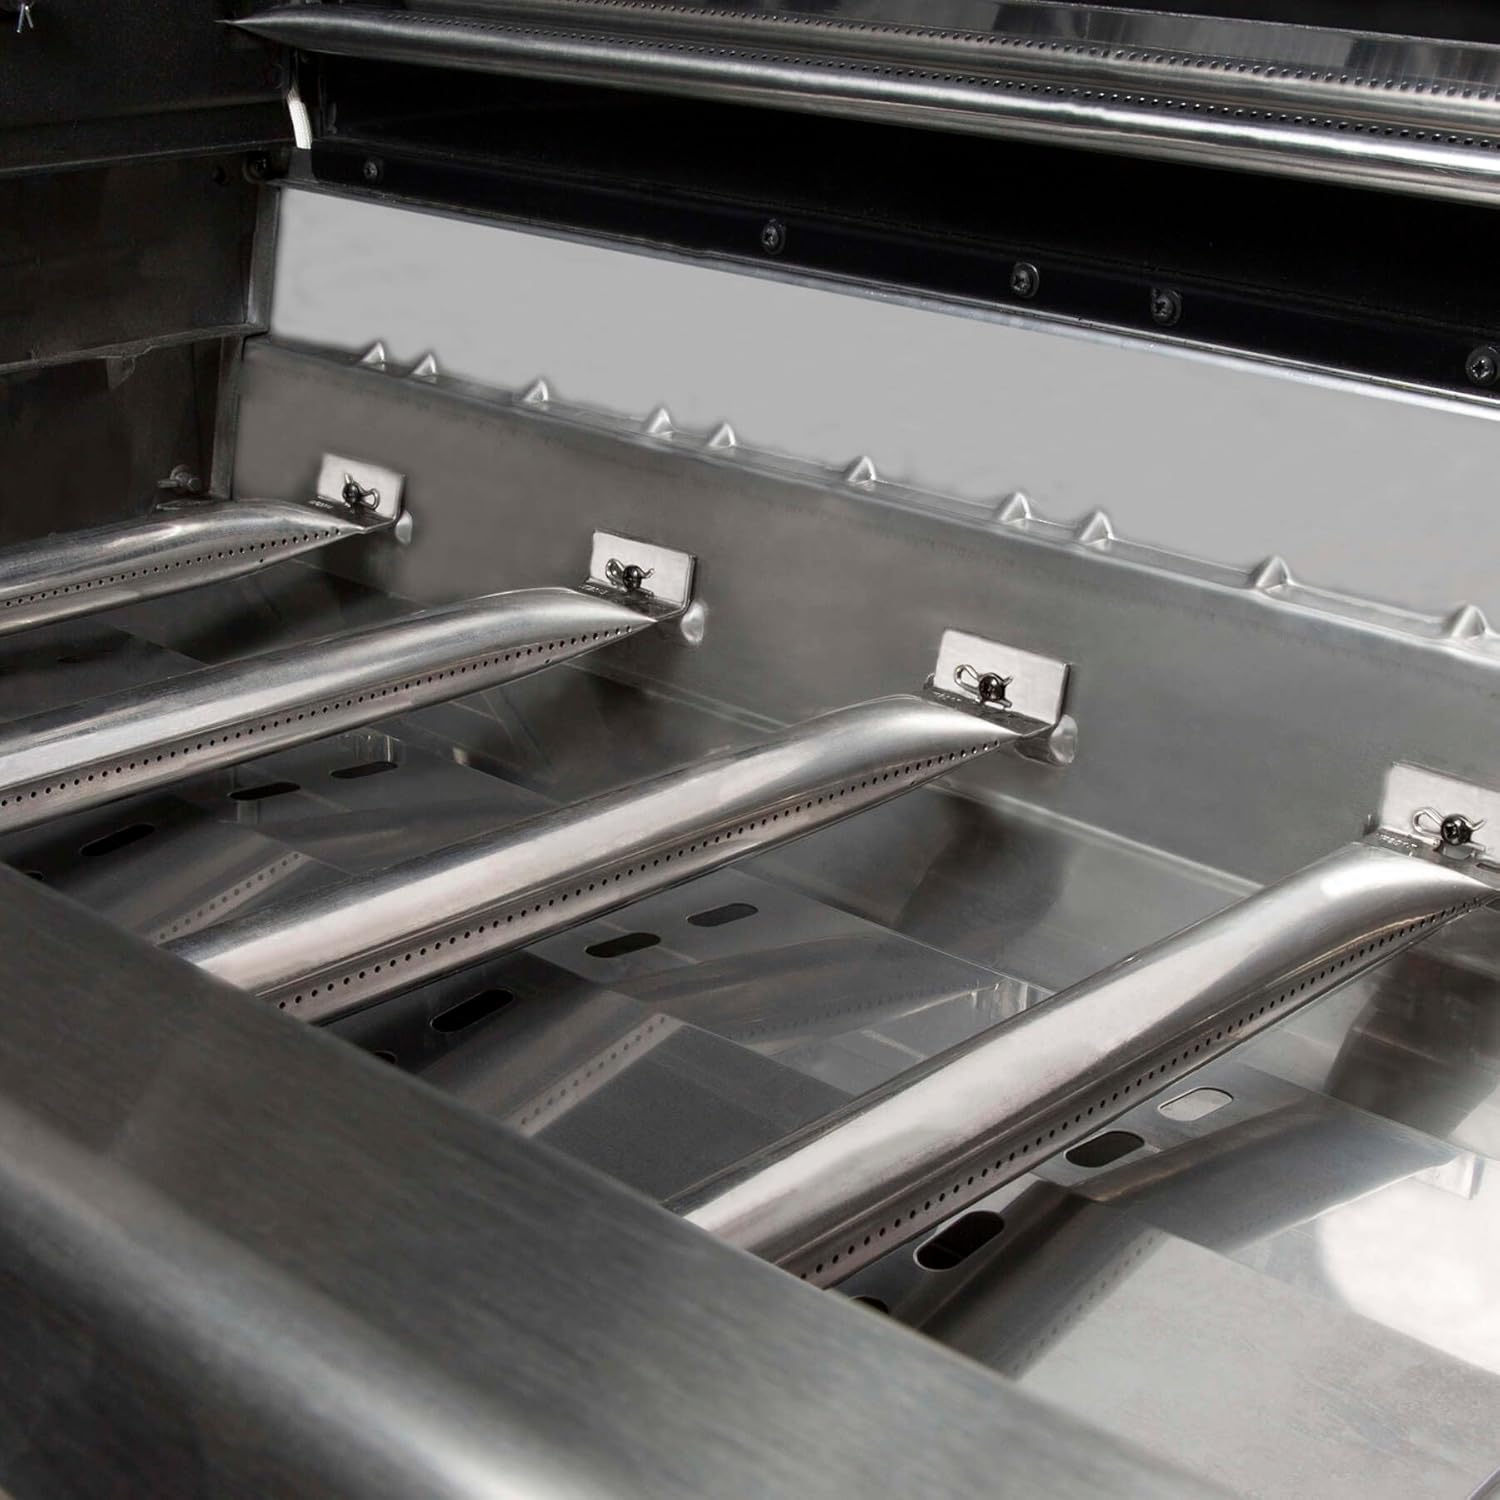
- Grease Shields and Flavor Waves: Place the grease shields and Flav-R-Wave components inside the cook box, ensuring they fit into their corresponding slots.
- Cooking Grids and Warming Rack: Install the cooking grids and the warming rack. Ensure the warming rack rests properly in its grooves.
- Cook Box Lid: Attach the cook box lid using the provided hardware, ensuring the hinge cotter pins are in place.
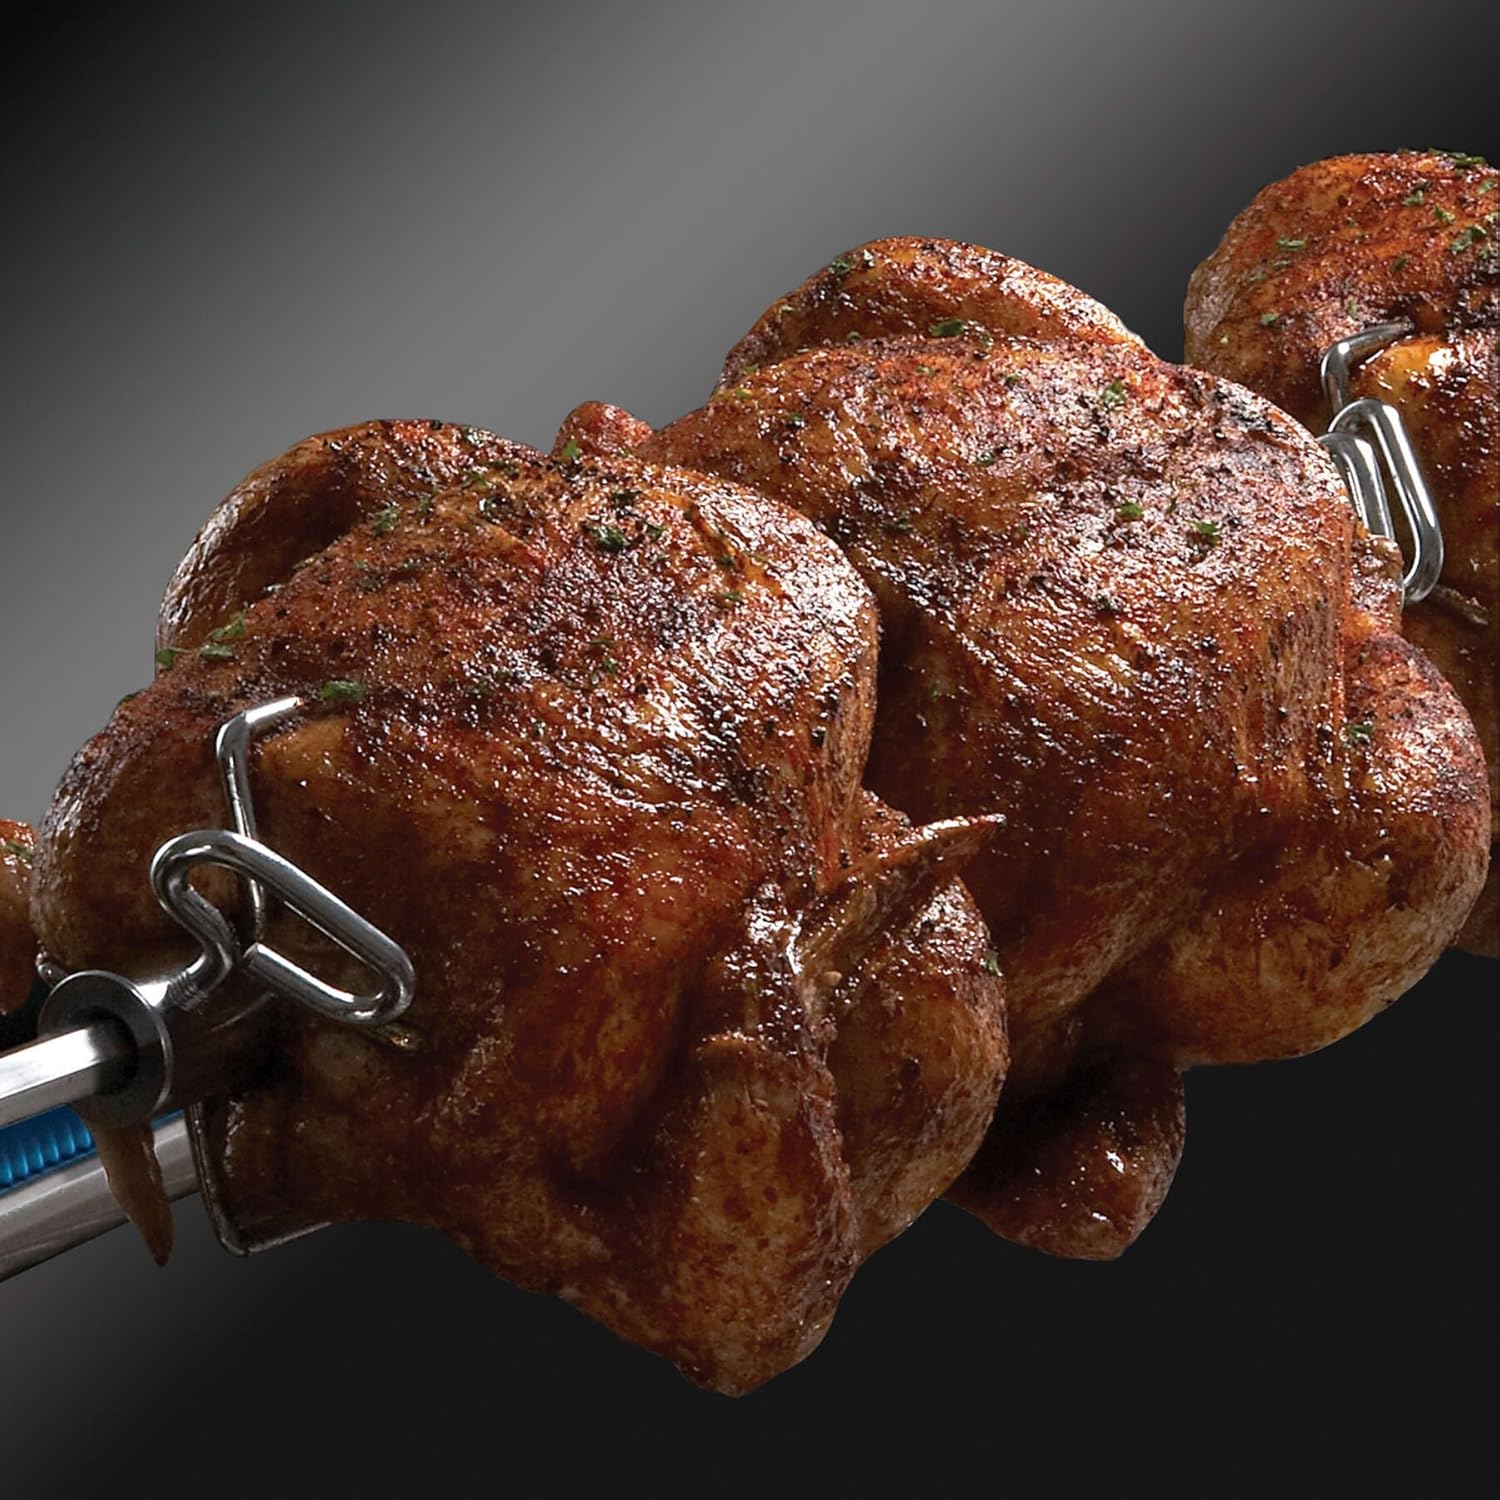
- Rotisserie Bracket and Motor: Install the rotisserie bracket and slide the rotisserie motor onto it. Assemble the rotisserie rod with the counter-balance weight and forks, then insert it into the motor.
- Grill Light: Install batteries into the handle-mounted grill light and attach it to the grill handle.



Operating Your Grill
Pre-Lighting Checks:
- Ensure all gas connections are tight and free of leaks.
- Confirm the gas supply valve is open.
- Keep the grill lid open during ignition.
Ignition Procedure:
- Turn all burner control knobs to the OFF position.
- Slowly open the main gas supply valve.
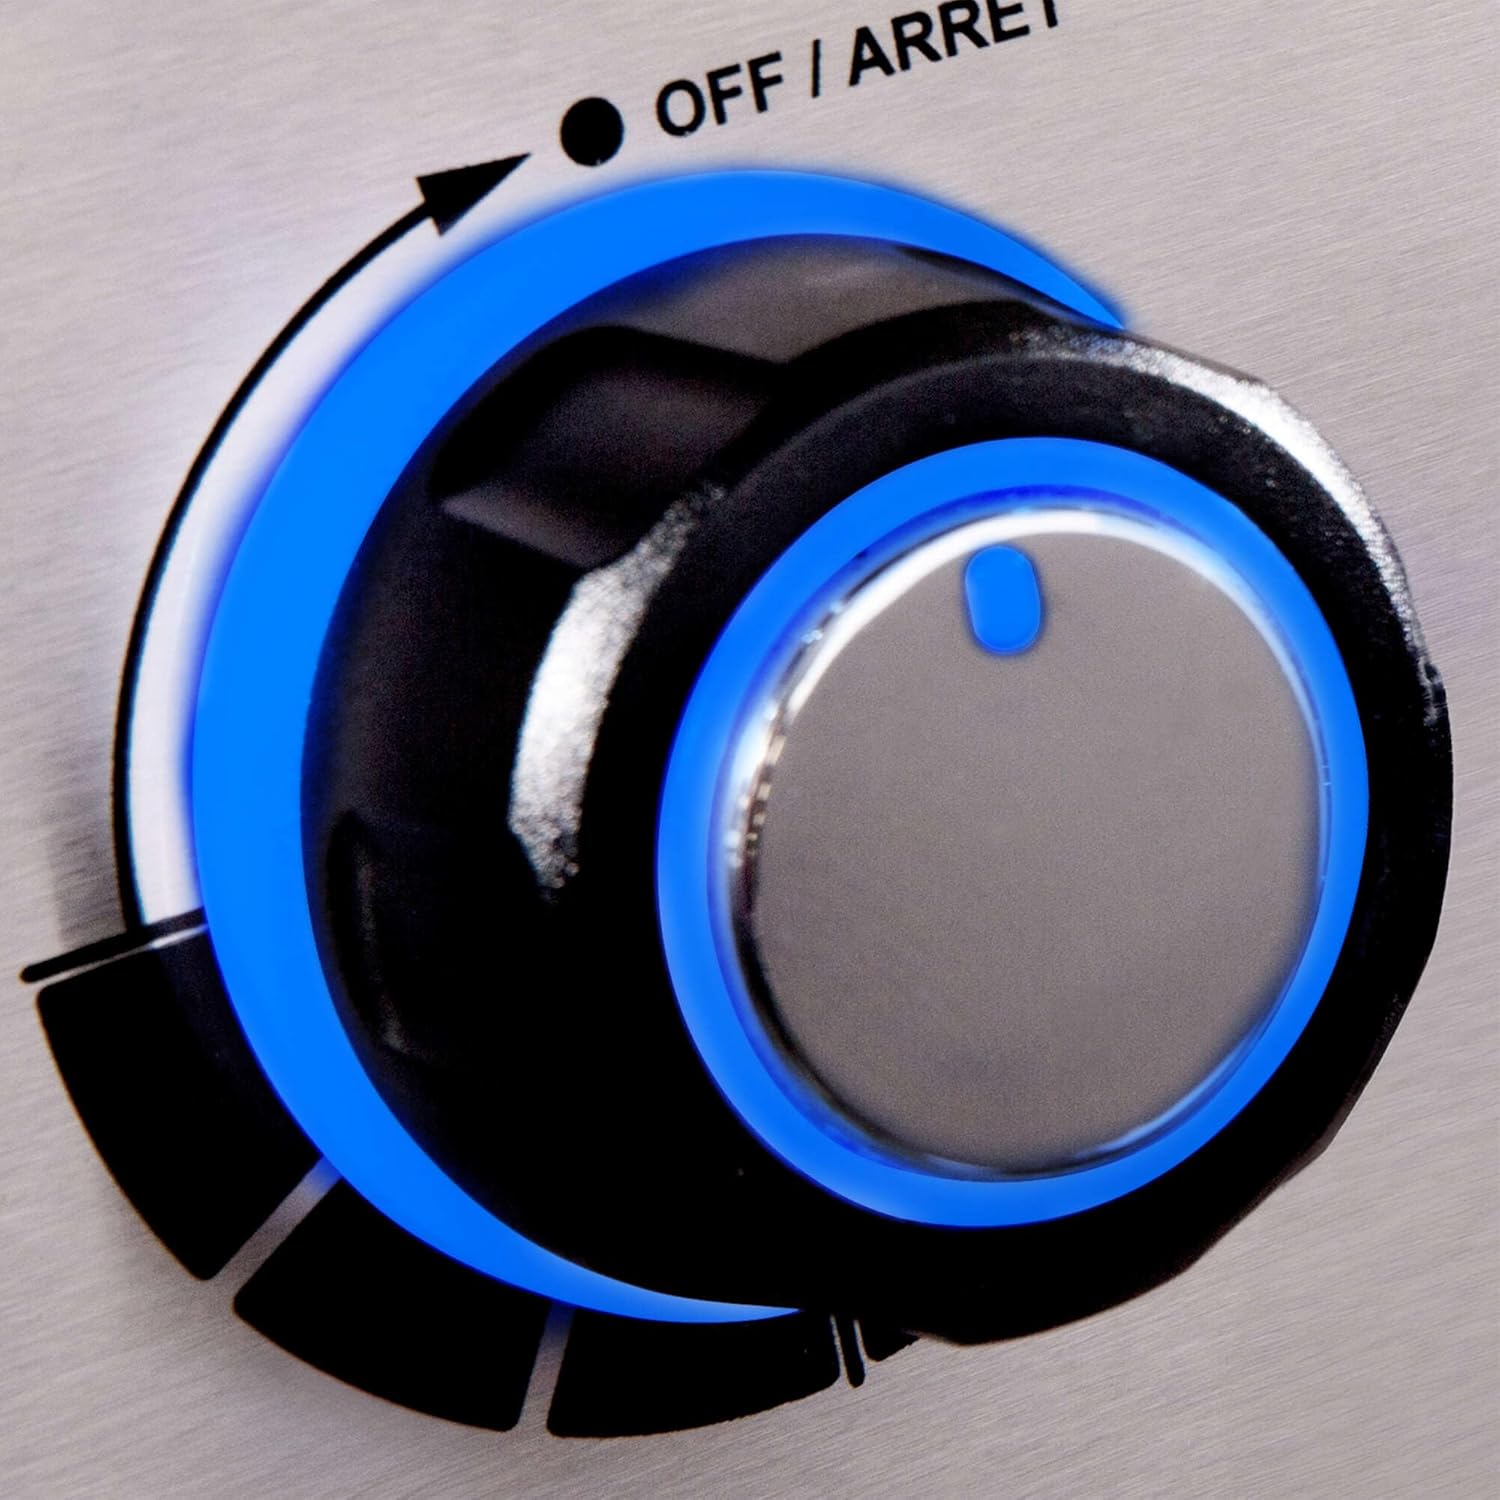
- Push in and turn one main burner control knob to the HIGH position.
- Press the electronic igniter button repeatedly until the burner ignites. You should hear a clicking sound and see a flame.
- Once the first burner is lit, you can ignite adjacent burners by pushing in and turning their respective knobs to HIGH.
- For the side burner or rear burner, follow a similar push-and-turn ignition process.
Temperature Control:
Your Regal S 590 Pro features 5 stainless steel Dual-Tube burners, designed for even heat distribution. The reversible stainless steel V-grids offer versatility for searing or basting. The Flav-R-Wave cooking system vaporizes drippings, enhancing flavor and reducing flare-ups. Adjust the control knobs to achieve your desired cooking temperature. The built-in thermometer on the lid provides accurate temperature readings.


Maintenance and Care
Regular cleaning and maintenance will extend the life of your Broil King grill and ensure optimal performance.
- Cooking Grids: Clean cooking grids after each use with a grill brush. For stubborn residue, preheat the grill for 10-15 minutes on high, then brush clean.
- Flav-R-Wave System: Periodically remove and clean the Flav-R-Wave components. Scrape off any accumulated grease or food particles.
- Grease Tray: Regularly check and empty the grease tray to prevent overflow and potential flare-ups.
- Burners: Inspect burner ports for blockages (e.g., spider webs, food debris). Use a wire brush or paperclip to clear any obstructions.
- Exterior: Clean stainless steel surfaces with a stainless steel cleaner and a soft cloth. For painted surfaces, use mild soap and water.
Troubleshooting
If you encounter issues with your grill, consult the following common troubleshooting tips:
- Burner Not Lighting: Check if the gas supply is open. Ensure the igniter is clicking and sparking. Verify that burner ports are not clogged.
- Uneven Heat: Clean the Flav-R-Wave components and burner ports. Ensure all burners are functioning correctly.
- Excessive Flare-Ups: Reduce heat, trim excess fat from food, and clean the cooking grids and Flav-R-Wave system to remove grease buildup.
- Low Flame: Check the gas supply level. Ensure the regulator is not in bypass mode (reset by turning off gas, disconnecting regulator, waiting 1 minute, reconnecting, and slowly opening gas).
Specifications
| Feature | Detail |
|---|---|
| Brand | Broil King |
| Model Name | Regal S 590 Pro |
| Model Number | 958347 |
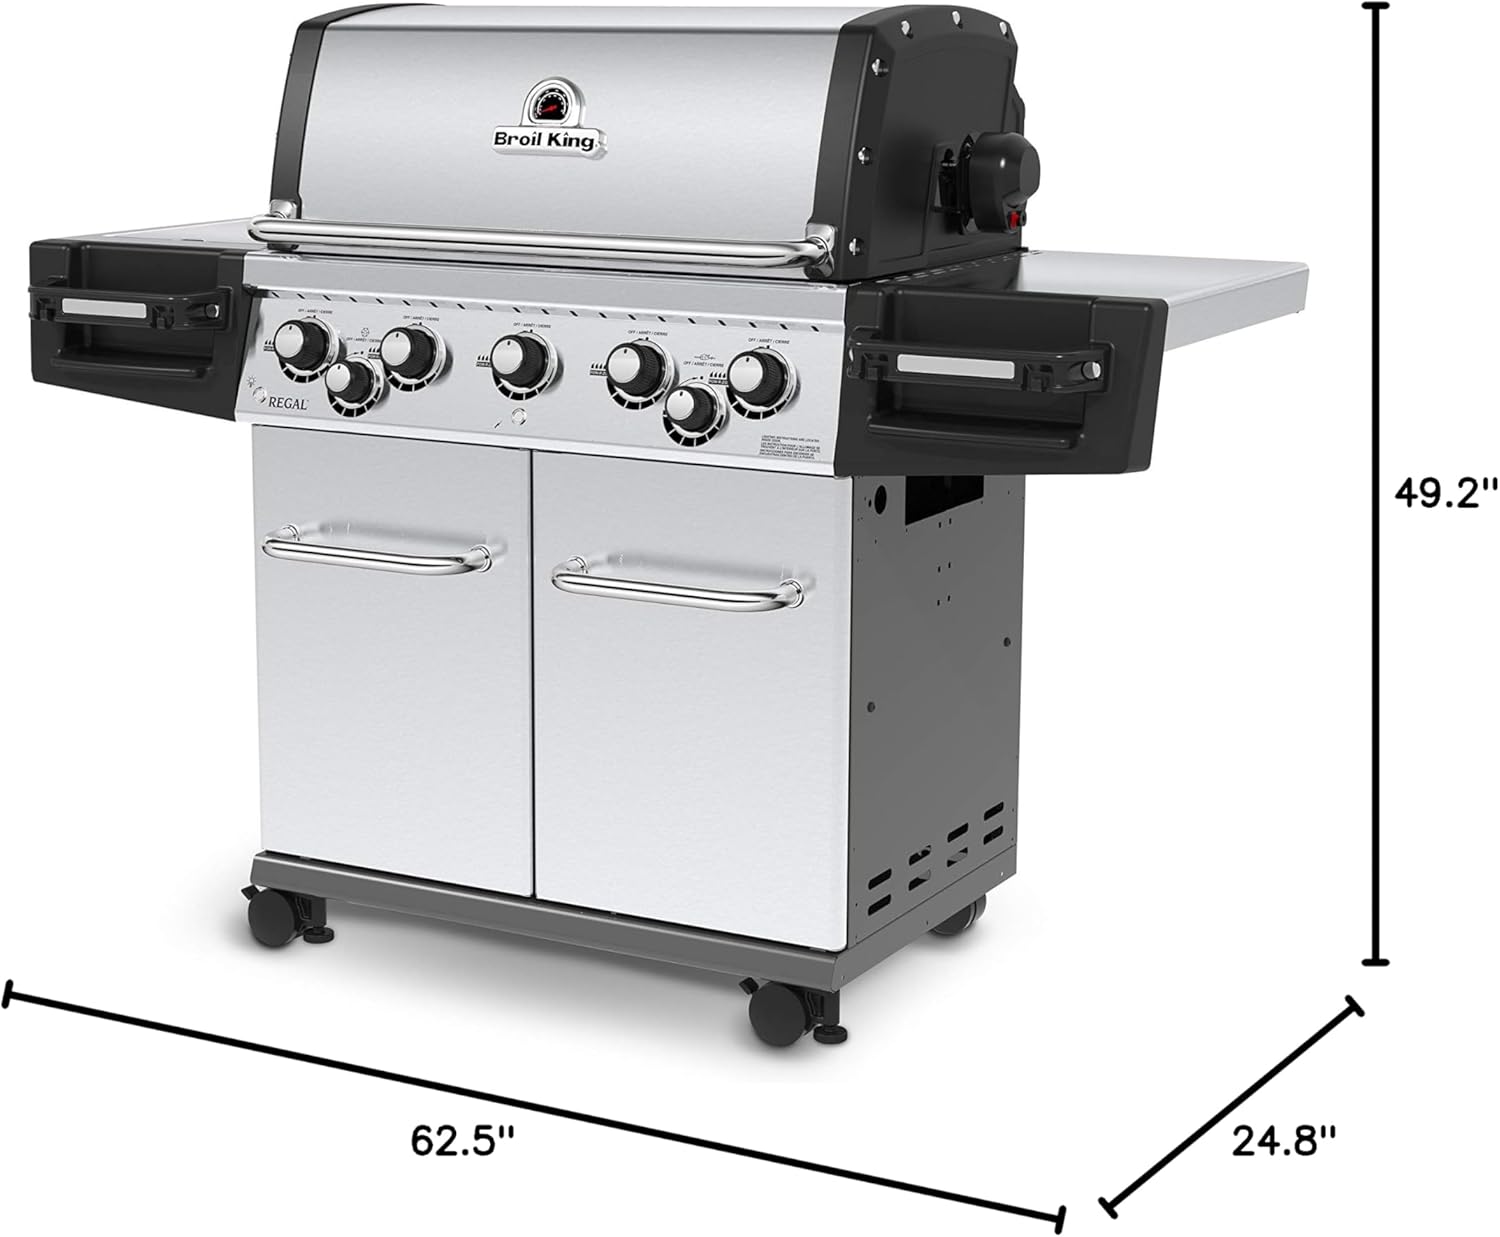
| Product Dimensions | 25"D x 62.5"W x 49"H |
| Item Weight | 214 Pounds |
| Fuel Type | Natural Gas |
| Main Burner Count | 5 |
| Side Burner Count | 1 (10,000 BTU) |
| Rear Burner | 1 (15,000 BTU) |
| Total Cooking Surface Area | 875 Square Inches |
| Primary Cooking Area | 625 Square Inches |
| Material Type | Aluminum, Stainless Steel |
| Special Features | Built-In Thermometer, Enclosed Cabinet, Heavy Duty, Superior Heat Retention, Warming Rack, Blue LED-lit control knobs |
| Included Components | Rotisserie Kit, Tool Holder, User Manual |
Warranty Information
Your Broil King Regal S 590 Pro Natural Gas Grill is backed by a Limited Lifetime warranty on the cook box and a 15-year warranty on remaining parts and paint. For specific terms and conditions, please refer to the warranty documentation included with your product or visit the official Broil King website.
Customer Support and Registration
For further assistance, replacement parts, or to register your product, please visit the official Broil King website or contact their customer service. Product registration helps ensure you receive important updates and warranty support.
You can also visit the Broil King Store on Amazon for more products and information.


