
1. Introduction and Overview
This manual provides essential information for the assembly, operation, and maintenance of the Hexbug VEX Robotics Bundle. This bundle includes three distinct construction kits: the VEX Robotics Snap Shot, the VEX Robotics Crossbow, and the VEX Robotics Catapult. Each kit offers a hands-on building experience designed to introduce principles of robotics and engineering.
The VEX Robotics kits are intended for users aged 14 years and older. They encourage problem-solving and creative design through the construction of functional robotic mechanisms.
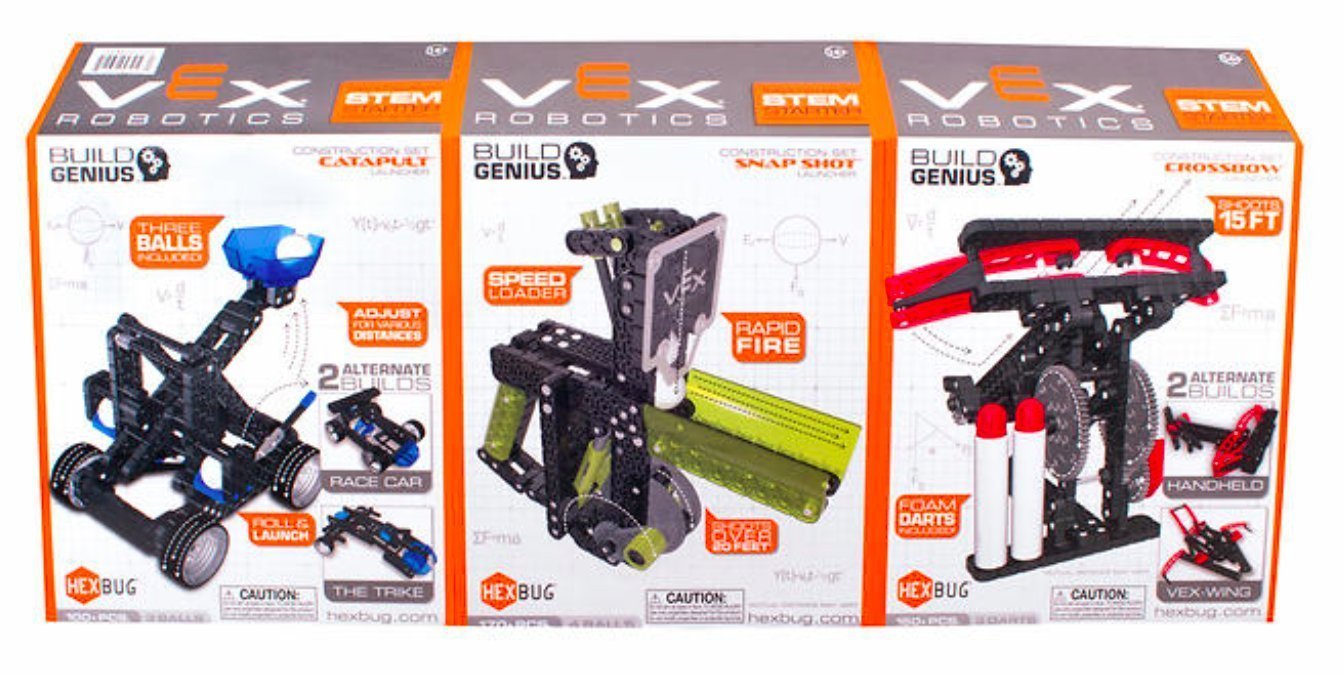
Image 1.1: Hexbug VEX Robotics Bundle packaging. This image displays the combined packaging for the Snap Shot, Crossbow, and Catapult kits, highlighting the STEM learning aspect.
2. Safety Information
Please read and understand all safety warnings before assembly and operation. Failure to follow these instructions may result in injury or damage to the product.
- Small Parts Warning: This product contains small parts and is not suitable for children under 3 years due to choking hazards.
- Adult Supervision: Adult supervision is recommended during assembly, especially for younger users, as some connections may require significant force.
- Projectile Safety: Do not aim launchers at eyes or face. Use only the projectiles provided with each kit (plastic balls for Snap Shot and Catapult, foam darts for Crossbow). Do not modify projectiles or use other objects.
- Proper Use: Operate the robotic kits in an open area, away from fragile objects, people, and pets.
3. Package Contents
The Hexbug VEX Robotics Bundle includes the following individual kits:
- VEX Robotics Snap Shot: Contains over 170 construction pieces and 4 plastic balls.
- VEX Robotics Crossbow: Contains over 150 construction pieces and 3 foam darts.
- VEX Robotics Catapult: Contains over 100 construction pieces and 3 plastic balls.
Each kit includes its own detailed assembly instructions. Please refer to the specific instruction booklet for each model.
4. Assembly and Setup
Each VEX Robotics kit in this bundle comes with its own comprehensive, step-by-step assembly guide. It is crucial to follow these instructions carefully for proper construction and functionality.
- Unpack and Sort: Open the packaging for one kit at a time. Carefully remove all components and sort them by type or size as indicated in the kit's instruction manual. This will simplify the building process.
- Follow Instructions: Refer to the specific instruction booklet provided with each VEX Robotics kit. Diagrams and written steps will guide you through the assembly.
- Secure Connections: Ensure all pieces are firmly connected. Some connections, particularly those involving plastic bands or structural elements, may require a good amount of force. Adult assistance may be beneficial for these steps to ensure proper and secure assembly.
- Verify Orientation: Pay close attention to the orientation of pieces as shown in the diagrams. Incorrect orientation can prevent proper functionality.
4.1 VEX Robotics Snap Shot Assembly
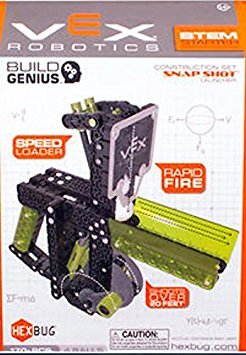
Image 4.1: VEX Robotics Snap Shot kit packaging. This image shows the retail box for the Snap Shot launcher, indicating its design for rapid firing.
The Snap Shot kit involves assembling a launcher designed for rapid projectile firing. Follow the included manual to construct the base, firing mechanism, and projectile loading system. Ensure all gears and levers move freely after assembly.
4.2 VEX Robotics Crossbow Assembly
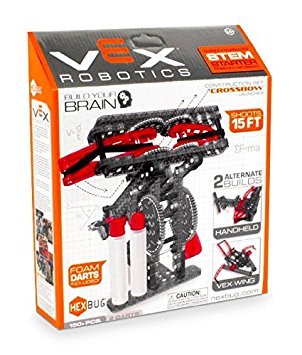
Image 4.2: VEX Robotics Crossbow kit packaging. This image displays the retail box for the Crossbow launcher, highlighting its foam dart projectiles and alternate build options.
The Crossbow kit focuses on a hand-crank mechanism that utilizes torsion for launching foam darts. Pay close attention to the assembly of the crank, string, and dart-holding components to ensure smooth operation and proper tension.
4.3 VEX Robotics Catapult Assembly
The Catapult kit involves building a variable-power launching device. Ensure the arm and release mechanism are correctly assembled to allow for adjustable launch distances. Test the movement of all parts before attempting to launch projectiles.
5. Operating Instructions
Once assembled, each VEX Robotics kit can be operated as follows:
5.1 VEX Robotics Snap Shot
- Loading: Place one of the provided plastic balls into the loading mechanism.
- Arming: Pull back the firing mechanism until it locks into place.
- Firing: Press the trigger to launch the plastic ball. The Snap Shot is designed for fast, long-range firing, capable of launching balls up to 20 feet.
5.2 VEX Robotics Crossbow
- Loading: Insert one of the provided foam darts into the dart holder.
- Arming: Use the hand crank to draw back the string, building torsion. Continue cranking until the mechanism is fully armed.
- Firing: Release the trigger to project the foam dart. The Crossbow can launch darts up to 15 feet.
5.3 VEX Robotics Catapult
- Loading: Place one of the provided plastic balls into the catapult's basket or cup.
- Arming: Pull back the catapult arm to the desired tension. The Catapult features variable shot power, allowing for launches up to 10 feet depending on how far back the arm is pulled.
- Firing: Release the arm to launch the plastic ball.
6. Maintenance
Regular maintenance ensures the longevity and proper function of your VEX Robotics kits.
- Cleaning: Wipe down the models with a dry, soft cloth to remove dust and debris. Do not use harsh chemicals or abrasive cleaners.
- Inspection: Periodically inspect all connections and moving parts for wear, damage, or looseness. Tighten any loose connections.
- Storage: Store the kits and their projectiles in a clean, dry place away from direct sunlight and extreme temperatures.
- Projectile Care: Keep plastic balls and foam darts clean and free from damage. Damaged projectiles may affect performance or cause jams.
7. Troubleshooting
If you encounter issues with your VEX Robotics kits, consider the following troubleshooting steps:
- Mechanism Not Firing/Launching:
- Ensure the firing mechanism is fully armed and locked into place.
- Check for any obstructions in the projectile path or firing mechanism.
- Verify that all connections in the firing assembly are secure and correctly oriented.
- Weak Launch Power:
- For the Crossbow, ensure the hand crank is fully utilized to build maximum torsion.
- For the Catapult, pull the arm back as far as possible for maximum range.
- Inspect elastic components (if any) for stretching or damage.
- Pieces Not Connecting Securely:
- Ensure you are using the correct pieces for each step as per the individual kit's instructions.
- Apply firm, even pressure. If a piece is particularly stubborn, ensure it is correctly aligned before applying more force.
8. Specifications
| Feature | Detail |
|---|---|
| Brand | HEXBUG |
| Models Included | VEX Robotics Snap Shot, Crossbow, Catapult |
| Recommended Age | 14+ Years |
| Total Pieces (Approx.) | Over 400 (Snap Shot: 170+, Crossbow: 150+, Catapult: 100+) |
| Snap Shot Range | Up to 20 ft (plastic balls) |
| Crossbow Range | Up to 15 ft (foam darts) |
| Catapult Range | Up to 10 ft (plastic balls, variable power) |
| Package Dimensions | 22.5 x 11 x 3 inches |
| Product Weight | 0.01 ounces (Note: This refers to the listed item weight, actual combined weight may vary.) |
| ASIN | B01787GN3U |
9. Warranty and Support
For specific warranty information, please refer to the documentation included with your product packaging or visit the official HEXBUG website. Support for assembly issues, missing parts, or operational questions can typically be found through the manufacturer's customer service channels.
Always retain your proof of purchase for warranty claims.