
1. Introduction
This manual provides instructions for the installation, operation, and maintenance of your Linksys RE4100W N600 Wireless Dual Band Wi-Fi Range Extender. The RE4100W is designed to extend the coverage of your existing wireless network, eliminating dead zones and improving Wi-Fi signal strength in areas with weak reception. It supports N600 wireless speeds and simultaneous dual-band operation (2.4 GHz and 5 GHz).
2. Package Contents
Verify that your package contains the following items:
- Linksys RE4100W N600 Wireless Dual Band Wi-Fi Range Extender
- Power Adapter
- Quick Start Guide (not included in this digital manual)
3. Product Overview
The Linksys RE4100W features various indicators and ports for easy setup and monitoring.
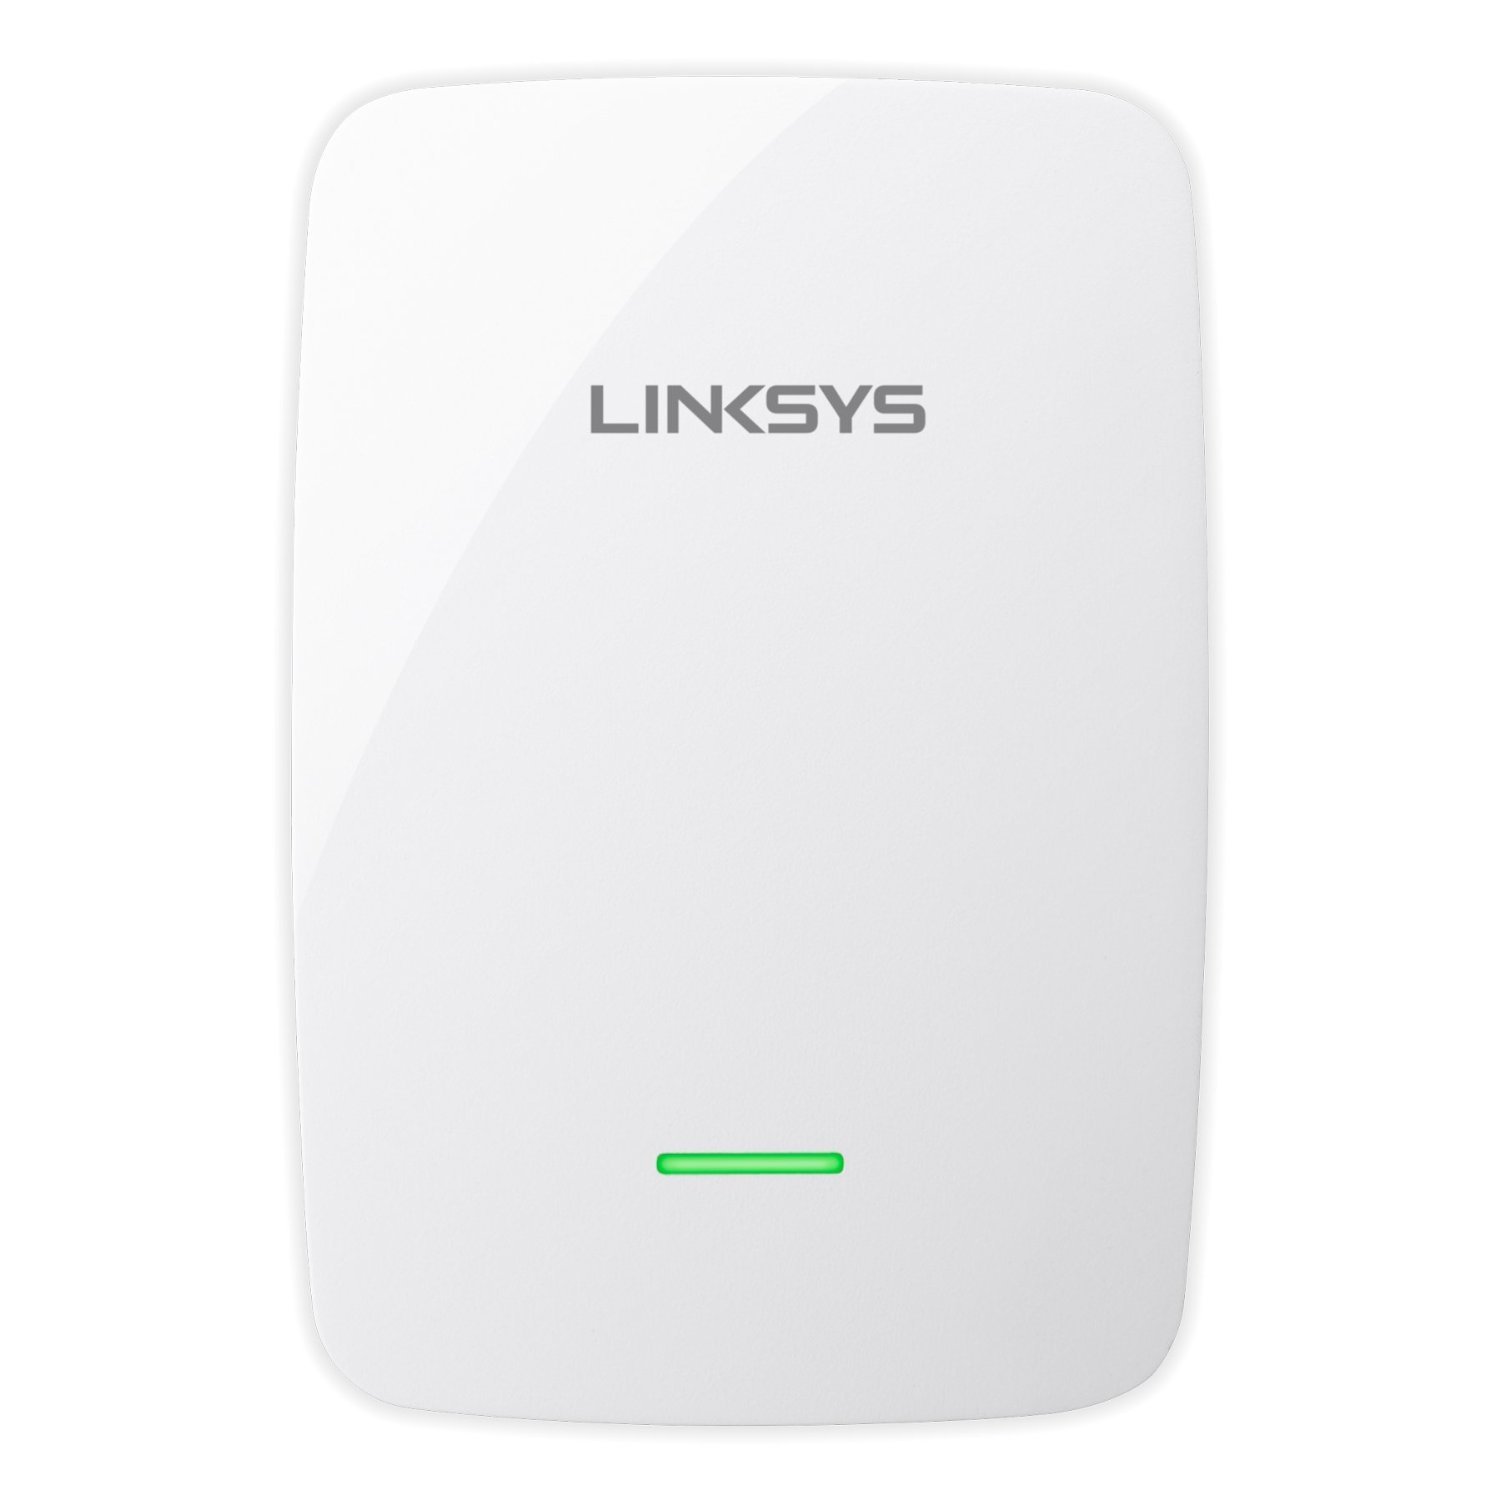
Figure 1: Front view of the Linksys RE4100W N600 Wireless Dual Band Wi-Fi Range Extender, showing its compact design and LED indicators.
3.1. Front Panel Indicators
- Power LED: Indicates the power status of the device.
- Wi-Fi LED: Shows the status of the Wi-Fi connection.
- WPS LED: Indicates the status of the Wi-Fi Protected Setup (WPS) function.
3.2. Side/Rear Panel Ports and Buttons
- Reset Button: Used to restore the extender to factory default settings.
- Wi-Fi Protected Setup (WPS) Button: Initiates a WPS connection with your router.
- Ethernet Port (RJ45): For connecting a wired device to the extended network.
- Audio Port: For connecting audio devices (specific functionality may vary, refer to advanced settings).
- Power Port: Connects to the included power adapter.
4. Setup
The Linksys RE4100W offers two primary methods for setup: Wi-Fi Protected Setup (WPS) and manual setup using a web browser.
4.1. Initial Placement
For optimal performance, place the range extender approximately halfway between your wireless router and the area where you want to extend Wi-Fi coverage. Ensure it is within range of your existing router's Wi-Fi signal.
4.2. Setup using Wi-Fi Protected Setup (WPS)
WPS is the simplest way to connect your extender to your router.
- Plug the RE4100W into a power outlet near your wireless router.
- Wait for the Power LED on the extender to turn solid.
- Press the WPS button on your Linksys RE4100W extender. The WPS LED should start blinking.
- Within two minutes, press the WPS button on your wireless router. Refer to your router's manual for the exact location of its WPS button.
- Wait for the WPS LED on the extender to turn solid, indicating a successful connection. The Wi-Fi LED should also turn solid.
- Unplug the extender and move it to a location approximately halfway between your router and the Wi-Fi dead zone. Plug it into a power outlet.
- Wait for the Wi-Fi LED to turn solid. Use the Spot Finder Technology (via the web interface) to ensure optimal placement.
4.3. Manual Setup using a Web Browser
If your router does not support WPS or if you prefer manual configuration:
- Plug the RE4100W into a power outlet near your wireless router.
- On a computer or mobile device, connect to the Wi-Fi network named "Linksys Extender Setup" (or similar). No password is required.
- Open a web browser (e.g., Chrome, Firefox, Edge) and navigate to http://extender.linksys.com or http://192.168.1.1.
- Follow the on-screen instructions to select your existing Wi-Fi network (both 2.4 GHz and 5 GHz bands) and enter its password.
- Complete the setup wizard. The extender will reboot.
- Once the Wi-Fi LED is solid, unplug the extender and move it to your desired location.
- Plug it into a power outlet and wait for the Wi-Fi LED to turn solid. Use the Spot Finder Technology (accessible via the web interface) to verify optimal placement.
5. Operation
Once the Linksys RE4100W is successfully set up, it will automatically extend your existing Wi-Fi network. Devices connected to the extended network will experience improved signal strength and coverage.
5.1. Connecting Devices
Your extended network will typically have the same name as your original network with "_EXT" appended (e.g., "MyWiFi_EXT"). Connect your wireless devices to this extended network using your original Wi-Fi password.
5.2. Dual Band Functionality
The RE4100W operates on both 2.4 GHz and 5 GHz frequency bands simultaneously. This allows compatible devices to connect to the less congested 5 GHz band for higher speeds, while other devices can use the 2.4 GHz band for broader coverage.
5.3. Ethernet Port Usage
The Ethernet port allows you to connect a wired device, such as a smart TV, gaming console, or desktop computer, to your extended network. This provides a stable wired connection for devices that may not have Wi-Fi capabilities or require maximum stability.
6. Maintenance
Regular maintenance helps ensure the longevity and optimal performance of your Linksys RE4100W extender.
- Firmware Updates: Periodically check the Linksys support website for firmware updates. Updating the firmware can improve performance, add new features, and fix security vulnerabilities.
- Cleaning: Keep the device clean and free from dust. Use a soft, dry cloth. Do not use liquid cleaners or aerosols.
- Ventilation: Ensure the extender is placed in a location with adequate ventilation to prevent overheating.
- Power Cycle: If you experience intermittent issues, try power cycling the extender by unplugging it from the power outlet for 10 seconds and then plugging it back in.
7. Troubleshooting
This section addresses common issues you might encounter with your Linksys RE4100W extender.
7.1. No Power / Power LED Off
- Ensure the power adapter is securely connected to the extender and a working power outlet.
- Try a different power outlet.
7.2. No Internet Access After Connecting to Extender
- Check Router Connection: Ensure your main router has an active internet connection.
- Extender Placement: The extender might be too far from your main router. Relocate it closer and use the Spot Finder Technology (via the web interface) to find an optimal spot.
- Re-run Setup: If the Wi-Fi LED is not solid, re-run the setup process (WPS or manual).
- IP Address Conflict: Reboot both your router and the extender.
7.3. Slow Speeds on Extended Network
- Placement: The extender might be too far from the router or too close to the devices. Adjust its position using Spot Finder Technology.
- Interference: Other electronic devices (microwaves, cordless phones) can cause interference. Try moving the extender away from such devices.
- Network Congestion: Too many devices on the network or heavy internet usage can slow speeds.
- Router Performance: Ensure your main router is performing optimally.
7.4. Cannot Access Extender's Web Interface
- Ensure your device is connected to the extender's Wi-Fi network (e.g., "Linksys Extender Setup" during initial setup, or the extended network after setup).
- Try http://extender.linksys.com or the extender's IP address (check your router's connected devices list).
- Clear your browser's cache and cookies, or try a different browser.
7.5. Resetting the Extender to Factory Defaults
If you encounter persistent issues or forget your settings, you can reset the extender:
- With the extender powered on, use a paperclip or a similar pointed object to press and hold the Reset button for about 5-10 seconds.
- Release the button when the Power LED starts blinking.
- The extender will reboot with factory default settings, and you will need to re-run the setup process.
8. Specifications
| Feature | Description |
|---|---|
| Model Number | RE4100W |
| Wireless Standard | IEEE 802.11a/b/g/n |
| Frequency Band Class | Dual-Band (2.4 GHz and 5 GHz) |
| Max. Link Rate | N600 (up to 300 Mbps per band) |
| Range | Up to 7,500 Sq. Ft. (coverage may vary) |
| Ports | 1x Ethernet (RJ45), 1x Audio, 1x Power |
| Buttons | Reset, Wi-Fi Protected Setup (WPS) |
| Special Features | Spot Finder Technology, Simultaneous Dual Band |
| Operating Temperature | 32 to 104°F (0 to 40°C) |
| Storage Temperature | -4 to 140°F (-20 to 60°C) |
| Operating Humidity | 10 to 80% Noncondensing |
| Compatible Devices | Security Camera (example), various Wi-Fi devices |
| Platform Compatibility | Windows 7/8/8.1/Vista/XP, Mac OS X 10.5.8 and higher |
9. Warranty and Support
For detailed warranty information, please refer to the warranty card included with your product or visit the official Linksys website. Linksys provides technical support and resources for its products.
For further assistance, product registration, or to download the latest drivers and firmware, please visit the official Linksys support website:


