
1. Introduction
The OMAX V434B-L56P-C180U3 is a professional-grade digital trinocular stereo zoom microscope designed for detailed observation and digital imaging. This instrument features a 3.5X to 90X continuous zoom magnification, a high-resolution 20MP USB 3.0 digital camera, and dual illumination systems including a 56-LED ring light and adjustable halogen lights. This manual provides essential information for the proper setup, operation, maintenance, and troubleshooting of your microscope to ensure optimal performance and longevity.
2. Safety Information
Please read and understand all safety instructions before operating the microscope. Failure to follow these guidelines may result in injury or damage to the equipment.
- Electrical Safety: Ensure the microscope is connected to a grounded power outlet with the correct voltage (240 Volts). Do not operate with damaged power cords. Disconnect power before cleaning or servicing.
- Handling: Always carry the microscope by its main stand and base. Avoid sudden impacts or vibrations.
- Optical Safety: Never look directly at the sun or other intense light sources through the eyepieces, as this can cause permanent eye damage.
- Environment: Use the microscope in a clean, dry, and dust-free environment. Avoid extreme temperatures and humidity.
- Children: Keep out of reach of children or supervise them closely during use.
3. Package Contents
Carefully unpack all components and verify that all items listed below are present and undamaged. If any items are missing or damaged, contact your supplier immediately.
- Trinocular Stereo Zoom Microscope Head
- Pillar Stand with Base and Dual Halogen Illumination
- Pair of WF10X Eyepieces
- Pair of WF20X Eyepieces
- 0.5X Auxiliary Objective Lens
- 56-LED Ring Light with Power Adapter
- 20MP USB 3.0 Digital Camera with USB Cable
- Software CD
- Power Cord
- Dust Cover
- Black/White Stage Plate
- Frosted Glass Stage Plate
- Stage Clips
- Spare Halogen Bulb
- Spare Fuse

Image 3.1: All components included in the OMAX V434B-L56P-C180U3 microscope package, including eyepieces, auxiliary lens, power cord, and spare parts.
4. Setup
Follow these steps to assemble and prepare your microscope for use.
- Mount the Microscope Head: Carefully place the trinocular microscope head onto the pillar stand. Secure it with the locking screw.
- Install Eyepieces: Insert the desired eyepieces (WF10X or WF20X) into the eyepiece tubes on the trinocular head.
- Attach Auxiliary Lens (Optional): If using the 0.5X auxiliary objective lens, screw it onto the bottom of the main objective housing. This extends the working distance and field of view.
- Install Stage Plate and Clips: Place either the black/white or frosted glass stage plate onto the base. Secure it with the stage clips.
- Connect LED Ring Light: Attach the 56-LED ring light to the objective housing. Connect its power adapter to the ring light and then to a power outlet.
- Connect Digital Camera: Insert the 20MP USB 3.0 digital camera into the trinocular port on top of the microscope head. Connect the USB cable from the camera to your computer.
- Power Connection: Connect the main power cord to the microscope base and then to a grounded electrical outlet.
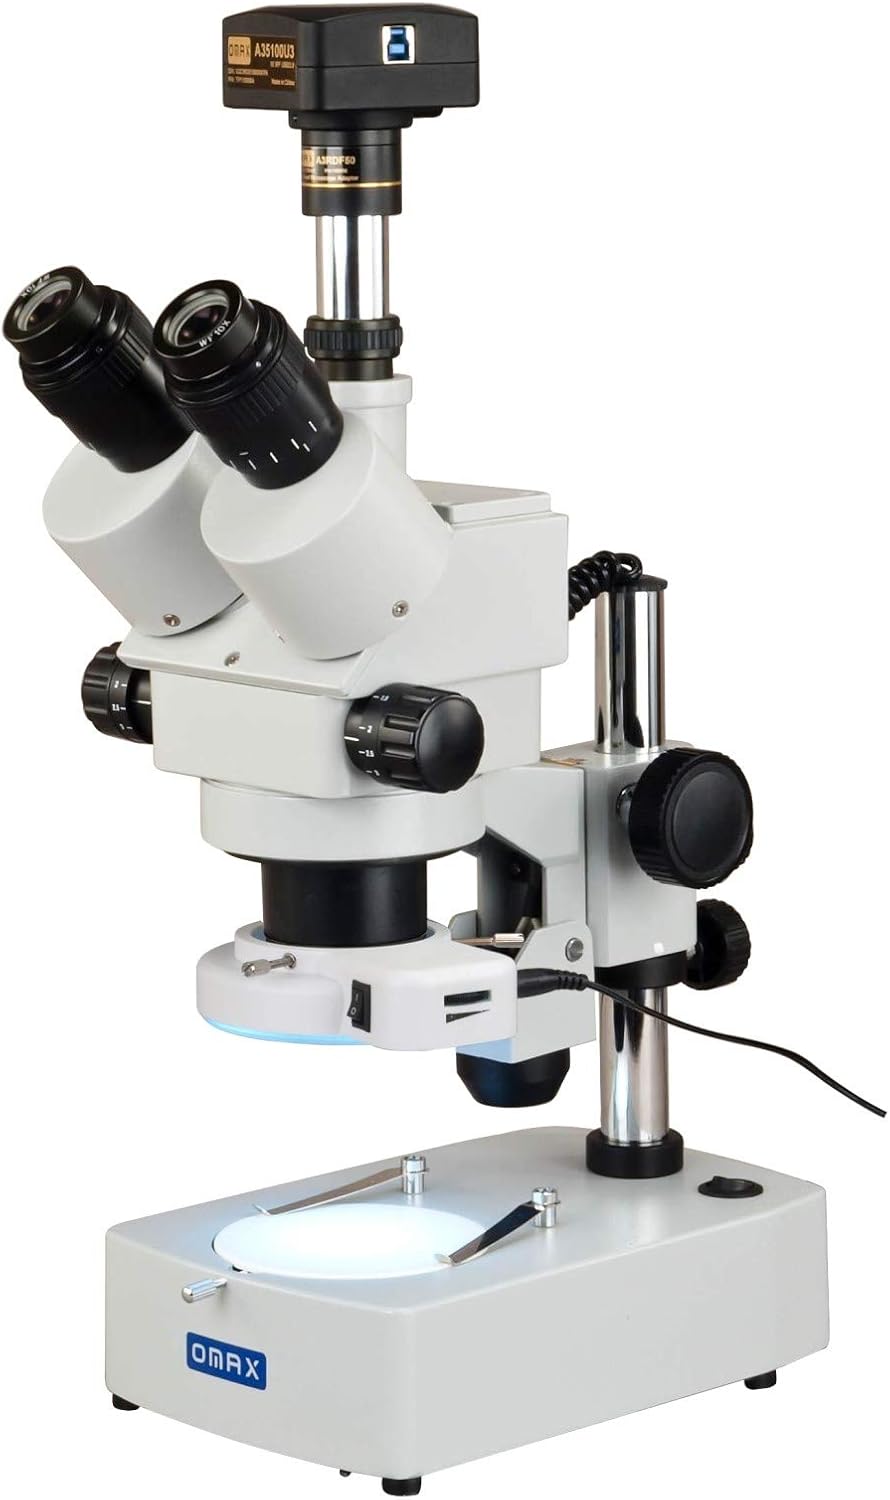
Image 4.1: The OMAX V434B-L56P-C180U3 microscope fully assembled with the digital camera and ring light attached.

Image 4.2: The 20MP USB 3.0 digital camera and its accompanying software disk for computer connectivity.
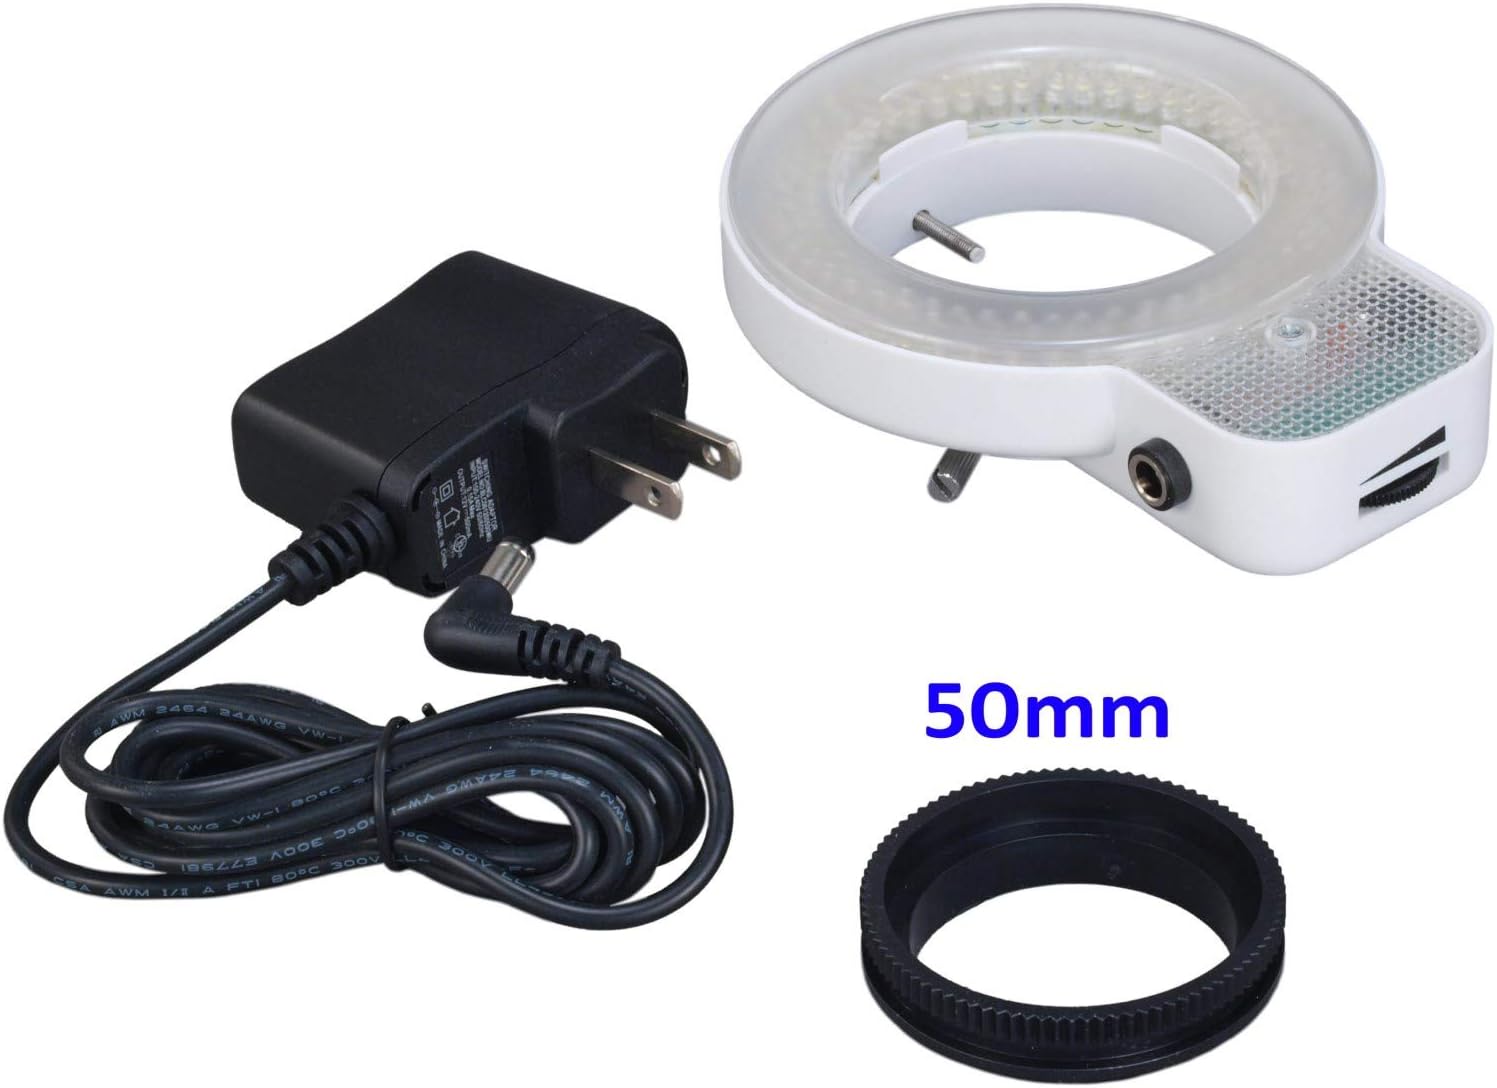
Image 4.3: The 56-LED ring light with its power adapter, providing adjustable incident illumination.
5. Operating Instructions
This section details the steps for operating your microscope effectively.
5.1 Powering On and Illumination
- Ensure all connections are secure.
- Flip the main power switch on the microscope base to turn on the halogen illumination.
- Adjust the intensity of the halogen lights using the dimmer knobs on the base for both transmitted (bottom) and reflected (top) illumination.
- Turn on the 56-LED ring light using its dedicated switch and adjust its brightness as needed.
5.2 Placing a Specimen
Place your specimen on the stage plate, securing it with the stage clips if necessary.
5.3 Adjusting Magnification and Focus
- Zoom Magnification: Rotate the zoom knob on the microscope head to adjust the magnification from 3.5X to 90X.
- Coarse Focus: Use the large coarse focus knobs on either side of the stand to bring the specimen into approximate focus.
- Fine Focus: Use the smaller fine focus knobs for precise focusing and to achieve a sharp image.
5.4 Adjusting Interpupillary Distance and Diopter
- Interpupillary Distance: While looking through the eyepieces, adjust the distance between the eyepiece tubes until you see a single, circular field of view.
- Diopter Adjustment: If one eye has a different focus requirement, adjust the diopter ring on one of the eyepiece tubes until both eyes perceive a sharp image without strain.
5.5 Using the Digital Camera
- Software Installation: Install the provided software from the CD onto your Windows, Mac, or Linux computer. Follow the on-screen instructions.
- Live View: Launch the software. The camera feed should appear, providing a live view of your specimen on the computer screen.
- Image/Video Capture: Use the software interface to capture still images (4912×3684 pixels) or record live video.
- Measurement and Analysis: The software includes tools for basic measurements and image analysis. Refer to the software's help documentation for detailed instructions.

Image 5.1: A detailed microscopic view of a circuit board, demonstrating the imaging capabilities of the microscope.

Image 5.2: A close-up view of the 0.5X auxiliary objective lens attached to the microscope, which extends the working distance.
6. Maintenance
Proper maintenance ensures the longevity and performance of your microscope.
- Cleaning Optics: Use a soft, lint-free cloth and specialized optical cleaning solution to clean lenses. Avoid touching optical surfaces with bare hands.
- General Cleaning: Wipe the microscope body with a soft, damp cloth. Do not use harsh chemicals or abrasive cleaners.
- Dust Cover: Always use the provided dust cover when the microscope is not in use to protect it from dust and debris.
- Storage: Store the microscope in a cool, dry place, away from direct sunlight and corrosive chemicals.
- Bulb Replacement: If a halogen bulb burns out, disconnect power, allow the bulb to cool, and carefully replace it with the provided spare bulb. Avoid touching the new bulb with bare hands.
7. Troubleshooting
Refer to this section for solutions to common issues.
| Problem | Possible Cause | Solution |
|---|---|---|
| No image visible through eyepieces | Eyepiece caps on, illumination off, specimen not centered, focus too far off. | Remove caps, turn on illumination, center specimen, adjust focus. |
| Image is blurry or out of focus | Incorrect focus adjustment, dirty lenses, diopter not adjusted. | Adjust coarse and fine focus, clean lenses, adjust diopter. |
| Digital camera not detected by computer | USB cable loose, drivers not installed, camera not powered (if applicable). | Check USB connection, install camera drivers from CD, restart computer. |
| Illumination not working | Power cord loose, bulb burnt out, dimmer set to minimum. | Check power, replace bulb, increase dimmer setting. |
| Dust spots visible in image | Dust on eyepieces, objective, or camera sensor. | Clean optical components carefully. |
8. Specifications
Key technical specifications for the OMAX V434B-L56P-C180U3 microscope:
- Model Name: Omax V434B-L56P-C180U3
- Magnification Range: 3.5X-90X (with included eyepieces and auxiliary lens)
- Eyepieces: WF10X, WF20X
- Auxiliary Objective: 0.5X
- Trinocular Head: 45 Degrees Inclined, 360 Degrees Rotatable
- Interpupillary Distance: Adjustable
- Diopter Adjustment: On both eyepiece tubes
- Working Distance: Up to 6-1/2 inches (with 0.5X auxiliary lens)
- Illumination: Dual Halogen (transmitted and reflected), 56-LED Ring Light
- Light Source Type: LED, Halogen
- Digital Camera: 20MP USB 3.0
- Camera Resolution: 4912x3684 pixels
- Compatible Devices: Personal Computer (Windows, Mac, Linux)
- Power Source: Corded Electric
- Voltage: 240 Volts
- Material: Metal
- Manufacturer: OMAX
- UPC: 670541483459
9. Warranty and Support
OMAX provides a manufacturer's warranty for this product. Please refer to the warranty card included with your purchase or visit the official OMAX website for detailed warranty terms and conditions. For technical support, service, or inquiries, please contact OMAX customer service through their official channels.
For further assistance, please visit the OMAX Store on Amazon.